


Reviewed by: Y. Garcia
Difficulty: Novice
Time: Weekend project (2-3 hours per room)
Cost: ~$90–$150 per room (based on the items listed; varies by what you already own)
The sanctuary-inspired design trend isn't about chasing Instagram-perfect spaces — it's about creating rooms that actually help you unwind after stressful days. This design approach focuses on intentional comfort through layered textures, warm lighting, and functional zones that work with your real life, not against it.
Unlike trend-driven makeovers that look great for six months, sanctuary design builds lasting comfort systems. You'll create spaces that respond to how you actually use them, what textures feel good to you, and what lighting makes you want to linger rather than rush through.
What You'll Need
Materials
2 dimmer switches ($12-15 each)
1 area rug, 5×7 ft minimum ($25-45)
2-3 textured throw blankets in natural materials ($15-25 total)
2-4 floor cushions or large pillows ($20-30)
1 small essential oil diffuser or reed diffuser ($8-12)
Tools
Screwdriver set
Wire nuts (if not included with dimmers)
Non-contact voltage tester
Measuring tape
Level (smartphone app works fine)
Safety First
If you're unsure about wiring identification, multi-way switches, aluminum wiring, or local code requirements, stop and hire a licensed electrician.
Power OFF at breaker before any electrical work; check with a non-contact tester (initial check), then verify absence of voltage with a properly rated meter per manufacturer instructions
Test dimmer compatibility with your bulbs before installation
Avoid diffusers around birds and use extra ventilation/caution around pets; consult a vet if unsure
Steps
Project 1: Install Mood-Responsive Lighting (90 minutes)
The 2026 sanctuary approach prioritizes lighting that adapts to different activities throughout the day. Variable lighting lets you match illumination to activity and mood, which creates the environmental control that makes spaces feel genuinely comfortable.
Power OFF at breaker; use a non-contact tester as a first screen, then confirm de-energized per manufacturer guidance (or with a properly rated meter).
Safety check: Test the tester on a known live circuit first to ensure it's working.
Remove existing switch by unscrewing the faceplate and switch from the electrical box.
Note: Take a photo of wire connections before disconnecting anything.
Connect the dimmer exactly per the manufacturer's diagram. Many dimmers use line/load + ground; a neutral connection is only required on some models, and it may be bundled in the back of the box
Tip: Twist wire nuts clockwise until tight; gently tug each connection to verify security.
Test installation by restoring power and checking dimmer operation at multiple levels.
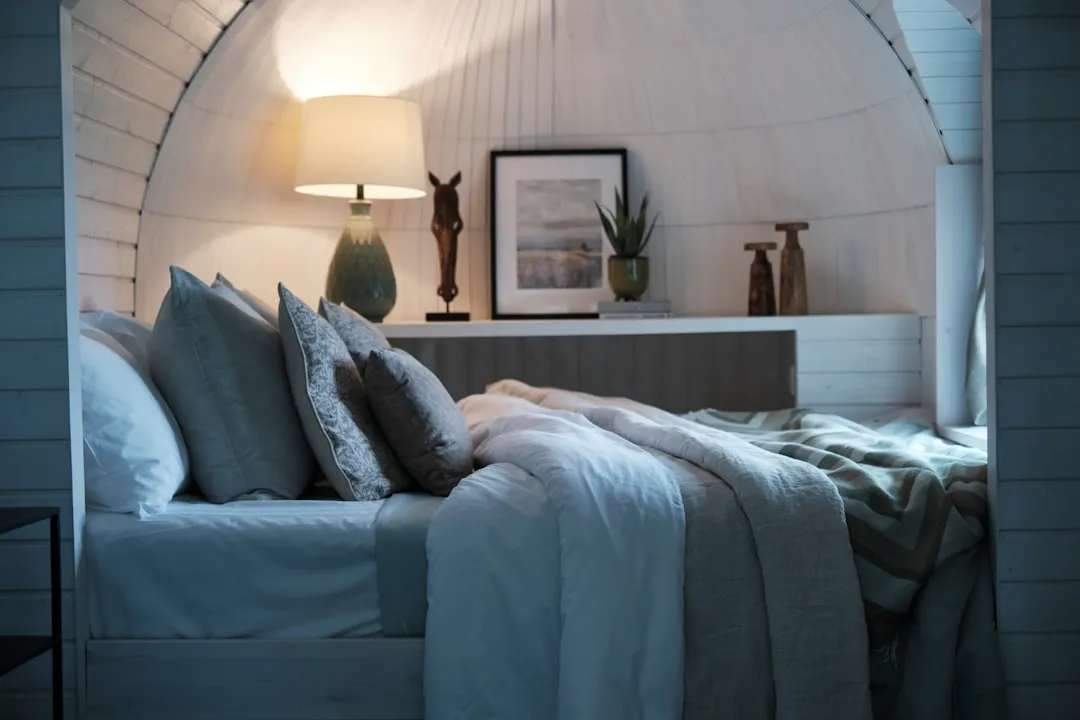
If flickering occurs: Your bulbs may not be dimmer-compatible; switch to dimmable LEDs rated 2700K-3000K for warm sanctuary lighting.
Repeat for second high-use area like your bedroom or reading corner.
Why it works: Dimming and using warmer, lower-intensity light in the evening can help reduce melatonin suppression and support wind-down routines.
Project 2: Create a Defined Comfort Zone (45 minutes)
Some 2026 interior-trend coverage emphasizes maximizing a 'sanctuary' feeling by creating dedicated zones by creating dedicated zones within rooms rather than formal layouts that don't match real usage patterns.
Identify your natural relaxation spot by observing where you actually sit when you want to unwind — not where your furniture suggests you should sit.
Anchor the zone with your area rug, positioning it so your feet naturally rest on it when seated.
Tip: Rule of thumb: aim for ~12–18 in. of rug beyond key furniture edges (more if space allows); in small rooms, prioritize front legs of seating on the rug.
Add floor seating options by arranging cushions or pillows in an L-shape or semicircle around your primary seating.
Note: This creates intimate conversation space and gives you options for different postures throughout the day.
Layer textured blankets on nearby furniture so they're grabbable when you want extra comfort.
Texture tip: Combine one nubby weave with one smooth fabric for sensory variety that supports the growing emphasis on tactile materials.
Test your zone by spending 15 minutes reading or relaxing to identify any needed adjustments.
Project 3: Establish Sensory Anchors (30 minutes)
The sanctuary trend incorporates subtle sensory details that create comfort through natural materials and calming scents rather than visual statements alone.
Position your diffuser in a location with good air circulation but away from direct sunlight or heat sources.
Scent placement: Corner locations work well for even distribution without overpowering.
Create texture contrast by placing different fabric weights within arm's reach of seating areas.
Example: Chunky knit throw on sofa back, smooth cotton cushion on side chair.
Test sensory combinations by trying different essential oil scents with various lighting levels to find your preferred combinations.
Start subtle: Begin with 3-4 drops of oil; you can always add more.
Establish easy access to comfort elements — blankets should drape naturally, cushions should stack neatly when not in use.
Why it works: Different textures catch and reflect light differently, creating visual depth. The layered sensory experience makes rooms feel more welcoming when there are varied tactile and scent options available.
Cleanup & Disposal
Store leftover wire nuts with electrical supplies for future projects
Keep essential oil bottles in cool, dark locations to preserve scent
Wash natural fiber blankets according to care labels before first use
Wipe down tools and return electrical testing equipment to accessible storage
Troubleshooting
Problem: Dimmer buzzes or gets warm → Fix: Check bulb compatibility; replace with dimmer-rated LEDs
Problem: Comfort zone feels cramped → Fix: Remove one furniture piece and try larger rug to better define the space
Problem: Scent too strong/weak → Fix: Adjust diffuser placement or oil quantity gradually — move closer to seating for stronger scent, farther for subtle background aroma
Problem: Textures feel mismatched → Fix: Choose one unifying element (color or material type) that appears in each textile layer
Variations & Upgrades
Renter-friendly: Use plug-in dimmers and removable adhesive hooks instead of hardwired switches
Budget version: Start with just textiles and scent; add lighting upgrades later as budget allows
Seasonal adaptation: Swap heavier winter textures for lighter summer materials; adjust scents to match seasonal preferences
Enhanced wellness: Add plants or natural wood elements to strengthen biophilic design connections
Making Your Sanctuary Evolve
Your sanctuary should adapt to changing needs rather than becoming fixed décor. Choose quality natural materials that improve with age — cotton and wool blankets that get softer with washing, rugs that develop character over time.
This approach aligns with 2026's shift toward spaces that feel genuinely lived-in rather than designed for photographs. Unlike wholesale room makeovers, sanctuary design develops organically through hands-on experimentation with what actually supports your daily comfort.
The beauty of this DIY approach is that you can test and adjust elements based on how they affect your real mood and relaxation. You might discover that certain lighting levels work better for different seasons, or that specific texture combinations feel more comforting during stressful periods.
Start with this three-project foundation, then expand based on what you learn about your own comfort preferences. Your sanctuary doesn't need to look like anyone else's — it just needs to work consistently for your actual lifestyle and daily routines.


Comments
Be the first, drop a comment!