



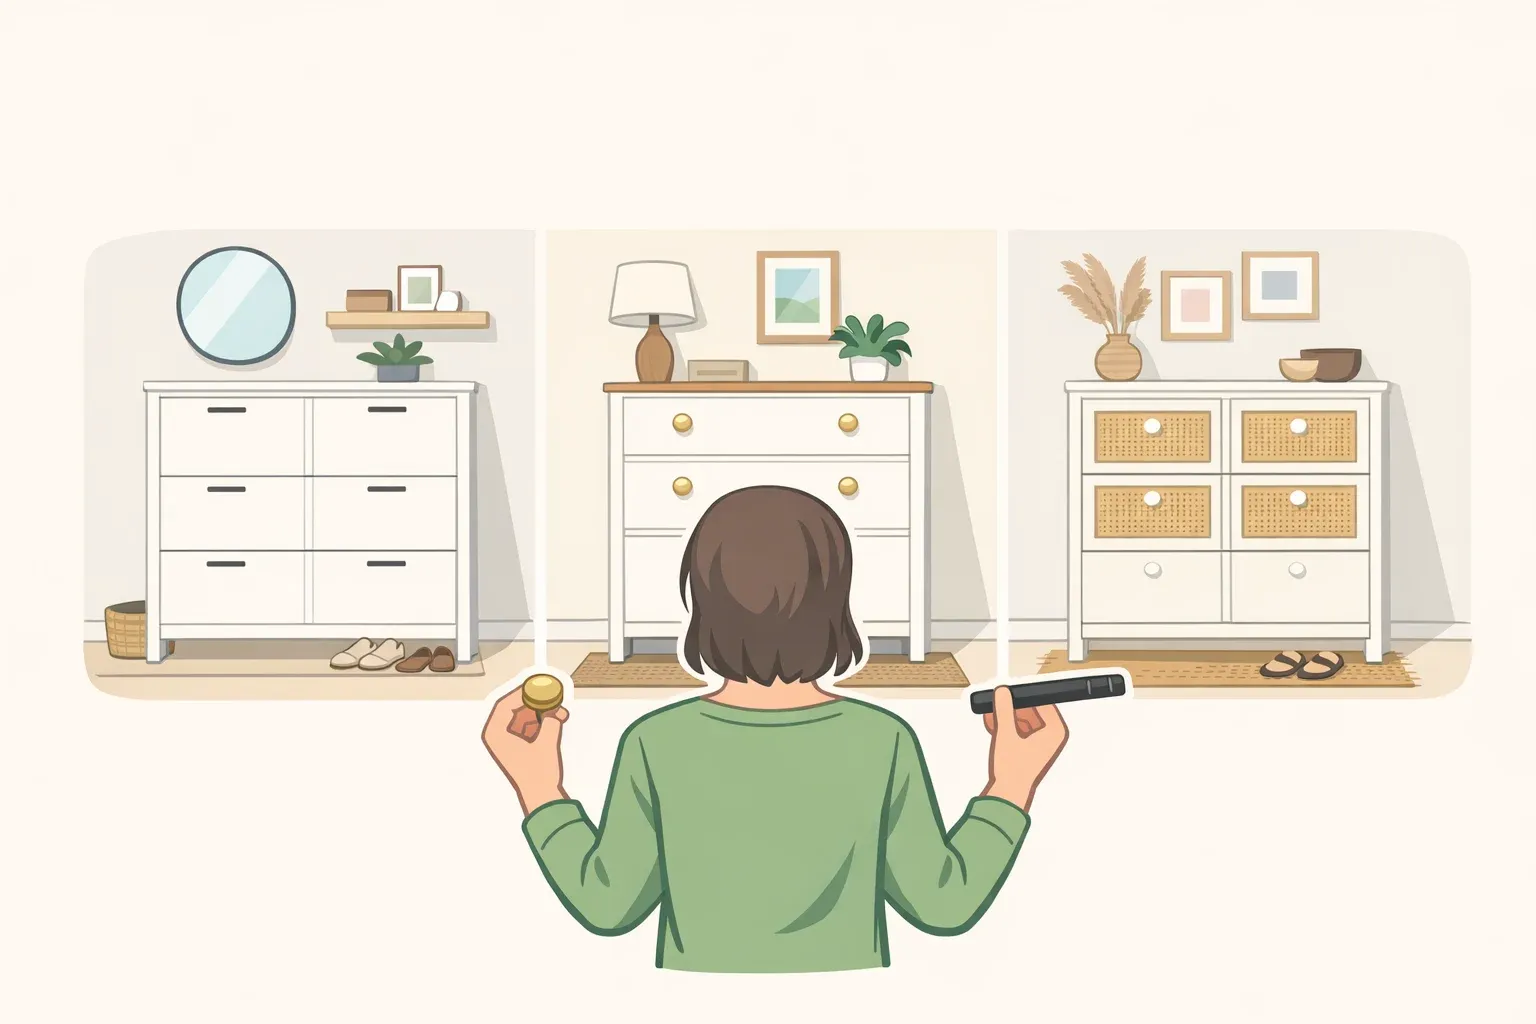
The IKEA STÄLL fits where almost nothing else does. At just 6¾ inches deep, it slides into narrow hallways that defeat standard shoe storage. Chicago renter Alanna Hurley needed a cabinet only about six inches deep for her apartment entryway, "which is nearly impossible to come by," and found the STÄLL was the only affordable option that worked. It solved the space problem and immediately created a style one. The unmodified cabinet, in her words, gave off "very office file cabinet vibes."
Two documented approaches fix that. Path A is Breeya Shade's geometric disc version: semi-circle wood craft pieces glued to the door fronts, a distressed wood top, dark stain, and rectangular hardware. Darker, more formal, closer to a vintage console. Two cabinets run roughly $600 and take a full weekend. Path B is Hurley's build: oak pole wrap glued directly to the door fronts, new hardware, done. Two cabinets cost around $350 and finish in a day. A third route produces a wall-to-wall built-in, a different decision with different constraints, covered below.
Which IKEA STALL shoe cabinet hack fits your situation?
Before touching a tool, two questions sharpen the choice: how much time you have, and how close to classic MCM you want to land.
Path A follows Breeya Shade's geometric-disc project, documented by House Digest. Semi-circle wood craft discs from the Handmade Store on Amazon get glued to the door fronts in an alternating pattern, a distressed teak or oak top replaces the factory surface, and the cabinet body gets primed, painted, and finished with rectangular hardware.
A separate fluted-trim approach by Alicja Dworzak, two STÄLL units at $150 each plus roughly $150 per cabinet in trim, glue, and paint, landed at the same approximate total. "Cabinets like these can cost over $2,000, so this cabinet costing $600 is a win in my book," Dworzak said. The steps below follow Shade's geometric-disc version; where Dworzak's fluted-trim process adds useful detail, it's noted inline.
Path B follows Hurley's project directly. Oak pole wrap cut to door height, glued on, and black hardware installed. Total for both cabinets, including the STÄLL units: around $350. No painting, no priming, done in a day.
The one thing both paths share: keep the STÄLL's legs. Mid-century modern cabinets, TV consoles, and record player units, characteristically stand on small peg legs, and the STÄLL's support legs already fit that language without modification. Removing them works against the style.
Path A: dark, formal mid-century modern (geometric disc appliqués + distressed wood top)
This path follows Breeya Shade's project as documented by House Digest.
What you need: Assembled STÄLL cabinet(s), semi-circle wood craft discs, a teak or oak board approximately 8 by 42 inches for the replacement top, dark wood stain, Gorilla wood glue, clamps, electric sander and sandpaper sheets, primer, paint in a warm off-white or contrasting color, and rectangular pull hardware in brass or brushed black.
Step 1: Assemble the cabinet
Follow IKEA's instructions. If placing two units side by side, mount them to the wall and fill the gap between cabinets with wood filler; sand flush once dry.
Step 2: Pre-sand all wood elements before gluing anything
Cut the replacement wood top to size. Sand the discs and the top now, before anything gets glued. Dworzak did the equivalent step with fluted trim after it was already attached and called it "the longest step in the process" because of the awkward angles. Pre-sanding takes minutes; post-sanding takes hours. Learn from her mistake.
Step 3: Glue discs to the door fronts and check clearance immediately
Arrange the semi-circle craft discs in an alternating circles-and-hourglasses pattern across each door front. That specific layout is what signals the era rather than generic texture. Apply wood glue, press firmly, and clamp.
Before the glue cures, open each door fully. Added thickness to the door face can prevent the door from clearing the cabinet frame. Dworzak ran into exactly this problem with her fluted trim and needed help shaving a sliver from the bottom of each door to fix it. Catch it while the glue is still wet. After it sets, you're cutting with appliqués attached, which is substantially harder.
Step 4: Distress and stain the wood top
Press dents into the surface with a hammer, then chip the edges lightly with the claw end. Sand smooth to remove splinters. Apply several coats of dark wood stain to both the top and the disc elements; this ties the surfaces together visually. Teak and oak suit the era, though any hardwood works. Let each coat dry fully before the next.
Step 5: Prime and paint the cabinet body
The STÄLL's laminate surface needs primer to hold paint. One coat of primer, then two coats of your chosen color. Warm off-white, Behr's Swiss Coffee specifically, is the documented choice from Dworzak's project. A bolder contrast color makes the unit stand out in a small entryway.
Step 6: Attach the wood top and install new hardware
Secure the stained top with glue, screws from below, or both. Replace the factory knobs with rectangular pull handles; the original round hardware undercuts the MCM read. Rectangular pulls in brushed brass or black complete the period signal. Dworzak used brass finger tab pulls from Amazon for a warmer result.
Realistic time expectation: Plan a full weekend. Sanding and the drying cycles between stain and paint coats account for most of the clock time. The physical work is lighter than it sounds.
Path B: organic, warm mid-century modern (oak pole wrap)
This path follows Alanna Hurley's project, documented by Apartment Therapy.
What you need: Assembled STÄLL cabinet(s), oak pole wrap (96" × 16" rolls at approximately $70 each from Home Depot; Hurley used two rolls for her two-cabinet project), Gorilla wood glue, a razor knife, a circular saw (optional but improves precision), and black or brass hardware.
Step 1: Assemble the cabinet
Standard IKEA assembly. No wall mounting required unless you prefer it.
Step 2: Measure and cut the pole wrap to door height
Cut each roll to the length of a cabinet door. To remove excess width, follow the groove running along the wrap with a razor knife; it separates cleanly along that line. A circular saw produces cleaner cuts, but Hurley noted the project is entirely possible without power tools.
Step 3: Glue wrap to door fronts
Apply Gorilla wood glue to the back of each cut piece, press to the door front, and let dry fully. No priming or painting needed. The oak grain is the finish.
Step 4: Install hardware
Swap the factory pulls for black hardware, or brass if your room runs warmer. Hurley was specifically targeting an "organic mid-century modern" aesthetic with her two dark-brown STÄLLs, and the combination of natural oak grain and clean metal hardware is what gets there.
Realistic time expectation: Hurley completed her project in a single day, including dry time.
Door clearance note: The pole wrap adds less door thickness than fluted trim paneling or disc appliqués would, so clearance problems are less likely than with Path A. Still worth testing before the glue sets.
IKEA STALL built-in shoe storage: when to choose this instead
Both freestanding paths produce units you can take with you when you move. The built-in route is a different decision, not just a different aesthetic.
This approach mounts the cabinets side by side on the wall, fills the gap between them with wood filler, then frames the entire assembly with evenly spaced boards attached in a board and batten pattern above using a nail gun. Paint everything the same color, and the result reads as custom millwork rather than flat-pack storage. Required tools include a sander, saw, drill, and nail gun. It is not reversible.
That last point is the real decision filter. Renters should stop here and choose Path A or B. For owners who want the most convincing built-in result and are prepared to patch walls eventually, this approach produces something neither freestanding hack can fully replicate: an installation that looks like it was always there.
What you end up with
Each STÄLL compartment holds roughly three pairs of women's sneakers or two pairs of men's, based on Hurley's setup, so two cabinets side by side handle a couple's shoe storage without dominating the hallway. The appliqués sit on the exterior door faces and don't touch the interior storage space.
The cost gap is significant in both directions. Authentic mid-century modern shoe cabinets run upward of $1,000 at retail, and comparable built-in entryway pieces can reach $2,000 or more, as Dworzak noted. Path A lands at roughly 30 cents on that dollar. Path B at closer to 18 cents.
The clearest guide, by situation:
Renters, narrowest hallways: Both freestanding paths work. The STÄLL's 6¾-inch depth is the starting constraint; neither hack changes that footprint.
Lowest budget, least risk: Path B. No paint, no cutting into the cabinet, minimal irreversible steps.
Closest period look with a full weekend: Path A's geometric disc version gets nearest to a vintage piece.
Owners who want built-in: The board and batten approach requires permanent wall mounting but produces the most convincing custom result.
The one mistake to avoid on either freestanding path: Don't test door clearance after the glue has set. On Path A especially, the added door thickness can prevent the doors from opening. Check while the glue is still wet. Fixable only if you catch it in time.



















Comments
Be the first, drop a comment!