



Studio-printed custom wallpaper averages around $6,500 per project, and a two-room installation runs closer to $10,000, according to Domino's profile of Nashville designer Mary Kathryn Wells and wallpaper studio New Hat.
That price buys imagery printed at scale, dense and tonally unified, arranged so deliberately that the walls read as a design decision. The underlying logic, though, is not proprietary. This guide walks through how to achieve the same effect using DIY wallpaper from book pages on one dry-room accent wall, for roughly $20–40 in materials if the pages are free.
One wall. One dry room. The principles that separate a result that looks intentional from one that just looks stuck up.
Before you start: where this works and what it actually costs
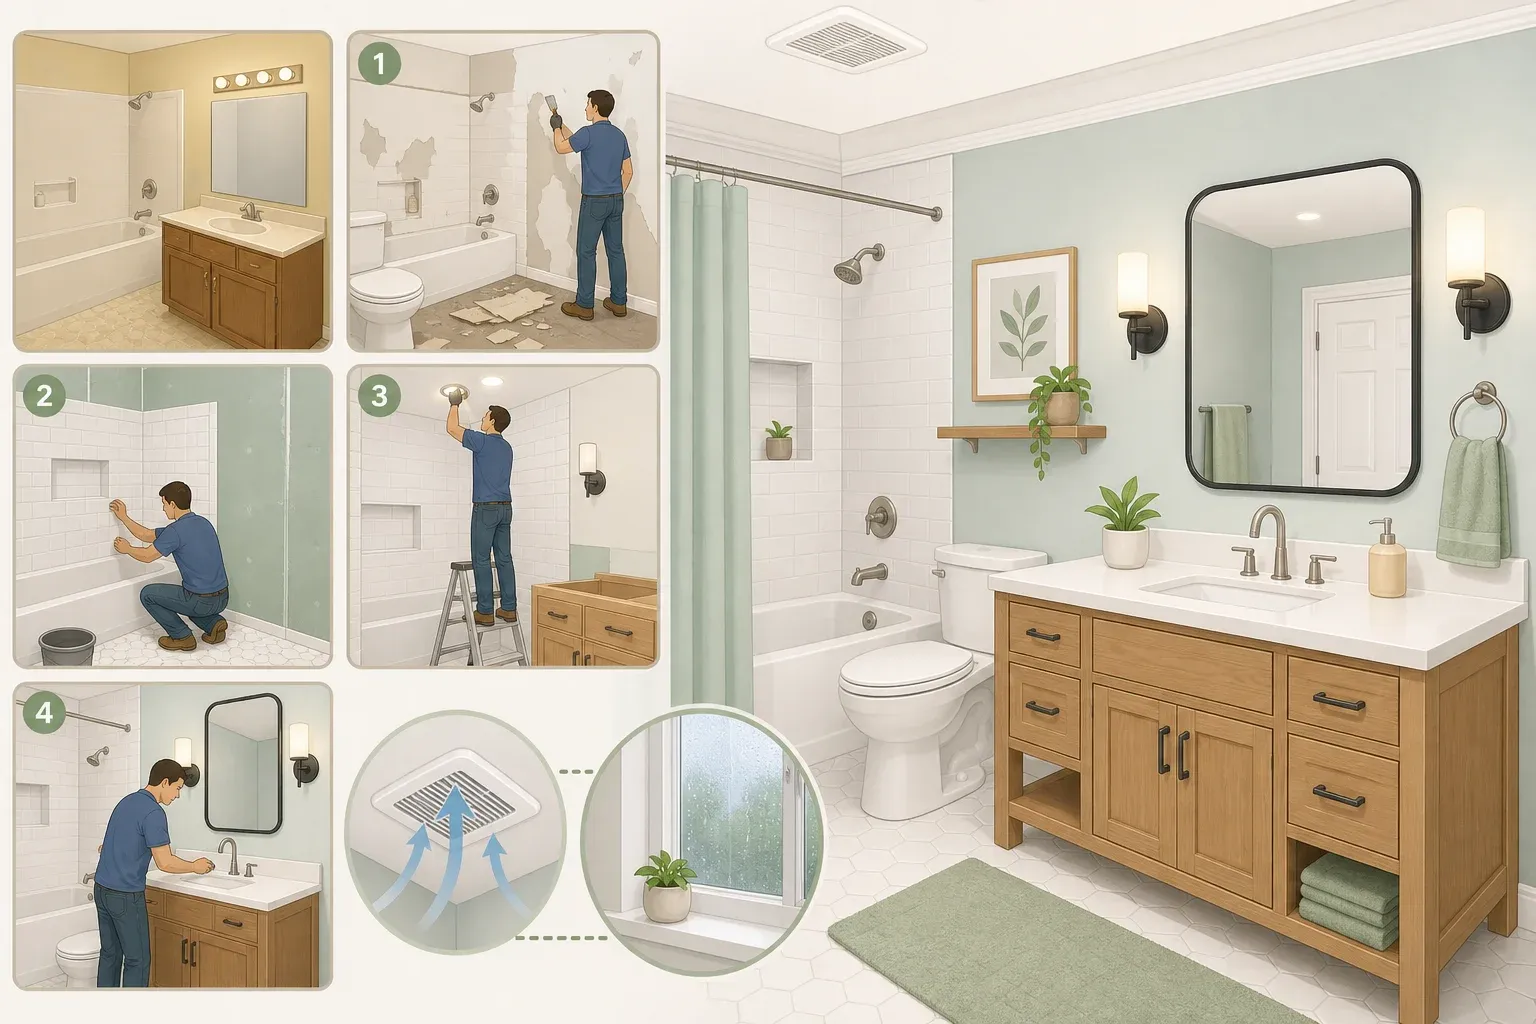
Dry rooms only: bedrooms, hallways, studios, dining rooms, powder rooms with no shower. Book pages and sustained moisture are incompatible. A toilet-only half bath is a far safer environment than any room with a shower. If the room steams up when you run hot water, this treatment needs a sealed topcoat and will still have a shorter lifespan than it would in a dry space. Any bathroom application should include a matte sealant coat.
This also works best as an accent, not a whole-room treatment. One DIYer documented a complete powder room renovation for around $350 total, with most of that cost going to floor tile, according to Apartment Therapy.
The book-page wall treatment was one element of a broader refresh that included a salvaged vintage sink and a full repaint. It landed because everything else in the room was sorted first. A book-page wall on a single well-chosen surface, in a room with considered basics, reads as a design choice. Spread across every wall of a poorly lit space, it won't rescue the room.
What this costs:
Pages from library discards, thrift stores, curbside book rescues, or estate sale leftovers: free or under $10
Large kraft paper sheets for the base layer, roughly one roll: $8–12
Wallpaper paste or Mod Podge for permanent installation: $8–12
Brayer or smoothing tool, scissors: $5–10 if not already owned
Matte topcoat sealant for any bathroom application: $8–12
For a single accent wall with free pages, the hard cost lands between $20 and $40. Pages bought from specialty dealers or illustrated-book sellers add per-page costs that compound fast. Source differently or budget accordingly.
Permanent vs. renter-friendly:
Permanent installation uses roll-on wallpaper adhesive applied directly to the wall. For renters, a Lemon8 creator who built a studio book-page wall suggests using removable adhesive squares or painter's tape on the back of the kraft paper panel before mounting. A fully covered collage panel is heavier than it looks. Test any removable adhesive on an inconspicuous spot first, and for larger sections, permanent adhesive is the more reliable choice.
What to gather: materials, sourcing, and the selection decision that determines everything
Materials list:
Book and print pages: botanical illustrations, atlas spreads, sheet music, encyclopedia plates, illustrated reference pages. Pages with visual density carry the look; plain text-only novel pages work as filler but not as anchors
Large kraft paper sheets for the base layer (structural, not optional)
Adhesive: wallpaper paste or Mod Podge for permanent installs; removable adhesive squares for renter-friendly panels
Brayer, scissors, ruler, pencil
Optional but useful: matte Mod Podge or acrylic topcoat for sealing; white acrylic paint and a fine brush for filling gaps
Where to find pages:
One DIYer spotted a disposal crew clearing antique books from a Manhattan townhouse, stopped them, and walked away with an armload at no cost, as Apartment Therapy documented. That's the ideal scenario. Library book sales, thrift stores, estate sale remainders, and online used-book listings for "ex-library" or "damaged" illustrated copies are the most reliable low-cost sources. Do not dismantle books with genuine collector value. It's a permanent decision and rarely a good trade.
How to make DIY wallpaper from book pages without a patchy finish
The difference between a book-page wall that reads as a design choice and one that reads as a school project comes down to one decision made before anything touches the wall: tonal coherence in page selection.
The New Hat design team didn't simply collage source material at scale. Some colors stayed true to the original artwork; others were adjusted to complement existing room colors, pulling from the pastel blue of window trim and echoing a nearby pink kitchen island. That's the professional move, and it translates directly to DIY page selection: choose pages for palette harmony before a single piece goes near the wall.
In practice, warm cream, aged yellow, and sepia-toned pages sit together naturally and create a unified surface from across the room. Bright white modern paper next to antique pages creates tonal friction that no arrangement can fix. Pull pages that share a color family, then vary within it through content: a botanical drawing beside dense decorative typography beside a small map creates contrast that reads as curated. The same pages in mismatched tones just look like a pile. Edit to the palette first.
The New Hat team also found through testing that denser arrangements produced stronger results than sparse ones: more pieces, larger scale. That principle transfers directly here.
Step 1: Measure the wall and cut kraft paper into panels
Work in vertical strips roughly 18–24 inches wide. Mark light pencil registration lines on the wall at each panel edge.
The kraft paper base is structural. It protects the wall from direct adhesive contact, lets you prep the collage flat on a table before mounting, and reduces bubbles and misalignment significantly. As the Lemon8 creator noted, working from large craft paper sheets makes the whole project easier to manage and less damaging to the actual wall. Use it regardless of the adhesive method.
Step 2: Sort pages into anchors and fillers
Divide pages into anchor pieces (illustrations, maps, decorative typography with strong visual weight) and filler pieces (lighter pages that work as background). Set aside anything that breaks the tonal palette established during selection. Anchor pieces establish visual rhythm; distribute them across the panel rather than clustering them in one spot. Fillers fill the spaces between.
This mirrors the professional production sequence: New Hat sends customers a scan kit to gather all source material first, then the design team scales and arranges before production begins. The planning order matters.
Step 3: Do a full dry-run layout before any adhesive
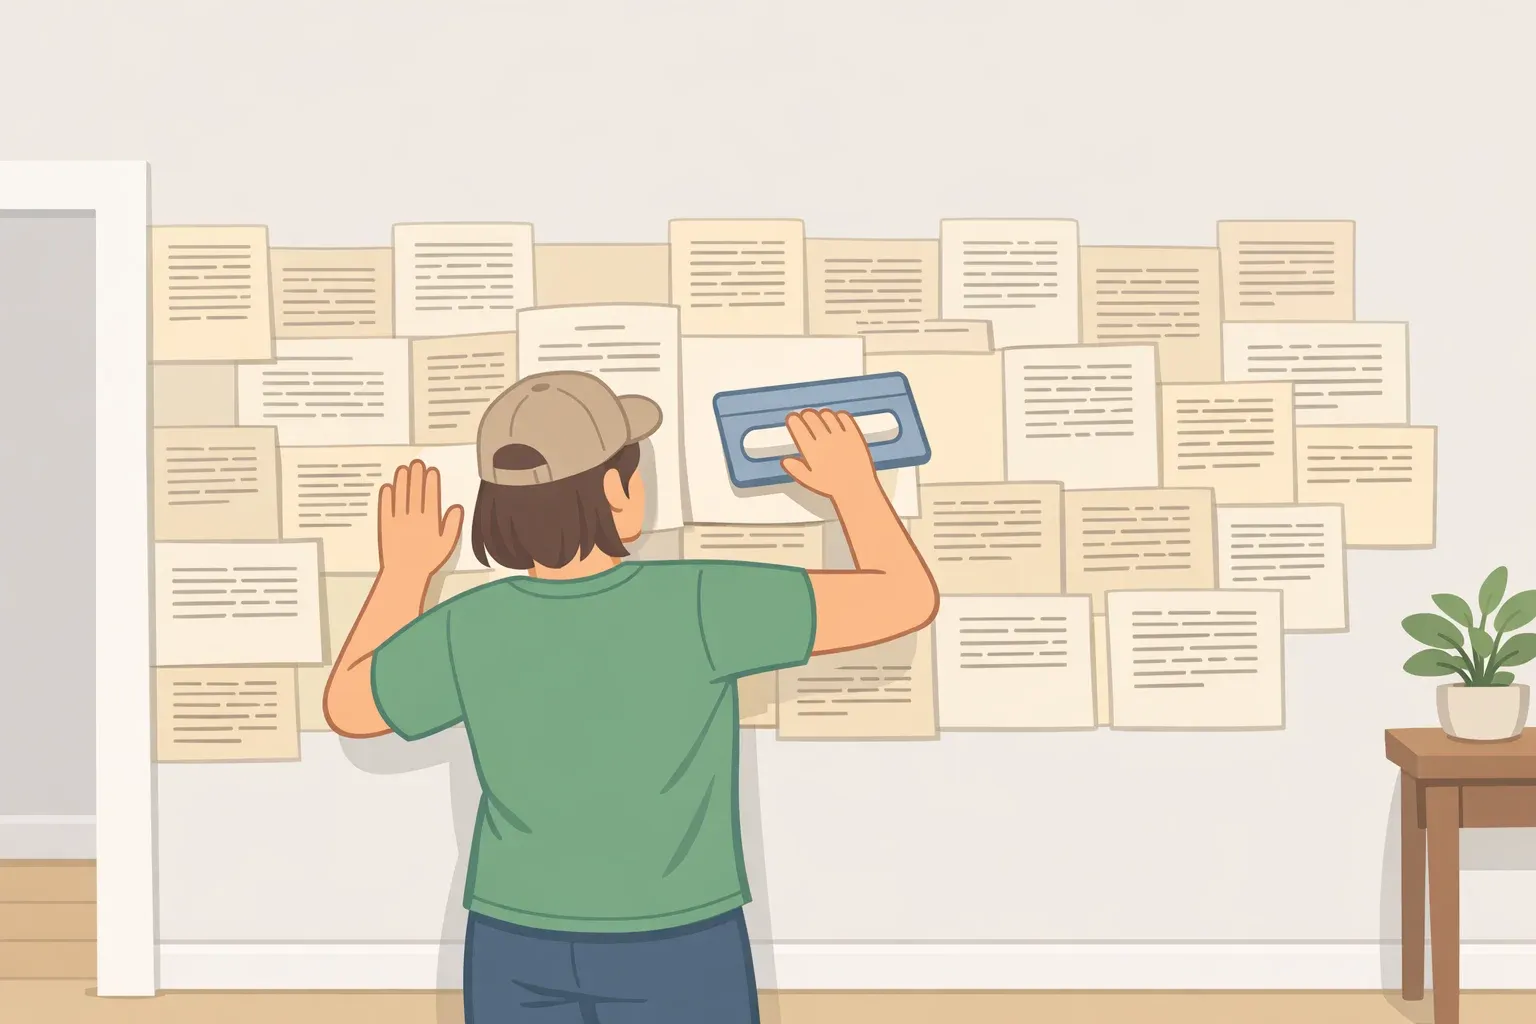
Lay pages on the kraft paper panel and arrange without gluing anything. Overlap edges. The Lemon8 creator describes this overlapping as what creates the "rich, textured effect" that defines the look. Stand back every few minutes.
Density check: If you can see bare kraft paper anywhere in the layout, there is not enough coverage. Add pages, reduce the panel width, or both. There is no reliable way to fill sparse coverage after the adhesive goes down. This is the step to fix it. Scan the panel from across the room; if the kraft paper color reads through anywhere, the layout is not finished.
If the layout looks chaotic: The page selection is probably too tonally varied. Pull any pages that are significantly lighter, darker, or differently hued than the rest. Tonal consistency does more to unify a busy collage than any rearrangement.
Step 4: Glue pages to the kraft paper base
For wallpaper paste or Mod Podge: apply adhesive to the kraft paper surface, not the page back. Press pages down and smooth from center outward with a brayer. Work one page at a time. Applying paste evenly is what prevents bubbles from forming, as the Lemon8 creator notes.
Bubbles: If one appears before the adhesive sets, lift the page edge gently and re-smooth. Once set, they are largely permanent.
Curling edges: Thin or aged paper curls when adhesive moisture hits only one side. A thin layer of diluted Mod Podge applied to the top surface of stubborn pages acts as a sealant and holds the edge flat.
For hot glue: faster, but wallpaper paste or Mod Podge produces a more permanent and seamless result, according to the Lemon8 creator. Hot glue also leaves harder ridges that may read through thin paper. Use it for quick panel tests; use paste for the final installation.
Step 5: Mount the kraft paper panels to the wall
For permanent installs: apply roll-on wallpaper adhesive to the wall surface, the method documented in the Apartment Therapy powder room project. Press the panel flat and smooth from the center to the edges. Butt panels edge-to-edge. Overlapping the kraft paper itself creates ridges that show through the page layer.
Panel shifts during mounting: If the panel moves before adhesive grabs, use two strips of painter's tape at the top edge to hold it temporarily while you smooth the lower portion. Peel the tape once the rest is secured.
Visible seams: Keep several pages aside specifically for seam coverage. After mounting, layer a page directly over each joint to bridge it. Plan for this step; it cannot be improvised well after the fact.
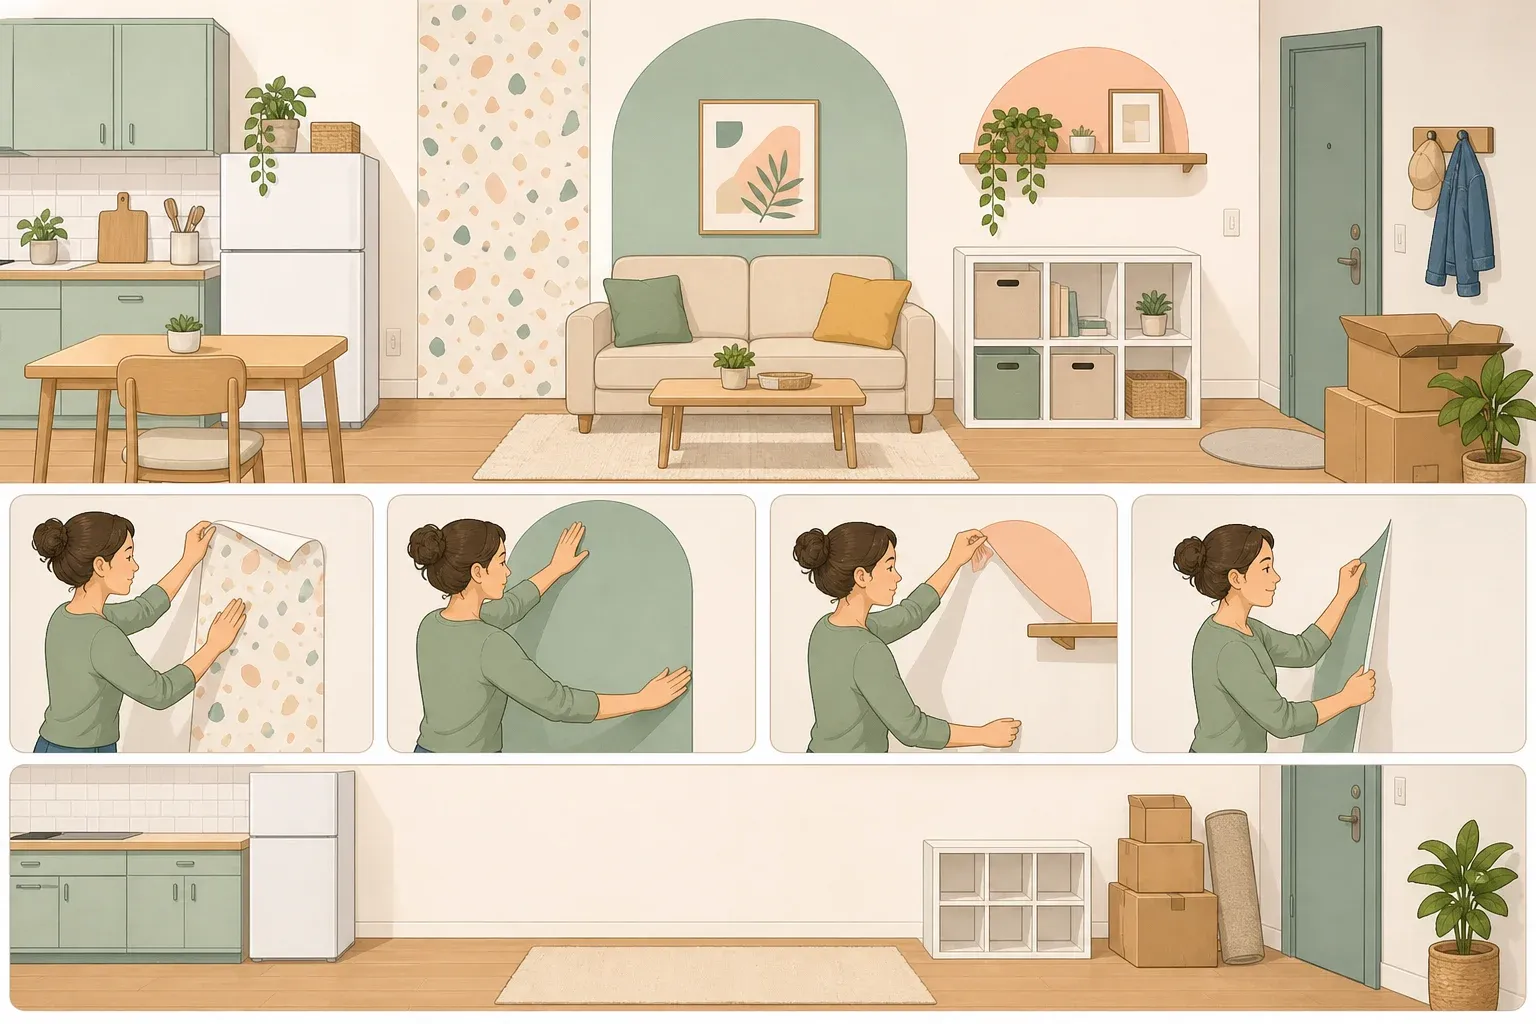
For renter-friendly installs: apply removable adhesive squares to the back of the panel at corners and along edges. Test the adhesive on an inconspicuous spot before committing, as the Lemon8 creator advises. For larger sections, the combined weight of pages and kraft paper may exceed what removable adhesives can hold reliably. Keep renter-friendly installs to accent panels rather than full walls.
Step 6: Fill negative space with fragments or hand-drawn elements
Any bare kraft paper showing through breaks the effect. Cut small page fragments and layer them into gaps. The other option: a fine brush with white acrylic paint, sketching simple shapes directly into negative space. The Lemon8 creator used exactly this approach, sketching a scrollwork column and a floral urn into the remaining gaps. Twenty minutes of painting reads as intentional design detail, not a workaround.
Step 7: Seal the finished surface
Apply one thin, even coat of matte Mod Podge or acrylic topcoat over the completed panels. This unifies surface sheen and reduces the chance of page edges lifting over time. It also provides some moisture resistance for powder-room applications. Skip it in a dry room if preferred; in any bathroom, it's worth including.
What the finished panel should look like: From across the room, one tonal range, no visible kraft paper, no isolated bright or dark pages pulling the eye. Up close, overlapping pages show slight dimensional variation at edges but lie flat overall. Panel seams are invisible, bridged by pages. The overall impression is of something arranged deliberately. That is the standard to reach.
Where to take this next
The budget works because the pages cost nothing. The DIYer behind the Apartment Therapy powder room project pulled her books from a disposal truck at no cost, with the $350 total renovation budget going mostly to floor tile. That salvage quality, the visible age and variation between pages, is what gives the treatment its character. No printer can replicate it.
Once the logic clicks on a single accent wall, it scales. A hallway works the same way, just with longer panels. A reading nook or recessed alcove is easier, since the boundaries do part of the compositional work.
The principles stay constant: palette first, base layer without exception, full dry-run layout before any adhesive. Framing individual illustrated pages or clustering them in themed groups, as the Lemon8 creator also suggests, is a lower-commitment entry point if a full wall feels like too large a first step.

















Comments
Be the first, drop a comment!