


Reviewed by: Y. Garcia
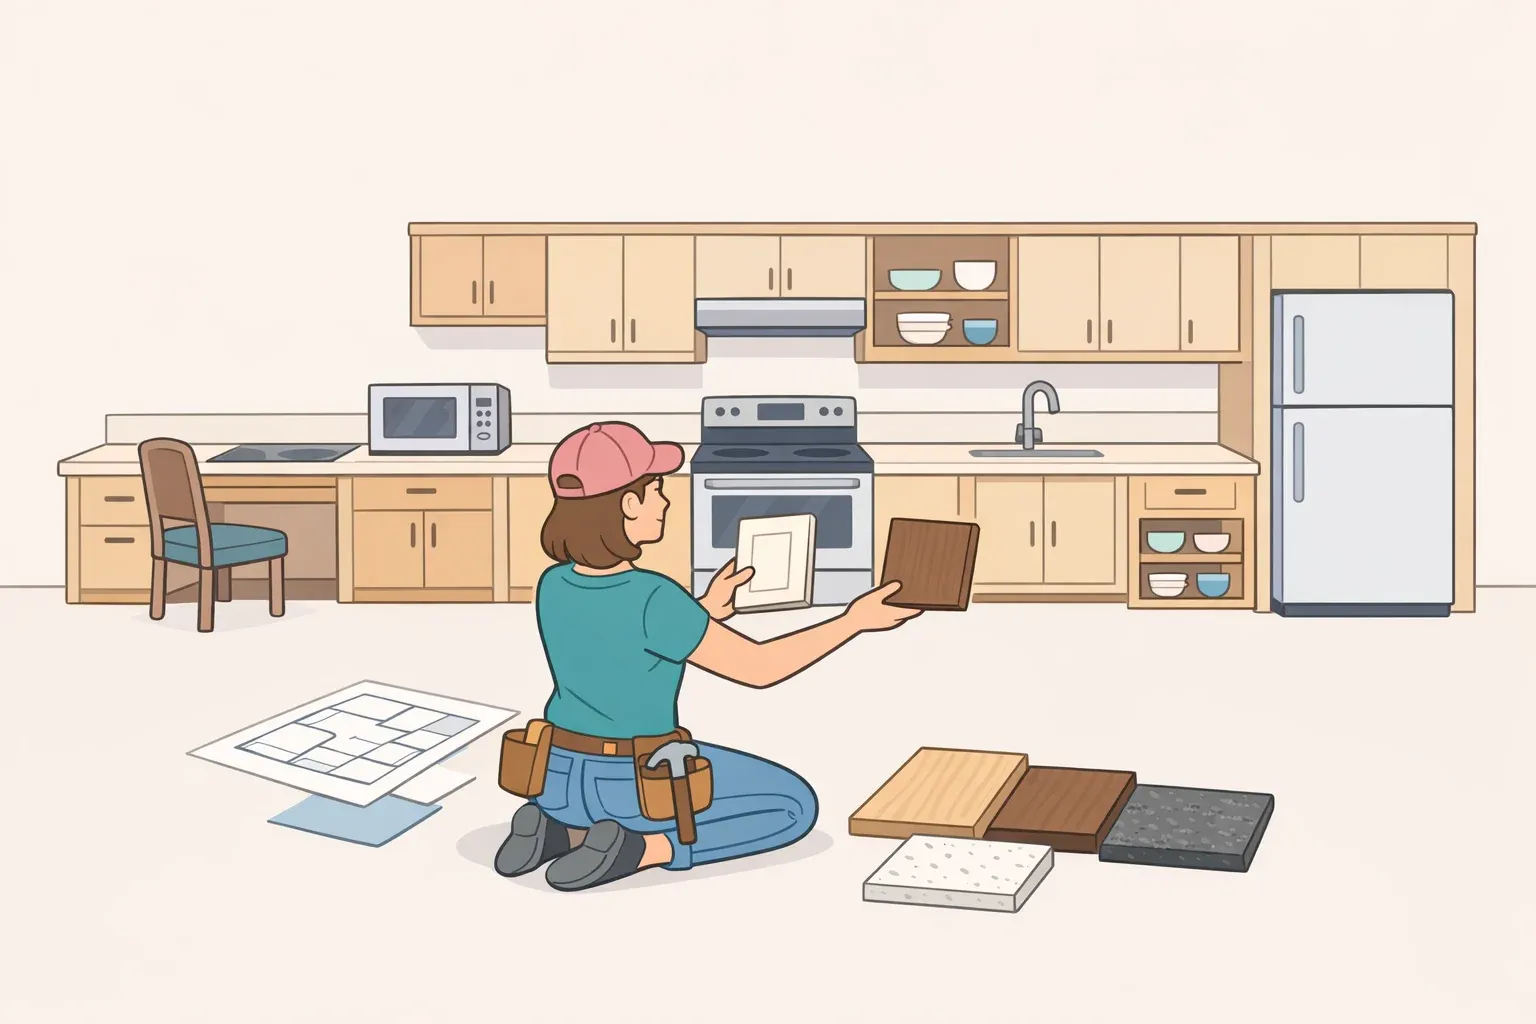
Anyone who's ever stared at their tired-looking kitchen and sighed knows the feeling. You want a fresh, updated space, but your budget says "dream on." Here's the thing though — you don't need to save up for years or take out a home equity loan to get that transformation you're craving.
I've discovered something at Walmart that's literally changing the DIY game for under $15, and it's so simple that people are calling it "the easiest DIY" project they've ever tackled. We're talking about peel-and-stick tiles that look so convincing, your neighbors will think you hired a professional contractor.
What You'll Need
Materials
1 package peel-and-stick tiles (search "peel stick subway tile 3x6" or "peel stick marble tiles")
Cleaning solution (dish soap and water works)
Lint-free cloths
Tools
Tape measure
Level (smartphone app works fine)
Craft knife or utility knife
Smoothing tool (credit card as backup)
Safety First
Ensure good ventilation when using cleaning products
Keep utility knife blade sharp for clean cuts — dull blades require more pressure and can slip
Adult supervision required when children are present during cutting steps
Why This Works So Well
The secret lies in how far peel-and-stick technology has advanced. Although sticky tile can seem like a tacky option, the modern styles and designs have come a long way, with varieties like faux subway tile and real stone. Today's products fool even experienced contractors with their realistic textures and professional-grade adhesives.
Peel-and-stick tiles measuring 3" x 6" make it easy to measure and create various design patterns, eliminating the complex calculations that intimidate many DIYers. The standardized sizing means you can create subway patterns, herringbone layouts, or classic straight runs without hiring a professional.
What makes these products kitchen-worthy is their engineering. These products are often marketed as water-resistant and easy to wipe clean; heat and moisture resistance vary by product, handling the splashes, steam, and temperature changes that destroy ordinary adhesive products. The modern adhesive chemistry creates waterproof seals while remaining removable when applied correctly.
Real success stories prove this method delivers lasting results. Some homeowners have used quality peel-and-stick flooring in checkerboard patterns with excellent results, with installations lasting years in high-traffic kitchens. The key advantage: peel-and-stick installations can be completed in just one day, meaning you can start your weekend project Saturday morning and enjoy the results by dinner.
The versatility factor extends beyond backsplashes. These design solutions can transform any smooth surface, including cabinet doors, tabletops, and even accent walls, letting you create a cohesive look throughout your space using the same affordable product.
Steps
Measure your target area and calculate how many tiles you'll need.
Tip: Buy 10% extra tiles to account for cuts and future repairs.
Clean the surface thoroughly with dish soap solution and let dry completely.
If surface feels rough: Sand lightly and wipe clean — adhesion depends on smooth, clean surfaces.
Find your center point by measuring the area and marking the middle of both dimensions.
Mark your starting line with a level to ensure straight installation.
Peel backing and position carefully — you get one shot at placement with most products.
If bubbles appear: Work them out immediately with your smoothing tool, moving from center outward.
Press firmly along all edges and use your smoothing tool to ensure complete adhesion.
For corners and edges: Score with your utility knife and snap for clean breaks.
Why it works: The adhesive bonds create a waterproof seal that protects underlying surfaces while providing the visual impact of expensive materials at a fraction of the cost.
Cleanup & Disposal
Store leftover tiles in a cool, dry place for future touch-ups
Dispose of backing paper in regular trash
Clean tools with warm soapy water immediately after use
Troubleshooting
Problem: Tiles won't stick properly → Fix: Surface wasn't clean enough — remove tile, clean again with degreasing agent, and reinstall
Problem: Visible gaps between tiles → Fix: Remove and reinstall, ensuring tiles butt tightly together during initial placement
Problem: Crooked installation → Fix: Use a level frequently and adjust as you go — it's harder to fix after multiple tiles are down
Problem: Corners lifting over time → Fix: Apply gentle heat with hair dryer to reactivate adhesive and press firmly
Variations & Upgrades
Budget option: Focus on high-impact areas like backsplashes rather than entire surfaces
Renter-friendly: Choose products specifically labeled as removable for easy restoration
Design upgrade: Mix patterns or create accent strips with contrasting colors
What Makes This the "Easiest DIY"
The simplicity comes down to three factors: no special tools required, forgiving installation process, and instant results. Unlike traditional tile work that requires extensive preparation, peel-and-stick options eliminate the need for grout, special adhesives, or drying time. You're literally peeling, sticking, and smoothing — skills anyone can master in minutes.
Quality products can last several years with proper installation, making this a legitimate long-term solution rather than just a temporary fix. The durability comes from improved adhesive formulations that maintain their bond while handling kitchen moisture and heat.
The $11 price point makes this accessible to virtually any budget, while the professional appearance means you won't sacrifice style for affordability. Whether you're updating a rental kitchen or testing design ideas before committing to permanent changes, this approach delivers maximum impact with minimal investment and effort — proving that the best DIY solutions are often the simplest ones.


Comments
Be the first, drop a comment!