



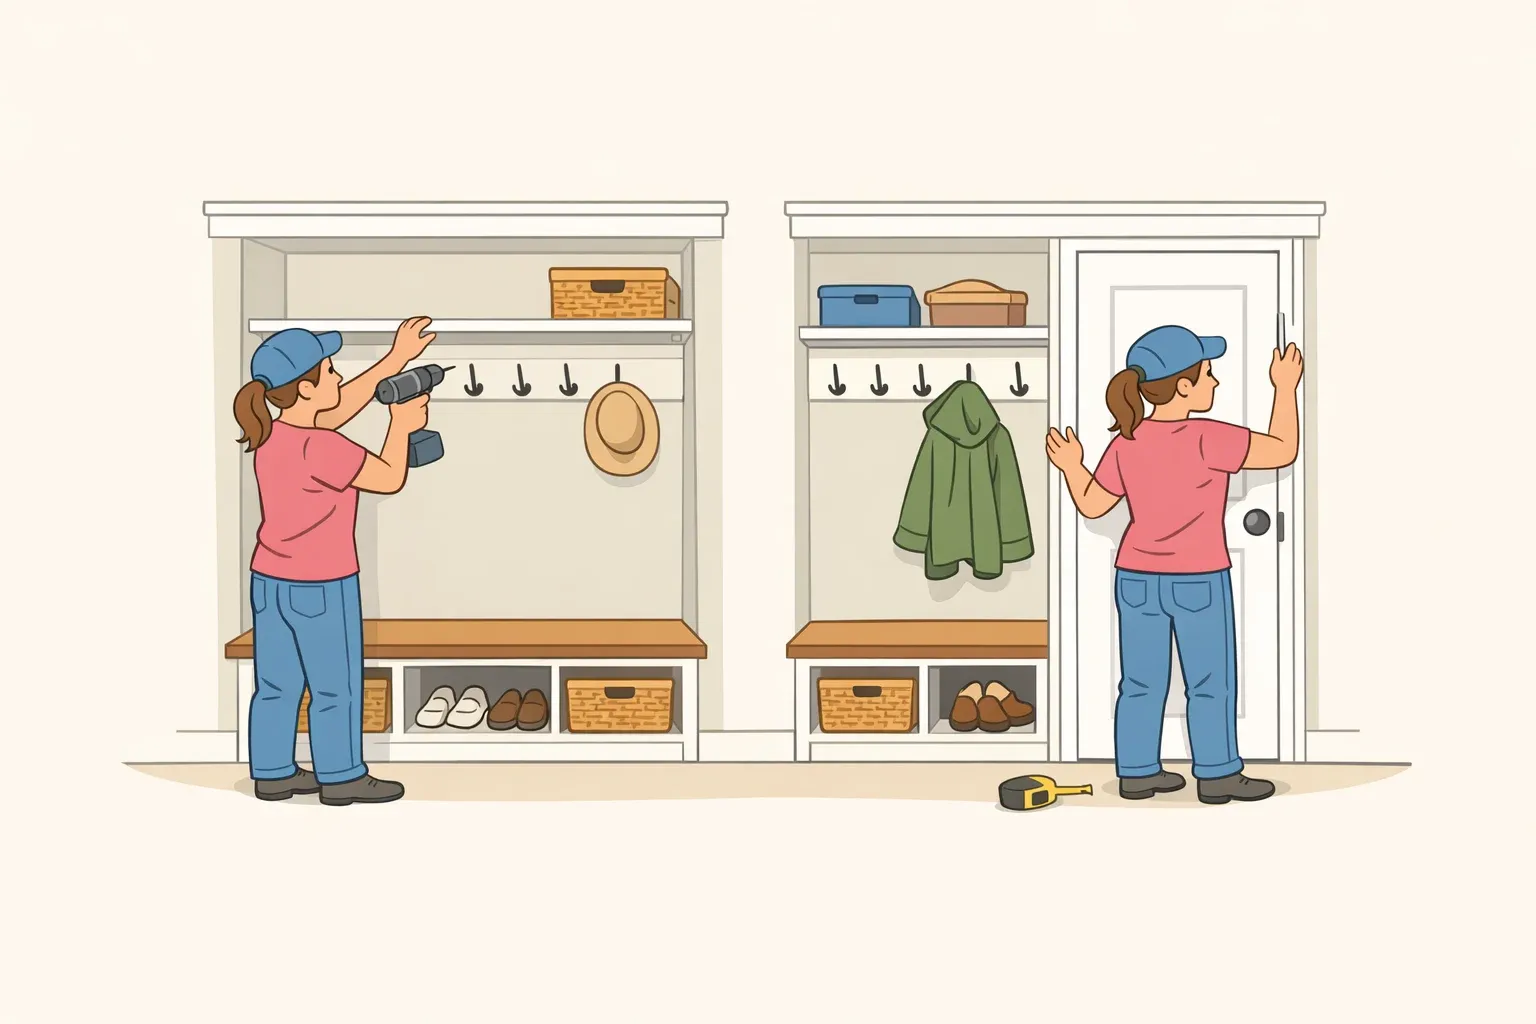
The hallway closet is one of those spaces that builders install, and homeowners tolerate. A rod, two shelves, a door that swings into traffic. This guide covers the two approaches that actually fix it: opening the closet up as a mudroom-style alcove, or concealing it behind a built-in panel that reads as furniture. By the end, you'll know which path fits your situation, what each one costs and requires, and where each tends to fail.
One hard prerequisite: neither approach works for renters. Both involve wall anchoring, door removal, or structural modification. Ghalia's project was explicitly flagged as non-rental-friendly by Apartment Therapy. Stop here if you don't own.
When a DIY closet to mudroom makeover isn't the right fix
Before choosing a path, check whether this project makes sense for your space at all. Three of the four documented examples ran into constraints that shaped or nearly derailed their builds.
Non-flat floors or awkward interior geometry. Miriam's closet had rickety stairs leading directly into a wall where the floor should have been. That single constraint ruled out every standard shelving solution and forced a much more complex build. A flat, level floor is the minimum condition for either approach to work cleanly.
Narrow hallways where open storage creates chaos. An open alcove works by putting everything in view. If the hallway is already tight, that visibility becomes visual noise rather than functional access. The open path requires enough width that the alcove reads as a designated zone, not an overflow spill.
Renter constraints. Both conversions require permanent modifications. There is no reversible version of this project. Apartment Therapy noted Ghalia's project was explicitly not rental-friendly.
Limited tools, skill, or time. Kristine classified her bench build as intermediate difficulty and noted that hand tools alone make it a substantially larger undertaking. Miriam's concealed built-in took two months of mostly weekend work, with delays from wallpaper delivery and design decisions that couldn't be rushed. If the project needs to be done in under two weeks, neither path is realistic.
Step 1: Assess your closet before spending anything
Start with the floor. A flat, level surface is a genuine prerequisite. Miriam's unusable closet came down to exactly that problem. Measure the opening width and write it down before looking at any storage units. In the $215 open-alcove conversion, an IKEA KALLAX happened to fit the closet width almost exactly, a coincidence that kept the whole project cleaner and cheaper. That kind of fit is not something to assume. Buying a unit that's two inches too wide is an expensive mistake.
Then think through what the household actually needs: coat hooks, a bench for putting on shoes, closed storage for bags, a visible drop zone for daily items. Kristine's approach, dividing her entryway wall into five equal sections with one per family member, came directly from mapping that specific requirement before she picked up a saw. A family of five has different requirements than a household of two, and the design should account for that from the start.
Step 2: Choose your path what the door decision actually decides
Open the space or conceal it. That single choice drives the budget, the skill requirements, and the design result.
Open alcove path: Remove the existing doors and build inward with a bench, hooks, and cubbies that stay visible and immediately accessible. Door removal was the move that made the entire $215 makeover possible. The DIYer recognized her lifestyle called for an open mudroom-style entry rather than an enclosed closet. This path suits households that need grab-and-go daily access and want to minimize friction at the door. Open examples in the documented projects ran from $215 to about $600. Skill level: intermediate to DIY, depending on build complexity. Timeline: a weekend to three weeks.
Concealed built-in path: Replace the existing door with a panel that reads as furniture when closed. Miriam's version used PVC boards and plywood to construct an arched door that, when shut, looked like a floor-to-ceiling built-in with lower cabinets and upper shelving inspired by a hidden door at a winery that opened onto a private dining room. The finished closet became a hallway centerpiece. This path suits spaces where visible storage would feel cluttered, or where the hallway needs a design statement more than a drop zone. Materials cost approximately $400, plus significant sweat equity and, ideally, a collaborator with construction experience. Skill level: advanced. Timeline: two months.
Use this to make the call:
Open alcove
Best if: Daily access is the priority
Visual clutter is a concern: ✗
Power tools available: ✓
Construction experience: Optional
Budget under $400: ✓
Timeline under 3 weeks: ✓
Concealed built-in
Best if: Visual clutter is a concern
Daily access is the priority: ✗
Power tools available: ✓ (required)
Construction experience: Strongly recommended
Budget under $400: Tight
Timeline under 3 weeks: ✗
Step 3: Build the open alcove an IKEA KALLAX mudroom hack, step by step
What you'll need: Stud finder, drill, level, measuring tape, circular saw, sandpaper, primer, paint, IKEA KALLAX (sized to your opening), solid wood or butcher block for bench top, polyurethane or oil finish, hooks, baskets, L-bracket or anti-tip strap.
Step 1: Remove the doors. Take down the existing closet doors and fill any hinge or hardware holes with spackle. Sand flush and paint to match the surrounding wall before building anything. This step costs almost nothing and immediately changes how the space reads.
Step 2: Confirm KALLAX dimensions against your opening. Measure your opening width, account for any trim or side filler strips, and verify fit before purchasing. The $215 budget open entryway makeover worked partly because the KALLAX happened to be the right width for that particular closet. Don't count on that luck. Check current IKEA product dimensions against your measurements before ordering.
Step 3: Paint the KALLAX before assembly. Disassemble the flat-pack panels and apply a coat of primer, then two coats of your chosen color. Painting before assembly gets cleaner coverage in the corners. Deep, saturated colors make the unit read as built-in rather than furniture.
Step 4: Cut and finish the bench top. Cut a solid wood or butcher block piece to the width of your closet opening to sit across the top of the KALLAX as a bench seat. Sand all edges smooth, then apply two coats of polyurethane or oil finish. This surface will take daily contact with shoes, bags, and people sitting on it.
Step 5: Anchor the KALLAX to wall studs. Use an L-bracket or anti-tip strap rated for the unit's loaded weight. This is a safety step, not optional. A fully loaded unit in a high-traffic hallway that isn't secured is a tipping hazard.
Step 6: Mount hooks at the right height. Use painter's tape to mark the proposed hook height on the wall before drilling. Ghalia's one documented regret was mounting her bench, shelf, and hooks 2 inches higher than she should have after adding a cushion; the effective seating height made the hooks feel slightly out of reach. Test the ergonomics with tape first.
Step 7: Add baskets and test the system. Fill the cubbies with baskets sized to fit, assign storage by person or category, and live with it for a week before declaring it finished. A late 2024 study of 50 Seoul households found that initial satisfaction from an organizational intervention declined over time without ongoing support to maintain it, per the Journal of the Korean Housing Association. That study focused on accumulation households specifically, but the underlying principle is broadly applicable: build for what you'll actually do, not what you intend to do.
Budget reality check: The $215 total in the published project relied on leftover paint and stain, Apartment Therapy noted. Buying everything new, KALLAX, primer, paint, bench top material, finish, hooks, baskets, and hardware will push the number higher. Treat $215 as a floor, not a ceiling.
Case study: The concealed built-in
Miriam's project is the most visually striking of the documented examples and also the most demanding. She identified the planning phase as the hardest part, used SketchUp to develop 3D renderings before purchasing materials, and relied on her husband's engineering and construction background to translate those drawings into a buildable structure. That expertise needs to be present before the first cut.
The door itself is the build. PVC boards form the curved arch at the top; plywood forms the main panel body, including shelves, cabinet faces, and back. Curved molding frames the arch face. The brass hinges anchor into wall studs, not drywall. The finished door carries real weight, and drywall anchors will not hold it long-term.
Visual coherence is what sells the illusion. Miriam painted every surface, door, shelf, and interior in the same Benjamin Moore Nantucket Gray. Matching the door to the adjacent walls made the closed panel nearly invisible from a distance. The interior striped wallpaper, visible only when the door swings open, is what pushes the finished result from good storage to something worth noticing.
The $400 materials cost is accurate, but two months of mostly weekend work come with it. Most of that time is not construction; it's waiting on wallpaper delivery and working through design decisions that can't be rushed. Don't start this project with a hard deadline attached.
Three things the documented examples agree on
The door is the decision. Miriam said it plainly: "The door itself made a huge impact in the look and feel of the hallway." Every other choice, bench height, paint color, and basket size follows from whether you open the space or conceal it.
Do all the math before cutting anything. Ghalia's advice from her $600 open-entryway closet conversion: work out every measurement on paper first, make paper templates for tricky angles, and use painter's tape to mock up shelf and bench heights on the wall before committing. It saves the cost and frustration of cutting something that doesn't fit.
Match the system to real habits. An open alcove you use every day is worth more than a beautiful concealed built-in you gradually stop opening. The Seoul study found that organized spaces lost their functional benefit over time when the habits to maintain them weren't there, per the Journal of the Korean Housing Association. Storage that fits how a household actually moves through the door will outlast storage designed for how they'd like to.
Next step: Measure your closet opening width now and check it against current IKEA KALLAX product dimensions. That number tells you whether the most accessible path is open to you and if it isn't, it tells you what structural decisions come next.



















Comments
Be the first, drop a comment!