



How to decorate your home with things you already have
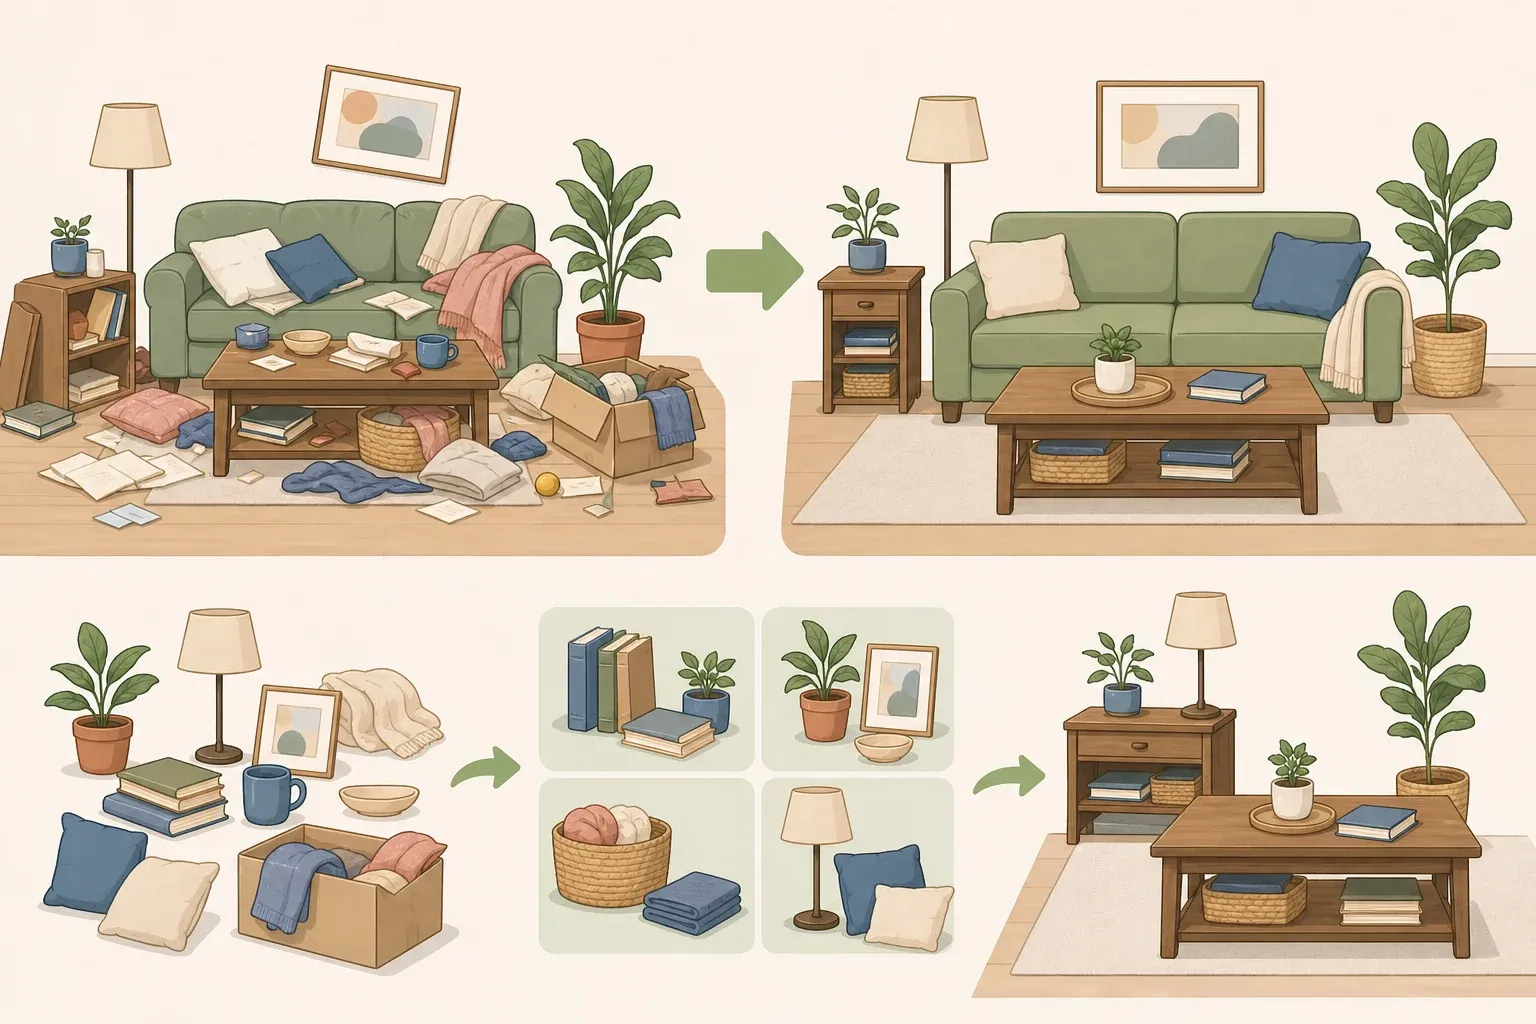
Learning how to decorate your home with things you already have starts with a simple shift: stop rearranging the same five accessories and actually look at everything else sitting in your closets, basement, and drawers. This guide walks through 12 sequential, no-purchase steps that use furniture, textiles, books, and personal objects already in the house to refresh a room, no shopping trip required.
One trick worth borrowing from interior designers: clear every flat surface in a room, coffee tables, consoles, nightstands, bookshelves, mantels, and group everything in one neutral spot, like a dining table, before deciding what goes back. Once an object is out of its usual spot, it stops reading as fixed furniture and starts looking like something you get to choose again. That's the whole method behind these free home decorating ideas: nothing gets bought, things just get seen differently.
There's a practical upside too. Good Housekeeping points out that decorating with what you already own is both cost-free and inherently personal, since no one else has the same collection of objects you do. That means decorating your house without buying anything ends up looking more like you, not less.
This project is beginner-friendly. No tools, hardware, or purchases are involved, and every step below draws from a closet, drawer, basement, or shelf already in the house. One thing this guide skips: wall-mounted or adhesive hanging methods, since those typically mean buying hooks or strips. It closes instead with a free way to display art by leaning it, with a stability check attached.
What you'll need before you start
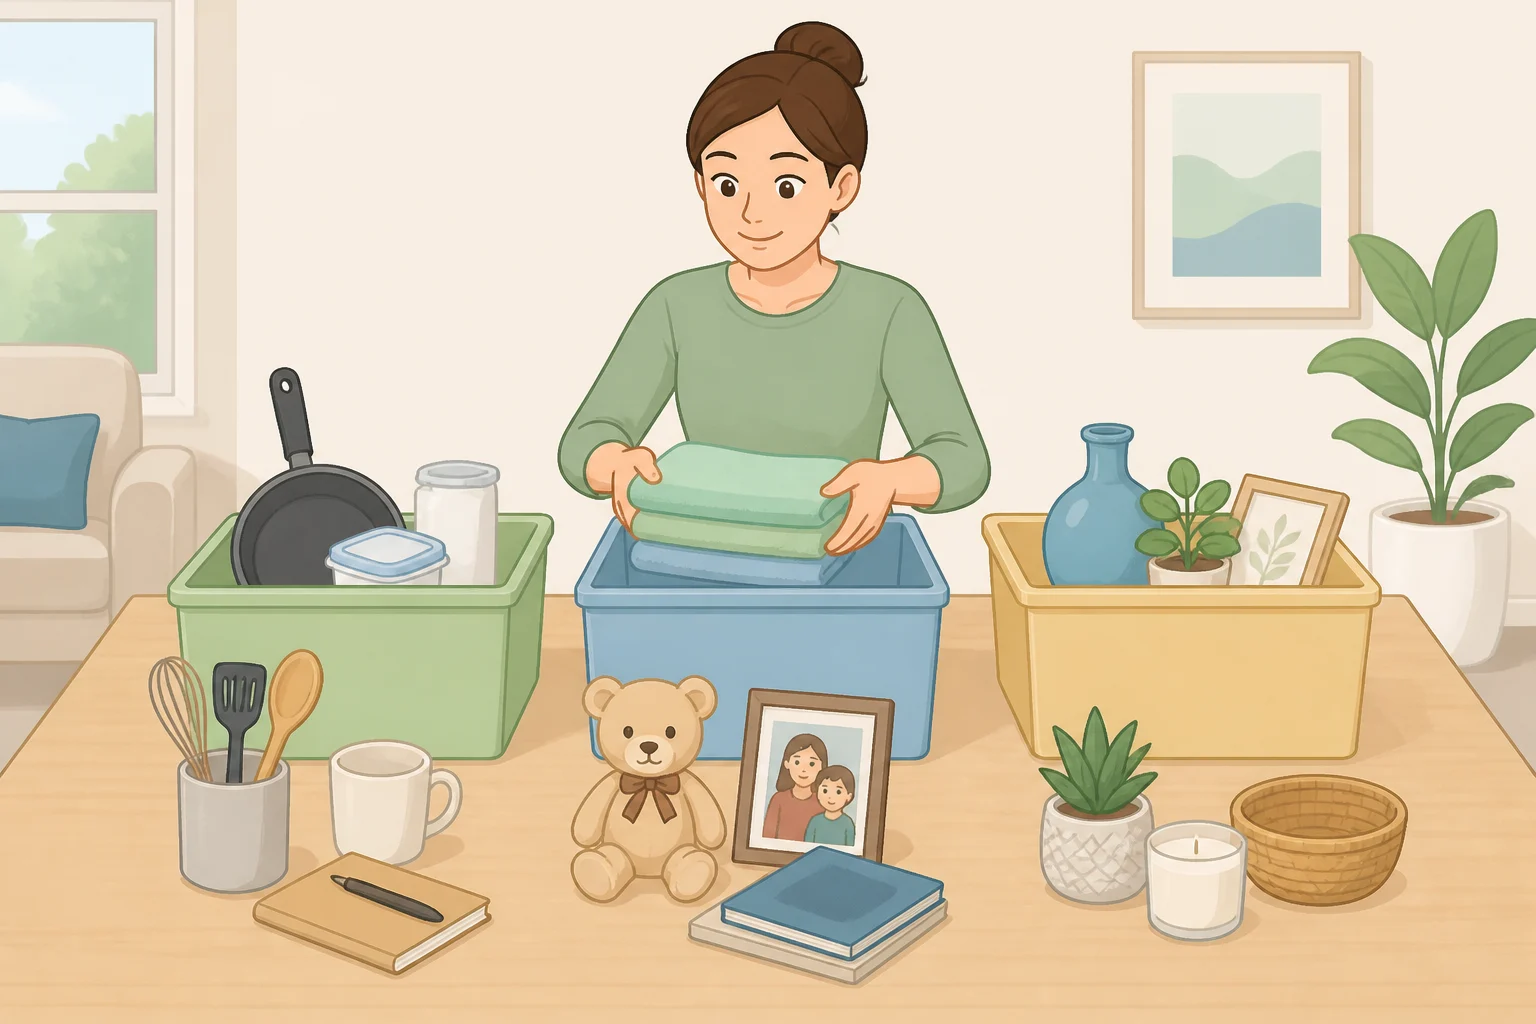
Nothing on this list costs money. Set aside one to two hours and pick a single room to focus on first; trying to tackle the whole house at once is how projects stall out halfway through. This is the gather-first stage of using what you have to decorate your home, and it pays off in every step that follows.
- One room to start with (living room, bedroom, or entryway all work)
- Access to the home's own storage: closets, basements, attics, under-bed space, junk drawers
- A clear, flat surface nearby, such as a dining table, to use as a staging area
- One to two hours of uninterrupted time
Basements, attics, and closets tend to hide forgotten accessories and collectibles worth pulling back out for styling, so don't skip the back of a shelf just because it's inconvenient to reach. As you gather, sort items into three rough piles: functional (trays, bowls, baskets), meaningful (heirlooms, hobby items, photos), and decorative (books, art, textiles). Sorting first isn't a strict rule, just a habit that makes the later styling steps faster and keeps the reset from turning into a bigger mess.
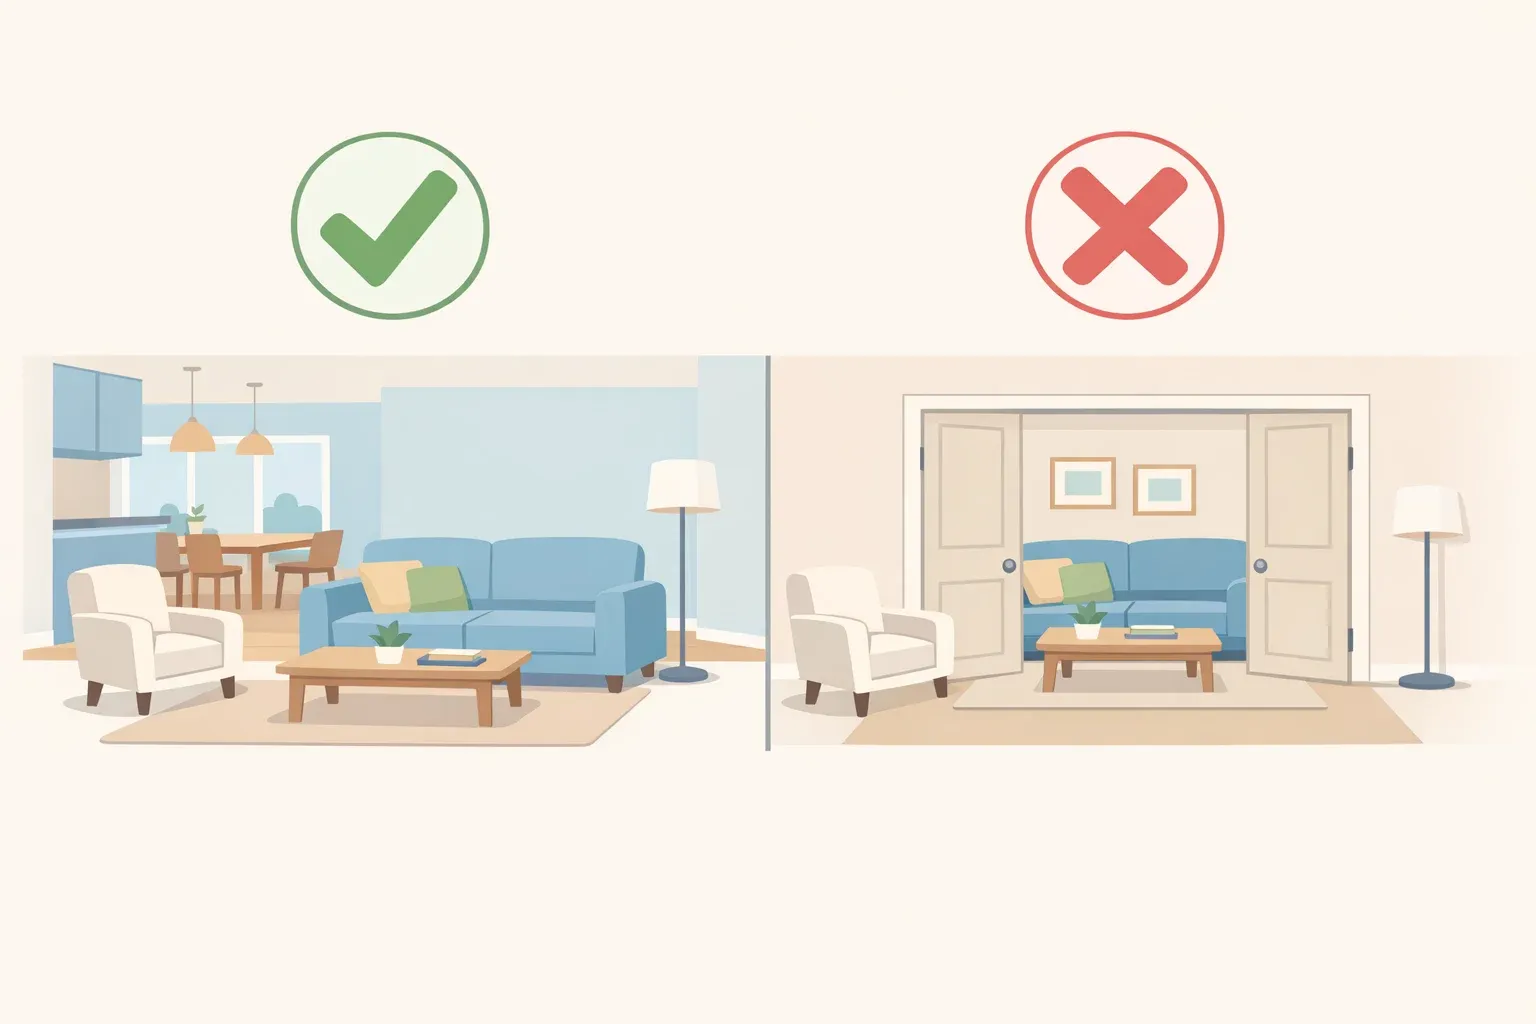
Before moving anything heavy, confirm it will physically fit the new spot, won't block a doorway or walking path, and will sit stably on the new surface or floor. Skip that check and a relocated chair or table turns into a new problem instead of solving the old one.
How to decorate your home with things you already have: start with one room
These first four steps cost nothing and don't require any design background. They're the foundation the rest of the guide builds on.
-
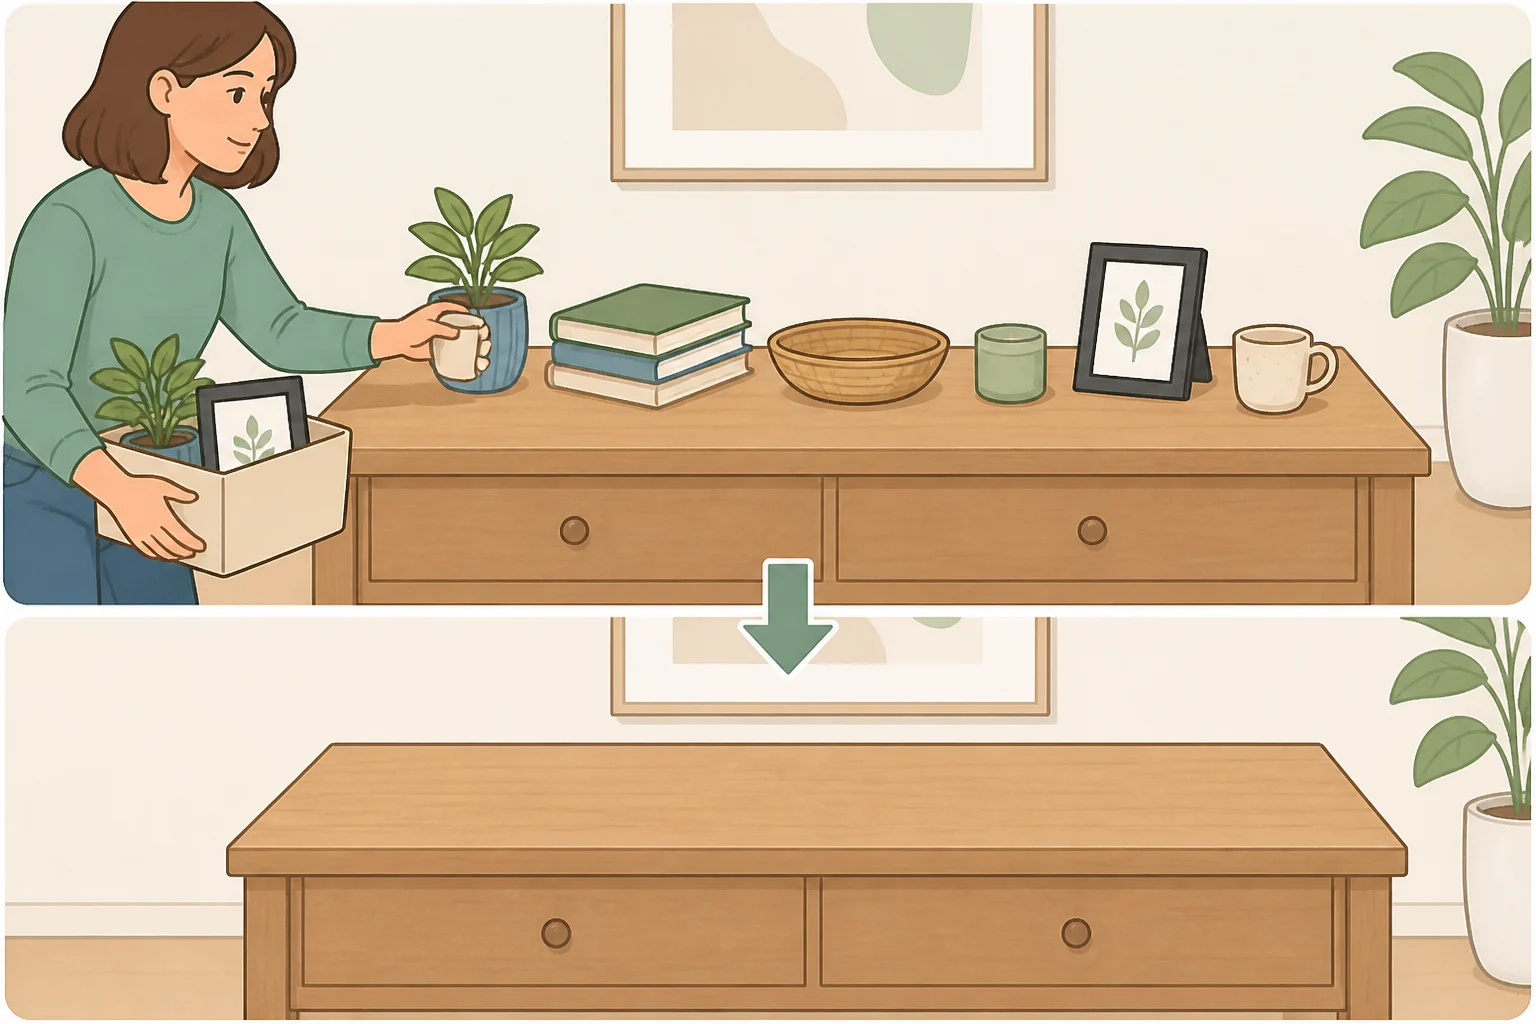
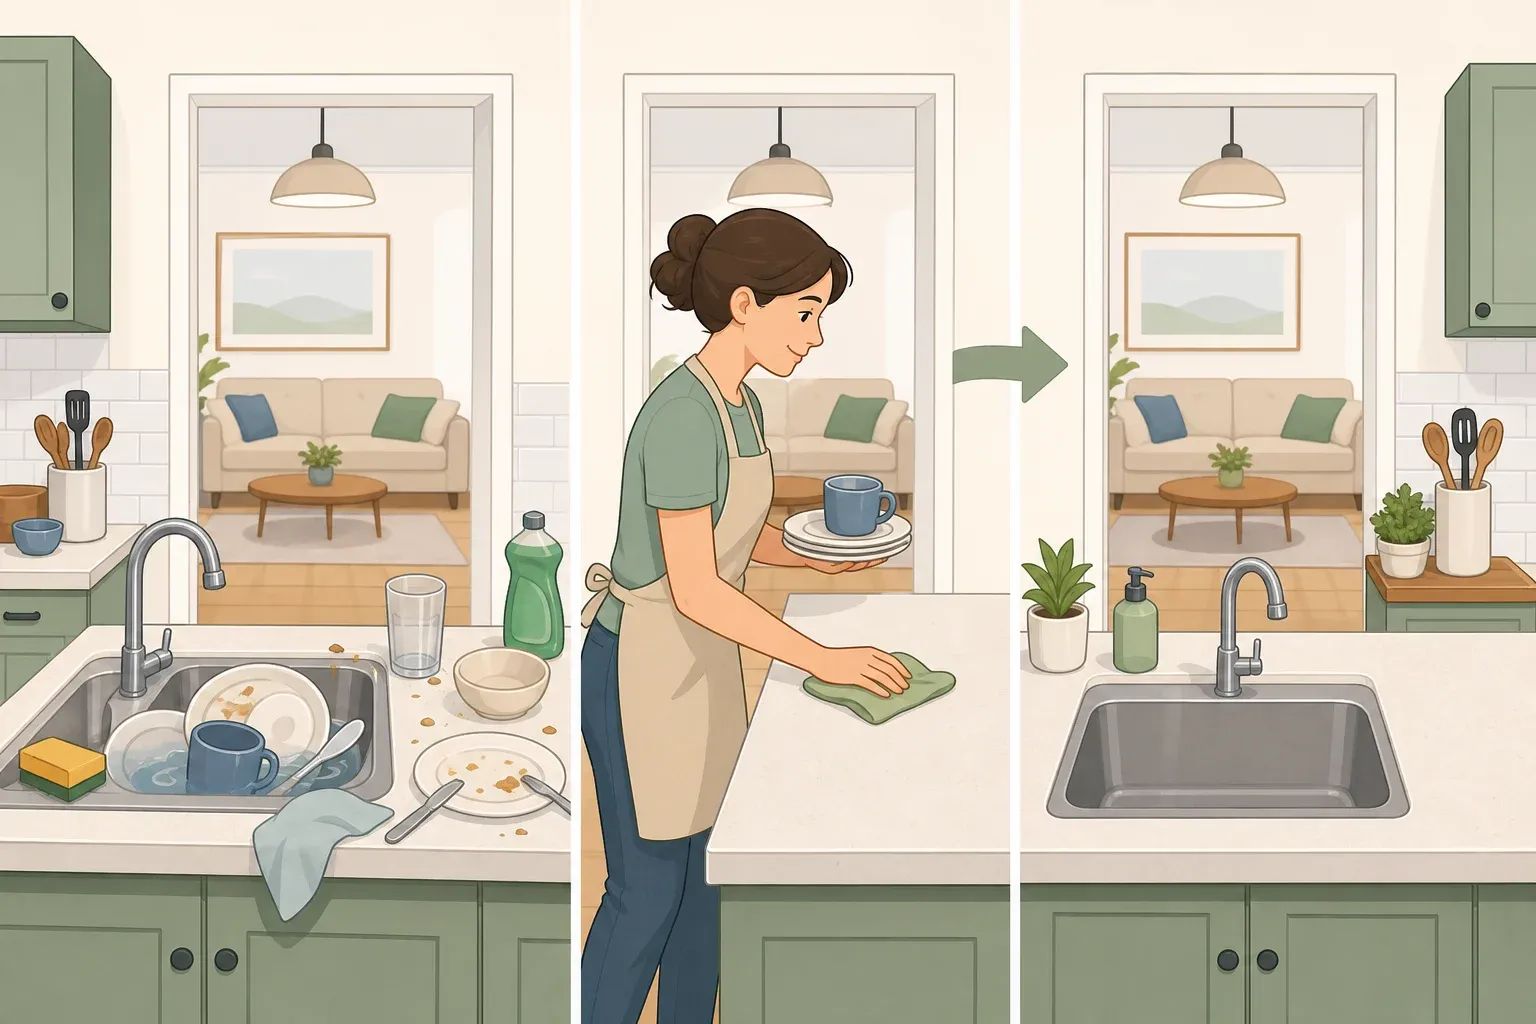
Clear and reset one surface. Pick a coffee table, console, bookshelf, or mantel and remove every object from it, setting everything down together in one neutral spot like a dining table. Once those objects are out of their usual spots, you stop seeing them as fixed and start noticing which pieces actually look good next to each other. The surface should be completely bare before moving to step 5.
-
Shop your own storage. Pull a handful of forgotten items, somewhere around three to five is a reasonable starting point, from a closet, basement, or attic, and add them to the neutral-zone pile from step 1. Look for things you packed away because they didn't fit an old arrangement, not because you stopped liking them.
-
Move one piece of furniture to a different room, if it's safe to do so. A side chair from the living room can move into a bedroom or home office and read completely differently once it's surrounded by new context. Leave heavy, bulky, or unstable pieces where they are unless you have help moving them safely. Whatever you do move, make sure it doesn't end up blocking a door, vent, or the main path through a room; run the readiness check from the setup section before committing.
-
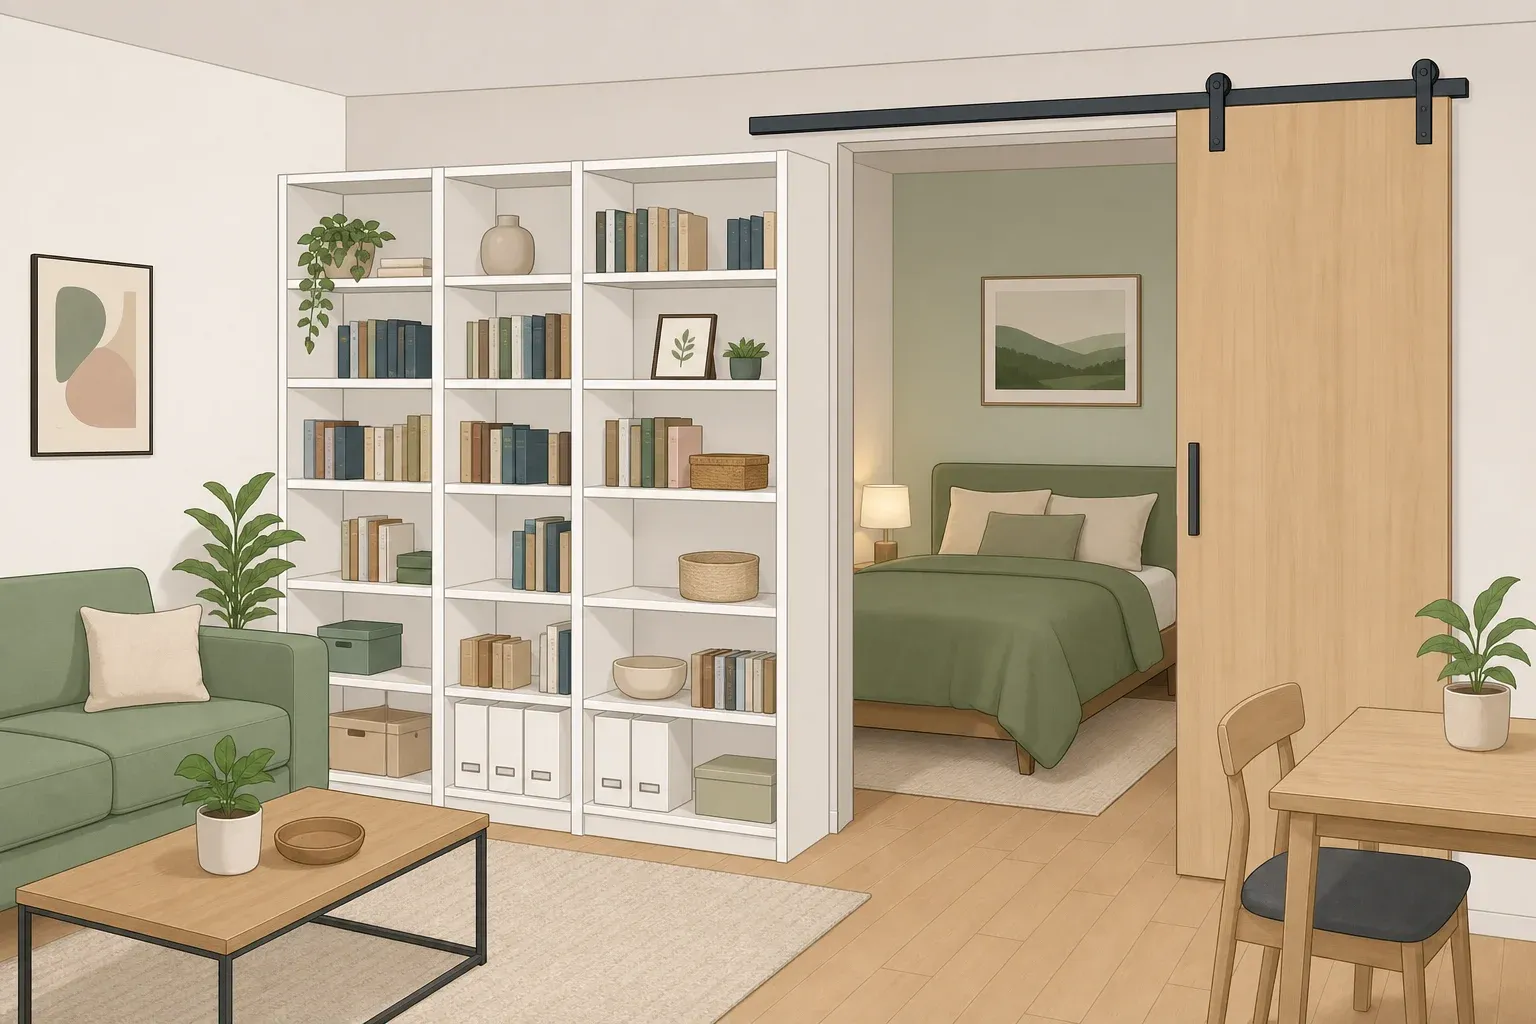
Rearrange the seating layout within one room. Shifting chairs or turning a sofa to face a different direction changes how a room reads without relocating anything to a new space. Walk the room's main path afterward. If it's clear and the seating faces a natural focal point, like a window, fireplace, or TV, the new layout is working.
Style your gathered objects like a designer
With a pile of objects staged and one room's furniture settled, the next two steps turn that pile into something that looks chosen rather than just moved.
-
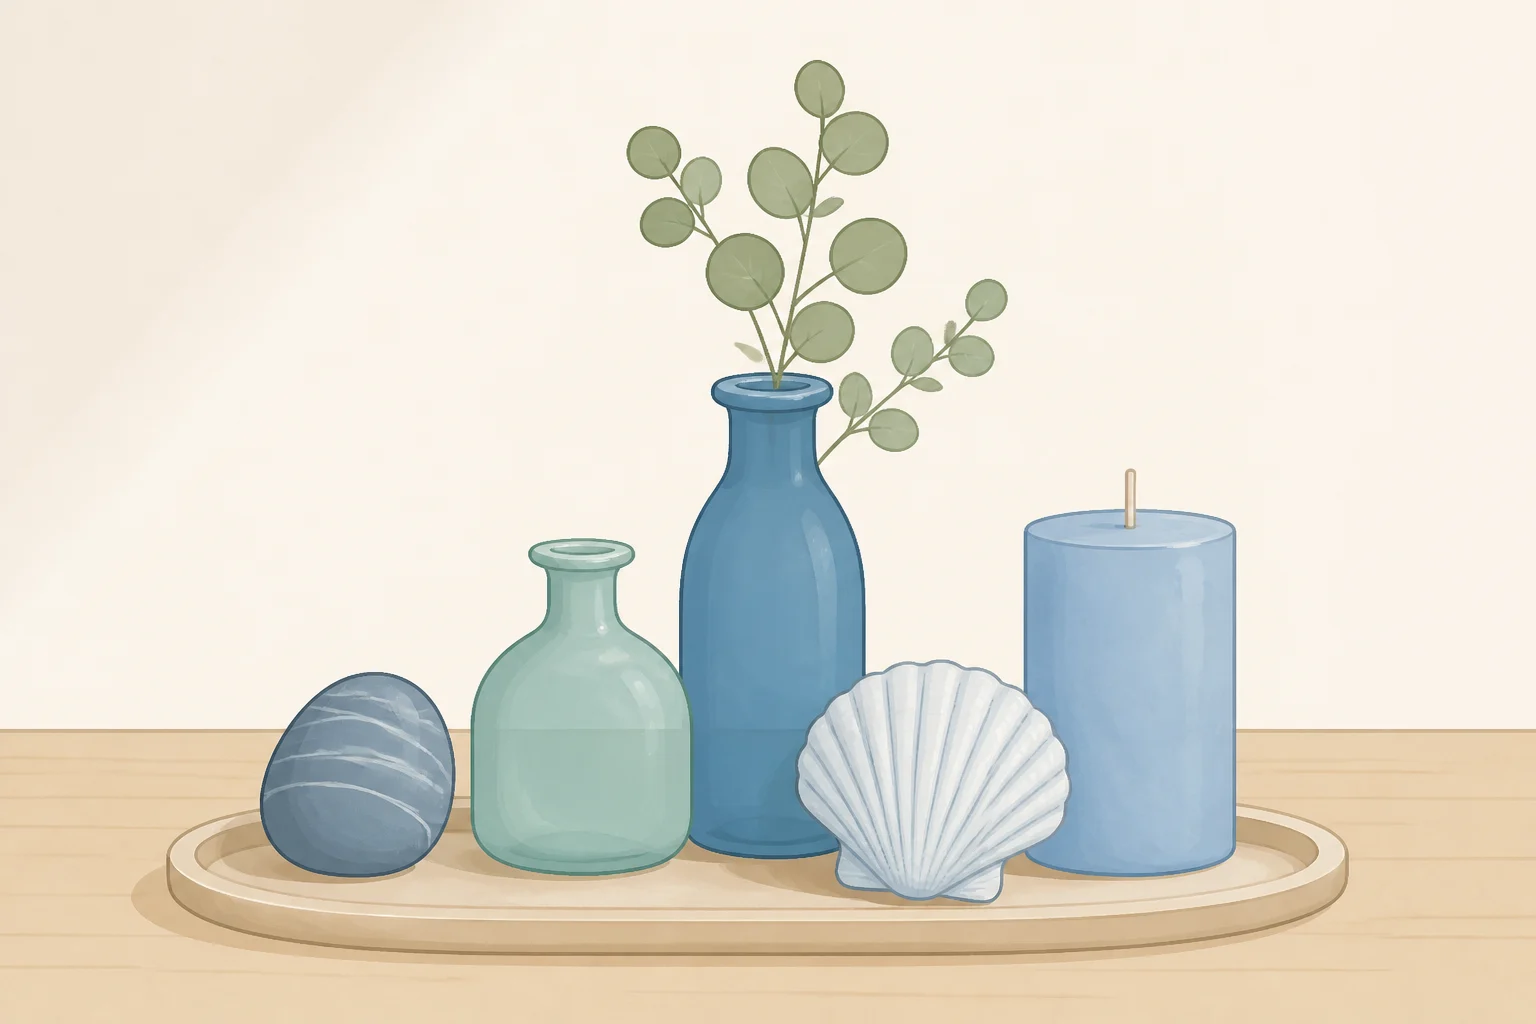
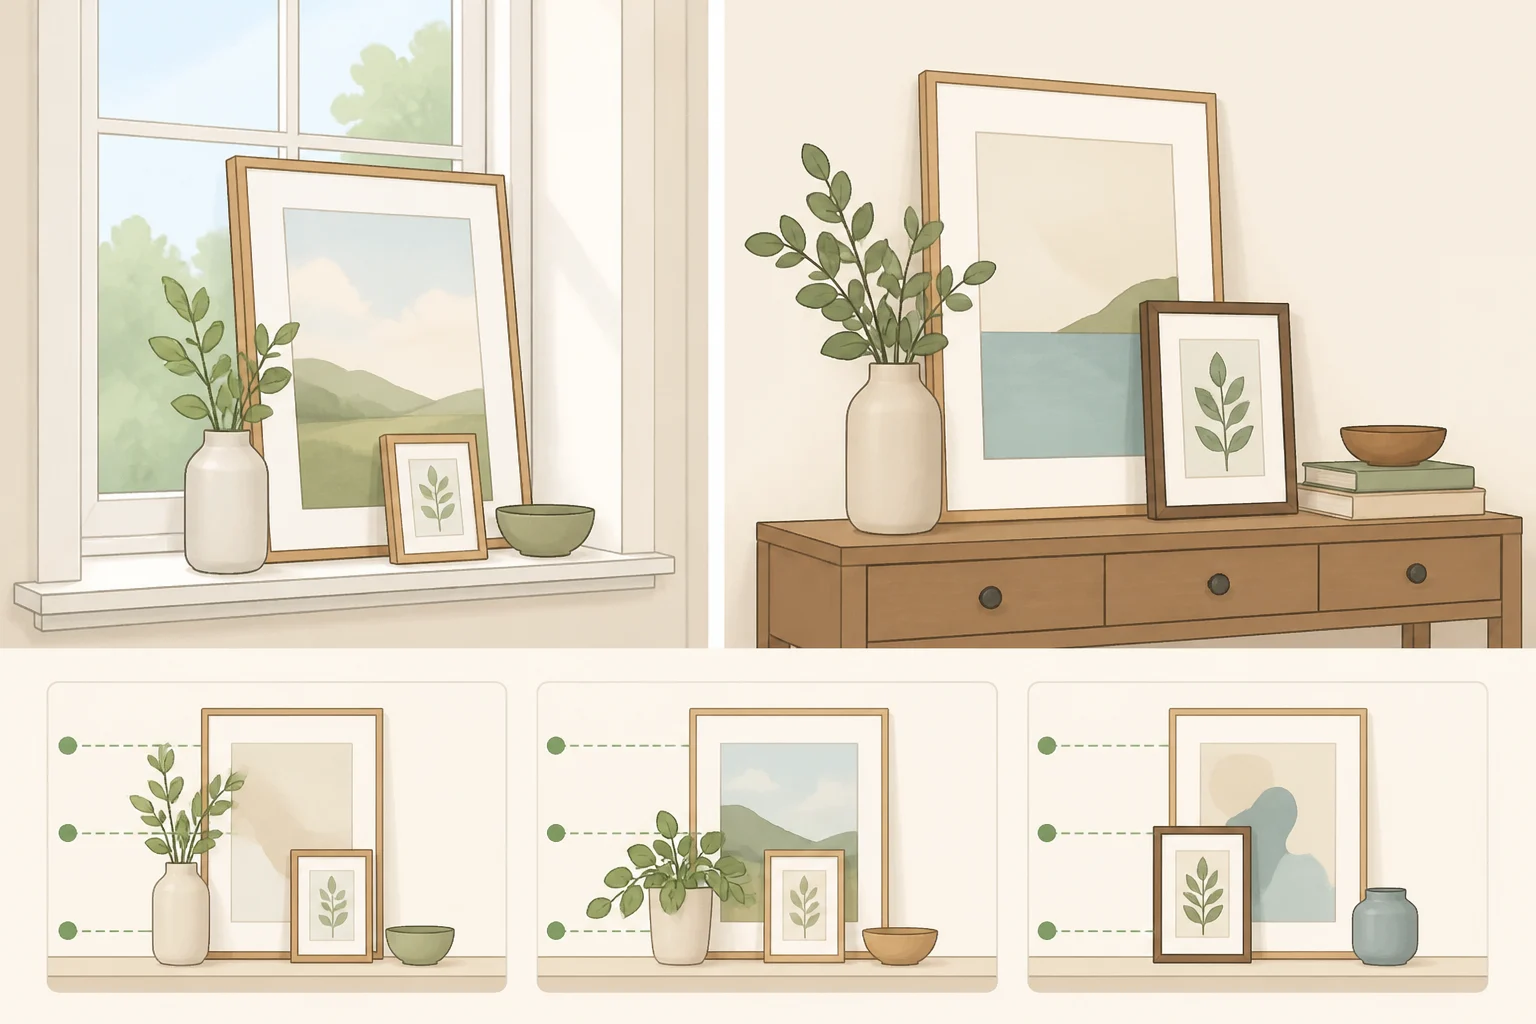
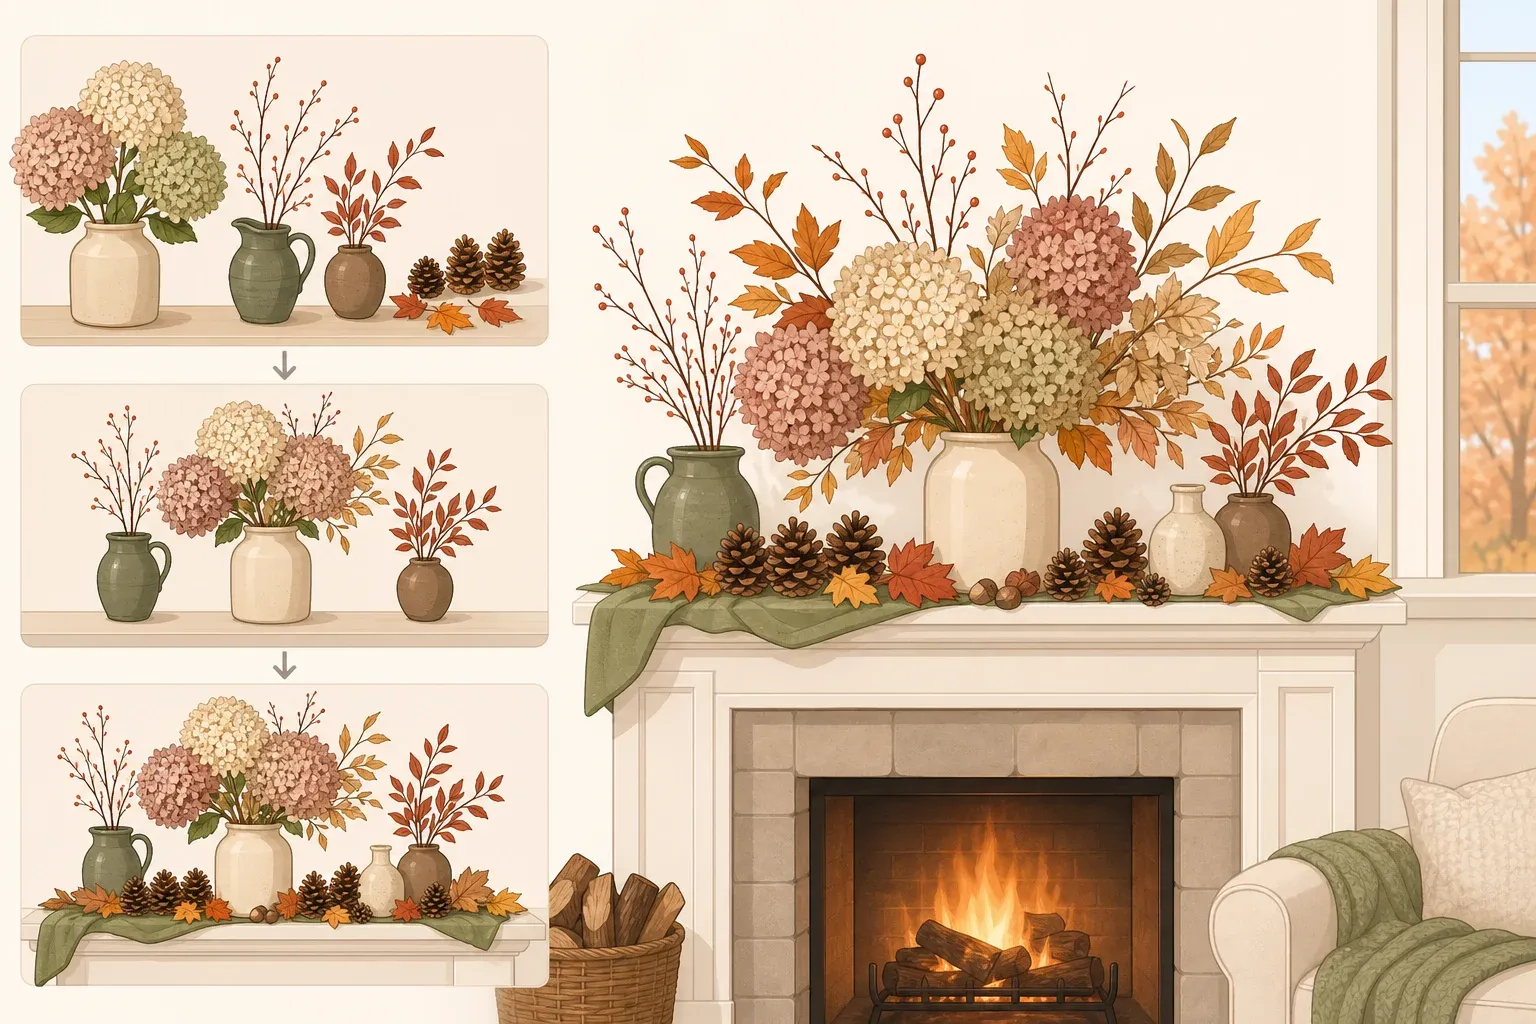
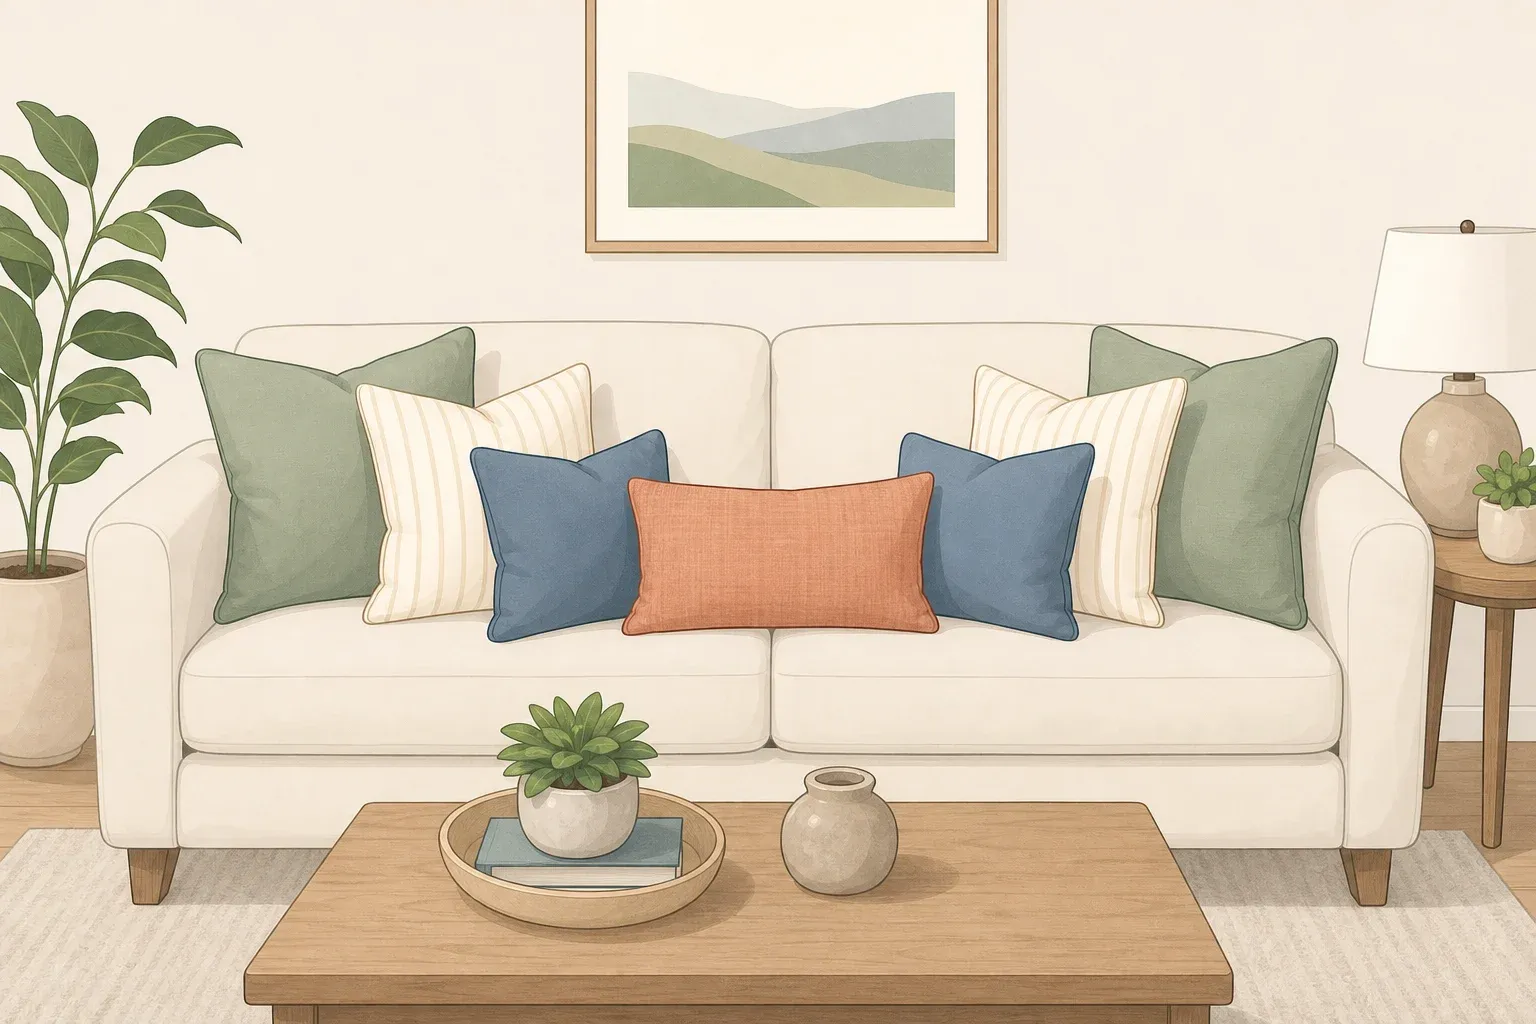
Build a height-varied, color-grouped vignette. Using the objects pulled in steps 1 and 2, arrange them so tall pieces sit next to short ones and big pieces next to small ones. Architectural Digest notes that varying height and scale creates movement and draws the eye around a space, instead of leaving a flat line of same-size objects. Try grouping pieces in odd numbers, threes work well, since odd-numbered groupings read as more modern and visually interesting than even ones. Cluster similar colors together, and leave visible empty space around the grouping; that negative space is part of the design, not a gap that needs filling. If every inch of the surface is covered, remove one item.
-
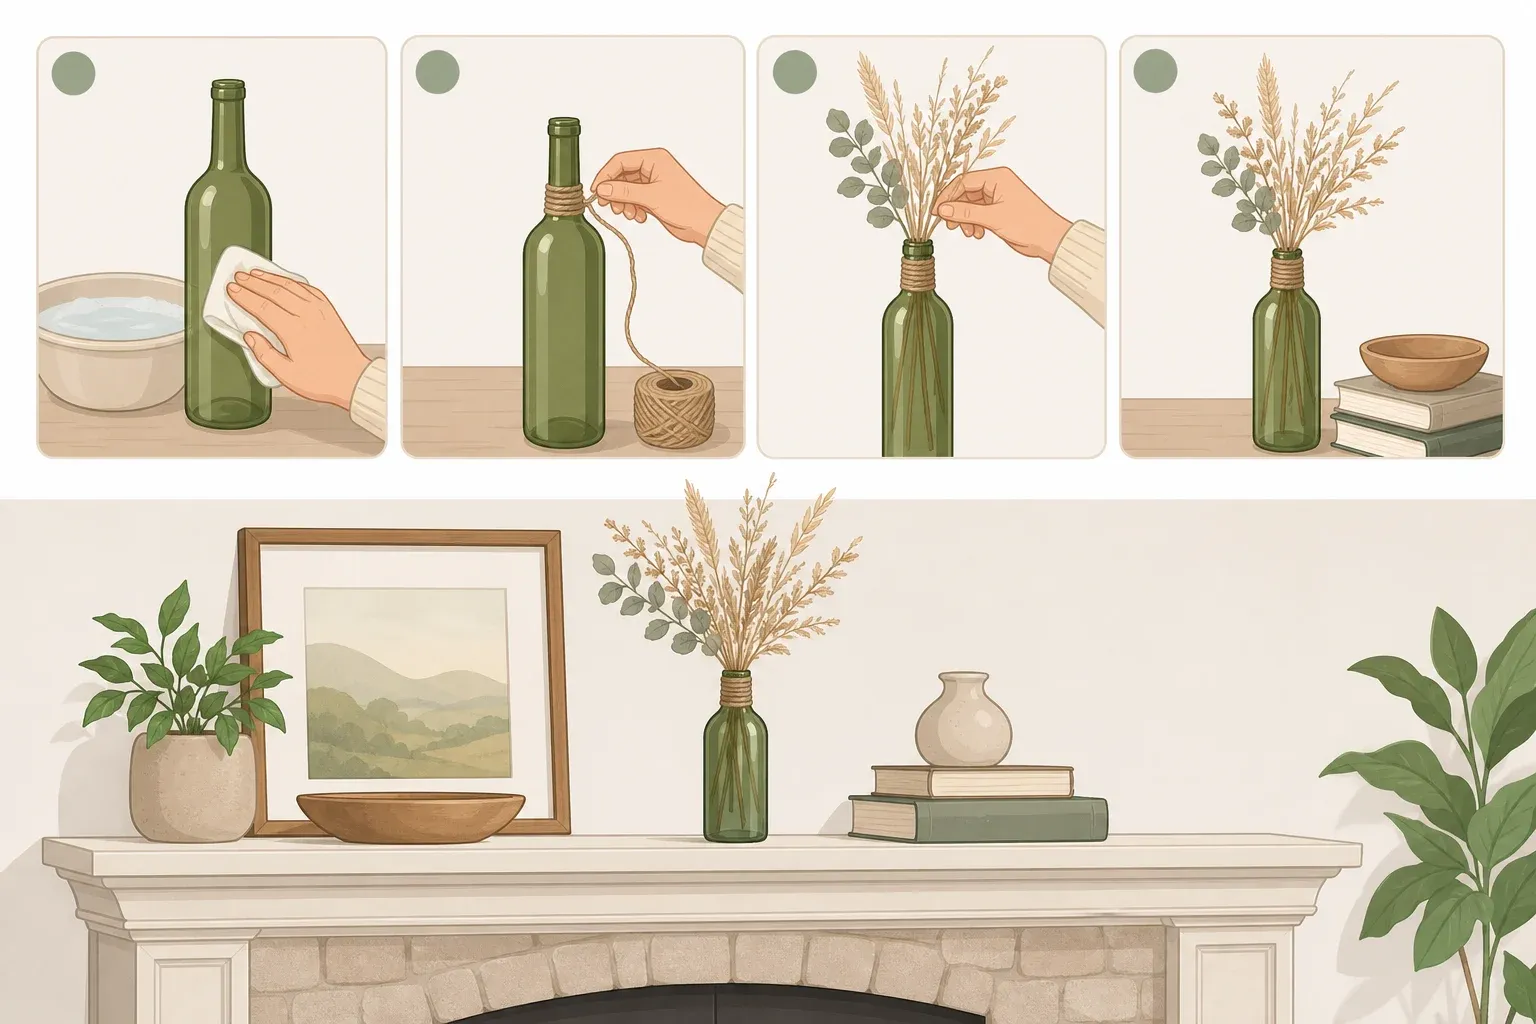
Use the entry-table formula on one console or side table. Designer Brittney Ferguson's go-to recipe, shared with Architectural Digest, combines a stack of books, a short bowl or candle, one tall item like a framed photo or art, and a fresh flower arrangement. Swap in a plant or another textured found object if flowers aren't on hand. This is a fixed recipe rather than the open-ended rule set in step 5, useful if you'd rather follow a formula than make judgment calls.
Repurpose everyday items as decor
This section doesn't change any object, it just reassigns its job, which makes it the lowest-effort way to create something that reads as new.
-
Turn your books page-side-out. Flip the books on a shelf so the pages face outward instead of the spines. Designer Leslie Kramer told Good Housekeeping that this single swap "will completely change the appearance of the space" by removing the visual clutter of colorful covers and letting the page texture itself read as neutral decor.
-
Put stored servingware to work. Vintage china or a silver platter that only comes out for hosting can live on a desk or makeup vanity instead, holding brushes, paper clips, or other everyday supplies; Good Housekeeping notes that pulling supplies from a beautiful object beats a generic plastic holder. Separately, a ceramic bowl or pitcher doubles as a vase: the same source suggests placing a loose bundle of flowers in one and setting it on a shelf, side table, or stack of books.
-
Layer an existing textile without altering it. A forgotten tablecloth or curtain panel can become a bench cover with nothing more than a fold or a drape, no cutting or sewing involved. A throw folded over the arm of a chair or a scarf layered across a table works the same way. Keep this step to draping and folding; turning a textile into actual pillow covers needs thread, a needle, or a machine, so save that version for a separate project if those materials happen to be on hand.
Bring out what's meaningful to finish the room
The last three steps use furniture and objects that carry some history, the kind of character that can't be shopped for.
-
Give a larger piece of furniture a new job. A dining table sitting in storage can become a desk, giving an underused piece a visible new role. A grandmother's old sewing table works a little differently: it reads better as an entry table than a desk, according to designer Elaine Bauer Brooks's examples in Good Housekeeping. Run the same readiness check from the setup section here, confirm the piece fits the new spot and doesn't block movement through the room.
-
Display one meaningful or hobby-related object. A tennis racket, a childhood baseball, or an old copper teapot stacked on a couple of cookbooks adds the kind of character designers describe as "storied," per Good Housekeeping. Pick one object with a story behind it rather than a handful of knickknacks; a single piece displayed with intention reads better than five competing for attention.
-
Lean existing framed art on furniture instead of hanging it. Give the frame a deep, stable base, a console, dresser, shelf, or wide windowsill, and group it with a medium-height and a small object in front for depth. Needle Talks Art recommends this three-height approach, keeping the tallest piece slightly off center so the grouping looks relaxed instead of staged. Pick a spot away from where kids or pets regularly move through, and skip leaning anything glass-heavy above a bed no matter how stable the surface looks. If a frame is valuable, fragile, or heavy with glass, leaning it is the safer choice over relying on adhesive wall strips as its only support, per the same source.
Finish line: what to check before you call it done
A finished room should feel less cluttered than before, with one clear focal grouping per surface and nothing crowding every inch of space. Functional surfaces, a desk, an entry table, should still work for their daily job once the styling is done. Walk the room once more and confirm nothing from steps 3, 10, or 11 is blocking a doorway, vent, or walking path.
If a vignette or rearrangement doesn't look right, resist restyling the whole thing at once. Step back, adjust one variable, height, the number of items in a grouping, or how much empty space is left, and reassess before touching anything else.
Once one room is done, repeat the same gather-sort-style sequence somewhere else in the house. The process stays the same every time; only the objects change.

Comments
Be the first, drop a comment!