



Small Dining Area Ideas: How to Fit a Table in Tight Spaces
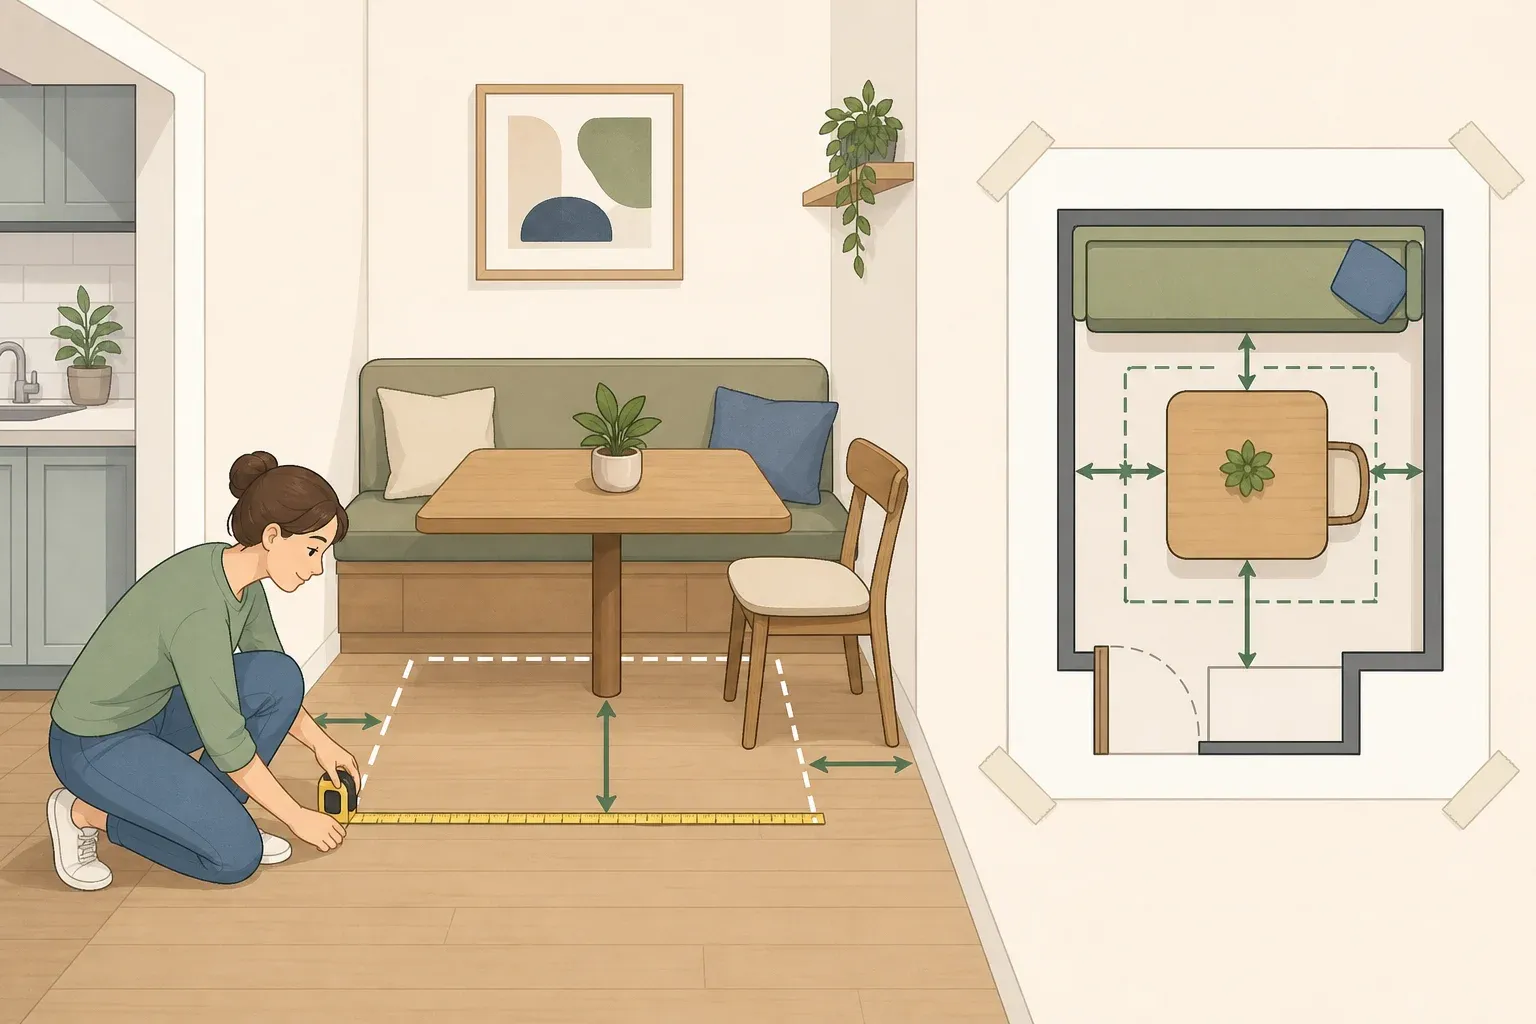
A dining nook can fail for a reason that has nothing to do with color or cost: nobody checked clearance before the table showed up. A 48-inch round table can look perfect in a showroom and still turn into a laundry-folding station within a month if there's only 30 inches of space behind the chairs, as one Doorstoop buyer found out five months ago.
This guide walks through a measurement-first process: tape out the actual footprint, run two specific clearance checks, and match whatever the room supports to one of several workable formats, a full table, a drop-leaf, a corner bench, a bistro or counter-height ledge, or no permanent nook at all. It works whether the space is a rented studio or a house with an awkward dining corner. It does not cover wiring, structural work, or built-in construction that needs a permit; those moments get flagged where they matter, not treated as projects to DIY.
What you'll need
- A tape measure long enough to span the room in one pass
- Painter's tape or masking tape to mark the footprint on the floor
- The actual chairs or bench going into the space, not the catalog dimensions
- A notepad or phone calculator for the clearance math
- A copy of the lease or condo/co-op rules if anything wall-mounted or built-in is on the table
This is beginner-friendly and requires no construction skills. Anything involving anchoring into studs, moving a wall, or altering an exit path may call for professional help or building approval, and those moments are flagged below rather than treated as something to handle solo.
Before you start
Tape out the footprint before buying anything. If the taped-out shape doesn't clear a door, appliance, or walkway at any point, that's a stop sign: size down the table or switch formats before shopping further, not after delivery.
Step 1: Learn the two measurements that decide everything
Two numbers decide whether a small dining area idea actually works, and they come from different places. The NKBA page describes its fully revised Fourth Edition, which includes a full standard for seating areas in dining spaces. Spec My Kitchen's clearance chart, updated two weeks ago, breaks that standard into the figures that apply to a dining nook:
- 32 inches: table edge to the nearest wall, when no one walks behind a seated diner.
- 36 inches: table edge to wall, when someone occasionally squeezes past.
- 44 inches: table edge to wall, for a real walk-through path.
- 36 inches: any general walkway through the room, separate from seating.
Use 32 inches as the planning target only when the space behind that chair carries zero regular foot traffic. Bump it to 36 or 44 inches the moment someone needs to get by, even occasionally.
There's a second number a planning chart can't give: the actual-chair test. Hoppler Design & Build recommends pulling the real chairs or bench fully out from the table and measuring from the back of the chair, not the folded or catalog spec, to the wall. That confirms the specific chair, cushion depth, table base, and nearby furniture actually work together, and it's an important practical check before any purchase.
The guidelines also include one dining-adjacent figure that's building code rather than a design target: the clearance between a cooktop and the wood cabinets above it. It has nothing to do with table placement, and code details vary by location, so keep that one in a separate conversation from dining clearance entirely.
Each diner needs about 24 inches of width along the table edge and 18 inches of knee room, meaning the open or overhanging space under the tabletop, at a standard 30-inch-high table, per the same guidelines. That math caps a 48-inch table at two comfortable seats per side, not three, according to Doorstoop.
Step 2: Tape out your small dining area footprint
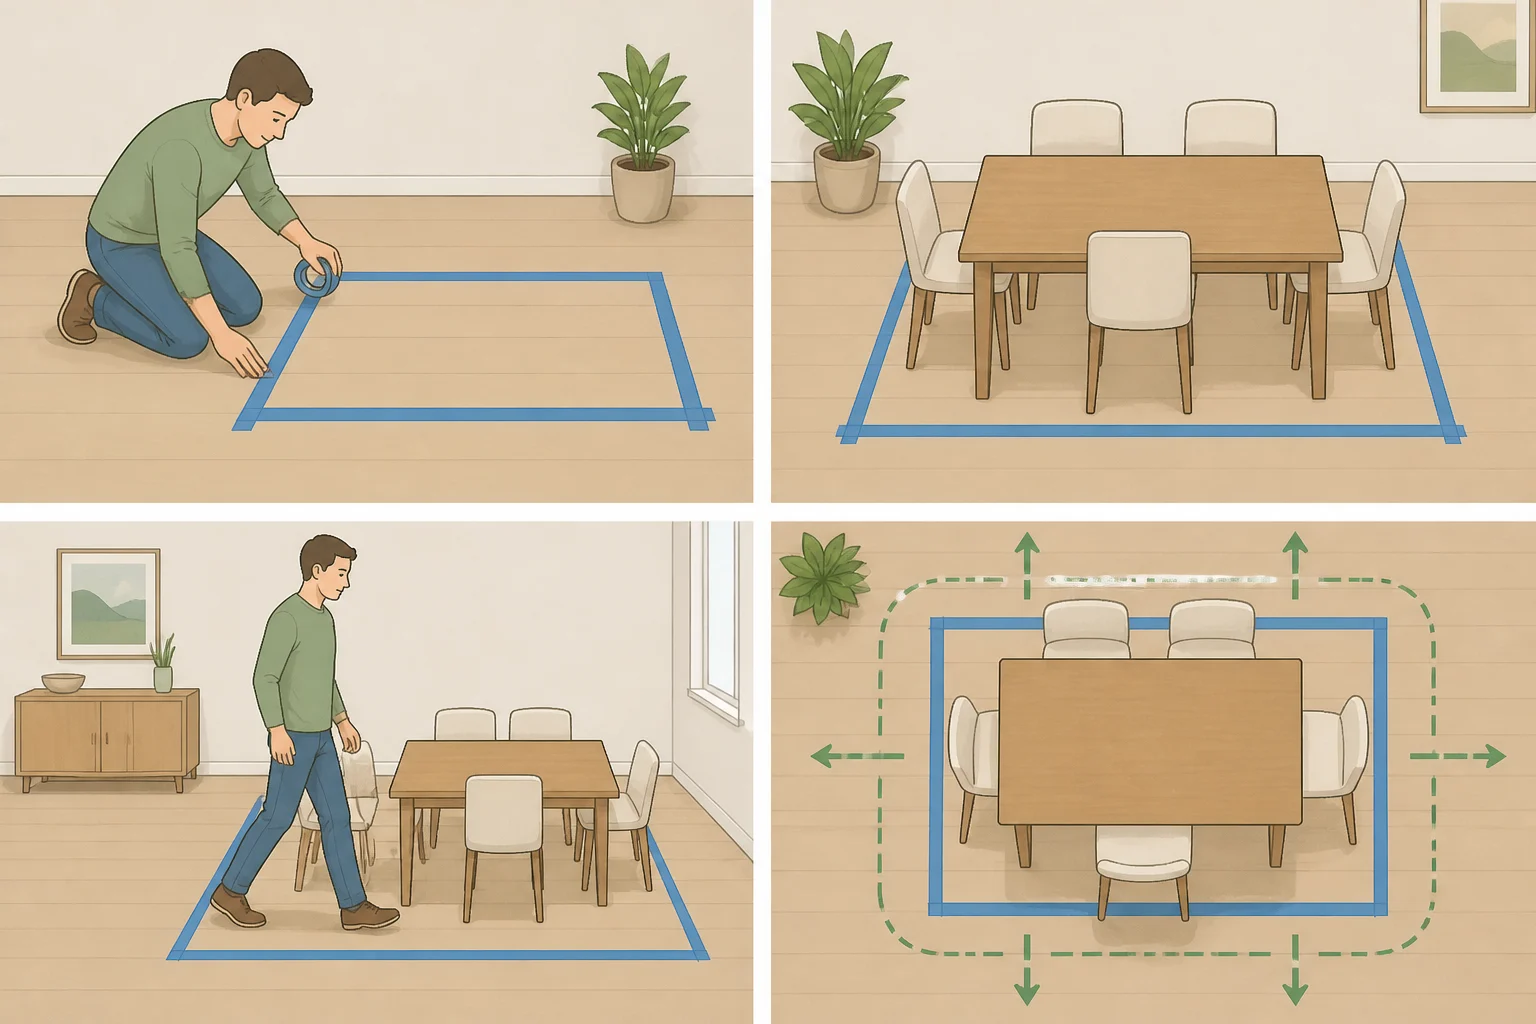
Mark the table's footprint on the floor with painter's tape, then pull the chairs out to their full depth and tape that line too. Walk through the space the way an ordinary weeknight would: sit down, push back, stand up, carry a plate past.
Skipping this step gets expensive. One shopper in the Doorstoop write-up spent about $400 on a table that looked fine in listings, and the tape test could have revealed the clearance problem before the purchase instead of after.
Step 3: Check doors, appliances, and building rules
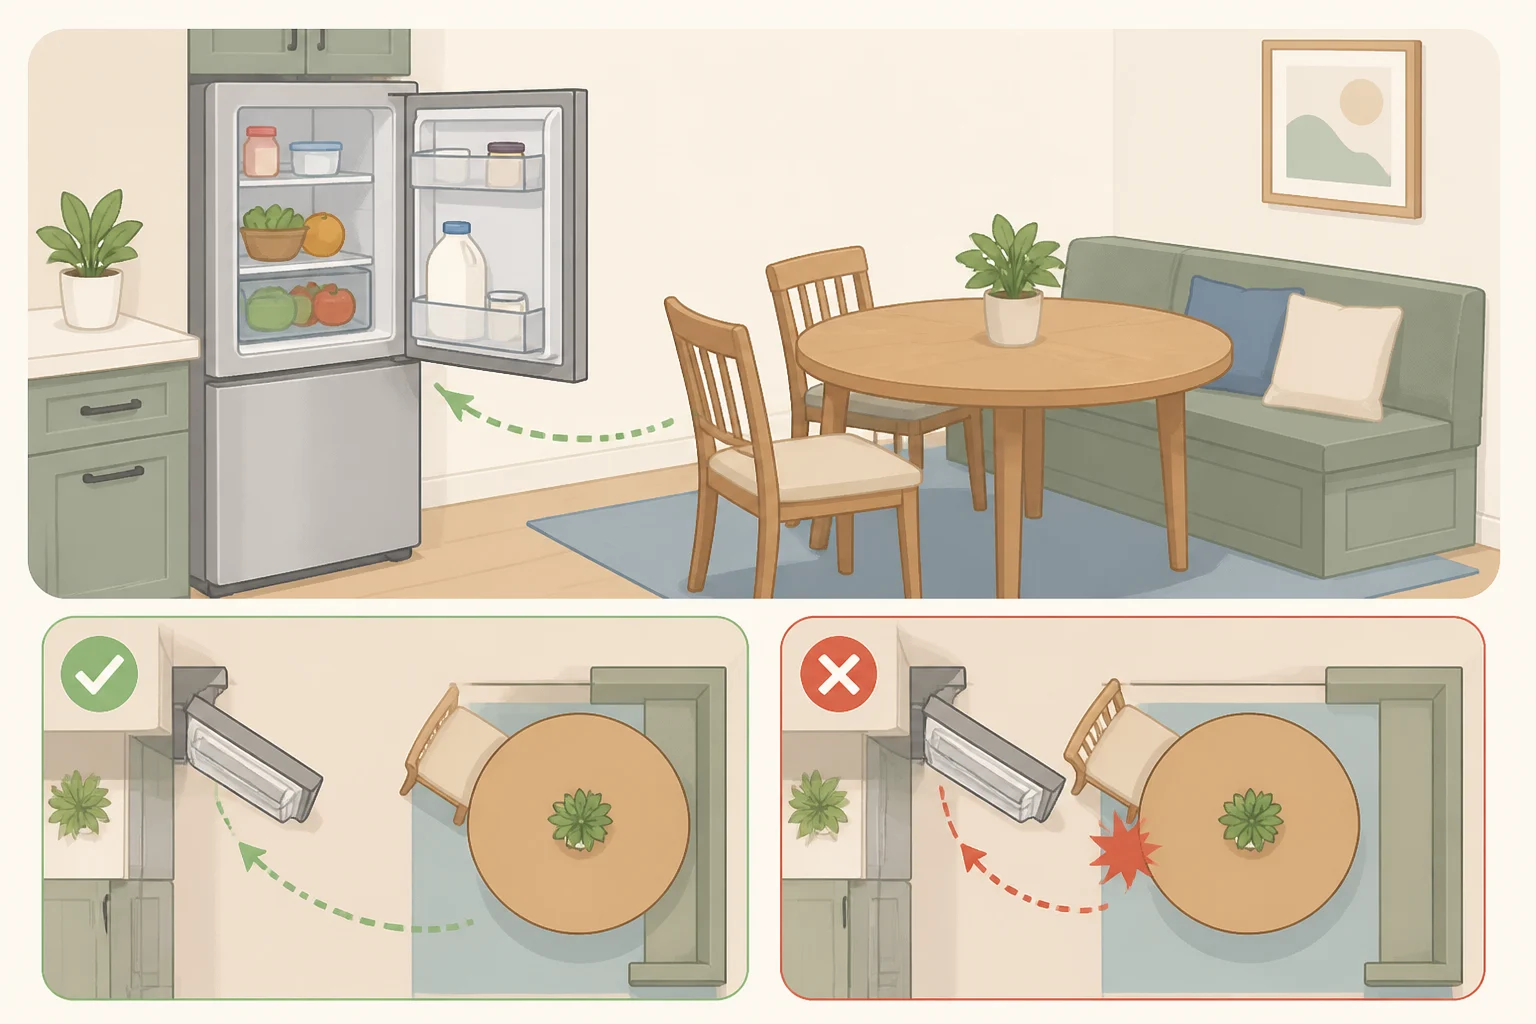
With the footprint taped out, check whether a door or appliance door swings into it. NKBA's guidelines don't assign an exact clearance number for an appliance door swinging open, but the underlying rule still applies wherever a dining spot sits near one: no entry door should hit an appliance, and no appliance door should hit another, per Spec My Kitchen's reading of the standard. If the dining corner sits near a fridge, dishwasher, or oven, open those doors fully with the tape still down and confirm nothing collides.
Before mounting or building anything, check the lease or building rules. Some property managers ban wall-mounted fixtures outright, including fold-down tables anchored into studs, Doorstoop reports. In New York co-ops and condos specifically, a built-in bench that alters an egress path or needs structural blocking may require board approval and a contractor's certificate of insurance before work starts, Hoppler Design & Build documents. That's specific to NYC buildings, so treat it as a prompt to check your own local rules rather than a nationwide standard.
Small dining area ideas that pass the tape test
Once the tape passes the door, appliance, and walkway checks, the footprint points to a format. The space-saving dining furniture options below come from planning tables that run looser than the NKBA's 32-inch no-traffic minimum, so confirm each one with the actual-chair test from Step 1 before relying on the numbers alone.
- Tight corner, 2 to 3 people, light traffic: a 36-inch round table can work, per Hoppler Design & Build's planning table, with roughly 30 inches of pulled-out chair clearance around it.
- Compact square nook, 4 people: a 42-inch round needs 30 to 36 inches of clearance by the same Hoppler table. A narrow room seating four usually does better with a 36-by-48-inch rectangle paired with a bench along one long side.
- Limited floor space but a usable wall: a drop-leaf table needs at least a 48-inch wall run and 36 inches of clearance to the main walkway, Doorstoop advises.
- Usable corner, building approval confirmed: two storage benches set at 90 degrees around a round pedestal table need a minimum 60-by-60-inch footprint, with seats 17 to 19 inches high and 18 to 22 inches deep, paired with a 28- to 30-inch-high table. Treat the approval step as a check for your specific building, since the research behind it points to NYC co-op and condo rules rather than a universal requirement.
- No room for a conventional table: a counter- or bar-height ledge runs on the same per-person math, about 24 inches of width per diner, with 15 inches of knee room at a 36-inch counter or 12 inches at a 42-inch bar, per Spec My Kitchen. This format, or a 28- to 30-inch bistro table that lives against the wall until needed, suits apartments under about 400 square feet especially well, one scenario Doorstoop highlights where every flat surface pulls double duty.
Watch for one common misread in furniture listings. Hoppler Design & Build notes that a 42- to 48-inch round or a 36-by-48-inch rectangle can fit better than a full 6-foot rectangle on a 7-foot wall run, but that only holds if one side of the table sits against the wall or opens into adjacent space. A 7-foot room is 84 inches wide, and a 42-inch table with 32 inches of clearance on both sides needs 106 inches (42 + 32 + 32); a 48-inch table needs 112 inches (48 + 32 + 32). The wall length alone doesn't prove the room has full clearance on every side, so run that math before trusting a listing's claim.
Step 4: Run the numbers on your own room
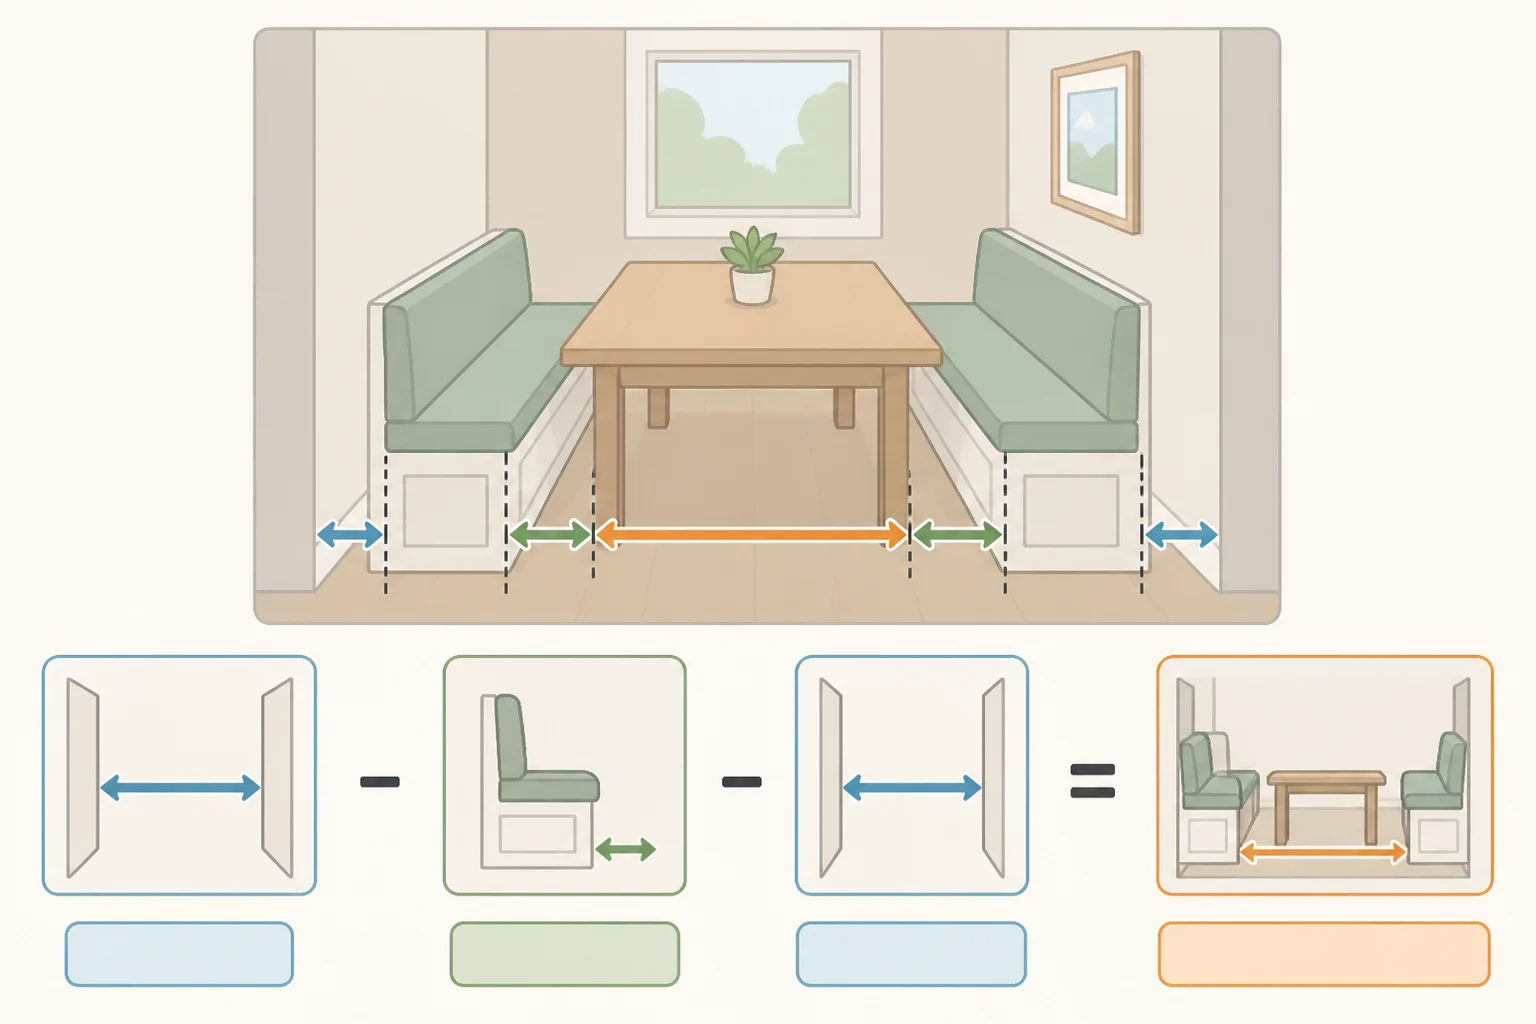
Start with the wall-to-wall distance in the direction the chairs pull out, then subtract the planning clearance for each side.
In a 96-inch-wide room where both sides need the full 32-inch no-traffic clearance, the math is 96 minus 32 minus 32, leaving 32 inches for the table itself: too narrow for most four-person tables and workable only for a compact two-person round.
Swap one side for a bench against the wall and the math changes, but not as much as it might seem. A bench doesn't need pullout clearance, but it still occupies depth, 18 to 22 inches according to Doorstoop's banquette figures. In that same 96-inch room, with 32 inches of clearance on the open side and an 18-to-22-inch bench on the other, the usable width is 96 minus 32 minus 18 to 22, or 42 to 46 inches. A 42-inch table fits that range tightly; a 48-inch table does not, so check the bench's actual depth against this math before assuming it will work. If the table still doesn't fit, size down or switch formats from the list above rather than shaving the clearance figure, then run the actual-chair test from Step 1 to confirm real chairs clear the space.
A real version of this trade-off shows up in a 7-by-7-foot studio corner, with windows on two walls and the kitchen behind a third, that Michael Helwig Interiors worked through earlier this year. A 30-inch round felt too tight and a 42-inch round left no real chair clearance, so the designer settled on a 36-inch round pedestal table angled into the corner, about 18 inches from each wall, since the window walls in that layout weren't carrying any foot traffic. The trade-off is real: at 36 inches, the table seats two people with actual elbow room, not four, and there's no space left for a sideboard or extra chairs. A pedestal base helped make that math work by removing table legs from the chair path; a trestle base can offer similar knee room, but its center beam still needs its own clearance check rather than being assumed to behave the same way.
Step 5: Finish the nook once fit is locked in
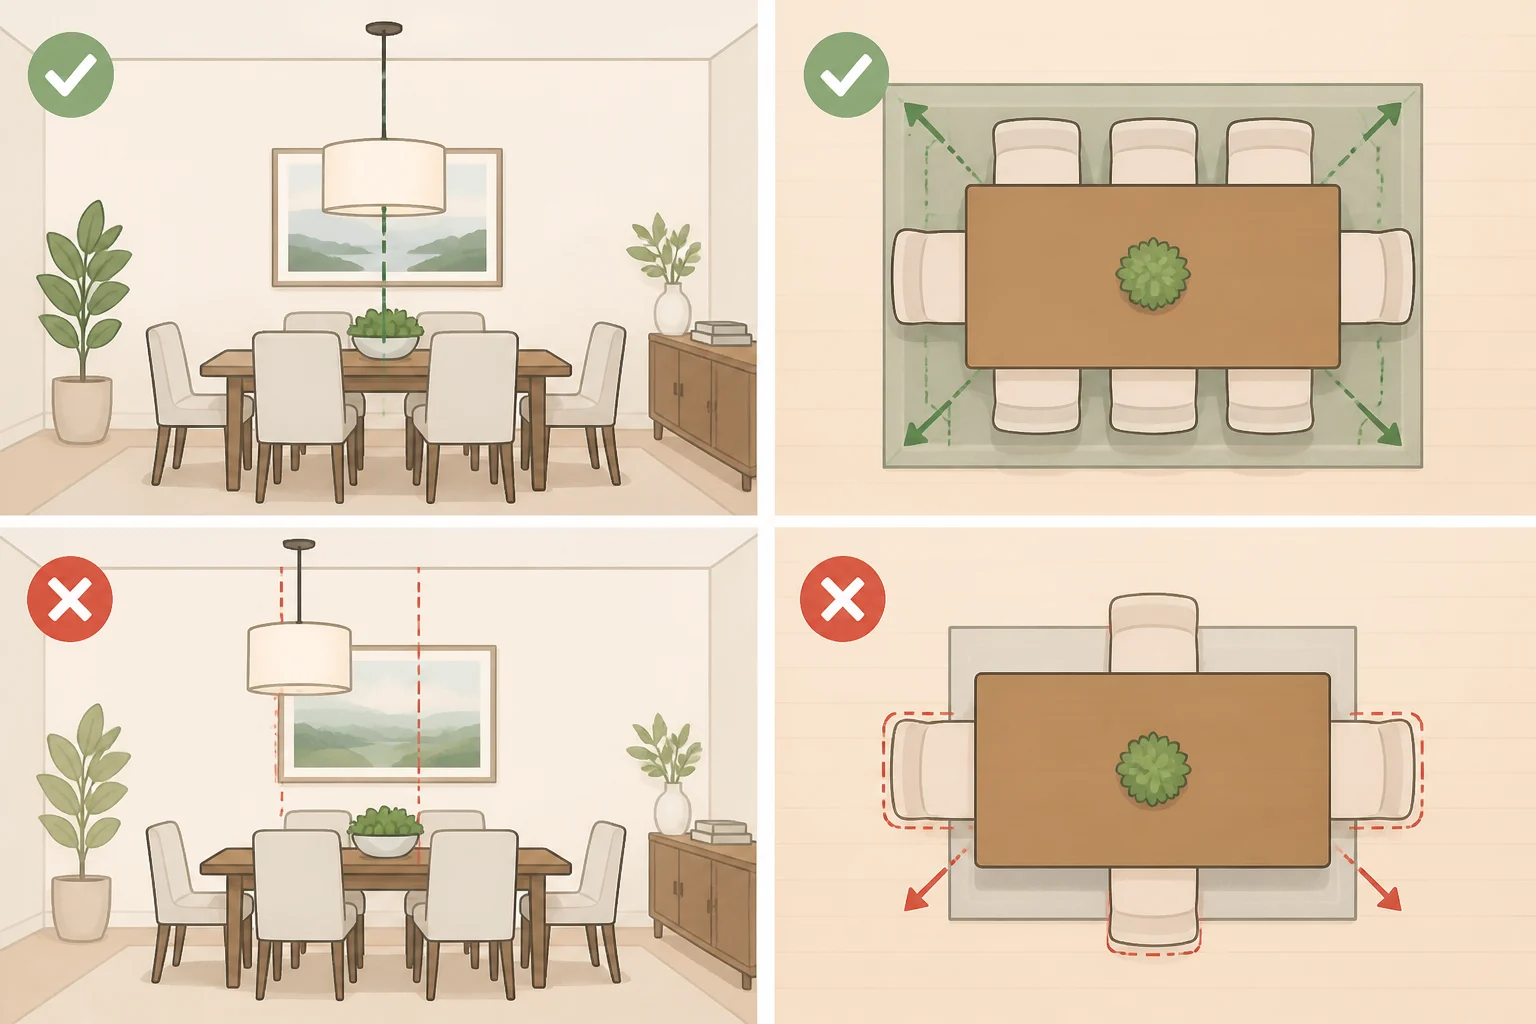
Fit comes first. Once the taped-out footprint passes every check above, the finishing details are easy to adjust and don't need to be perfect on the first try.
In the studio example above, the designer centered a pendant light 30 to 36 inches over the tabletop using a plug-in swag pendant on a removable ceiling hook, which avoids any wiring work. Check the hook's weight rating against the fixture's actual weight, and follow both the hook's and the fixture's own installation instructions before hanging anything this way.
For a rug, size it so the chairs stay fully on it even when pulled out. For that same 36-inch table, the designer chose a 5-by-7 rug, large enough that the pulled-back chairs stayed fully on it rather than half on, half off. Use that as a reference point and size up for a larger table rather than assuming one rug size fits every nook.
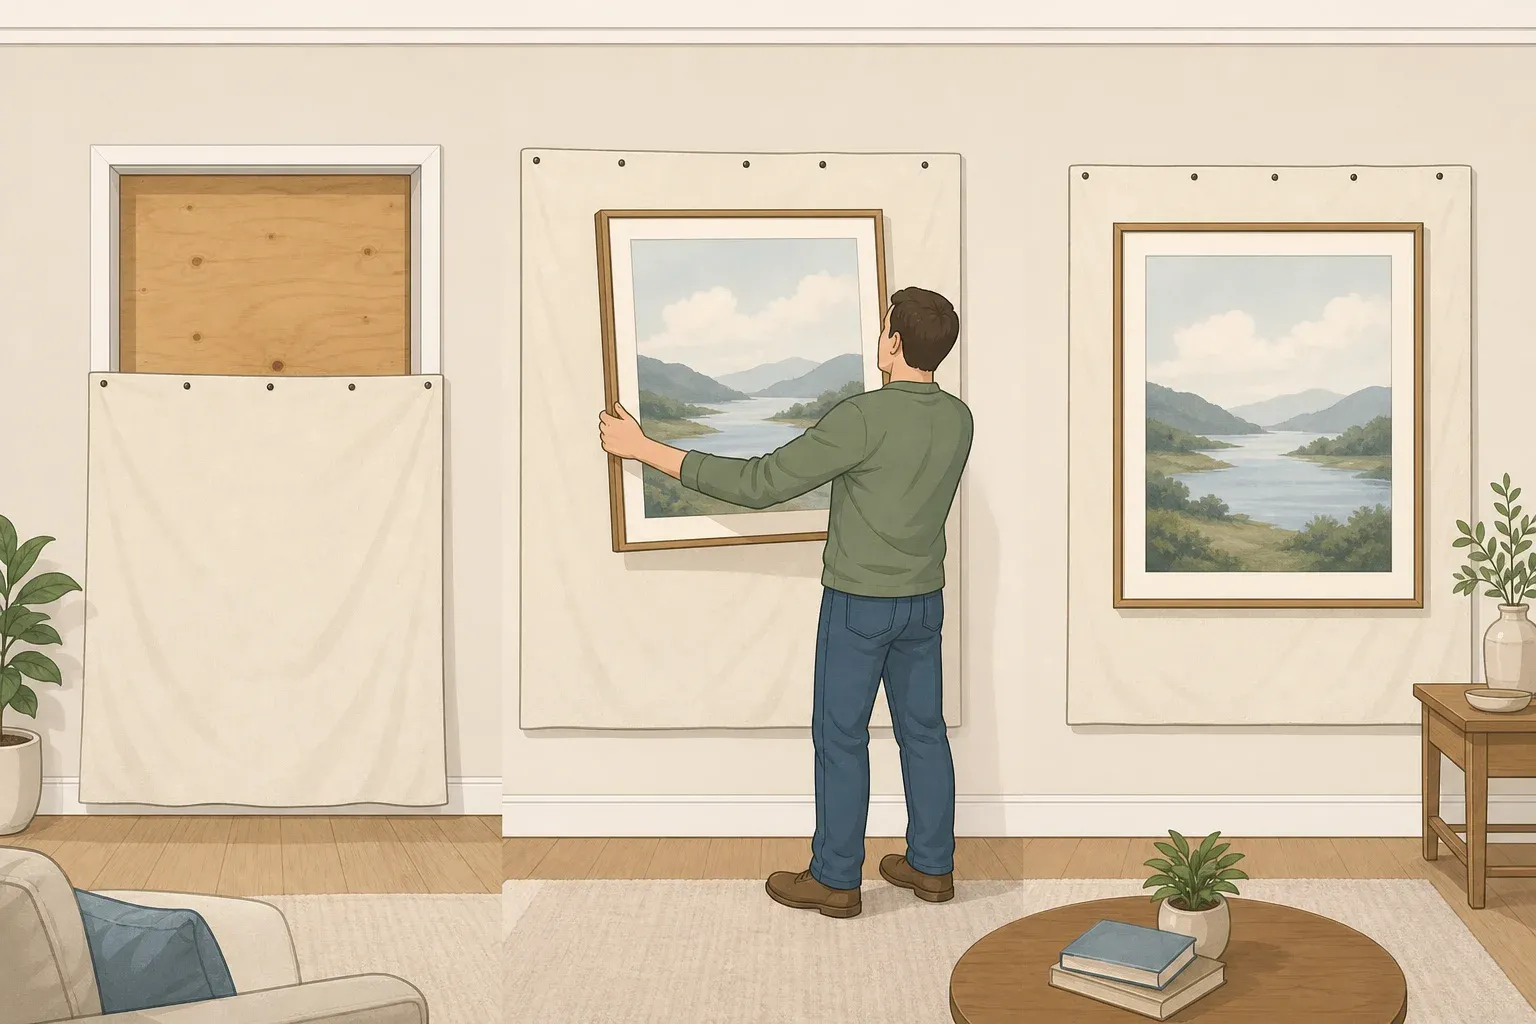
On the tabletop, the same designer kept arrangements low, under 8 inches tall, and hung a single piece of art at seated eye level, roughly 48 to 52 inches from the floor. Treat these as one workable starting point, not a rule; a small table can carry less or more depending on how it gets used day to day.
Run this checklist before anything gets delivered
Confirm each of the following on the taped-out footprint before ordering furniture or booking an installer:
- Chairs pulled fully out clear the wall, door, or walkway, measured from the actual chair back, not the catalog spec.
- Any nearby door or appliance door opens fully without hitting a chair or the table edge.
- Each diner has roughly 24 inches of table-edge width and 18 inches of knee room under the tabletop.
- The walkway used daily, to the kitchen, bathroom, or front door, still measures at least 36 inches with the table in place.
- Any wall-mounted or built-in piece has confirmed approval from the lease, landlord, board, or local authority before installation.
If every line holds, the format is set, and lighting, a rug, and tabletop styling come next. If even one line still fails after sizing down the table, move to the next format on the list: a bistro table, a counter-height ledge, or a wall-mounted fold-down table. That's not a compromise, it's the correct fit for the room, and it's worth locking in before spending money on anything that won't clear the tape.






Comments
Be the first, drop a comment!