



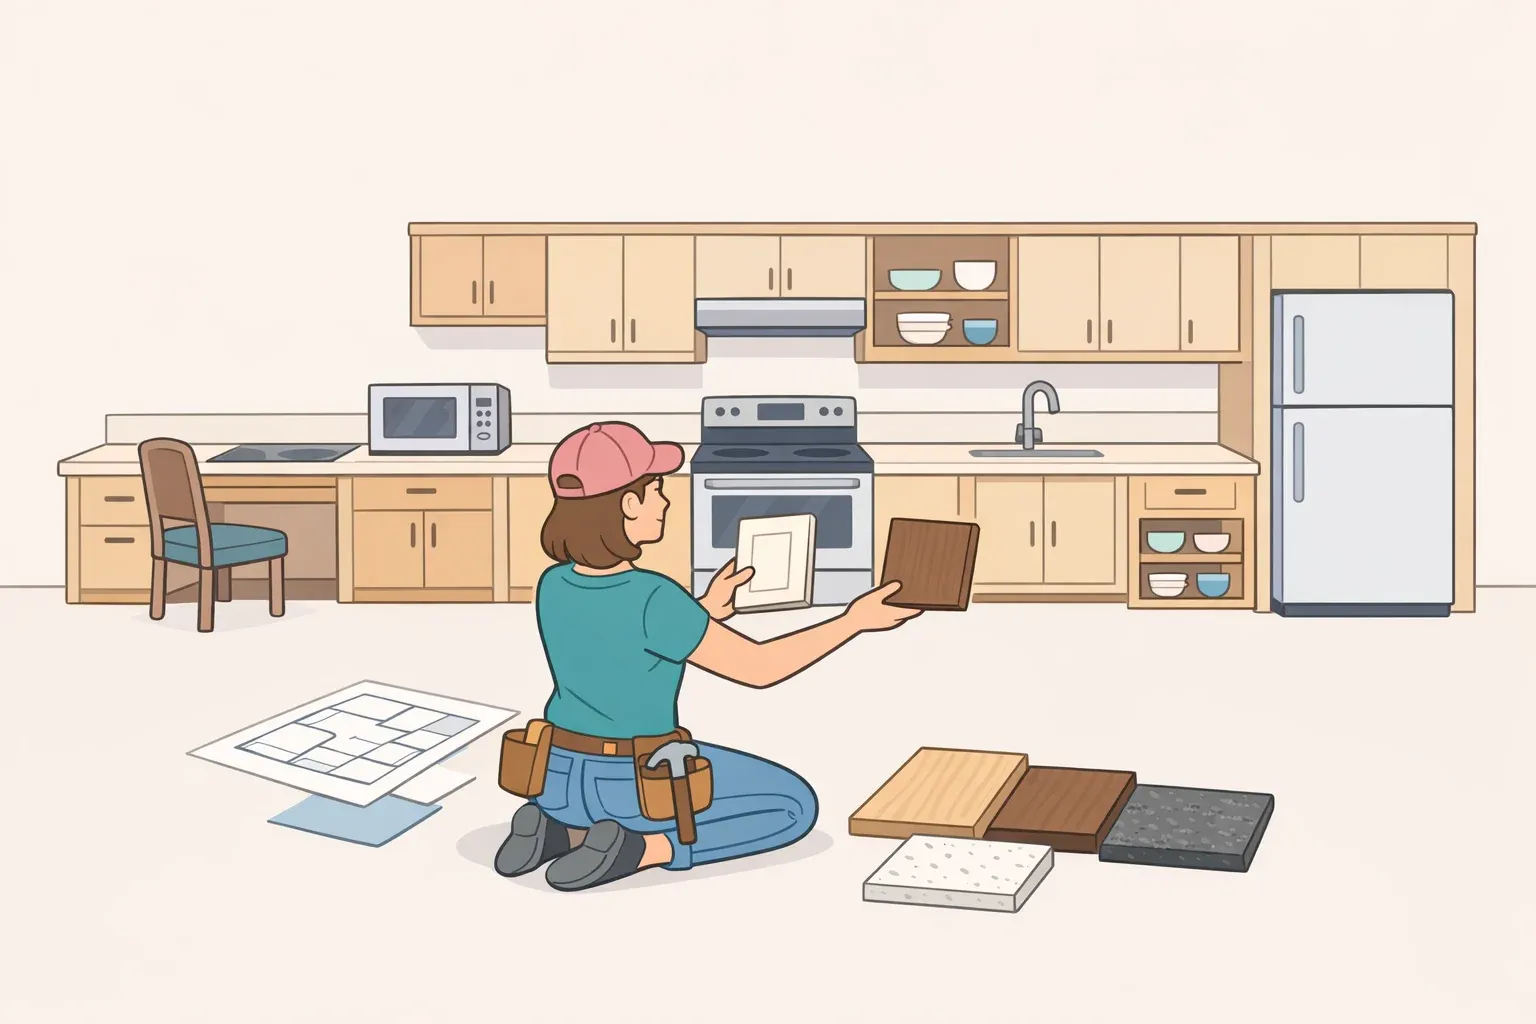
DIY 1980s kitchen renovation: layout fixes, a storage wall, and finishes that earn their place
The kids know to head to the appliance garage to pop a waffle in the toaster for breakfast. That detail, documented by Better Homes & Gardens earlier last year, is a better argument for good kitchen planning than any before-and-after photo. It means the room is organized clearly enough that children can navigate it on their own terms.
DIYer and content creator Brenda Bertolini got there by working through a specific sequence in her dated 80s kitchen: fix the floor plan first, consolidate storage onto one wall, then layer in finishes and details that make the room feel like it belongs to the people using it. The household she designed for includes her husband Dan and father-in-law Emil, with kids navigating independently, per BHG. A multigenerational setup puts real pressure on a space to function, not just photograph well.
This guide walks through that sequence as a repeatable planning model, reinforced by a comparable remodel documented by This Old House in late 2023. Both projects faced the same underlying problem: a kitchen that confined rather than connected. Both solved it in the same order.
One note on scope: the structural and plumbing work in each stage below belongs to a contractor. The finishes, interior organization, and several specific builds are realistic DIY territory. Both are flagged throughout.
Stage 1: Fix the floor plan before making any other decision
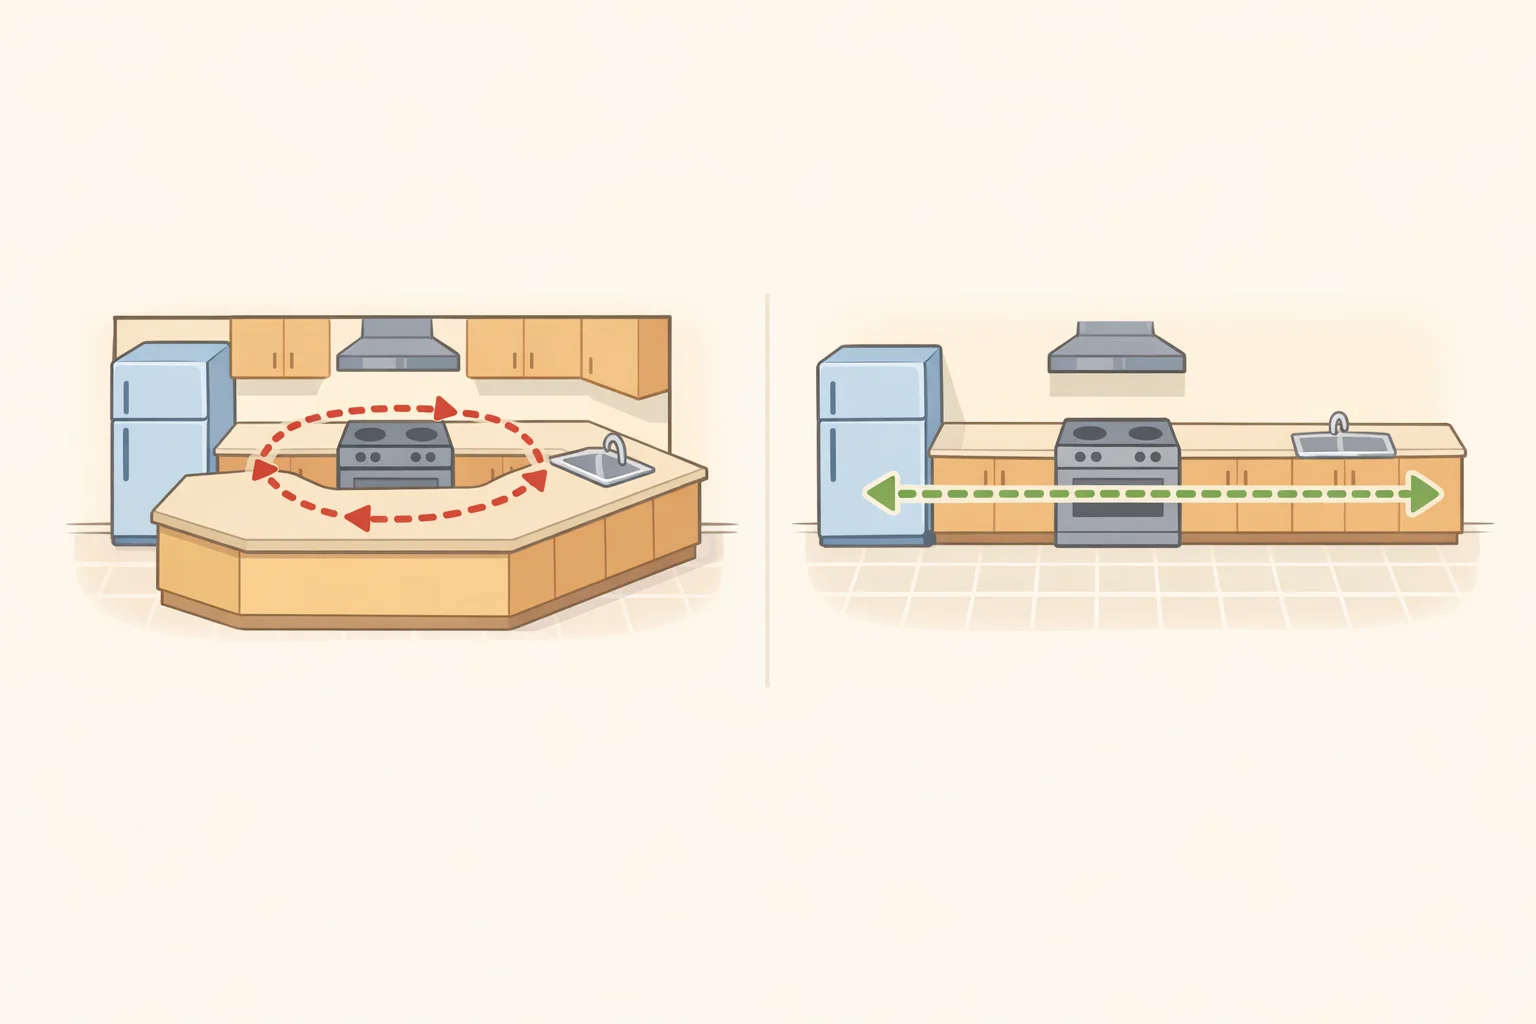
In both kitchens covered here, the failure was structural. A peninsula at one end and a half-wall at the other corralled all cooking activity in the This Old House project into 275 square feet. "The kitchen's choppy flow meant we could only use about a third of it," homeowner Jenn Schwartz said. Bertolini's kitchen had a different but comparable constraint: a tricky angled corner that restricted cabinet placement and movement throughout, per BHG. Neither kitchen needed more square footage. Both needed the barriers gone.
Airy Kitchens creative director Sean Lewis demolished the peninsula, removed the half-wall, and converted a 115-square-foot enclosed porch into a dining area connected to the kitchen, per This Old House. The result was a 390-square-foot kitchen with a 4-foot work corridor and two fully unobstructed linear work zones. "The renovation gave us great flow and two unobstructed linear work zones that keep us from running into each other," Jenn said. That kind of movement only becomes possible after the barriers leave, not after new tile goes in.
Appliance and sink placement follows the same logic. In Bertolini's renovation, moving the sink and pulling the cooktop out of the island were the two decisions that made the rest of the layout resolve, per BHG. Her apron-front sink now sits below a window, letting her keep an eye on the kids outside. These are plumbing moves. Budget for them at the contractor stage, not as afterthoughts.
The island comes last, sized around circulation rather than ambition. Bertolini's runs 9 feet long with a curved, fluted end, per BHG. That scale works because the movement around it was planned first. In the This Old House project, the team established a 4-foot work aisle on one side of a more-than-10-foot island before settling on its dimensions, per This Old House. Don't copy a large island from a photo without confirming you can hold that clearance on at least one working side.
Planning checkpoint: Sketch the path between the sink, cooktop, and refrigerator. If those three points require crossing traffic or looping around a peninsula, the layout problem isn't solved yet. Finalize cabinet layout only after that path is clear.
Stage 2: The floor-to-ceiling kitchen storage wall when it works and how to build it right
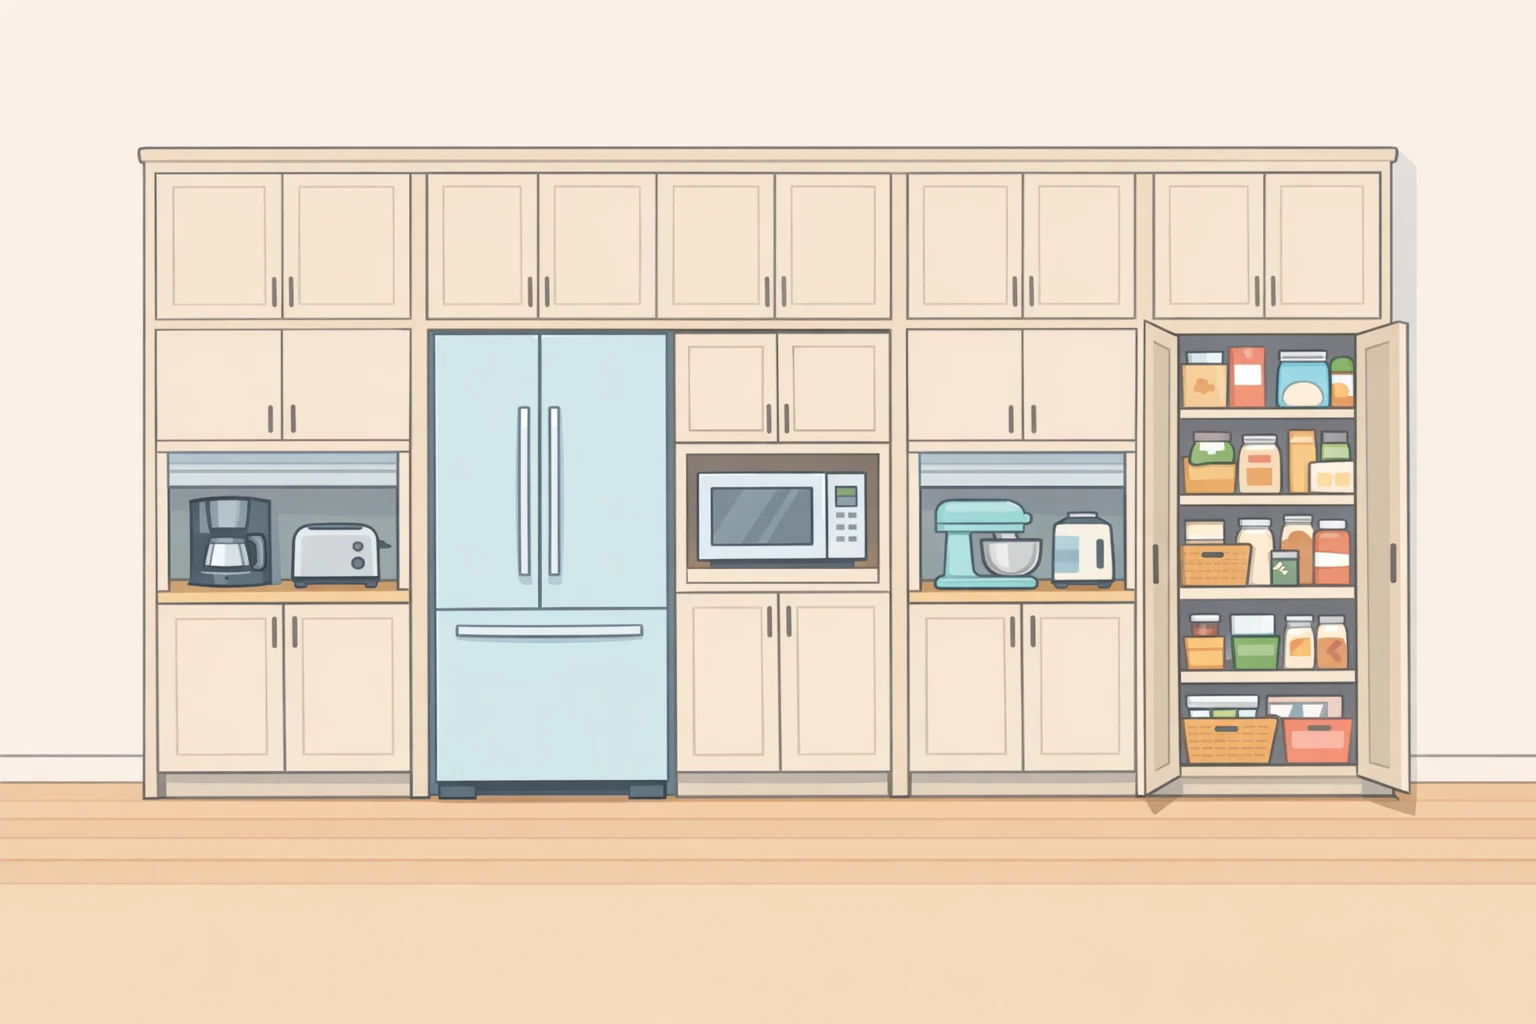
This is the decision that separates a cosmetic refresh from a genuine rethink of how the room operates. Bertolini eliminated conventional upper cabinets entirely and replaced them with one wall of floor-to-ceiling cabinetry integrating the refrigerator, a full pantry, and two appliance garages, per BHG. "Let's pack as much storage as we can on this wall, and I'll fill it up," she said. Concentrating all the density in one place is what keeps the remaining room from feeling cluttered.
That consolidation only works under specific conditions. The kitchen needs one long, uninterrupted wall without windows or doors enough room to absorb the refrigerator, pantry capacity, and small appliances in a single run. No such wall, no storage wall. The This Old House project took a different route: removing soffits made space for ceiling-high cabinetry distributed across all wall runs rather than concentrated on one, per This Old House. Either approach can work. Forcing the storage-wall layout onto a kitchen that lacks the geometry to support it is the mistake.
Check soffits before ordering anything. HVAC ducts and electrical often run through them. Have a contractor assess what's inside before any plan assumes they're hollow that finding can change both the cabinet height and the budget.
The appliance garage deserves more attention than it usually gets in a cabinet brief. The critical detail in Bertolini's design: the interior shelf pulls out while the toaster or coffeemaker runs, allowing heat to escape rather than building up inside an enclosed cabinet, per BHG. Specify this as a functional requirement upfront, not a finish detail to revisit later. A garage that traps heat is a fire risk and shortens appliance life.
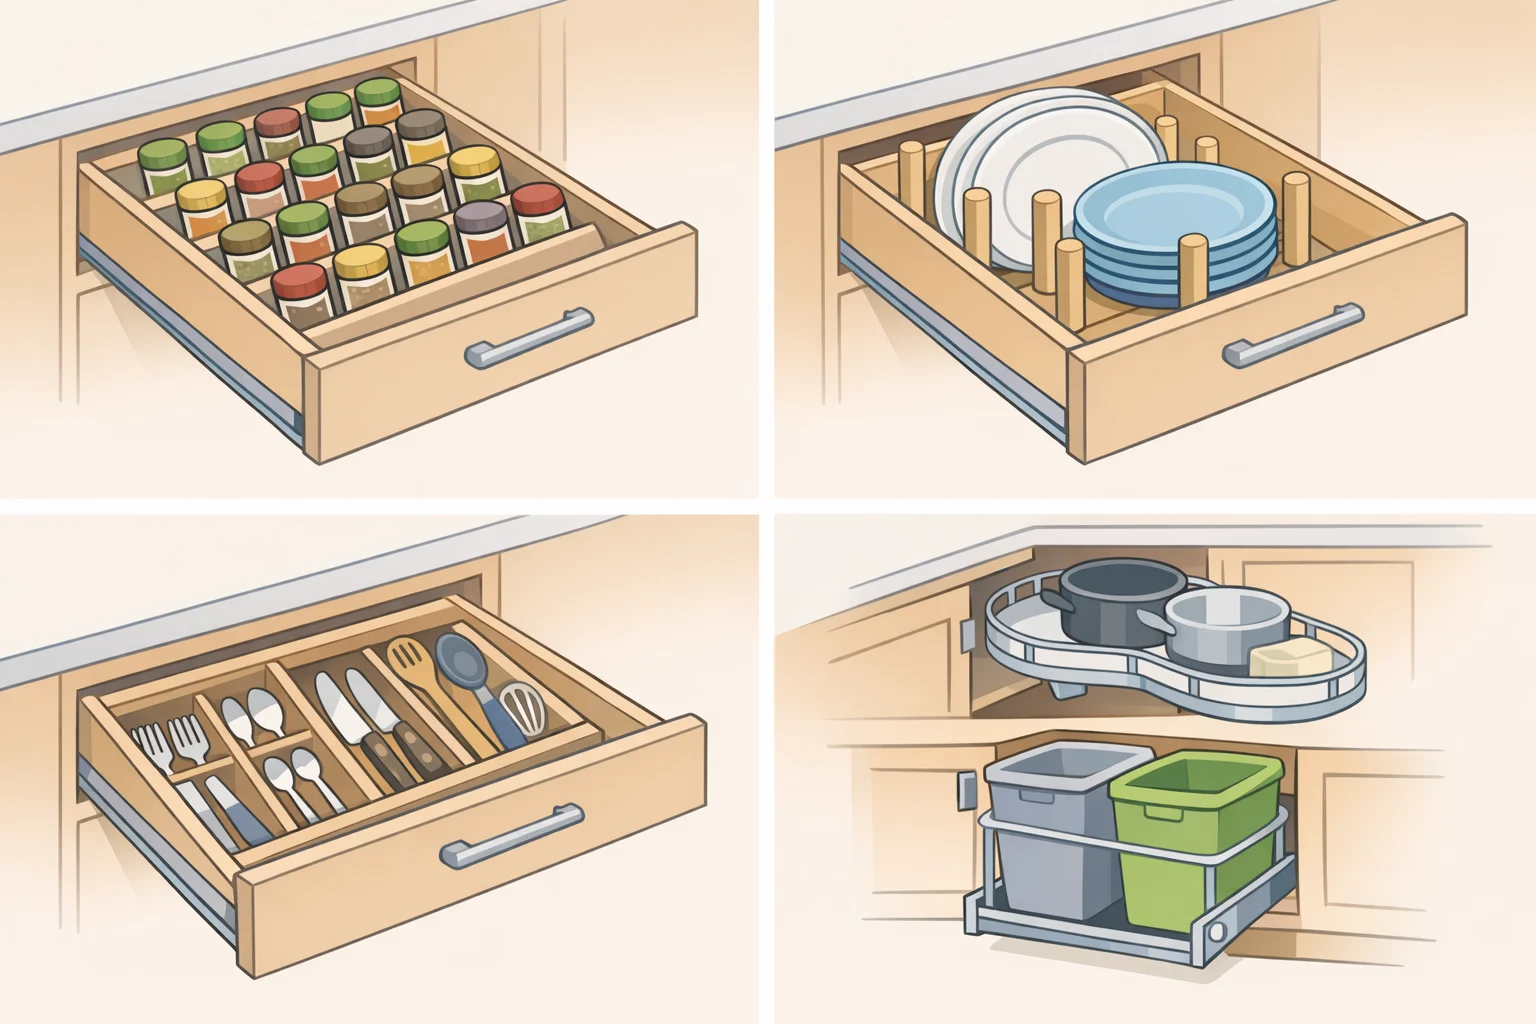
Where uppers are removed, the storage equation shifts to depth below. Bertolini paired her storage wall with deep lower drawers throughout, per BHG. For corners where standard cabinets won't run cleanly, slim reeded glass-front cabinets can wrap the corner and use the space without the dead zone a traditional corner unit creates.
On cabinet finish: Bertolini chose stained over painted cabinetry, a preference she traces to years of refinishing furniture, and a practical one since she finds stained surfaces easier to maintain, per BHG. If painted cabinets are the plan, Sean Lewis offers a useful rule via This Old House: when the cabinet color is the statement, keep the backsplash and countertops a neutral solid without heavy veining. Bring natural wood in somewhere on the floor, in floating shelves to add warmth that paint alone won't provide.
Planning checkpoint: Before removing uppers, confirm the storage wall can absorb the refrigerator, pantry capacity, and small appliances the household actually uses. If it can't, the storage problem hasn't been solved it's been relocated.
Stage 3: Interior organization and DIY finishes how to update an old kitchen layout from the inside out
Everything in this stage is DIY territory. It's also where the room picks up the character that makes it feel specific to the people living in it. The order matters: decide what each cabinet and drawer needs to hold before fabrication, not after installation.
Start with the drawers. Treat each interior as a decision rather than a default. Bertolini's most useful examples, per BHG: spice jars organized on slanted racks built into the drawer so labels face up; deep plate drawers with chunky wooden pegs that move to any predrilled hole to fit different dish sizes, working exactly like a traditional pegboard; and a pullout utensil station filling a corner too narrow for a full cabinet, with removable canisters for spoons, whisks, and spatulas, and foam-backed knife storage at the rear. None of these required specialist tools. All required thinking through specific contents before the cabinet order was placed. An unplanned drawer becomes a catchall within months.
The same thinking applies to spaces that might otherwise go unused. Bertolini converted a pullout broom-closet slot into a family message center, per BHG. Before finalizing any cabinet specs, walk the plan and identify the narrow pullouts, corner slots, and inset panels. Assign each one a function before the order is placed.
The range hood is the highest-visibility DIY opportunity in the project. Bertolini applied a Roman clay finish herself to replicate Venetian plaster, and on the range wall, a quartzite shelf matching the backsplash and countertop pulls the surfaces into a single material story, per BHG. The clay finish is what makes the hood read as part of that story rather than a box bolted to the wall. It requires patience and layering, not specialist tools the kind of finish that rewards careful prep and punishes rushing.
For seating and small accessories, buying new is rarely necessary. Bertolini found barstools for $25 each on Facebook Marketplace, then cut the legs to counter height at the island, per BHG. Her spice jars glass containers with spray-painted antique-brass lids, sealed with clear coat and fitted with waterproof matte labels she designed herself came in under $20 total, per BHG. Neither detail reads as a budget move in the finished room. Visible details don't need the same budget as structural work.
One more thing worth making room for. Bertolini hung an old-school dinner bell on the sink wall, rung nightly to call the family in. "I thought the dinner bell was a cute way to add more charm and to become a memory as my kids get older," she said, per BHG. No tile or cabinet finish achieves that. Before the plan is finalized, identify the one element specific to how the household actually lives, and build space for it.
What this renovation sequence actually delivers
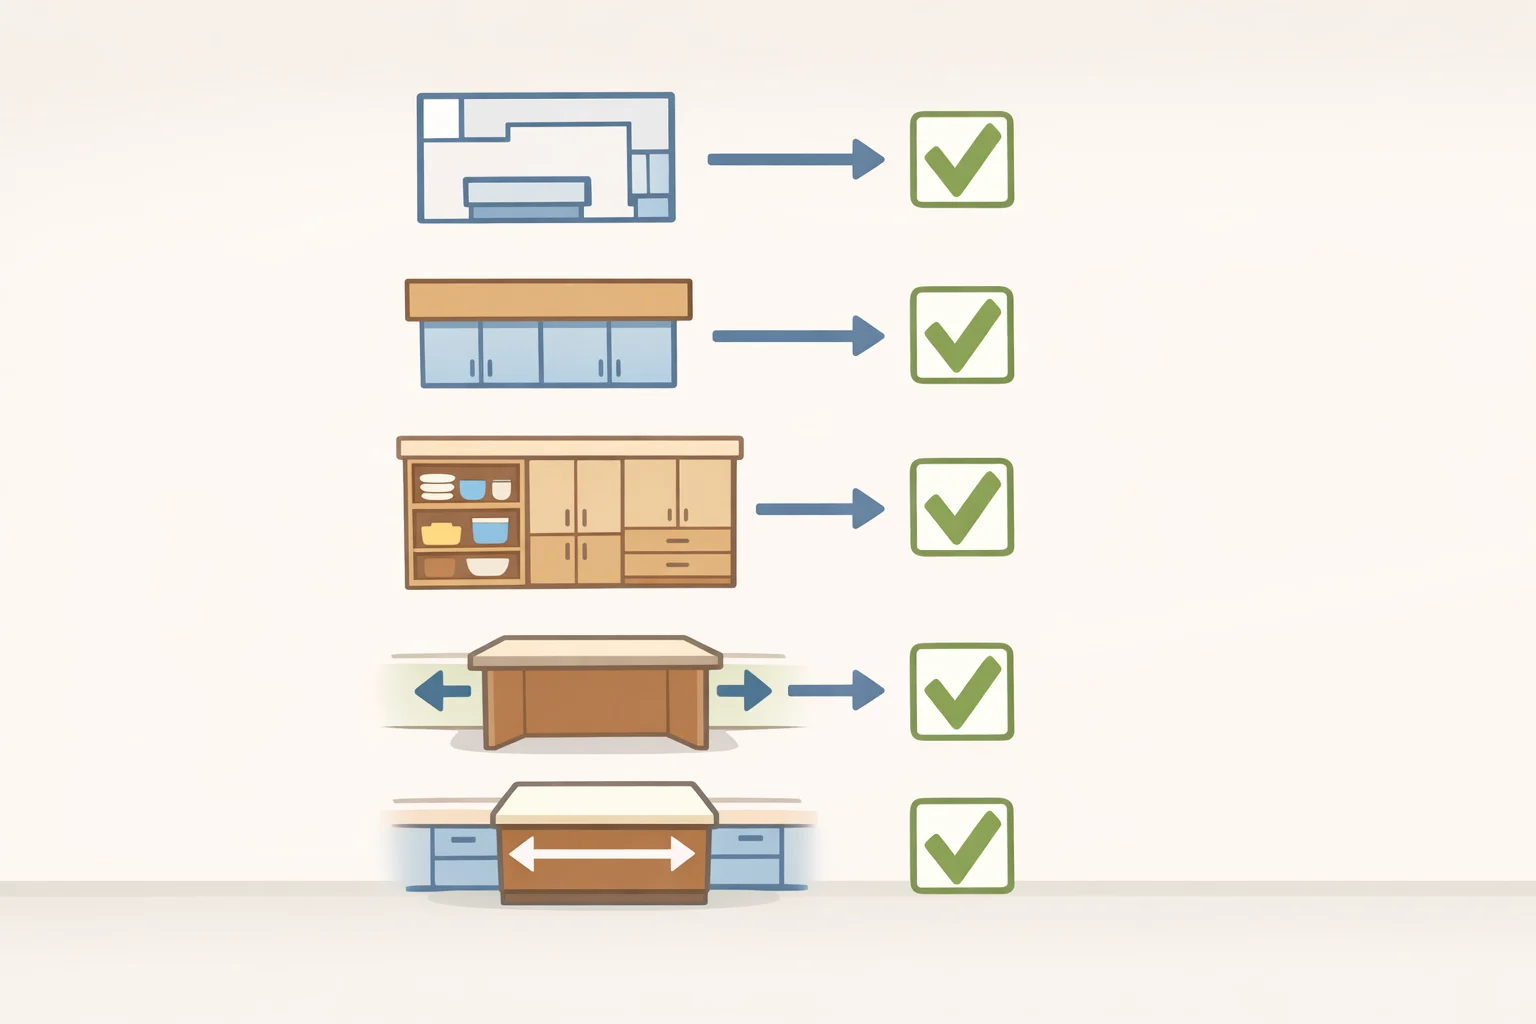
Both the Bertolini project and the This Old House remodel produced kitchens that function because the structural problems were resolved first flow, clearance, and appliance placement settled before a single cabinet was ordered. The finishes came last and landed because the underlying room already worked.
Before anything else, resolve these four things:
- Confirm sink, range, and refrigerator positions before ordering cabinets
- Have a contractor assess soffit contents before planning ceiling-height storage
- Verify the storage wall can absorb everything currently distributed across upper cabinets
- Preserve a 4-foot work aisle before sizing the island
Get those right, and the rest of the renovation has somewhere solid to stand.




















Comments
Be the first, drop a comment!