



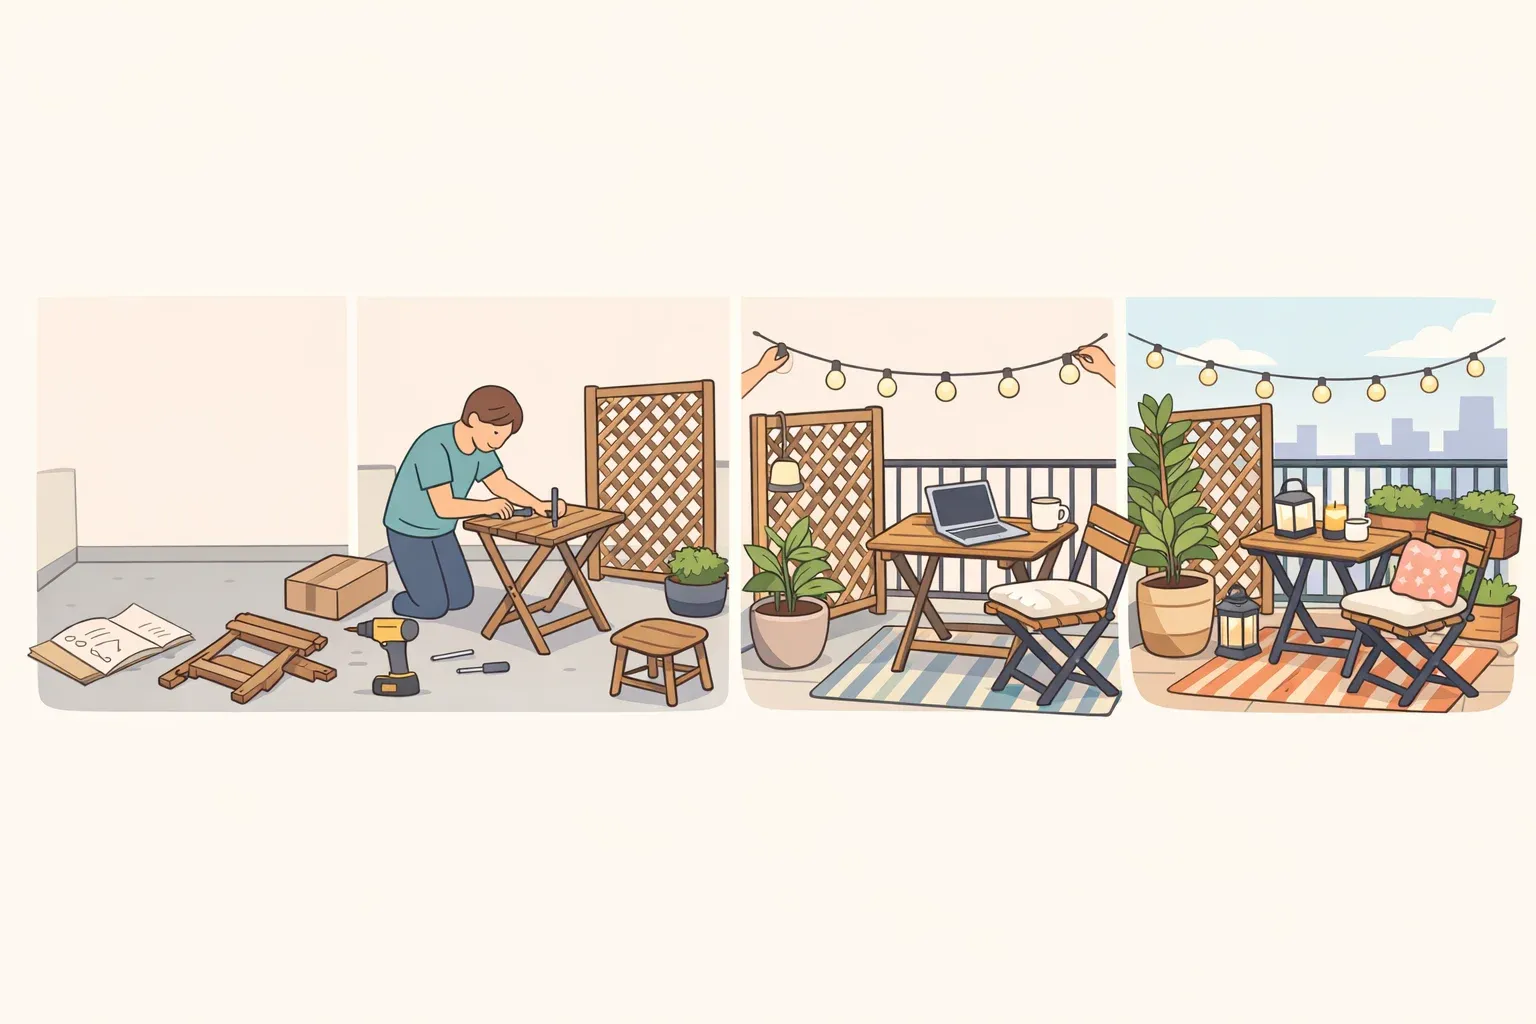
Renter-friendly balcony makeover: a step-by-step guide for NYC renters
This guide walks through a complete renter-friendly balcony makeover from bare concrete to functional outdoor room, using a sequence proven by two documented NYC transformations, both completed for under $2,000 without structural modifications to the building. The steps: assess constraints, cover the floor, solve lighting, add seating and privacy, then layer in plants. Most upgrades here are portable and non-structural. Fixed lighting or anything involving drilling is a different category, and needs landlord clearance first.
What "renter-friendly" actually means legally
When Nic and his partner Morissa overhauled their 50-square-foot NYC balcony, the goal wasn't aesthetics. Both work from home, and "sometimes our Zoom calls compete," Nic told Apartment Therapy this week. The balcony needed to serve as overflow workspace, sun lounge, and dog perch simultaneously. A parallel project by renter Jen Robinson, published nine days earlier by Apartment Therapy, produced a similarly transformed space for $1,000 using nearly identical logic.
What both projects demonstrate is less a design philosophy than a repeatable system. But before buying anything, understand what "renter-friendly" means in practice versus in Pinterest captions.
In popular usage, renter-friendly means whatever makes the renter comfortable. In legal terms, it means compliant with your lease, your building's house rules, and NYC regulations governing what goes on balconies. Those three layers don't always agree. LegalClarity notes that many co-op and condominium buildings impose restrictions more limiting than city code, covering planter weight, railing attachments, screen installations, and grilling equipment. NYC regulations further require that all furniture, planters, and decorations be secured against wind displacement; owners and tenants share liability for anything that falls.
Charcoal grills are outright banned on NYC balconies and roofs. Propane grills face clearance requirements at least ten feet from any combustible material that make them impractical on most city balconies, per LegalClarity. Enclosing a balcony or making structural modifications requires a permit from the NYC Department of Buildings. Read your lease and house rules before purchasing anything that attaches to the building, exceeds weight limits, or could be interpreted as a structural change. That's the actual prerequisite for this project.
Before starting, establish three things:
- Whether your balcony has electrical outlets (this determines your lighting path)
- Your approximate sun exposure and floor level (this determines your plant list)
- Whether your building imposes restrictions beyond standard NYC regulations (this determines what you can install without approval)
This guide includes budget anchors at $300, $1,000, and $2,000 so you can stop or scale at any point.
Step 1: Clean the space and take stock
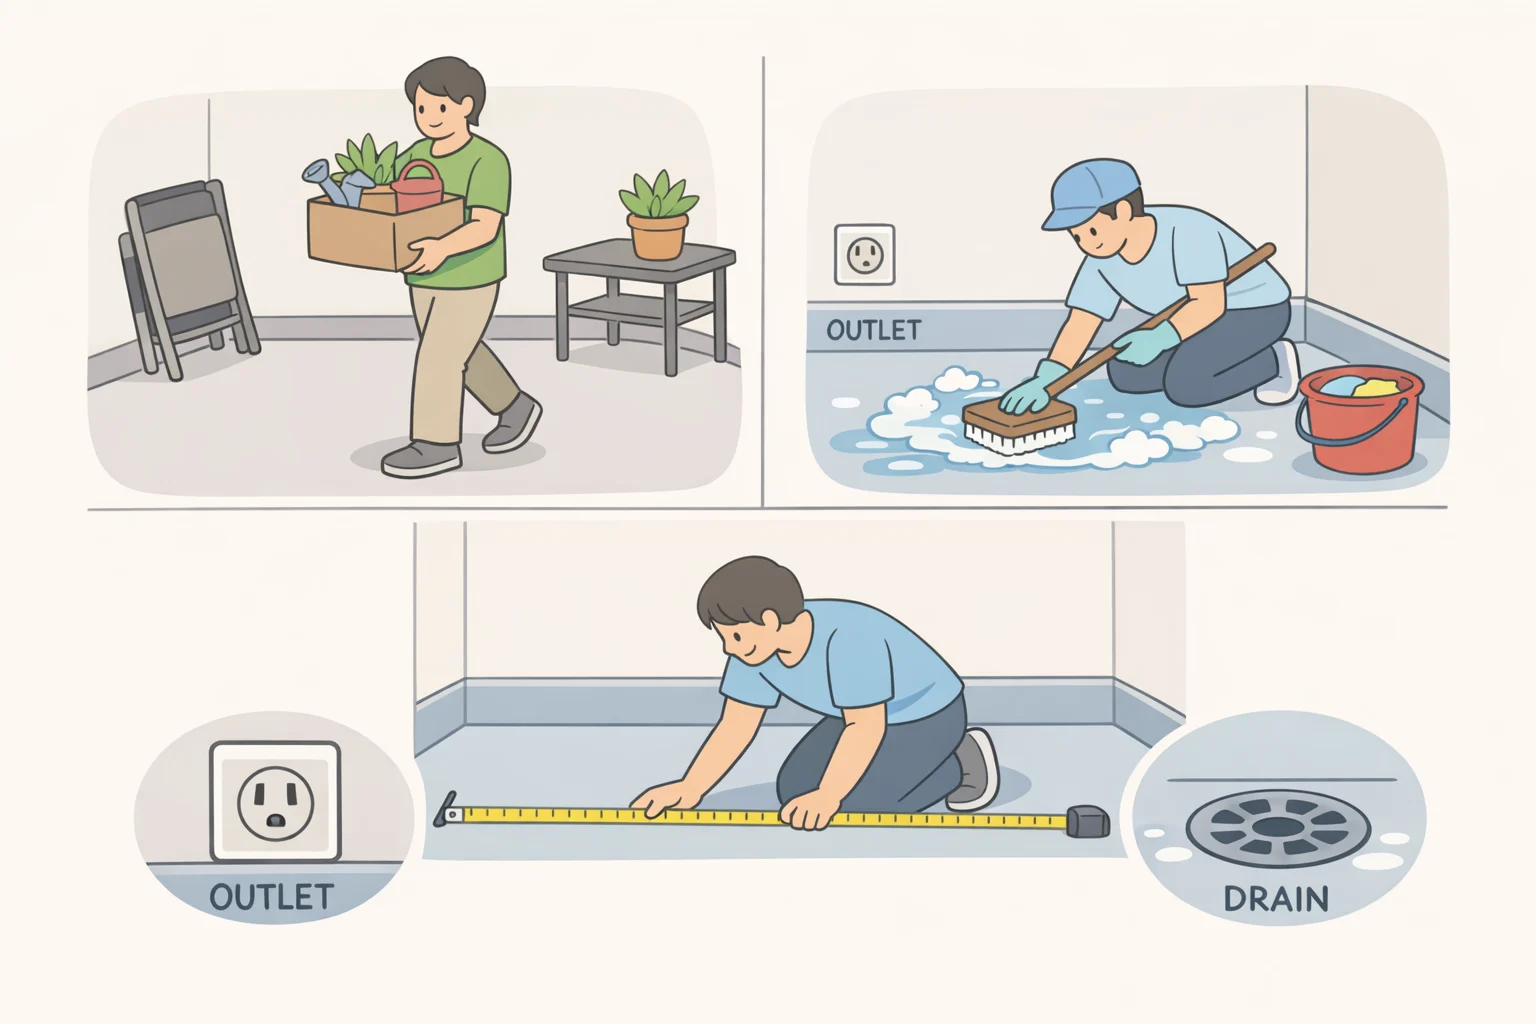
Every successful small-space makeover in the research starts here, not at the store.
"Our first project was to deep-clean the balcony not glamorous, but highly rewarding," Nic told Apartment Therapy this week. "Wiping away literal years of city dust and grime was an immediate improvement." Beyond the aesthetic gain, a clean, empty balcony is the only reliable way to take accurate measurements and assess actual conditions: floor state, railing integrity, outlet placement, and how sunlight moves across the space at different hours.
- Clear everything off the balcony. If there are stored items worth removing permanently, handle disposal now. Nic hired a rubbish removal service to avoid working around old belongings later.
- Sweep and scrub the floor with a stiff-bristle brush and soapy water; most city-balcony grime doesn't require a pressure washer.
- Take rough measurements of the floor area and note the location of any outlets, wall fixtures, or drainage points.
- Spend time on the balcony at different hours to gauge sun exposure. Morning versus afternoon sun determines which plants survive and whether solar lights will charge reliably.
What you should see after this step: A clear, measured surface. The space will read as larger than you expected, and you'll have the information needed for every decision that follows.
Step 2: Renter-friendly patio flooring that changes the whole space
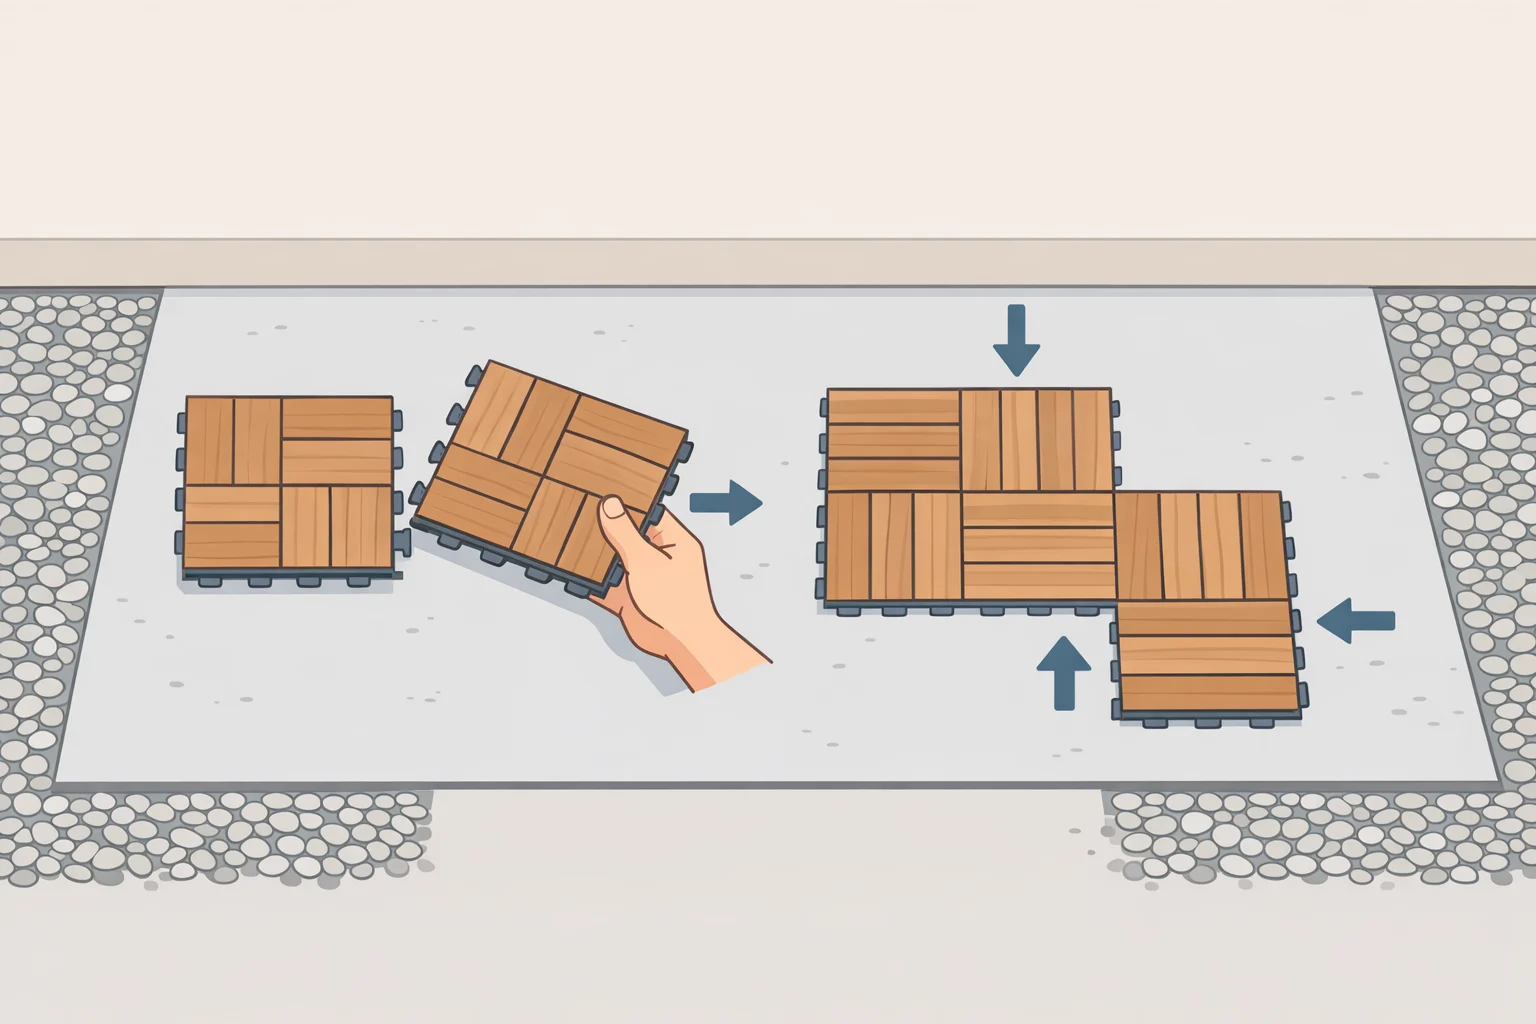
Across both documented NYC makeovers, flooring was independently identified as the single intervention that made the largest visual and tactile difference. Nic combined IKEA interlocking deck tiles with landscaping gravel and patio stones from Lowe's, and told Apartment Therapy it made the biggest difference to the 50-square-foot space. Jen used IKEA RUNNEN tiles in dark gray specifically to turn cold, unwalkable stone into a surface worth crossing barefoot, as Apartment Therapy reported. Both chose interlocking systems: no adhesive, no permits, no surface damage. They lift out when you leave.
Nic's note on installation precision: rough measurements and a few guesstimates. "Everything turned out great!" The modular systems forgive imprecision that's the point.
- Sketch a rough tile layout using your floor measurements. Start from the most visible corner and work outward; edge cuts can be made with a handsaw.
- Select tile material based on exposure: wood-composite tiles are warm underfoot and appropriate for sheltered balconies; all-weather composite holds up better in full sun or wind.
- Layer gravel or flat patio stones into gap zones or transition areas for a finished look rather than exposed concrete edges.
- Account for weight. Wet soil in planters is substantially heavier than dry, and all elevated items must be stable enough to resist wind displacement under NYC regulations. NY Horticulture Group recommends lightweight growing media with expanded shale or pumice rather than standard potting mix relevant if planters are going directly onto tile.
Budget anchor: Deck tiles alone can complete a transformation for under $300 on a small balcony. If budget is tight, stop here. The floor is the highest-return single upgrade identified across both projects, and it's often enough.
Step 3: Solve lighting before placing furniture
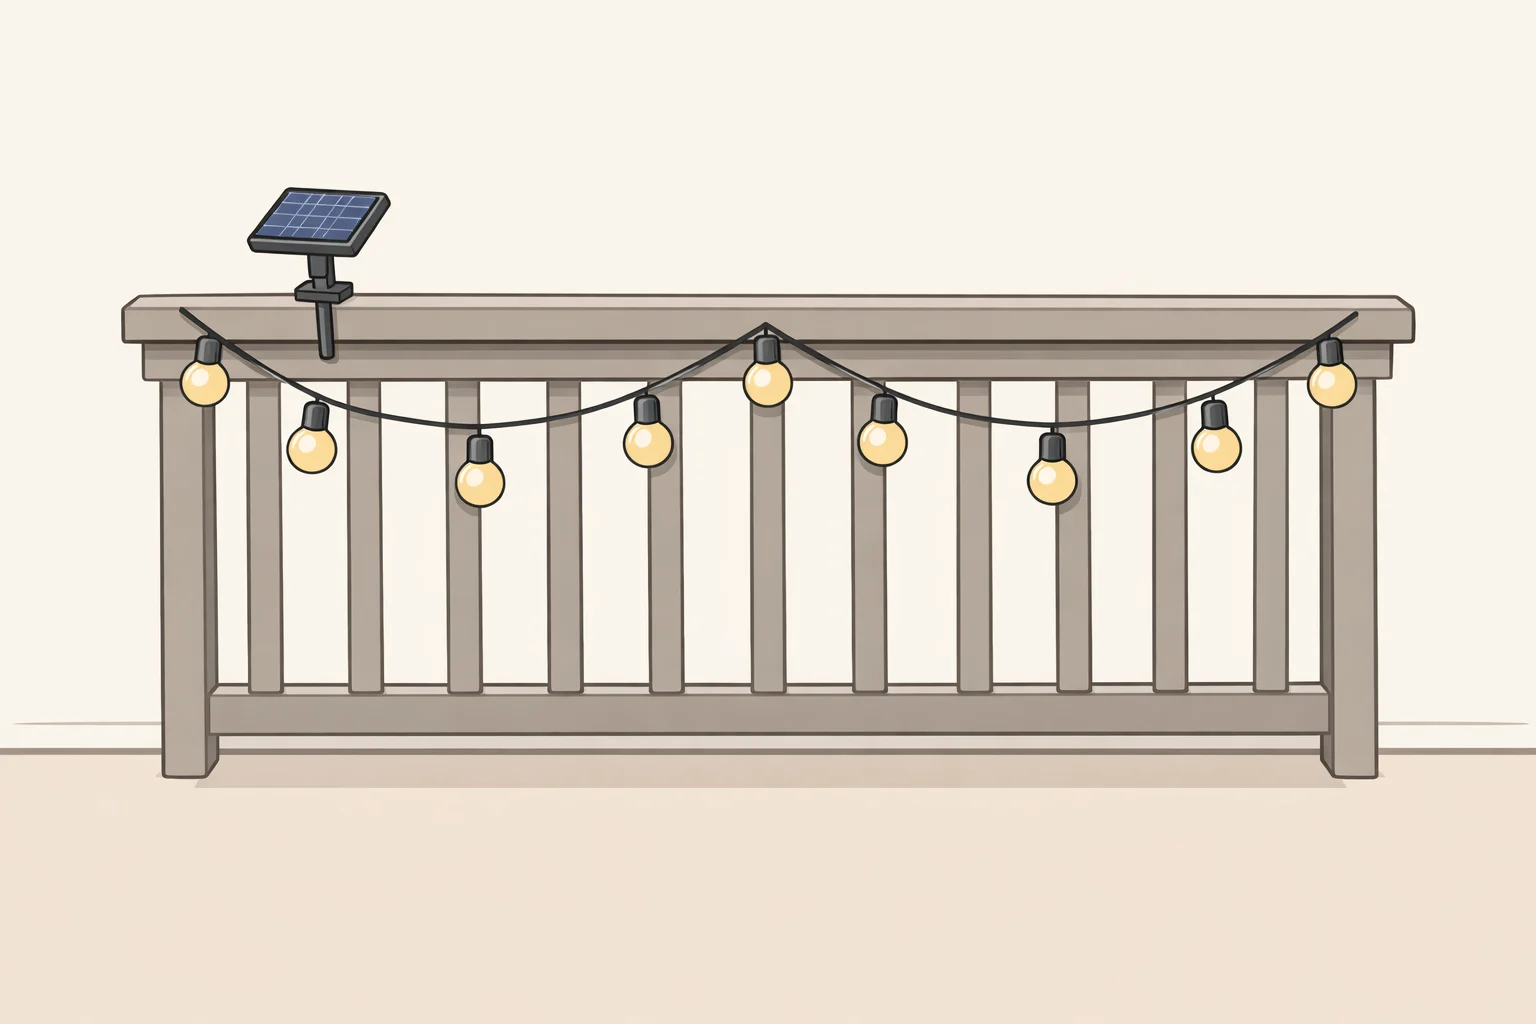
Lighting determines whether a balcony is usable for one season or pushes into fall. Getting it wrong after furniture is in place is annoying and expensive. Assess outlet access first.
No outlets: Nic's balcony had none. His solution was solar-powered string lights that charge during the day and run automatically at dusk, requiring no wiring and no landlord involvement, as Apartment Therapy reported this week. This is the default renter-safe path. Hang them along the railing, drape them overhead, or run them across a bamboo screen. Diffuse overhead light beats a single point-source.
With outlets, or with landlord approval: Nic also added a wall-mounted fixture with a Lutron Caseta smart dimmer "that makes the space usable at night and adds an extra bit of charm," he said. "I am taking my Lutron Caseta switches with me!" Wall fixtures are portable hardware in principle, but their installation involves drilling and wiring. That's a different category from decking tiles and solar lights. Treat any wall fixture as requiring landlord notification before purchase.
Extending the season: Jen Robinson added a freestanding electric space heater to push usable time well past summer no installation, no modification, fully portable, per Apartment Therapy. If that's a goal, plan its placement now so furniture layout accommodates it.
- If no outlets: purchase solar string lights rated for outdoor use; mount them along the railing or overhead before furniture arrives.
- If you want a fixed wall fixture: ask your landlord or building manager before purchasing; clarify who handles reinstallation on departure.
- Locate the heater position in the layout before buying furniture. A freestanding heater needs clearance and a stable surface.
- Test your lighting setup at dusk before declaring it done. Solar lights need consistent sun to charge, and some balcony orientations don't provide it.
What you should see after this step: A balcony you can use after dark. That's the boundary between a seasonal decoration and a room.
Step 4: Add seating, furniture, and privacy
Flooring and lighting make the balcony pleasant. This step makes it functional.
Jen's $1,000 makeover centered on seating: a high-top dining set plus a small sofa. "Having the high-top table and couch options for seating is nice when entertaining friends," she told Apartment Therapy. She also added a bamboo screen, solving privacy and vertical interest simultaneously without touching the building structure. String lights and a row of hanging plants completed the atmosphere. "Surprisingly, this project didn't involve any tools aside from a drill and an Allen key," she noted.
The trick on a 50-square-foot balcony is to choose one primary use before buying furniture. A bistro table and two chairs leave enough circulation space for a second purpose; a compact loveseat against one wall creates lounge capacity without blocking the floor. Define zones dining, seating even if each zone is only large enough for one use at a time.
- Measure the clear floor area after tiles and any planters are accounted for, then choose furniture scaled to that space, not to the balcony's theoretical square footage.
- Place the largest piece first (table or sofa), then fit secondary seating around it; leave roughly 24–30 inches of circulation space from any door.
- For privacy, a freestanding bamboo or reed screen secured to the railing provides coverage without structural attachment; hanging plants from a mounted rod can supplement or replace a screen. Check your building's house rules before attaching anything to the railing.
- Choose furniture materials rated for outdoor use. Cushions should have covers you can bring inside or that resist moisture; metal frames should be rust-treated.
Gotcha: Furniture on an exposed NYC balcony must be secured or heavy enough to resist wind. Lightweight chairs and small tables can become projectiles in a high-wind event. LegalClarity notes that owners and tenants share liability for anything that falls. Anchor lightweight furniture to railing brackets if your building permits non-damaging attachments; otherwise, bring lightweight pieces inside when you're not present.
Budget anchor: A solid bistro set, a privacy screen, and basic cushions can be done for under $400. Adding a compact sofa and better seating options brings cumulative spend to roughly $1,000 Jen's total project cost, as Apartment Therapy documented.
Step 5: Choose plants that will actually survive your specific balcony
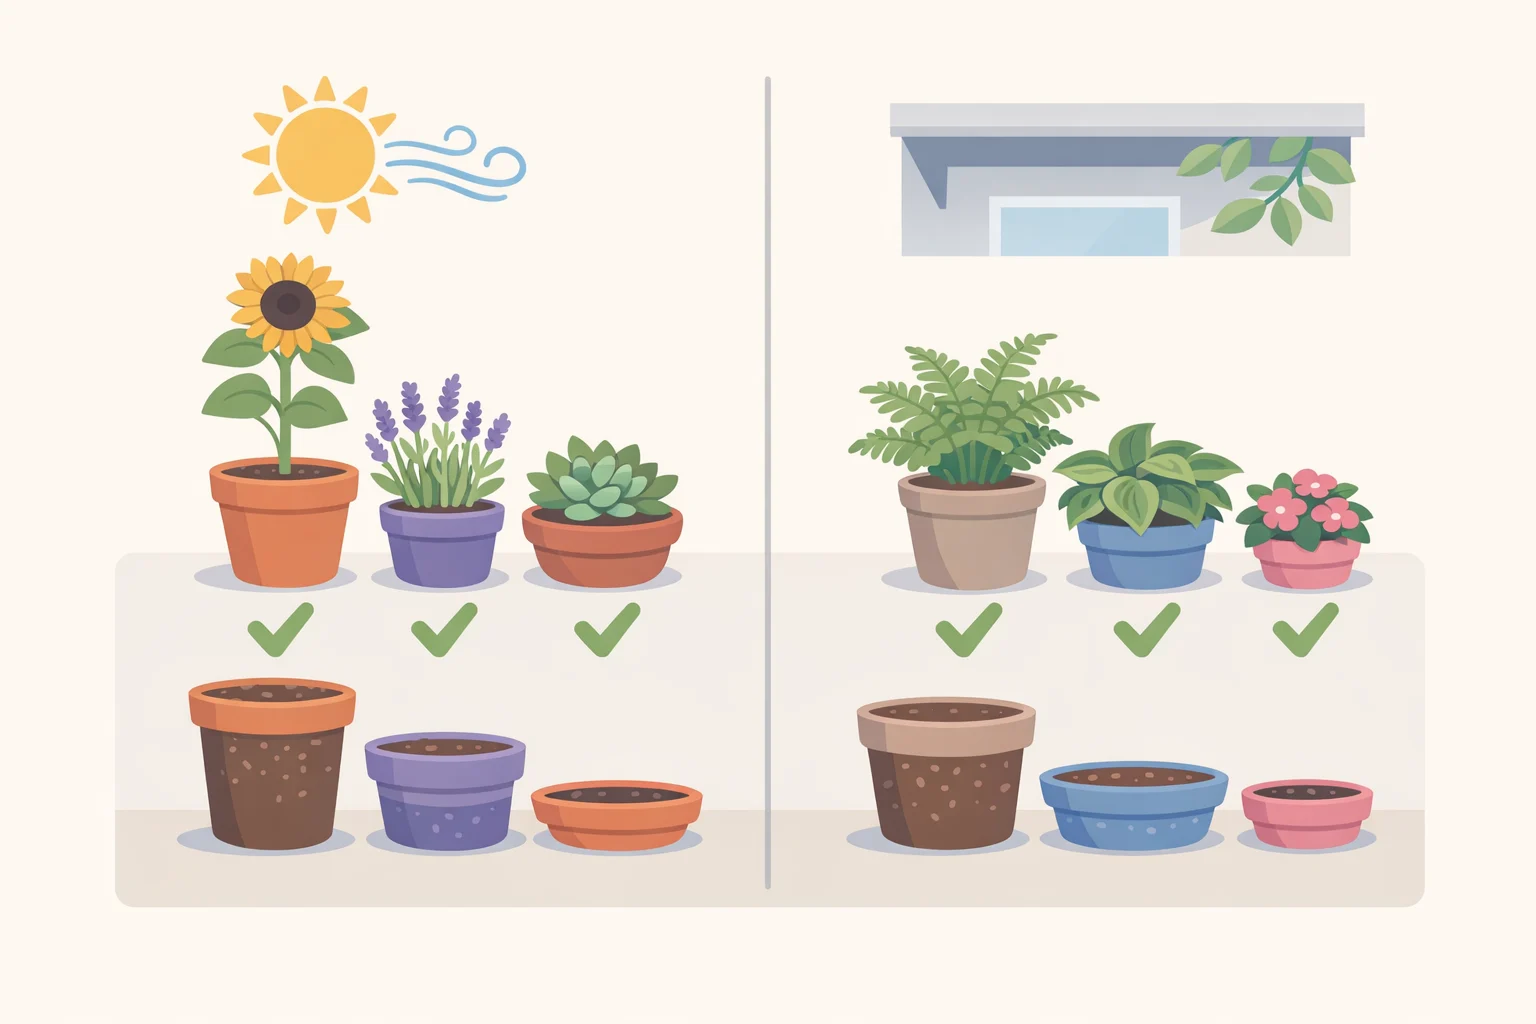
This is where NYC balcony projects most frequently underperform.
Nic's flower boxes are working purples, pinks, yellows, oranges, and reds blooming outside his bedroom window but he's candid about the ongoing conflict. "I'm constantly at war with pigeons, pests (including mice/rats that like to burrow in the planters), and the sun," he told Apartment Therapy this week. NYC rooftops and exposed balconies rank among the toughest container-growing environments in the country: wind at elevation can run double street-level speeds, container soil dries out fast, and microclimates vary enough that what thrives on a sheltered south-facing terrace may scorch on an exposed north-facing one, NY Horticulture Group noted earlier this year.
Plant selection starts with two filters: how much sun does the balcony receive, and how exposed is it to wind?
For sunny, wind-exposed balconies: Prioritize plants hardy to USDA Zone 5 or colder. Exposed balconies behave climatically more like Zone 5 than NYC's nominal Zone 7 rating, per NY Horticulture Group. Strong performers:
- Russian sage: drought-proof, lavender-blue flowers, silvery foliage, and one of the toughest plants for hot, exposed city balconies
- Sedum 'Autumn Joy': the most drought-tolerant flowering perennial on most rooftop shortlists, with flowers that shift from pink to copper through fall
- Yarrow: handles poor soil, wind, and full sun without complaint
- Feather reed grass: the most upright ornamental grass available; wind doesn't faze it
- French marigolds for railing planters: compact at 6–12 inches tall, full sun, continuous bloom through fall
Sources: NY Horticulture Group and Positive Bloom
For shaded or north-facing balconies: Hostas thrive where sun rarely reaches and tolerate container life well. Begonias bloom continuously from spring through fall without deadheading and handle dim north-facing spots reliably. Coral bells offer colorful foliage interest and don't mind being root-bound in containers, per Positive Bloom.
- Match container size to mature plant size. A small plant in a properly sized container outperforms a large plant in an undersized one. Trees need containers at least 24–30 inches deep; large shrubs need 18–24 inches, per NY Horticulture Group.
- Use lightweight growing media. Standard potting mix is too dense and too heavy for elevated spaces; choose blends with expanded shale or pumice for drainage and weight reduction.
- Secure all planters against wind. NYC regulations make tenants liable for anything dislodged from a balcony, LegalClarity notes.
- Water container plants deeply once or twice a week rather than shallowly and frequently. Elevated wind accelerates drying significantly, per Cultivating Flora.
Gotcha: Avoid statement plants that look lush at the nursery but collapse under urban exposure. Big-leaf hydrangeas lose flower buds to NYC wind each winter because buds form on old wood the wind kills back. Running bamboo will eventually breach any container. Start with three to five proven performers in appropriate containers, then expand once you understand your microclimate, NY Horticulture Group advises.
How far does your budget take you
The two documented makeovers provide useful reference points.
Around $300 (floor-only starter): Deep clean, IKEA interlocking deck tiles, basic landscaping gravel for edge zones. Stop here if budget is tight the space is already meaningfully better, and you've done the highest-return work.
Around $1,000 (comfort version): Add solar string lights, a compact bistro set or small sofa, and a bamboo privacy screen. Jen Robinson's full transformation landed at this level a complete, functional outdoor lounge with seating for guests and evening ambiance, per Apartment Therapy.
Around $2,000 (full version, including plants): Layer in flower boxes, planters with established perennials or annuals, a space heater for season extension, and upgraded lighting. This is approximately Nic's total investment, as Apartment Therapy documented. The ongoing cost replacement plants, pest management continues past the initial build.
If there's only one weekend available, buy the tiles first. That single step changes what the space feels like to stand in. Lighting comes next. Everything else furniture, plants, privacy screens can layer in over time as budget allows. The key variables to resolve before spending: outlet access locks in the lighting budget; sun and wind exposure together determine how much you'll spend managing plants over time; building house rules may eliminate certain steps regardless of budget. Sort those out first, then spend accordingly.




















Comments
Be the first, drop a comment!