


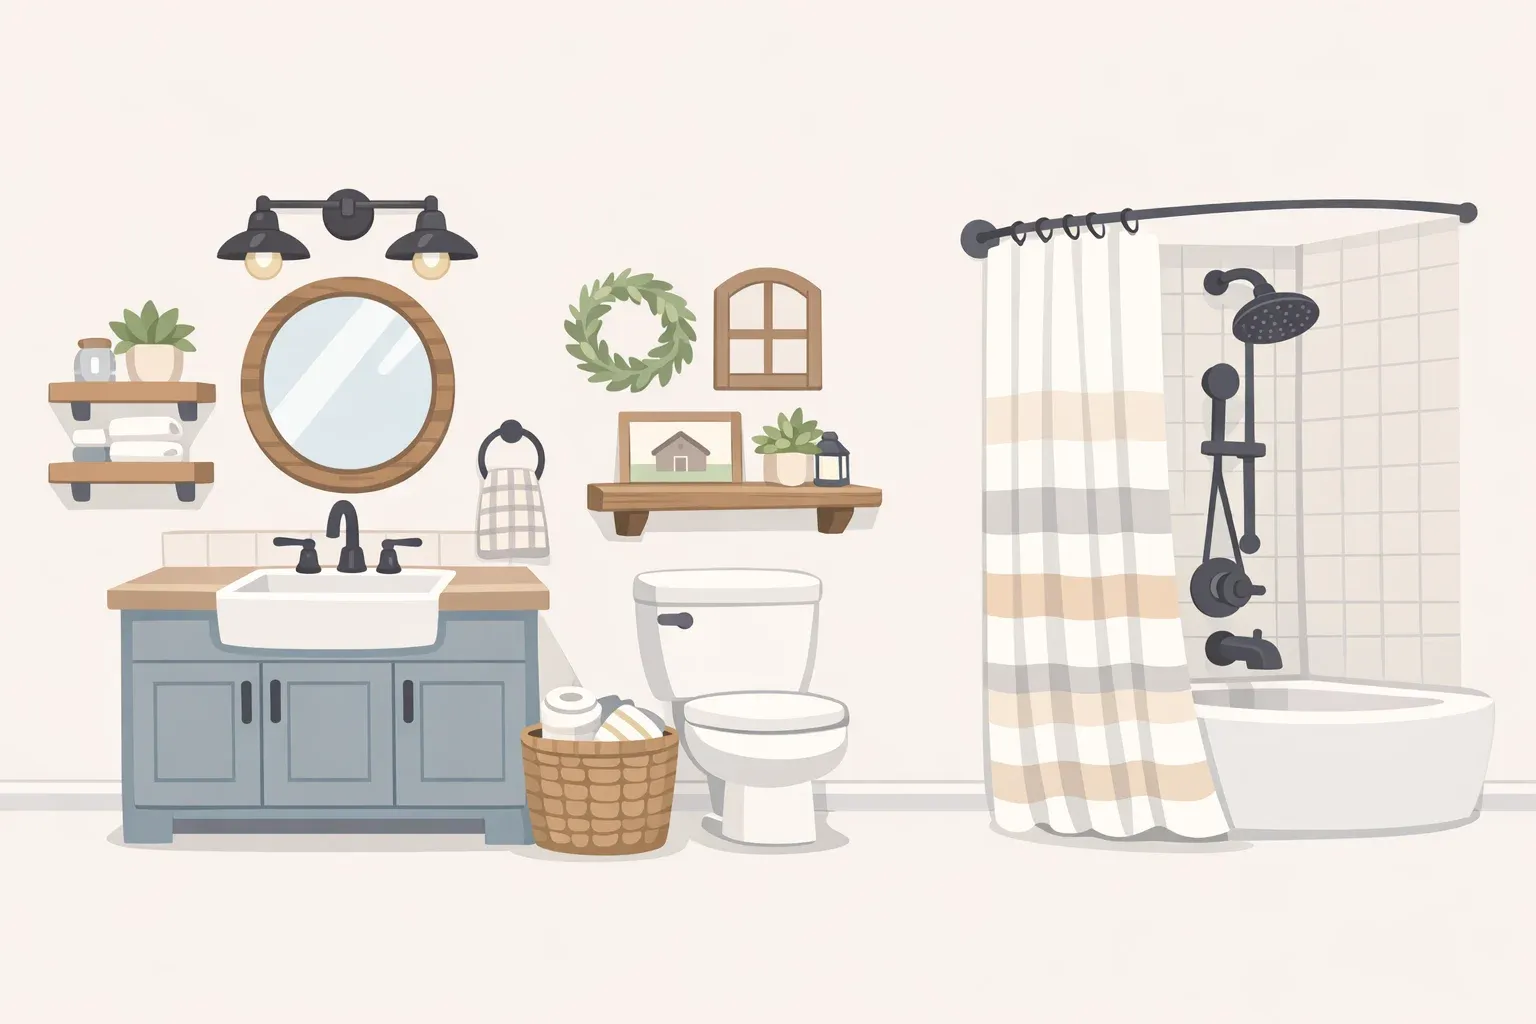
Transform Your Bathroom in One Weekend: 3 Nail-Free Solutions That Actually Work
Difficulty: Novice
Time: 4-6 hours total
Cost: ~$75-150
Have an afternoon and are tired of your bathroom feeling like a beige box from 1995? Here's what happened when I discovered three game-changing solutions that completely transformed my drab space without a single drill hole. These nail-free finds saved my security deposit while giving me the bathroom upgrade I'd been craving for years.
The secret lies in understanding that modern adhesive technology can handle way more than you think. Each weekend warrior project delivers maximum impact with minimal effort—perfect for renters who want designer looks without permanent changes.
What You'll Need
For Wall Storage:
Adhesive bathroom storage rails and baskets
VELCRO® Brand Kitchen and Bath fasteners (holds up to 10 lbs per fastener)
Cleaning supplies (rubbing alcohol, microfiber cloths)
For Peel-and-Stick Trim:
Peel-and-stick molding (foam or vinyl)
Utility knife
Tape measure
Pencil
Level
Sponge and bucket with soapy water
Combination square (for 45-degree corner cuts)
Painter's tape
Clear caulk
For Strategic Painting:
High-quality bathroom paint (moisture-resistant)
Primer suitable for bathrooms
Paint rollers and brushes
Drop cloths
Painter's tape
TSP cleaner or degreasing solution
Medium-grade sandpaper
Wood filler (if needed)
Safety First
Ensure room temperature is above 50°F (10°C) for optimal adhesive performance
Wear protective goggles and rubber gloves when using TSP cleaner
Provide adequate ventilation when painting or using adhesives
Test adhesive fasteners on inconspicuous areas first
Method 1: Transform Walls Into Storage Powerhouses
Clean and prepare surfaces. Wipe down all wall areas with rubbing alcohol and let dry completely. This step determines how well your storage will stick.
Tip: Avoid grout lines entirely—they won't provide the solid hold you need (Velcro).
Plan your storage layout. Choose storage pieces that match your wall color to prevent a cluttered appearance (IKEA). Position rails at convenient heights for daily items.
Install adhesive fasteners. Apply one side of each VELCRO fastener to your storage item and the other to the wall. Each fastener supports up to 10 pounds (Velcro).
For heavier items: Distribute weight across multiple fasteners (Velcro).
Allow adhesive to cure. Wait 24 hours before loading heavier items onto your new storage system (Velcro).
Why it works: Modern adhesive fasteners stick firmly to tile, glass, and metal surfaces while removing cleanly without marks (Velcro). When you move out, they peel off without damage.
Method 2: Add Architectural Interest With Peel-and-Stick Trim
Measure your space. Determine how many linear feet of molding you need. Add 10% extra for mistakes and corner cuts.
Clean walls thoroughly. Use sponge and soapy water to scrub all surfaces where trim will be applied. Let dry completely—this determines adhesion success (Lifehacker).
Note: Self-stick molding works best on non-textured surfaces (Lifehacker).
Plan your placement. Use painter's tape to temporarily position molding and visualize the final look. Getting placement right the first time saves money and frustration (Lifehacker).
Cut trim pieces. Use combination square to mark 45-degree angles for corners. Cut with utility knife, scoring multiple times for clean cuts.
Apply trim systematically. Start with longest straight runs. Peel backing and apply gradually, smoothing as you go to prevent air bubbles.
Tip: Work slowly around curves—flexible materials conform to uneven surfaces (Lifehacker).
Finish seams professionally. Caulk all seams with clear caulk for that custom millwork appearance (Lifehacker).
Why it works: Flexible foam and vinyl materials roll out like tape and conform to curves, creating architectural interest that elevates the entire space (Lifehacker).
Method 3: Create Dramatic Impact With Strategic Paint
Clear and protect the area. Remove all items from surfaces and cover floor with drop cloths. Use painter's tape to protect walls and mirrors.
Clean surfaces with TSP solution. Mix trisodium phosphate with water following package directions. Apply with sponge to remove all grease and soap buildup.
Safety: Wear protective goggles and rubber gloves when using TSP.
Sand lightly and fill imperfections. Use medium-grade sandpaper to smooth surfaces. Fill any nicks with wood filler and let dry completely.
Apply primer. Use a roller or a brush to apply one light coat of bathroom-specific primer. Let dry according to manufacturer's instructions.
Tip: Start with cabinet doors since they take the longest—you can flip them to paint the other side while other surfaces dry.
Paint in light coats. Apply paint in thin layers to prevent drips. Most surfaces need two coats for best coverage (Multitrade Building Services).
Finish with touch-ups. Paint baseboards and crown molding for that pulled-together professional look (Multitrade Building Services).
Why it works: Professional-grade bathroom paints resist moisture and daily use while strategic color placement makes small bathrooms feel larger and brighter (Multitrade Building Services).
Cleanup & Disposal
Store leftover paint in sealed containers for touch-ups
Dispose of TSP solution according to local regulations
Clean brushes immediately with appropriate solvent
Save small pieces of trim for future repairs
Troubleshooting
Problem: Adhesive storage won't stick → Fix: Ensure temperature is above 50°F and surface is completely clean and dry
Problem: Trim edges lifting → Fix: Apply gentle heat with hair dryer and press down firmly
Problem: Paint streaking → Fix: Apply thinner coats and maintain a wet edge while painting
Variations & Upgrades
Budget option: Start with paint only (~$30-50)
Renter upgrade: Focus on removable storage and trim for maximum impact
Weekend warrior: Tackle all three methods for complete transformation
Ready to Transform Your Space?
These three nail-free solutions prove you don't need major renovations to achieve dramatic results. Smart storage systems maximize functionality while maintaining clean lines (IKEA). Flexible trim adds architectural interest that elevates the entire space (Lifehacker). Strategic paint application creates the perfect backdrop for your new design (Multitrade Building Services).
Start with whichever element excites you most—maybe that wall storage system that finally organizes your toiletries, or the peel-and-stick trim that adds custom millwork character. Your bathroom transformation is just one weekend away, with zero risk to your security deposit.


Comments
Be the first, drop a comment!