



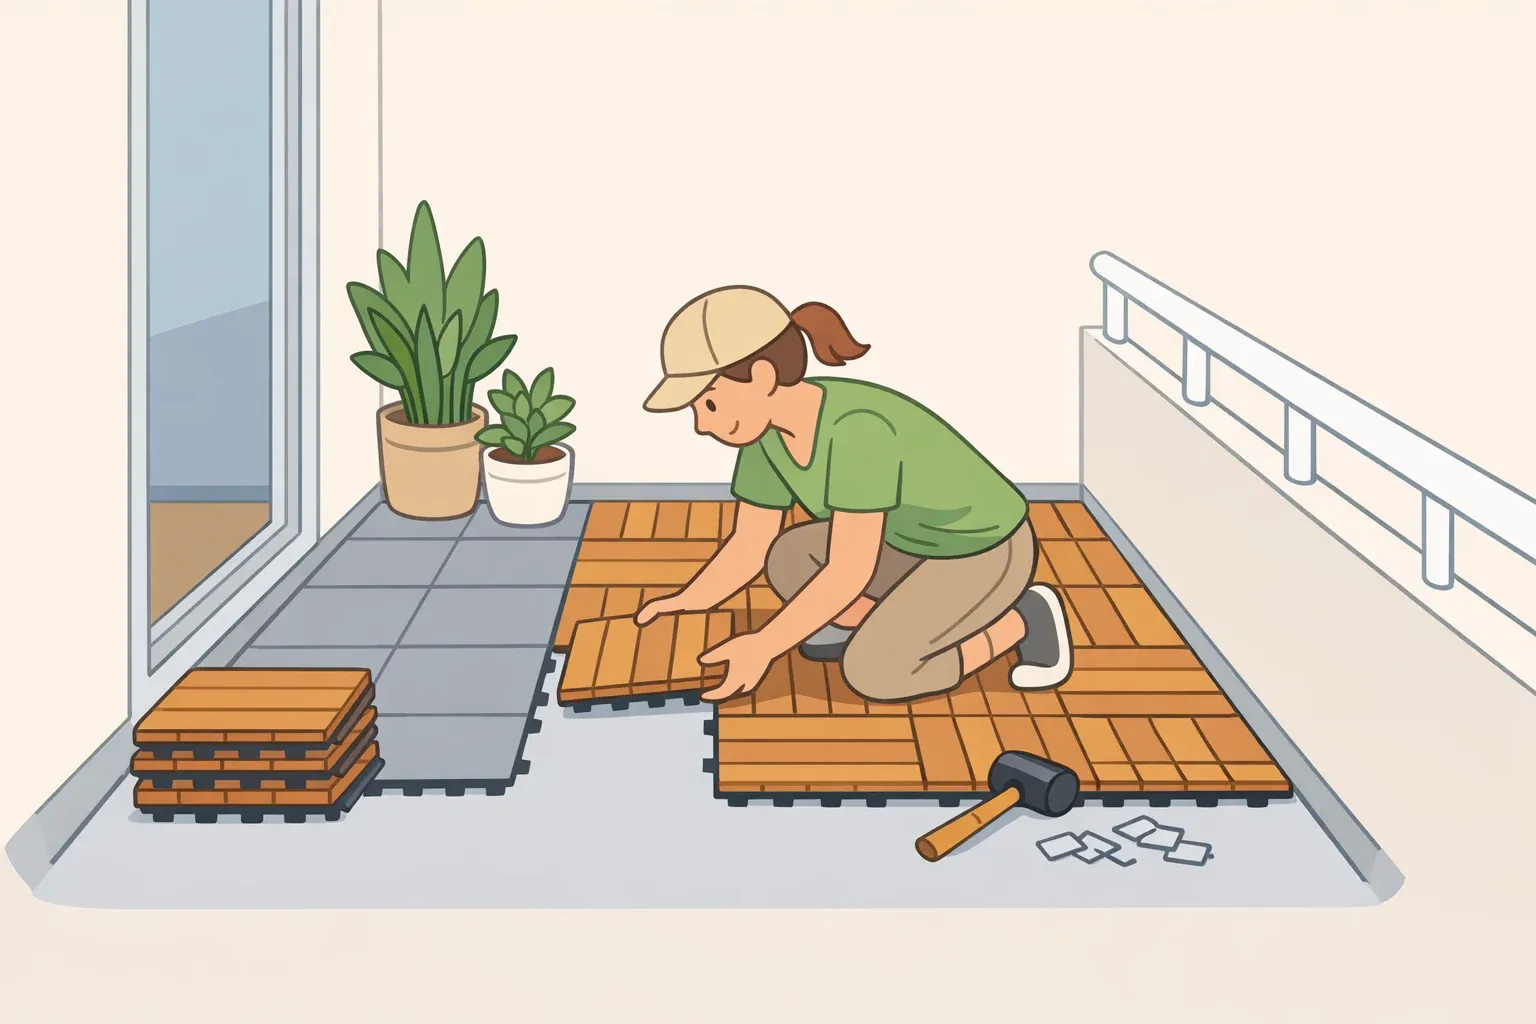
Small balcony makeover with IKEA outdoor tiles for awkward spaces
Most balcony makeover guides assume you're starting with a rectangle. Nikki's balcony wasn't one. The entry door opened between two unequal sections, leaving one side narrow enough that most of her neighbors had written it off as unusable, according to Apartment Therapy. That's the problem this guide is built around: a split layout that functions as two unusable halves rather than one outdoor space. A small balcony makeover with IKEA outdoor tiles is what eventually changed that, but the tiles weren't the first decision, and they weren't the only one that mattered.
This is a case-study-derived guide to decision order. It follows Nikki's documented makeover to extract a practical sequence for readers dealing with similar constraints: a split or irregular footprint, full weather exposure with no overhead cover, and a preference for iterating on a modest budget across multiple seasons rather than redoing everything at once. It is not a thorough RUNNEN installation manual.
Nikki spent several springs and summers making incremental improvements, tackling a little more each season rather than treating the balcony as a single renovation project, Apartment Therapy reported this week. IKEA RUNNEN outdoor decking, approximately $35 per 9 square feet and just under $300 to cover her full balcony, was the biggest single upgrade. Layout and exposure needed to be understood before that tile purchase could pay off.
One transparency note before proceeding: the sequence below is a practical reconstruction of Nikki's choices. Her actual timeline was messier than numbered phases imply. Where the guidance departs from the documented record to offer editorial perspective, it's labeled as such.
This approach is a good fit if your balcony is split or L-shaped, fully or mostly uncovered, subject to renter-friendly constraints (no permanent modifications), and better served by seasonal improvements than a one-time overhaul.
Phase 1: Assess the layout before you buy anything
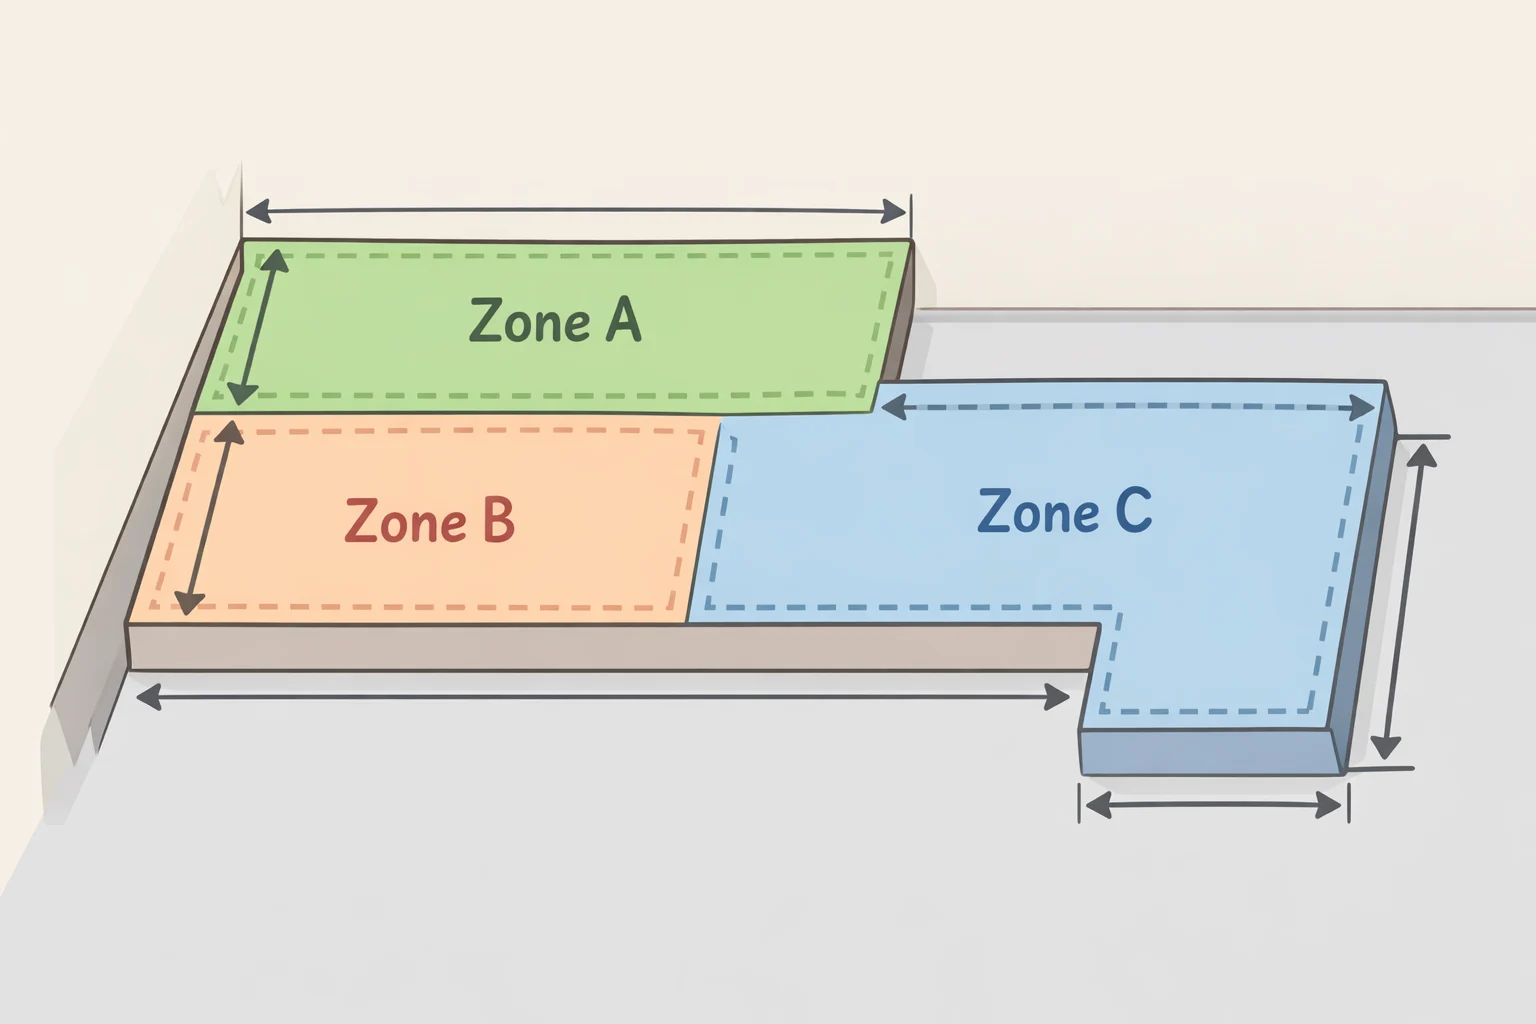
Nikki's balcony wasn't just small. "The door to get outside opens in between the two," she explained, per Apartment Therapy. "One is much more narrow. I think most people in the building find it unusable." The makeover's core achievement was making both sides functional, not just covering them with the same materials. That starts at assessment, not at the hardware store.
Three diagnostic questions to answer before purchasing anything:
-
How many zones does your balcony actually have? Measure each section independently. A single square footage estimate for an irregular footprint will produce the wrong tile quantity and the wrong furniture scale. Note where doorways, railings, or level changes divide the space.
-
What is each zone's practical purpose? Nikki's narrower section needed one defined function, not a compressed version of the main seating area. Attempting to mirror a larger zone's furniture arrangement in a tight space typically makes it feel more cramped, not more complete. One chair and a side table, a plant grouping, or a dedicated reading spot works better than a scaled-down two-seat layout.
-
What are your exposure conditions? Nikki had full southern exposure with no overhead balcony for protection, Apartment Therapy reported. That single condition shaped her flooring decisions, her plant choices, and her weatherproofing timeline. Know your sun direction and overhead coverage before choosing any materials.
One more thing before moving forward: if your building has rules about balcony modifications, check them now. Click-together tiles like RUNNEN are non-permanent and reversible by design, but what management allows varies by building and lease. This guide doesn't cover HOA or lease restrictions.
Copy/calibrate: Use the zone-by-zone measurement and purpose-assignment approach for any irregular footprint. Calibrate the specific zoning decisions to your space, since a wider secondary zone may support more furniture than Nikki's did, and a covered balcony faces different constraints than hers.
How to use IKEA outdoor deck tiles on a balcony with an awkward layout: Phase 2 in full
This phase covers the RUNNEN decision in full: cost, installation, the edge problem, and the durability question that only becomes relevant after a season or two of full weather exposure.
Why Nikki changed the floor before RUNNEN
Her balcony originally had a deteriorating wood tile floor. The first fix was paint and boat-grade varnish, a reasonable approach since marine finishes are formulated for moisture and UV stress. "The original wood tile floor was not standing up to the elements, so my first attempt was to paint the floor and then use a weather-resistant boat varnish, which got me another year out of the floor," she told Apartment Therapy. Paint and weatherproofer ran approximately $110 total, Apartment Therapy reported.
The weatherproofing step also produced the balcony's strongest visual statement. "The turquoise floor balcony has a fun South Beach vibe," Nikki said, per Apartment Therapy. A decision made for durability became the boldest design choice in the whole project. If you're sealing an outdoor floor anyway, picking the color intentionally costs nothing extra.
The honest lesson from this step: boat varnish is a delay, not a solution. It's the right product for exposed wood, but if the material is already failing, sealing it extends the timeline rather than fixing the problem. That's what eventually led Nikki to switch surfaces entirely and move to RUNNEN.
Installing RUNNEN: what works and where it gets complicated
RUNNEN outdoor decking runs approximately $35 per 9 square feet, Apartment Therapy reported. For Nikki's balcony, full coverage came in just under $300. Measure each zone separately before ordering, since an irregular footprint requires zone-by-zone tile estimates, not a single total area calculation.
The tiles click together at the joints without tools or adhesive, per IKEA. Nikki confirmed the installation was easier than expected for the main field; rectangular areas go quickly. IKEA also notes that its outdoor flooring range supports mixing styles, per IKEA, which is worth knowing if your secondary zone has dimensions that don't tile cleanly with a single product.
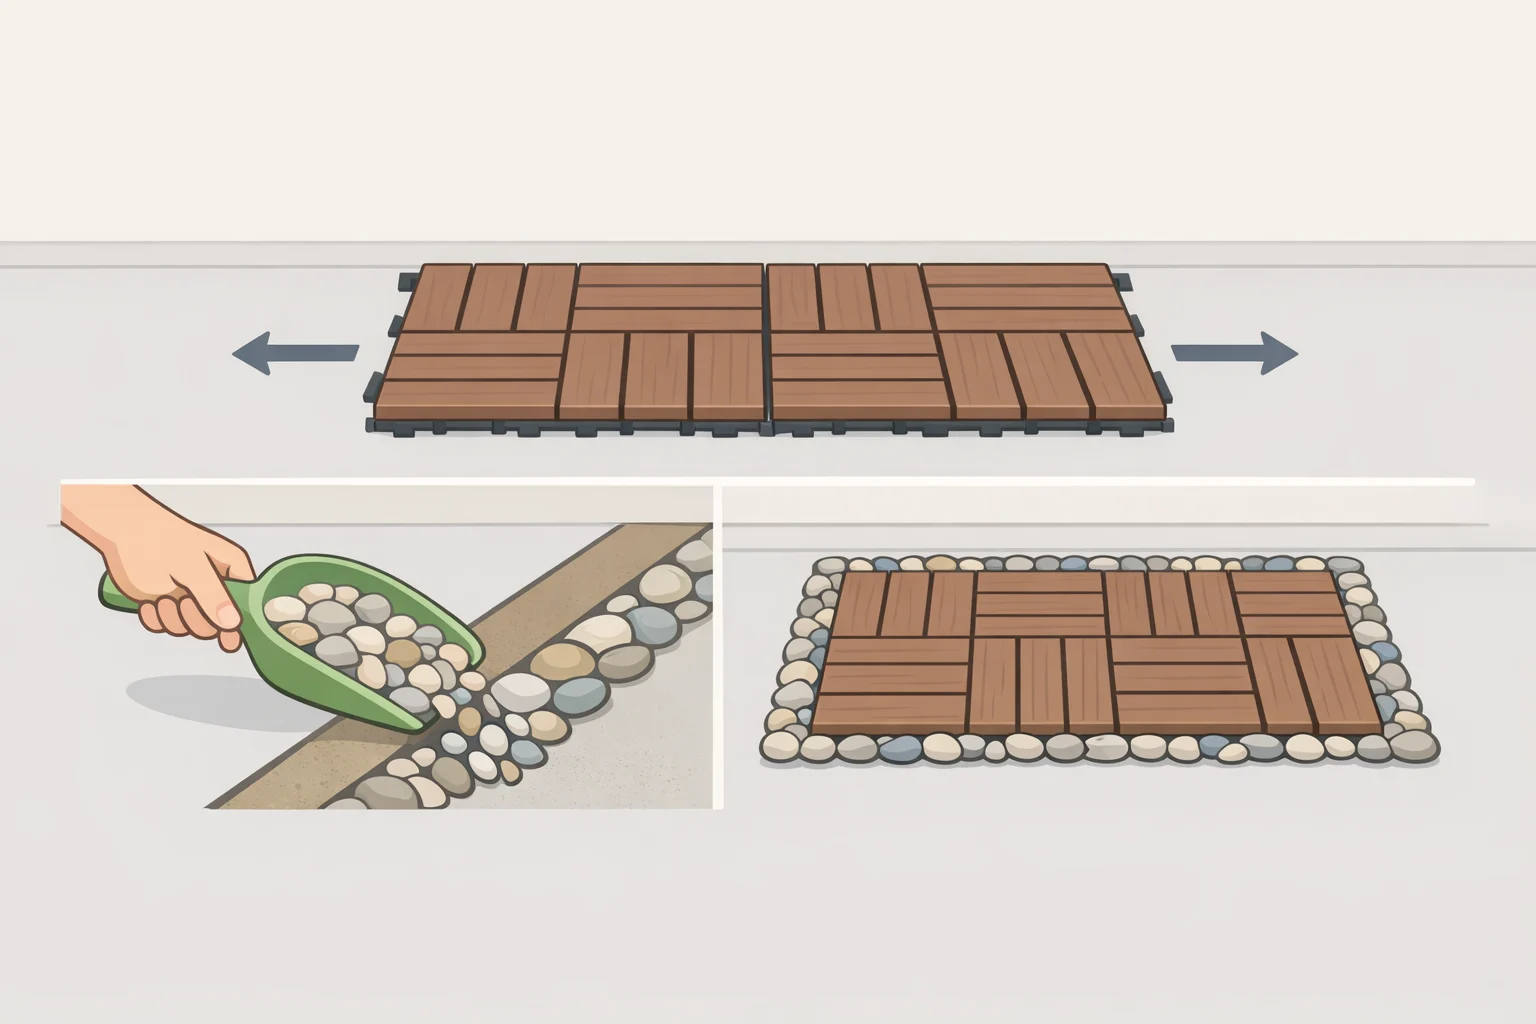
Edges are the part IKEA doesn't walk you through. The click system handles interior coverage well. Where the tile field meets a wall, railing, or uneven boundary, the perimeter is exposed and visually unfinished. "It was much easier than expected, but the challenge is how to cover the edges of the tiles," Nikki said, per Apartment Therapy. Her solution was small stones from a hardware store, used to fill the perimeter gaps and create a clean visual border, Apartment Therapy reported. Add the stones to your materials list and your time estimate before installation, not after. The tile job isn't done until the edges are addressed.
On furniture timing: Nikki added new patio furniture in the same phase as the tiles, Apartment Therapy reported. The practical guidance here is to plan flooring and furniture together after the layout assessment. Furniture scale depends on knowing your floor area; tile quantity depends on knowing where furniture will anchor. These are parallel decisions, not sequential ones.
The exposure reality: what full weather conditions actually mean for maintenance
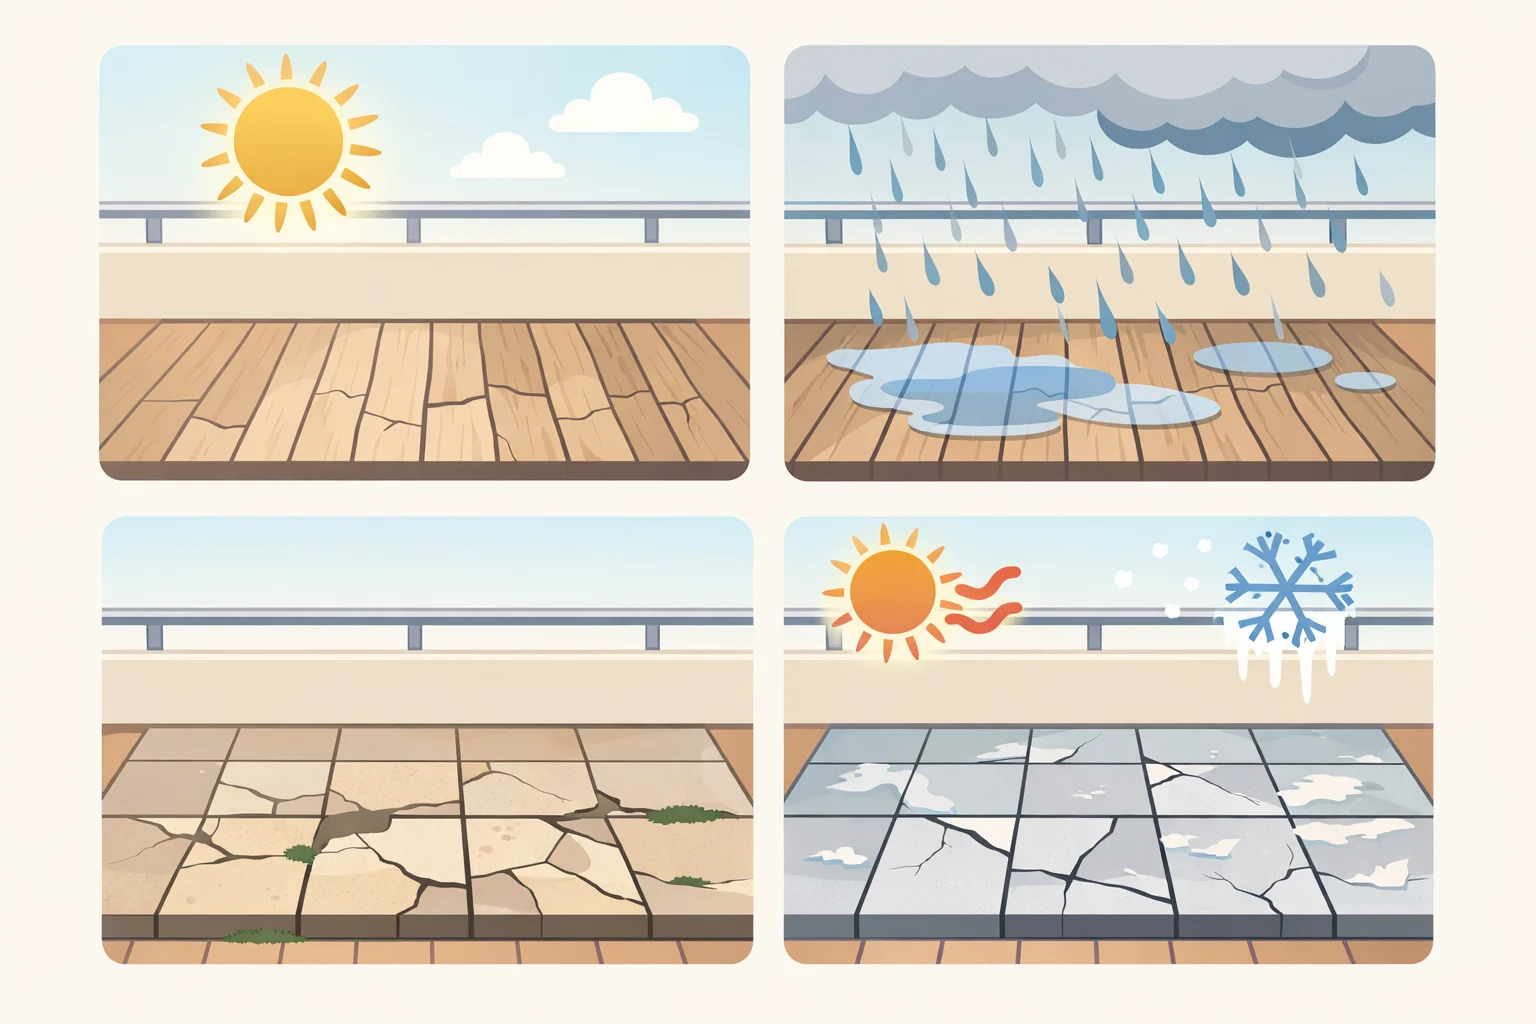
Nikki named weatherproofing as one of her two main challenges, per Apartment Therapy. "Unfortunately, there is no balcony above me to protect it from the elements," she said. A fully exposed, south-facing balcony is a harsher environment than a covered or partially shaded space. RUNNEN tiles are designed for outdoor use and install easily, but easy installation is not the same as low maintenance under full-weather conditions.
Editorial note: the long-term performance of RUNNEN tiles under Nikki's specific exposure conditions is not fully documented in the available account. What is documented is that her original wood tile floor failed under those conditions and that boat varnish extended its life by approximately one year. Readers with similar uncovered, full-sun exposure should treat any wood-based outdoor flooring as a material requiring seasonal attention, not a set-and-forget surface.
Copy/calibrate: Copy the edge-finishing approach (perimeter stones, planned before installation) and the parallel flooring-and-furniture planning for any split layout. Editorial note: a covered balcony will face less weathering stress than Nikki's fully exposed setup; an uncovered south-facing surface will face comparable conditions.
Phase 3: Style for constraints, not for ideal conditions
Phase 1 and Phase 2 address structure. Phase 3 is where the decisions get personal, but they still follow from constraints, not preferences alone.
Plants: a simple decision rule for high-sun balconies
"I have southern exposure, which makes it difficult to keep plants and flowers alive because there is so much sun," Nikki said. "The first few years I maintained all real plants and flowers, but this year I worked hard to find real-looking faux plants and flowers to lessen the upkeep," she told Apartment Therapy.
The decision rule this suggests: full sun, no overhead cover, and a limited-maintenance goal points toward faux plants or heat-tolerant varieties that don't need daily attention. In Nikki's case, several years of maintaining real plants led her to faux ones. That's not a stylistic preference; it's a practical conclusion driven by conditions. Readers with covered or north-facing balconies have more flexibility.
Color as a structural design choice
On an apartment balcony, the floor is typically the largest uninterrupted surface in view. That's why Nikki's teal floor did more aesthetic work than any piece of furniture. Bold floor color gives a small outdoor space a single strong anchor; it creates character rather than just filling square footage. That effect came from a weatherproofing decision made for practical reasons, which is the deeper point: when structural choices are forced on you anyway, make them count visually.
Editorial note: the preference for bold over neutral in small outdoor spaces is a common design guideline, not a finding derived from this case study.
The secondary zone: three ways to use a narrow space
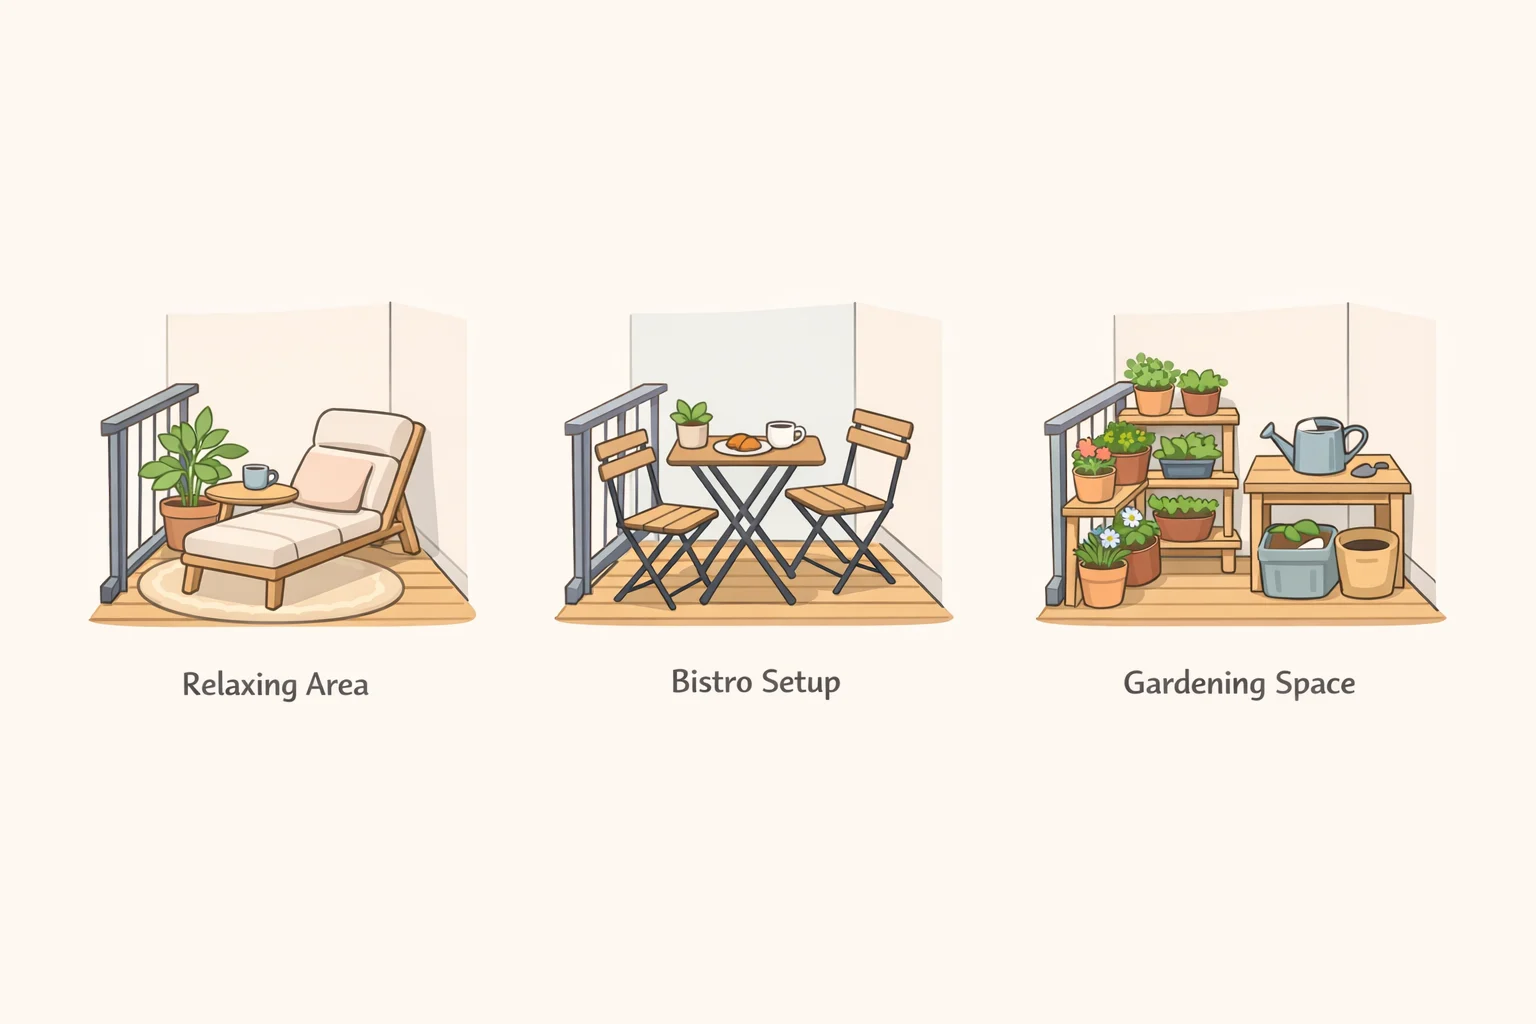
Once the narrow zone has flooring and a defined footprint from Phase 1, it needs one clear purpose. Trying to do too much in a tight space reads as clutter. Three approaches that work in practice:
- Single-seat reading corner: One compact chair, a small side table for a drink, and a potted plant or two to mark the boundary. Defined and complete without feeling crowded.
- Plant display zone: If the narrow section gets good light, use it as dedicated growing space. A row of pots along the railing, or a tiered plant stand, fills the area intentionally rather than leaving it blank.
- Storage-functional zone: A weatherproof storage bench doubles as seating and hides outdoor cushions, extension cords, and seasonal items, turning the awkward zone into the most practical part of the balcony.
Nikki's principle holds across all three: "There are no rules when decorating a balcony. Make it your own space," per Apartment Therapy. The sequencing in this guide is practical; the styling choices belong to the reader.
Copy/calibrate: Copy the faux plant decision if you have high sun and limited time. Copy the bold color approach if you want a single strong visual anchor. Calibrate both to your actual exposure and how much seasonal maintenance you're willing to commit to.
When this approach fits, and what it costs
This model works best when the balcony is split or irregularly shaped with at least one under-used zone, the space is fully or mostly uncovered, the priority is non-permanent changes, and the preference is seasonal iteration over a single overhaul. If your balcony is a clean, covered rectangle, the layout-assessment phase is simpler and the weatherproofing constraints are less acute, but the decision sequence still holds. These are balcony flooring ideas for apartments that scale down or up depending on footprint; the logic doesn't require Nikki's exact conditions to apply.
On documented costs: RUNNEN tiles came in just under $300 for full balcony coverage at roughly $35 per 9 square feet, Apartment Therapy reported. Floor paint and weatherproofing sealer together ran approximately $110, Apartment Therapy reported. Furniture, faux plants, edge-finishing stones, and replacement materials across multiple seasons are not fully costed in the available account. Total project cost will run higher than those two line items and depends heavily on furniture selection.
Nikki's most transferable line is also the plainest: "It doesn't all need to be redone," she told Apartment Therapy. She built the space across multiple seasons, starting with the decisions that had the most structural impact, then layering styling on top. An awkward balcony solved in that order is more durable and more livable than one styled before the harder problems are addressed.


















Comments
Be the first, drop a comment!