



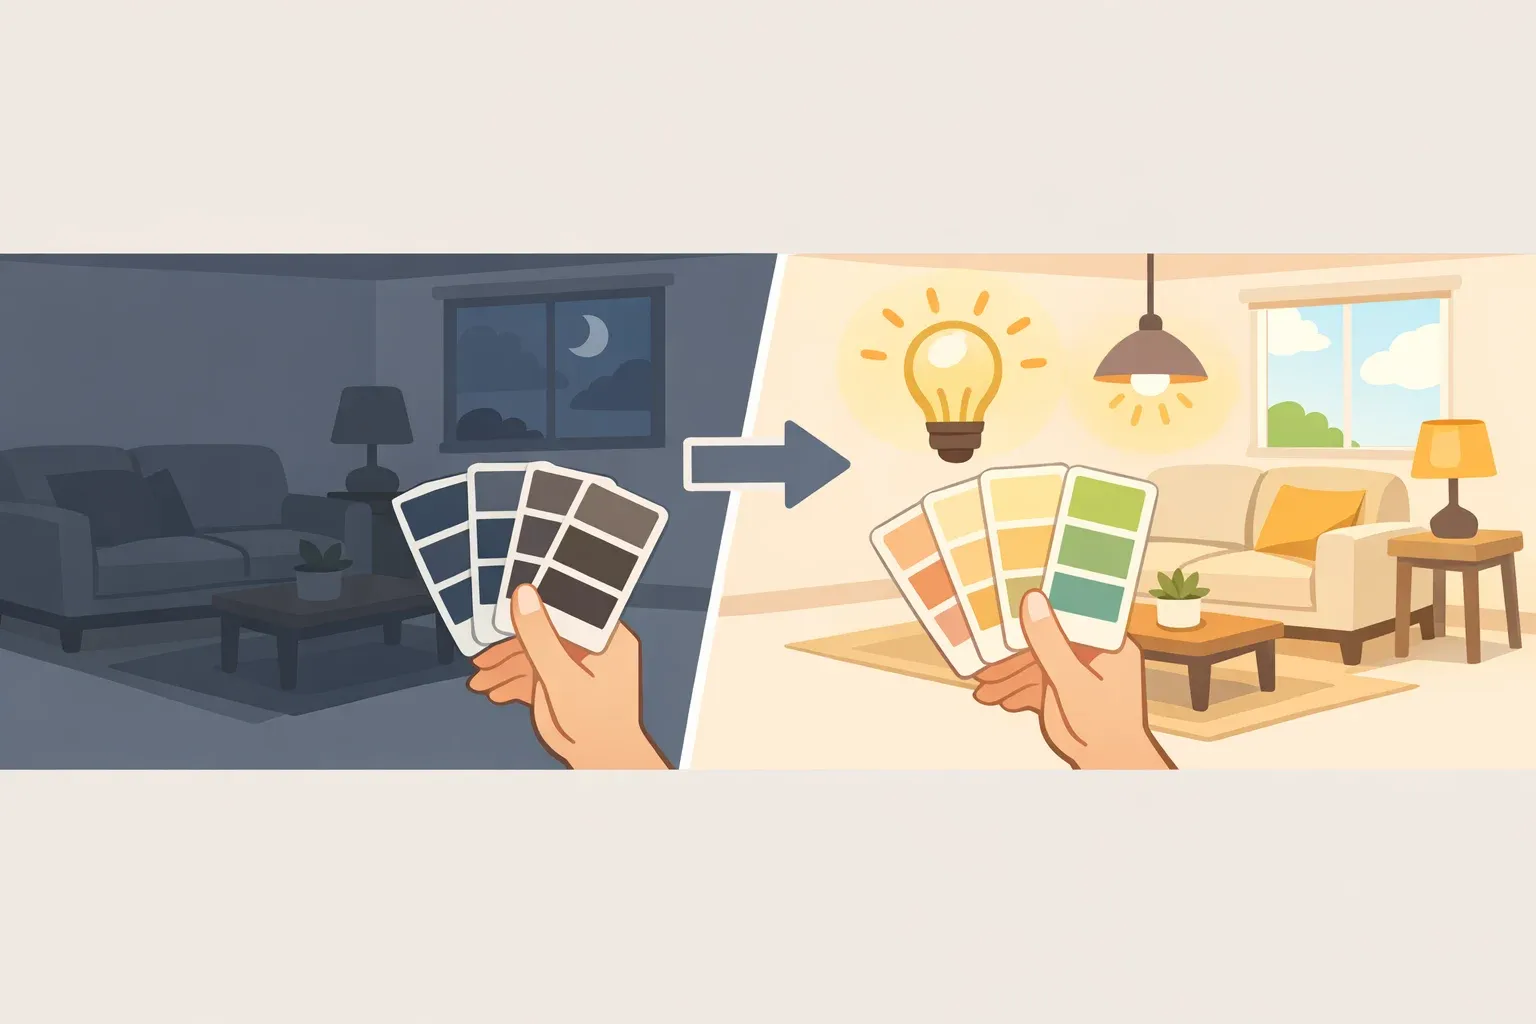
Most homeowners staring down a gloomy room reach for the same fix: paint everything white. It seems logical, but Sherwin-Williams' own color guidance warns against it, noting that an overly bright white can make a space feel sterile rather than inviting, especially in kitchens. Figuring out how to brighten a dark room starts with a question most people skip: brighter, how exactly?
"Brighten" covers three different goals: more usable light, a lighter visual feel, or simply less gloom, and each one calls for a different fix. A north-facing room with weak, blue-toned daylight needs a different response than a windowless room with no daylight at all.
Before opening a paint can, figure out which situation applies. If daylight is present but the room feels heavy, start with quick, low-cost swaps. If there's little or no daylight, plan the lighting before the paint. If it's a room worth keeping dark on purpose, skip straight to the intentional-design section near the end.
The twelve steps below run in that order, cheapest and fastest first, most involved last, drawing on paint-industry guidance and real renovation case studies, including a small London apartment that stayed dark by design.
Diagnose your room before you touch a paintbrush
Step 1: Find your room's orientation
Point a compass at the room's largest windows, or if there's no compass handy, face the direction of sunrise and use the left arm as a stand-in for north. North-facing rooms get the least daylight and skew cool and blue. South-facing rooms get steady warm light and are the most forgiving for color choice.
Step 2: Match undertone to orientation
East- and west-facing rooms are trickier, since they flip between warm and cool light over the course of a day. Pick an undertone based on when the room actually gets used most, or mix warm and cool tones deliberately so they average each other out.
Step 3: Choose a lighting temperature first, for windowless rooms
For a room with little or no natural light, orientation doesn't apply, but the same logic does. Sherwin-Williams treats artificial light exactly like daylight orientation: pair warm bulbs with paint as if the room faced south, and pair white or cool bulbs with paint as if it faced north. Skipping this step is why a paint chip that looked perfect under store lighting can look wrong once the room's own bulbs are switched on.
This diagnostic pass determines which of the remaining nine steps actually apply to a given room, instead of throwing every trick at it at once.
Quick wins: Low-cost changes to try before any renovation
The next four moves are the designer tricks to brighten a dark room that professionals reach for before anyone touches a paintbrush, since none require a renovation budget or a landlord's permission.
Step 4: Swap dark artwork for lighter pieces
Design editors point to this as a change with an outsized effect on how heavy or airy a room reads.
Step 5: Add a light-colored rug
A pale rug reflects light upward off the floor plane instead of absorbing it (Homes & Gardens).
Step 6: Place mirrors to bounce existing light
A well-placed mirror sends whatever daylight is available back into the room rather than letting it dead-end at a wall. In a small London bathroom, designer Antonio Montilla hid a large mirror behind the tile, creating what he called an "infinity" feel in a space that was, in his words, actually tiny.
Step 7: Balance dark surfaces with light neutrals
Sherwin-Williams notes that homeowners often pair white cabinets with a darker accent to add depth without sacrificing overall brightness, proof that getting brighter doesn't mean eliminating every dark element in a room.
These four changes are the cheapest place to start, since none of them touch a wall. See how much brighter the room actually needs to get before paying for paint or new fixtures.
Bigger fixes: Paint and lighting that brighten a room with little natural light
This is the paint-and-lighting stage of how to make a dark room brighter, matched carefully to the orientation and light temperature identified in Section 1.
Step 8: Use LRV as a screening tool
Light Reflectance Value runs from 0 to 100 and measures how much light a color bounces back into a room. For a north-facing room, target 60 LRV or higher to counteract the cool, blue daylight it receives. The same threshold is worth applying to a windowless room lit with cool or white bulbs, since Step 3 established that Sherwin-Williams treats bulb temperature the same way it treats orientation.
Step 9: Aim for a workable neutral range
Higher LRV isn't automatically better. For a crisp, versatile look that holds up across different lighting conditions, Sherwin-Williams points to roughly 50 to 60 LRV. Shades like Worldly Gray SW 7043 sit in that range and read as clean rather than clinical.
Step 10: Layer multiple types of light
One ceiling fixture rarely does the job alone. Designer Emily Henderson used four separate light sources in one family room: bright overhead task lighting, sconces to highlight artwork, an upward-facing chandelier for ambiance, and table lamps for warmth, and her four-layer scheme is a useful model for why a single overhead bulb tends to leave a room feeling flat.
Step 11: Consider a gloss ceiling, but test the surface first
Homes & Gardens flags glossy ceilings as an increasingly popular decorator move for lightening a room. Gloss also magnifies every crack and lump, so the surface needs to be close to flawless before it goes on.
Before any of this becomes permanent, order physical samples and view them under the room's actual lighting plan, both daytime and evening. Sherwin-Williams offers up to ten 2-by-3-inch swatches free, or 8-by-8-inch peel-and-stick versions for $3.95 each, dropping to $3.50 when buying four or more. This is where Step 3 matters most: a color that looks warm and inviting under a warm bulb can look muddy under a cool one, and a swatch on the actual wall is the only way to know for sure.
When a dark room is the right call
Not every dark room is a problem to solve. Some are working exactly as intended, and the fix isn't more light but better contrast and placement.
Step 12: Choose intentional darkness, and support it with contrast and placement
Designer Antonio Montilla built a 720-square-foot London apartment around deep olive walls and glossy black tile, mimicking the earthy green of the Regent's Canal the flat overlooks. He skipped ceiling lighting entirely, insisting instead on wall-mounted statement fixtures and recessed lights built into the floor and tile benches, calling himself "obsessive compulsive" about the decision because he wanted every bit of light to feel ambient rather than overhead and clinical.
Emily Henderson went through a similar reckoning with her own family room. She painted it a lighter shade in a moment of doubt, admitting she "chickened out," before repainting it the dark, cool-toned green she had wanted from the start. She realized she wanted a cozy den for watching television, not a bright showroom.
Cohesion, not raw brightness, is what made her room feel finished. Henderson kept the space monochromatic, matching the wall paint, sofa, rug, and lamps within one dark color family, with gold accents on smaller decor pieces for contrast.
Her choice of a cool-toned green is a useful reminder that Sherwin-Williams' warm-undertone advice is aimed at north-facing rooms fighting weak daylight, not a rule for every dark room; a room going dark on purpose can lean warm or cool depending on the mood it's after, as long as the sample gets tested under the room's actual light first.
This isn't a failure mode for the eleven steps that came before it. It's the third branch of the decision path from the start of this guide, for anyone who decides their dark room simply needs to feel intentional rather than brighter.
Start cheap, sample last
Diagnose before buying anything: figure out the room's orientation, or for a windowless room, its bulb temperature. Try the reversible changes, artwork, a rug, a mirror, before spending money on paint or fixtures. Sample paint only once the lighting plan is settled, and check that sample under the lights that will actually be on at night.
A gallon of the wrong white can make a room feel more sterile, not less, no matter how much it costs. The London apartment and the family den described above both stayed dark and still read as considered, not gloomy, because the people who designed them worked with the darkness instead of fighting it.




















Comments
Be the first, drop a comment!