



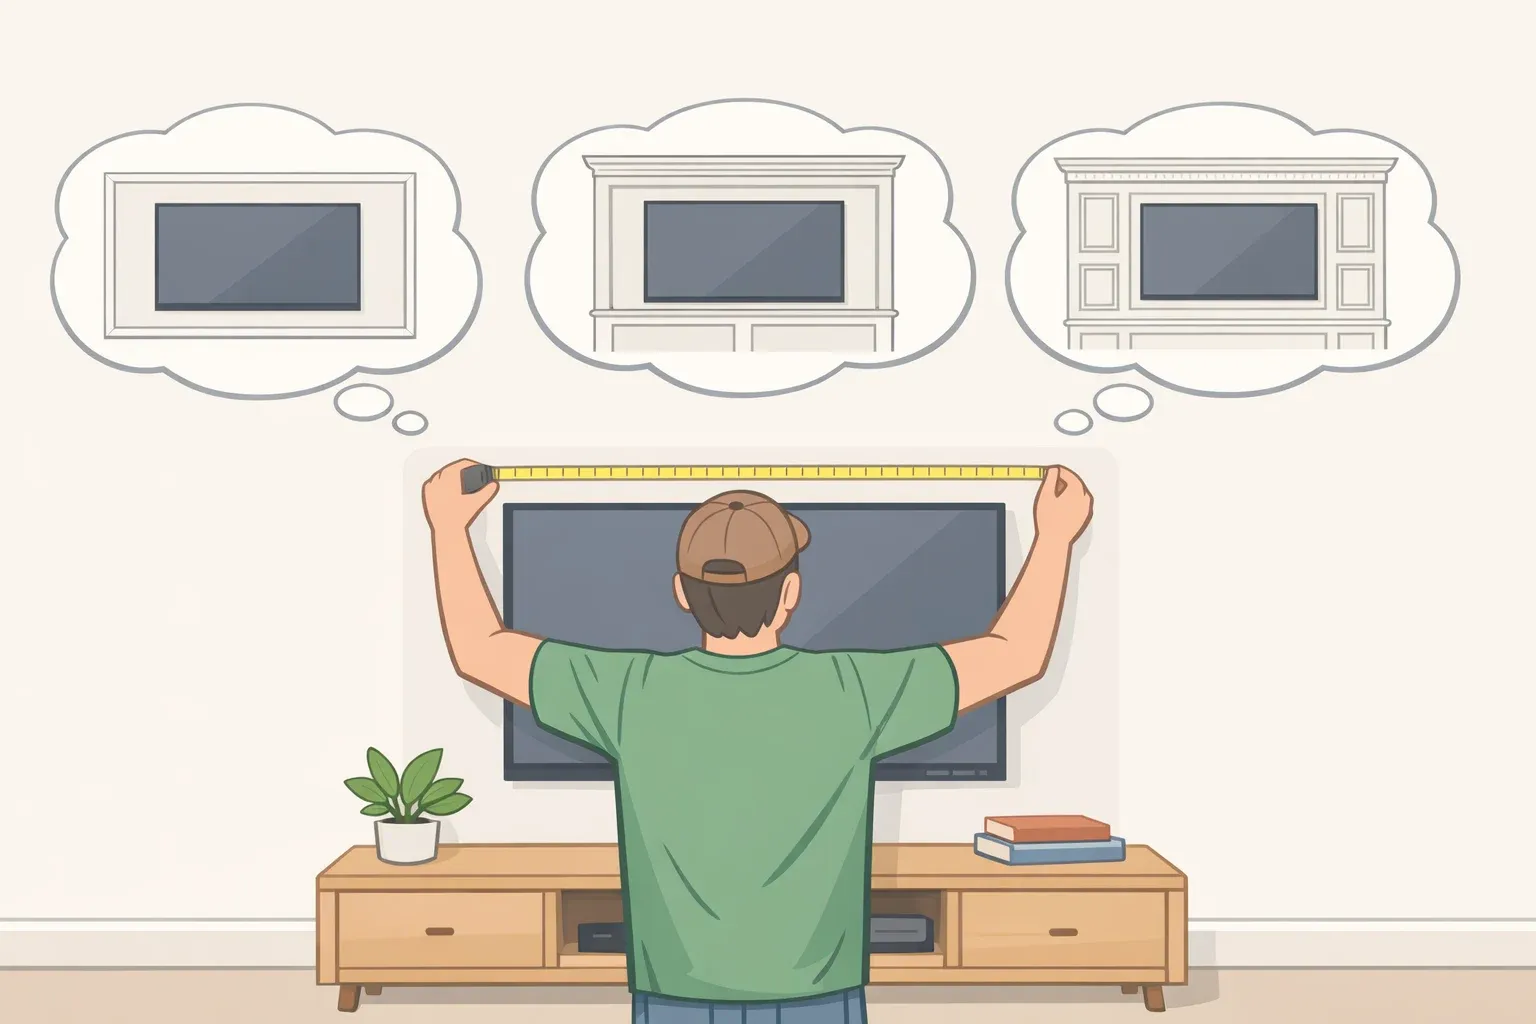
Most TV wall makeovers fail before the first coat of paint goes up. The homeowner picked the wrong fix. A flat, boring wall and a disproportionate wall with weak architectural presence look similar in photos, but they need completely different solutions. A DIY picture frame molding feature wall on a smooth, well-proportioned surface is overkill. Paint on a scale problem won't restore balance. The right upgrade depends entirely on what's actually wrong with the wall.
One cost reality worth establishing upfront: a widely documented living room transformation came in at roughly $300 total, but only because baseboards, door casing, window trim, sconces, and swivel chairs were all provided at no cost. The homeowner's actual out-of-pocket spending covered paint, molding, TV frame trim, and drawer-front materials. Anyone planning to replicate it should account for that gap before pricing the project.
This guide covers three upgrade paths matched to three different wall problems, with step-by-step instruction for each and a clear skill-level note at every turn.
First: diagnose your wall, then choose a path
Before buying paint, molding, or anything else, answer one question: is the problem blandness, bad proportions, or a raw-looking TV edge? That answer determines everything.
Flat, boring, well-proportioned wall → Path A: paint and cord management. A single accent color defines the TV area as a deliberate zone rather than leftover surface. A cord-concealment kit removes the visual noise. One complete makeover using Behr Black Bamboo and a cord cover came in at about $160 total; the homeowner described the formerly drab wall as now "a focal point, not an eyesore." Renter-friendly. No special tools.
Tall wall with undersized trim or weak architectural presence → Path B: paint plus picture frame molding. When ceiling height and trim feel out of proportion, paint alone won't fix it. One homeowner with 11-foot ceilings described her TV wall as "not to scale with the rest of the room," and that's the specific problem molding solves. Molding adds horizontal and vertical weight that recalibrates the space. Requires a miter saw and intermediate prep work. Removing it later means patching nail holes and skim-coated sections.
Decent wall but the TV edge looks raw or industrial → Path C: DIY TV frame. A wooden frame built around the existing screen costs about $30 in materials and takes roughly two hours. Beginner-friendly, stands alone, and works best combined with either path above as a finishing move.
Skill threshold: Path A is accessible to anyone who has painted a wall. Path B is intermediate work, specifically because of the skim coating. One first-time skim coater described covering an 11-by-17-foot wall as genuinely difficult: the first coat alone took four hours, and applying plaster straight from the bucket produced a layer too thick to sand evenly. If skim coating is a barrier, molding can go on an uncoated wall; just prime and paint carefully at all edges. Path C is beginner-rated in most respects but does require a miter saw.
Before spending anything, sketch the wall to scale. Mark outlet locations, TV position, and ceiling height. One DIYer mocked up her planned wall in Photoshop before starting, which made the design case to her skeptical spouse far more convincingly than a verbal description would have. A rough hand sketch prevents awkward panel proportions and wasted molding.
Path B: how to install a DIY picture frame molding feature wall (budget: ~$250–$500+, time: two to three weekends)
This path solves a proportion problem that paint can't touch. The payoff is significant, but so is the commitment.
Before you start: mount the TV first.
If the TV is going on a wall mount, secure it before laying out any molding. The TV's position determines where the center rectangle sits, and building a layout around a mounted screen is far easier than adjusting after the molding is up. Mark the TV's outer edges lightly in pencil to plan clearance.
Step 1: Prep the surface.
If the wall has texture or uneven patches, skim coat before installing anything. Thin the joint compound before applying straight from the bucket. It goes on too thick and dries unevenly. Work in thin overlapping passes with a wide drywall knife, let each coat dry fully, and sand between coats with 220-grit paper. Rushing this step produces ridges that telegraph through paint at molding edges.
Skipping skim coating on an already-smooth wall is fine. Sand any high spots and prime the entire surface before marking molding positions. The molding edges will reveal any texture difference underneath, so uniform surface prep matters either way.
Step 2: Choose your molding profile.
Standard pine and pre-primed MDF both work. Pre-primed MDF takes paint more cleanly and holds less moisture than raw pine, which matters in rooms with humidity swings. Choose a profile width proportional to the wall scale: a 1-inch profile disappears on a tall wall, while a 2.5-inch or wider profile holds visual weight. For a unified architectural look, match the profile to existing baseboard and door casing.
Step 3: Plan your rectangle layout before cutting anything.
The hardest judgment in this project isn't the miter cuts. It's deciding how many rectangles to use, how tall to make them, and where the chair rail sits relative to the TV. Get this wrong, and the whole wall feels off.
A chair rail running across the lower third of the wall provides the horizontal anchor. One well-documented installation used five rectangles above the rail, each containing a smaller inset rectangle for depth, across an 11-by-17-foot wall.
A few sizing principles worth following:
In a high-ceiling room, rectangles should be taller than they are wide. Squat panels undercut the very height you're trying to celebrate.
Each panel should span roughly 20–30% of the wall width, adjusted to keep margins consistent. Unequal gaps between panels read as mistakes, not design choices.
Keep consistent margins between adjacent panels. Measure across the full wall width to catch any drift before committing positions in pencil.
If the TV is centered on the wall, the rectangle framing it should be too. Off-center molding around a centered screen looks unintentional.
Leave at least two to three inches of clearance between the TV's outer edge and the surrounding molding frame on all sides. Tighter than that, and the frame competes with the screen rather than supporting it.
When in doubt, err toward fewer, larger panels. A sparse layout with confident proportions beats a crowded one every time.
Step 4: Cut, assemble, and install.
Set the miter saw to 45 degrees for all corner cuts. Each rectangle requires four pieces with matching opposing angles. Test-fit dry before applying any adhesive. Gaps at corners are far easier to fix before glue is involved. Use a speed square at every corner to confirm 90-degree angles, then secure with a pneumatic nail gun and construction adhesive. Fill nail holes with wood filler and sand smooth.
A hand miter box can cut individual pieces but won't hold consistency across a full wall. If you don't own a miter saw, borrow or rent one before starting.
Step 5: Paint.
A color change isn't required. Keeping the existing wall color, as one homeowner did with Sherwin-Williams Agreeable Gray, lets the shadow lines from the molding do the visual work without requiring a full repaint. If you do change color, paint the wall and the molding the same shade so they read as one unified surface rather than applied decoration.
Buy enough paint for the full wall plus 10% before starting. One homeowner ran out mid-coat, applied a heavier compensating coat when she bought more, and spent time fixing the resulting drips. Thin coats throughout, every time.
Budget reality: Full materials, primer, and paint on a large wall, excluding gifted items, will likely run $250 to $500 or more depending on wall size and molding profile.
Path A: paint and cord concealment (budget: about $160, time: one weekend)
The paint-only path is underrated. Done right, it delivers the highest return on effort of the three approaches, and it's the only one that's fully reversible.
Step 1: Choose a color that defines a zone, not just a wall.
Darker, saturated colors deep greens, charcoal, slate make a TV wall read as a deliberate composition rather than background. A single accent wall painted in Benjamin Moore Intrigue, a muted green-gray, transformed what one homeowner called "just-moved-emptiness" into a styled focal point she described as "a minimal investment, with a huge reward." Confining the color to one wall creates the zone effect. Repainting the whole room isn't necessary and often dilutes it.
Step 2: Apply in thin coats and buy enough paint upfront.
Buy enough for the wall's square footage plus 10% before starting. Applying a heavier compensating coat when you run short is how drips happen, and fixing dried drips on a feature wall is tedious.
Step 3: Conceal every visible cord before calling it done.
Paint does 80% of the work; visible cords undo half of it. Use raceway cord covers painted to match the wall for surface-mounted management, or an in-wall cord kit if you're comfortable cutting a small drywall opening. A TV and a streaming device may have cords of different lengths routing to different outlets. One homeowner had to split her cord management across two separate outlets because of exactly this. Map outlet locations before buying a kit.
The documented $160 makeover is a credible benchmark, but it assumes no new furniture or hardware. A larger wall or a pricier cord kit will push that number up.
Path C: DIY TV frame (about $30, about two hours)
The most beginner-accessible project of the three. Building a wooden frame around an existing screen costs about $30 in lumber, molding, and spray paint. Two hours, start to finish.
Materials: Two 1×2 boards, 3/8" × 3/8" cove molding, 2-inch and 5/8-inch finish nails, wood glue, wood filler, primer, spray paint, adhesive Velcro strips or elastic straps.
Steps:
Measure the outside height and width of the TV. Add 1/8 inch to each dimension for clearance.
Set the miter saw to 45 degrees. Cut four frame pieces from 1×2 boards to the adjusted dimensions, with matching opposing angles at each end.
Assemble on a flat surface. Use a speed square at each corner. Glue the mitered joints, secure with 2-inch finish nails, and let the glue cure fully before moving the frame.
Cut cove molding to fit the inside face of each piece, mitered at 45 degrees. Glue and nail with 5/8-inch nails, positioned slightly below the front face of the frame. For longer sides, splice two molding pieces at a 45-degree angle to reach full length.
Fill nail holes and joints with wood filler. Sand smooth with 220-grit paper.
If the TV has a logo display or control buttons on the front bezel, mark their position on the bottom frame piece and cut a small notch so they remain accessible. A drill and chisel are sufficient if you don't have a multi-tool.
Prime the frame, then apply two to three thin coats of spray paint, sanding lightly between coats.
Attach adhesive Velcro strips to the inside of the frame and the outer edges of the TV, then press the frame into place.
Finish to match or contrast. Jenn Largesse from House One finished her frame in gold spray paint to complement the built-in shelving around the TV, a choice that reads as considered rather than incidental. Velcro mounting keeps the frame removable without damaging the screen, and it can be repainted if the room changes.
Which path is yours
Smooth wall with decent proportions: Path A. A well-chosen paint color with cords fully hidden does more for a TV wall than most people expect, and the $160 makeover is a credible benchmark for what it costs.
Add Path C to either path above. At roughly $30 and two hours, it addresses something paint and molding can't: the TV itself looking like an unfinished rectangle bolted to the wall.
Path B earns its place only when the wall genuinely has an architectural problem: tall ceilings, undersized trim, a flatness that color won't resolve. Don't install picture frame molding because it photographs well in makeovers.
The homeowner who spent three years photographing around her TV wall said the finished result was worth the effort, but she also spent multiple weekends on it, applied plaster too thick on the first attempt, ran out of paint mid-coat, and fixed drips before it was done. That's the honest version of the before/after story.
Proportion problem: molding. Smooth wall: paint. Bare TV edge: frame. Two of those can run together. None of them require a new television.



















Comments
Be the first, drop a comment!