


Ditch the Boring Beige: Transform Your Entryway with One Strategic Wall Treatment
Difficulty: Moderate
Time: 2-3 days (including drying time between coats)
Cost: $50-$150 (depending on wall size and limewash brand)
Why You'll Like This
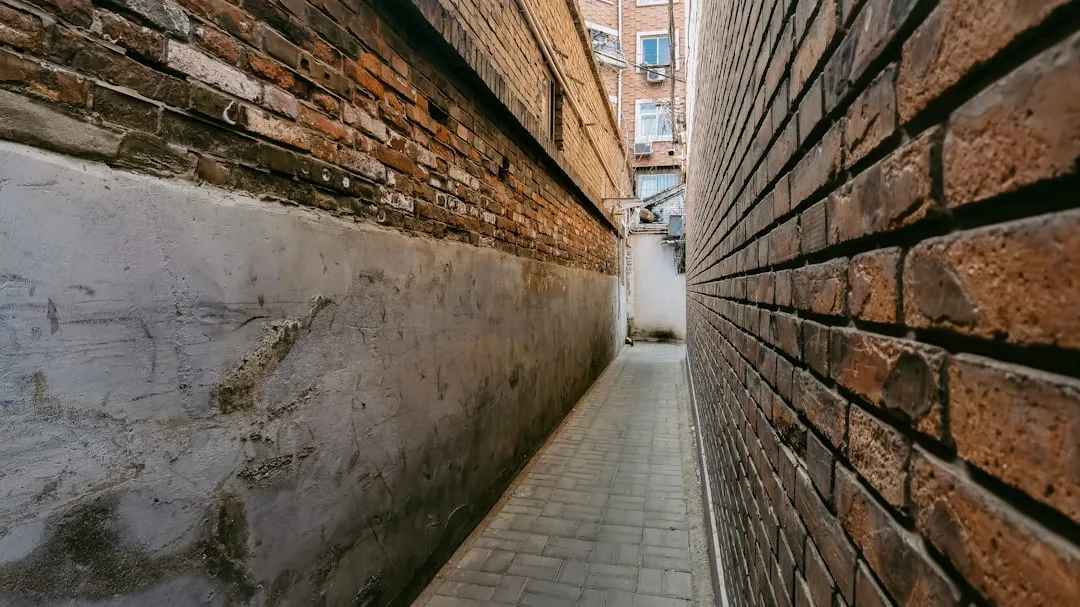
Walking into a beige entryway feels like entering a space that forgot to have personality—that bland transition zone that says nothing about who you are. But here's the solution: limewash, a centuries-old technique that transforms even the most forgettable walls into something extraordinary. Unlike regular paint that sits flat on surfaces, limewash brings incredible texture and depth that changes throughout the day as light shifts. This single-wall treatment aligns perfectly with 2025's design direction, where homes are about telling a story rather than playing it safe, creating maximum impact with one focused change.
What You'll Need
Materials
- 1-2 gallons limewash paint (Color Atelier Soft Taupe, Portola Paints Dry Ground, or similar warm tone)
- 1 quart acrylic primer (for drywall/previously painted surfaces)
- Natural pigments (optional, for custom colors)
- Drop cloths or plastic sheeting
Tools
- 3-4 inch natural bristle brushes (avoid synthetic)
- Paint tray and liner
- Painter's tape (1.5-2 inches wide)
- Rags for cleanup
- Spray bottle for misting brush
- Non-contact voltage tester (if working near switches/outlets)
Safety First
- Ventilation: Open windows and use fans—limewash is alkaline and can irritate respiratory passages
- PPE Required: Safety glasses, dust mask, and rubber gloves (limewash is caustic)
- Power Safety: Turn off electricity at breaker if taping near outlets; verify with non-contact tester
- Test Patch: Always apply a 2x2 foot sample area first—limewash lightens significantly as it cures
Steps
-
Clean your target wall thoroughly with mild detergent and water. Remove all dirt, grease, and scuff marks—limewash needs pristine surfaces for proper adhesion.
- Tip: Pay extra attention to areas around light switches and door frames where hand oils accumulate.
-
Apply acrylic primer if working with drywall or previously painted surfaces. Unpainted masonry surfaces like brick or plaster can skip this step, but most entryway walls need primer for proper limewash bonding.
- If you're unsure: Test a small area—if water beads up, you need primer.
-
Protect adjacent surfaces with painter's tape and drop cloths. Focus on baseboards, adjacent walls, and ceiling lines—limewash spatters more than regular paint during application.
-
Mix your limewash according to manufacturer instructions. For DIY mixing: combine 1 part hydrated lime with 1.25 parts water until smooth and creamy.
- Test your color: Apply sample patches with 1, 2, and 3 coats to see the final depth.
-
Apply the first coat using sweeping, crisscross brush strokes in 3-foot sections. Use soft-bristle brushes with triangular, arching movements to create the signature organic texture.
- Key technique: Work wet-to-wet edges to avoid harsh lines—limewash dries faster than regular paint.
-
Allow first coat to dry completely (24 hours minimum). The surface should feel completely dry to touch and show no dark spots from moisture.
-
Apply second coat using the same crisscross technique. This coat builds the depth and richness limewash is known for—you'll see dramatic improvement in texture and color saturation.
-
Add optional third coat for maximum depth (wait another 24 hours). Three coats provide the full limewash effect with rich tonal variations.
Why it works: Limewash is made from crushed limestone, water, and natural pigments that penetrate surfaces rather than coating them, creating subtle color variations that flat paint can't match.
Cleanup & Disposal
- Clean brushes immediately with warm water (limewash sets permanently once dried)
- Store leftover limewash in airtight containers—it keeps for months with proper storage
- Dispose of lime-soaked rags in metal containers with tight lids (spontaneous combustion risk)
- Remove tape while final coat is slightly tacky for cleanest lines
Troubleshooting
Problem: First coat looks patchy or translucent → Fix: This is normal—limewash builds opacity with multiple coats
Problem: Brush strokes look too obvious → Fix: Mist brush lightly and use lighter pressure with more random stroke patterns
Problem: Color seems too light → Fix: Wait full 24 hours—limewash continues lightening as it cures
Variations & Upgrades
- Renter-friendly option: Use removable limewash paint designed for easy removal
- Budget upgrade: Focus on just the most visible wall (typically facing the front door)
- Color enhancement: Choose warm earth tones like creamy beige or soft terracotta that align with 2025's Mocha Mousse color trends
FAQ
Can I apply limewash over existing paint? Yes, but you'll need acrylic primer first. Test adhesion with a small patch before committing to the full wall.
How long does limewash last? It's incredibly durable for high-traffic areas—often lasting decades with minimal maintenance, actually getting stronger over time.
This transformation works because limewash creates subtle tonal variations that catch and reflect light, adding depth your beige walls never had. The finish makes spaces feel more intimate and visually engaging, turning your entryway from a pass-through into a proper welcome area. As a sustainable choice made from natural, non-toxic materials, it delivers lasting beauty while supporting eco-conscious design trends. Your guests will notice the difference the moment they walk through the door.


Comments
Be the first, drop a comment!