



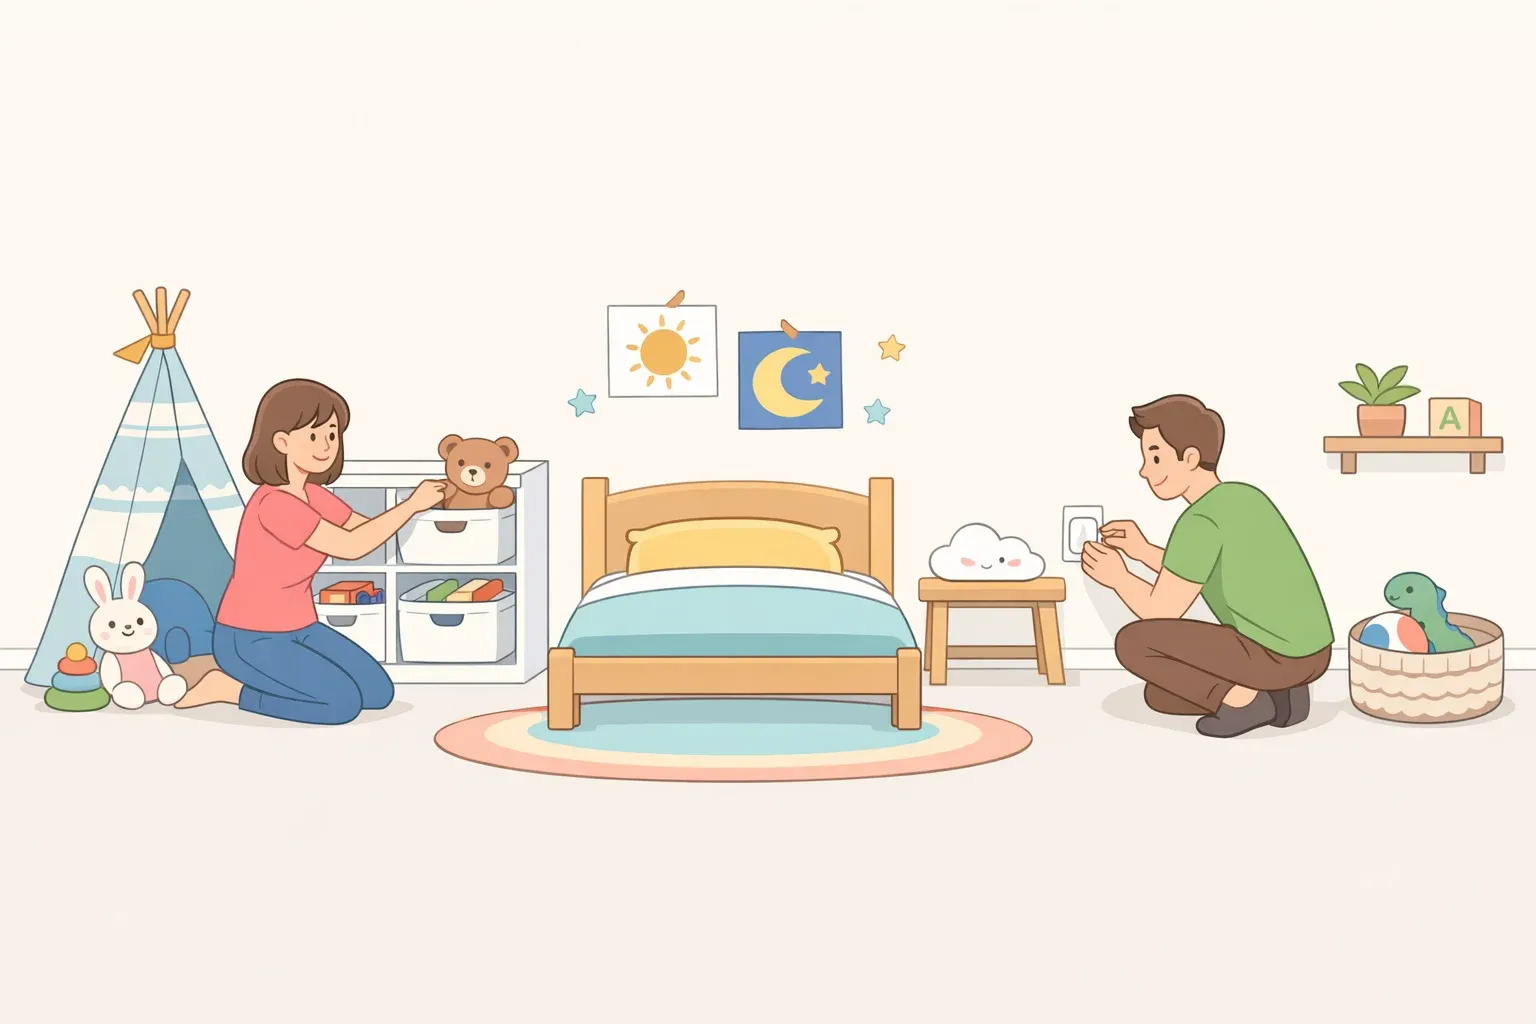
Kids room ideas for renters: 5 safe, temporary setup tips
Setting up a rental kids room means solving two problems at once: keeping the space safe without drilling into walls, and making it actually work as a place a child wants to be. This guide covers both. By the end, you'll have a clear plan for layout, storage, decor, and hazard control in a rental bedroom whether that's a small dedicated room, a shared bedroom, or a nursery corner carved out of a one-bedroom apartment.
The tips are sequenced deliberately. Start with the hazards most likely to cause serious injury, then build the room around how a child actually plays. Outlet covers belong before storage bins. But the storage bins matter too.
Before you start, do this one thing: Get down on all fours and move through the room from your child's eye level. Perma Child Safety recommends this as the fastest way to catch hazards you'd otherwise walk past: small objects under furniture, sharp corners at head height, climbable surfaces near windows.
A note on urgency: The U.S. Consumer Product Safety Commission, as reported by Perma Child Safety, finds that a child in the United States is sent to the emergency room every 60 minutes due to falling furniture, with two to three children dying each month from toppled TVs, furniture, or appliances. Children ages two to five are at highest risk. For renters who can't bolt a dresser to the wall, that's not background reading. It shapes everything in Tips 1 and 2.
Tip 1: Start with the hazards inside the room
Priority level: Do this before anything else if your child is under 3.
Tip-overs, exposed outlets, unsecured cords, sharp edges at toddler height. These are the in-room risks that carry the worst consequences, and every solution here is removable.
Step 1: Address furniture stability. Drilling anti-tip brackets into rental walls usually isn't an option, but furniture selection and placement do real work. Choose pieces with a wide base, a heavier rear panel, and interlocking drawers. Furniture meeting the ASTM F2057-19 voluntary stability standard is worth seeking out, per Perma Child Safety. Then position heavy pieces dressers, bookshelves in corners where two walls provide passive resistance. Industrial-grade adhesive anti-tip straps add a secondary layer, though as Perma Child Safety notes, these significantly reduce tipping risk but are not a substitute for furniture designed to stay put.
One limit worth naming: if you have a particularly top-heavy piece and your lease permits minor repairs with proper patching, a conversation with your landlord may be worth having. This is one case where the adhesive workaround has real limits.
Step 2: Cover every accessible outlet and contain every visible cord. The National Fire Protection Association estimates roughly 2,400 children suffer severe shocks and burns annually from inserting objects into electrical outlets, according to Perma Child Safety. Use sliding outlet covers rather than small plug-in caps; plug-in caps can become choking hazards if they don't fit snugly. Cord organizers and cable wraps keep power strips contained without touching a wall. Don't place a television on furniture not designed for it; if wall mounting isn't permitted, use a wide stable TV stand and route cables away from the front (Perma Child Safety).
Step 3: Soften hard edges at toddler eye level. Coffee tables, low shelves, and TV stands all qualify. Foam corner protectors with 3M-style adhesive and clear edge guards for longer runs remove cleanly and disappear against most furniture when you choose low-profile, transparent versions (Perma Child Safety).
One thing to watch: don't store toys or remotes on top of heavy furniture. Children climb toward what they want, and a toy on a dresser is an invitation (Perma Child Safety).
Tip 2: Secure windows and lock hazardous storage
Priority level: Do this alongside Tip 1 for toddlers; remains relevant through early elementary for windows.
Windows and cabinet contents tend to get underweighted when parents are setting up a kids room. Both are straightforward to address without permanent modifications.
Step 1: Limit how far windows open. Window screens are not fall protection they're not designed to hold a child's weight (Perma Child Safety). Adjustable window stops that restrict opening to four inches are a practical, removable fix. Tension-rod window guards requiring no screws are another option. For windows on the sixth floor and below, choose guards that adults and older children can open in a fire emergency (Perma Child Safety). When possible, open double-hung windows from the top rather than the bottom.
Step 2: Move furniture away from windows. Beds, cribs, dressers any climbable surface near a window gives a child a launch point. Pull everything back. It costs nothing and removes the ladder to the hazard entirely (Perma Child Safety).
Step 3: Manage window cords immediately. Perma Child Safety identifies windows and window covering cords among the top five hidden hazards in the home, with children dying each year from strangulation caused by loose cords. Cordless window coverings are the cleanest solution. If you're working with existing corded blinds, use removable adhesive hooks to keep cords wound and mounted high; loop cords on draperies or vertical blinds should be pulled tight and anchored to the floor or wall base.
Step 4: Lock hazardous storage with removable hardware. Cabinets housing cleaning products, medications, or sharp objects need to be secured. Options that leave no permanent marks include adhesive interior locks that mount inside the cabinet frame and stay invisible from outside, sliding knob locks that loop around handles with no tools required, and hook-and-loop strap locks that peel away cleanly at move-out. Most adhesive versions release with a hairdryer on low heat, according to Perma Child Safety.
Skip toy chests with hinged lids and latches. Perma Child Safety warns that a latching lid poses a suffocation risk if a child climbs inside. Open bins and baskets are safer and easier to keep organized.
Tip 3: Control room access with pressure-mounted gates
Priority level: Essential for crawling through early walking stages; review placement as children grow.
Controlling where a young child can roam is a whole-home concern, but it starts at the doorway. This tip focuses on the threshold to and from the kids room; kitchens, bathrooms, and staircases are the adjacent priorities.
Step 1: Install pressure-mounted gates at doorways leading to hazardous areas. These use tension rather than wall anchors, making them the standard renter-friendly kids room solution for doorways and flat hallways (Perma Child Safety). Look for models with rubber-tipped ends that won't scuff painted trim. Choose JPMA-certified child gates specifically not pet gates, which aren't built to the same safety standard (Perma Child Safety).
At the top of a staircase, hardware-mounted gates are the safer choice. That's the one location where the pressure-mount workaround has meaningful limits, and the stakes are high enough to justify asking your landlord directly.
Step 2: Use furniture placement as a secondary barrier inside the room. A low bookshelf or storage unit positioned in front of a power strip cluster or home office corner keeps small hands away without a gate or a nail (Perma Child Safety). One piece of furniture doing two jobs.
Renter-friendly kids room ideas: building a layout that actually works
Priority level: Most impactful from walking age through early elementary; scales with the child.
Once the hazards are controlled, the room can become a space a child actually uses. Safety and usability aren't competing goals here the same furniture placement decisions that reduce tip-over risk also shape how the room functions day to day. The aim is to divide the space into loose zones, store things where they get used, and support the kind of play appropriate to your child's age.
Step 1: Define two or three zones based on how your child plays no dividers required. A rug defines a space as effectively as a wall. For a toddler, a small building area, a reading corner, and a simple dramatic-play spot covers the range. Research on early learning environments shows that dividing space into interest areas supports exploratory, constructive, and dramatic play, with each type building distinct skills (School Specialty). The same principle applies in a home bedroom, at whatever scale you're working with.
Step 2: Place low bins, open baskets, and labeled cubbies within each zone at child height. When storage is close to where play happens, children can access and return toys without adult involvement which matters for independence and for keeping the floor clear (Extra Space Storage). Color-code containers by zone for younger children who aren't reading yet.
Step 3: Match the zone to the play stage. A reading nook floor cushion, low shelf, corner placement supports solitary play. A small table with two chairs or a shared rug with blocks invites parallel and cooperative play as the child gets older, per School Specialty. Neither requires anything permanent or takes significant floor space.
Step 4: Add vertical storage to keep the floor clear. Floating shelves hold books and active-use toys without sacrificing play area (Extra Space Storage). Higher shelves work for display items or things that need to stay out of reach. Over-the-door organizers handle accessories, art supplies, and shoes without touching a wall. If you're using adhesive shelving, test it on a small patch of your specific wall finish first rental-grade paint varies considerably in how well it holds.
Don't over-furnish. Clutter makes a small rental room feel smaller, increases tripping risk, and eats the floor space children actually need for play (Extra Space Storage). Every piece of furniture should earn its square footage.
Tip 5: Reclaim floor space with bed placement and under-bed storage
Priority level: Useful at any age; most impactful in small rooms and shared bedrooms.
In a small rental bedroom, the bed dominates. Moving it deliberately and using what's underneath it is often the single highest-impact layout change available, with zero wall involvement required.
Step 1: Push the bed into a corner. A twin bed against two walls frees the center of the room for play without reducing sleeping space (Extra Space Storage). In a shared bedroom, position both beds against walls to open the shared center for play and give each child their own defined zone.
Step 2: Use the space under the bed. Flat rolling bins, shallow storage totes, and purpose-built under-bed drawers hold clothing, books, and seasonal items that would otherwise fill dresser or closet space (Extra Space Storage). No wall involvement, significant capacity gain. It's the most space-efficient storage move in a rental kids room.
Step 3: Let soft furnishings carry the room's personality. Light-colored walls make a small room read as larger and make it easier to update the space as the child grows swap the decor, skip the repaint (Extra Space Storage). Rugs, curtains, cushions, and removable wall decals do the character work without touching paint. If you're considering peel-and-stick wallpaper, test a small patch first; adhesive behavior varies by wall finish, and low-quality rental paint can peel regardless of what goes over it.
Where to start: a quick plan by scenario
The five tips can be done in any order, but if your child is under three, sequence matters:
- Tip 1 first in-room tip-over risk, outlets, and edges
- Tip 2 second windows and hazardous cabinet contents
- Tip 3 third gate the doorways that matter most
- Tips 4 and 5 once hazards are controlled, optimize for function and space
For school-age children where acute injury risk is lower, Tips 4 and 5 can move up the list.
By scenario:
- Small dedicated bedroom: Run Tips 1 and 2, then use the corner bed placement from Tip 5 to open the center for play. Vertical storage from Tip 4 fills the gap left by floor furniture.
- Shared bedroom: Corner-place both beds, open the shared center, and define each child's zone with a separate rug. Gate the doorway for the younger child if ages differ significantly.
- Nursery corner in a one-bedroom: The safety tips apply at full force in a smaller footprint. One low toy bin, one defined rug area, furniture pulled away from the window. The space doesn't need to be large to be organized.
Revisit the room every few months. A setup right for a crawling infant needs adjustment once that child pulls to stand, and again once they're climbing. The CPSC figure two to three child deaths per month from falling furniture, per Perma Child Safety is a reason to reassess furniture placement as children develop new habits, not a one-time checklist item.
The rental constraint is real. But most of what makes a kids room safe and functional doesn't require a landlord's permission. It requires the right furniture, the right placement, and knowing which removable products are worth using.



















Comments
Be the first, drop a comment!