


Stop Cramped Space Chaos: The 5-Step IKEA System That Makes Small Rooms Feel Twice as Large
Difficulty: Novice
Time: 2-3 hours
Cost: ~$150-300
Why You'll Like This (Quick Intro)
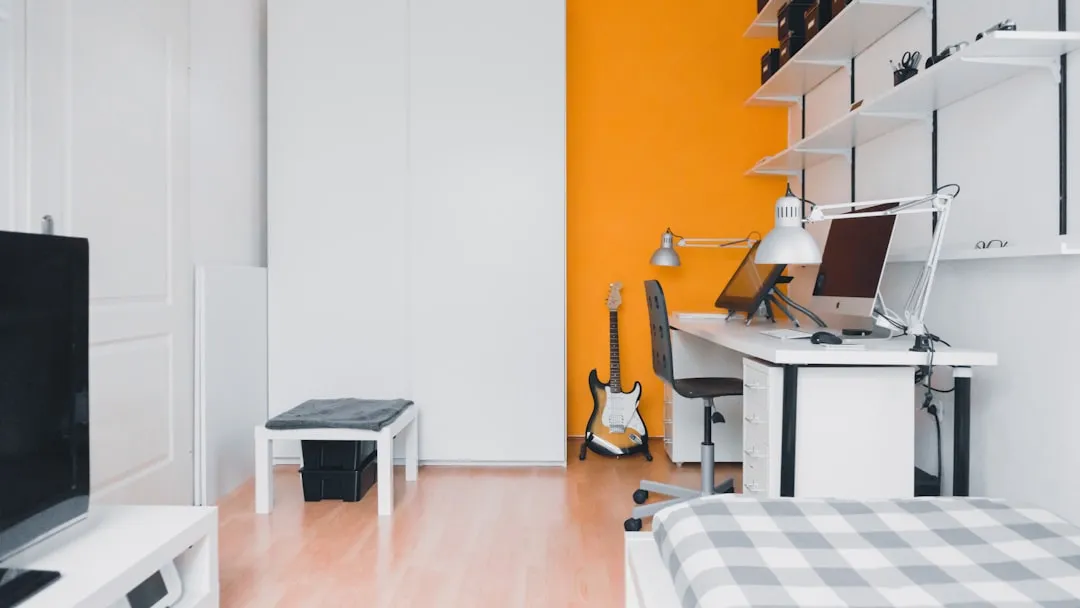
Cramped living spaces can feel overwhelming, but you don't have to accept chaos as your reality. Professional staging experts know that strategic storage and smart furniture choices can dramatically open up even the tiniest rooms, making them feel both functional and inviting. What makes this approach brilliant is that we're building a complete storage ecosystem—each piece works with the others to maximize both space and psychological comfort.
The best organizational systems are adaptable and evolve as needs change, which is why this IKEA-based system works so well. Whether you're dealing with a studio apartment, cramped bedroom, or multi-purpose room, these pieces can be reconfigured as your life shifts—making every dollar you invest today useful for years to come.
What You'll Need
Materials
- 2-3 KALLAX shelving units (various sizes: 2x4, 4x4, or 2x2 depending on your space)
- 1 HEMNES cabinet or BESTA unit with doors
- 1 NORBERG wall-mount drop-leaf table
- Wall-mounted lighting fixtures (2-3 pieces: table lamps, floor lamps, or sconces)
- Storage baskets or boxes (4-6 pieces that fit KALLAX cubes: 13" x 13" / 33 x 33 cm)
- Warm-toned LED bulbs (2700K-3000K)
- Command strips or wall anchors (appropriate weight ratings for your items)
Tools
- Drill with bits
- Level
- Stud finder
- Measuring tape
- Screwdriver set
- Safety glasses
Safety First
- Adult supervision required when using power tools
- Always locate wall studs before mounting heavy items—use a stud finder and verify with a non-contact tester for electrical safety
- Wear safety glasses when drilling into walls or assembling furniture
- Check weight ratings on wall anchors and Command strips; never exceed manufacturer limits
- Keep walkways clear during assembly to prevent trips and falls
Steps
Create your vertical storage foundation
-
Position your KALLAX units strategically. Vertical storage with minimal floor footprint can make small areas feel dramatically more expansive, so place taller units against walls where they won't block pathways or natural light from windows.
- Tip: Leave at least 36 inches (91 cm) of walking space between furniture pieces—this prevents that "knocking into things" feeling that makes spaces feel cramped.
-
Use units as room dividers when your layout allows. A KALLAX shelving unit can divide a room while providing storage and customization options, creating distinct functional zones that make small spaces feel more organized and purposeful.
- If your space is very small: Consider a 2x4 KALLAX instead of 4x4 to maintain visual openness while still gaining serious storage capacity.
Why this foundation works: The open cube structure allows light to pass through while establishing your room's primary storage zones. This becomes the backbone that supports everything else in your system.
Layer in concealed storage for visual balance
-
Install your HEMNES cabinet or BESTA unit at eye level. Furniture with both open and closed storage accommodates different needs while creating visual rhythm in your space—the mix of open KALLAX cubes and closed cabinet doors prevents the "storage wall" feeling that can make rooms feel institutional.
-
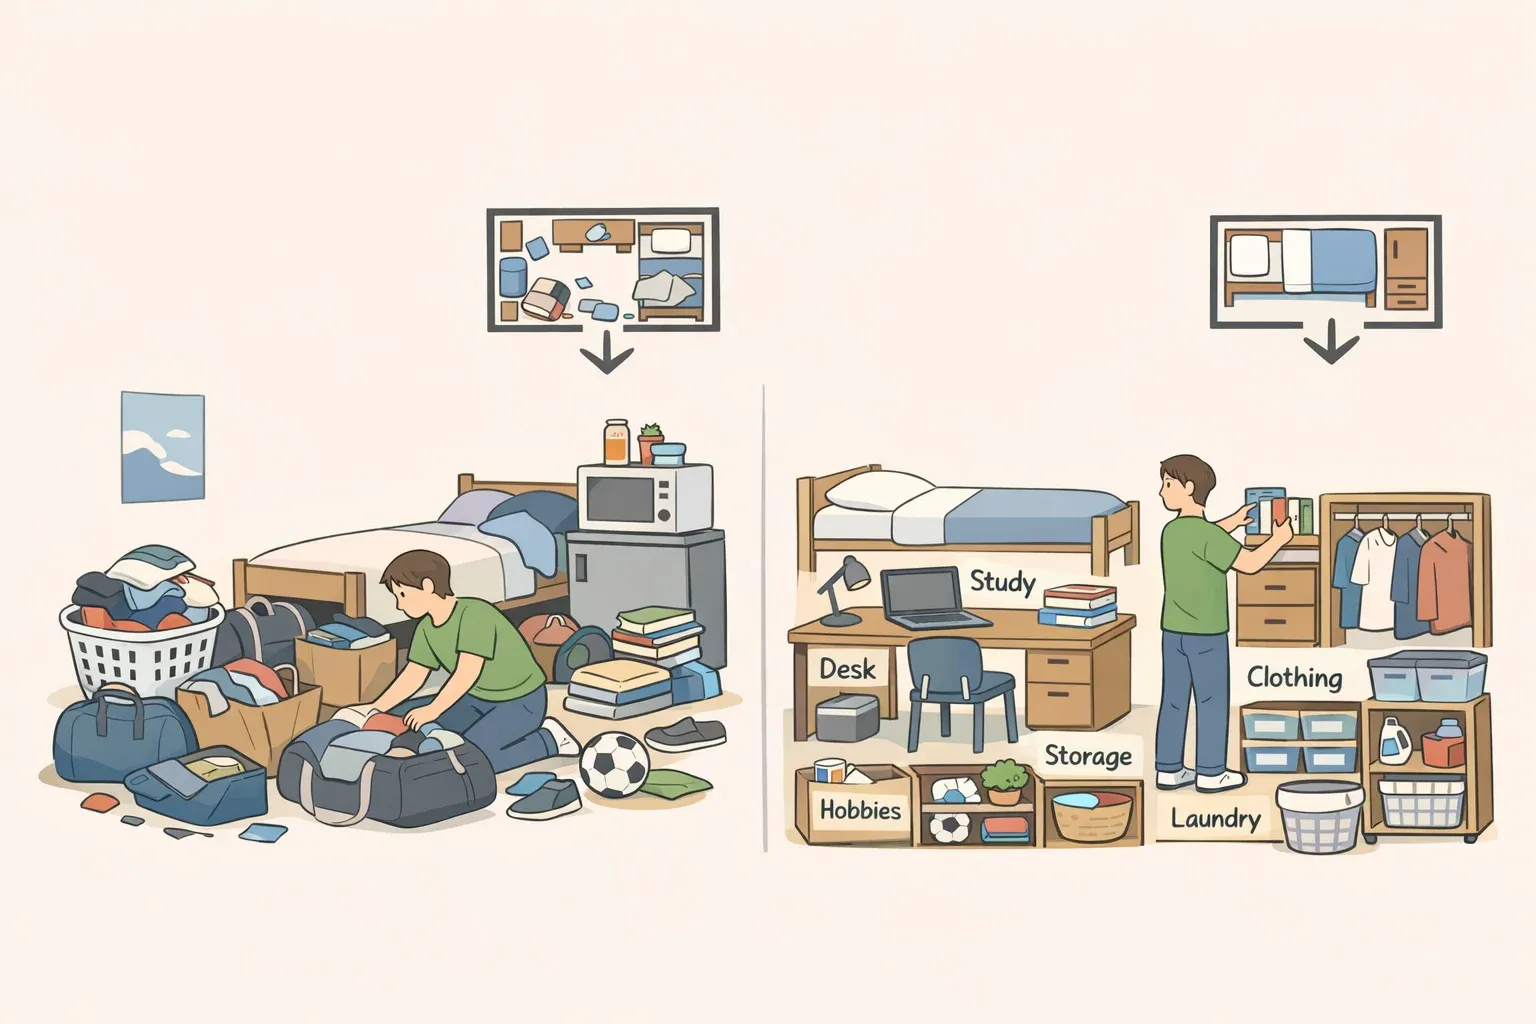
Fill storage baskets systematically within your KALLAX system. Organizing items into designated spaces makes everything easy to find, but more importantly, this "storage within storage" approach lets you hide daily clutter while keeping frequently-used items accessible.
- Pro organization tip: Use smaller containers inside larger ones—think charging cables in one basket, seasonal items in another. This creates the permanent addresses that prevent clutter from migrating back to surfaces.
Add functional surfaces that expand your living space
-
Mount your NORBERG drop-leaf table at 30 inches (76 cm) height. This wall-mounted table can serve as coffee bar, dinner table, and workspace, but strategically, it continues your vertical storage philosophy by claiming wall space instead of competing for precious floor area.
- Mark your studs first: Use the stud finder to locate secure mounting points. The table needs to hit at least one stud to safely support weight.
-
Test the table's stability before loading. Gently pull on the mounted bracket and try the folding mechanism several times to ensure everything's secure.
- If it feels loose: Double-check that screws hit the stud center, not just the edge. You may need longer screws or additional anchors.
Design your lighting to showcase and expand your storage system
-
Replace overhead bulbs with warm-toned LEDs (2700K-3000K). Harsh lighting feels sterile, while warm, layered lighting creates intimacy, transforming your organized storage from purely functional into an attractive room feature.
-
Add 2-3 additional light sources that work with your storage placement. Multiple lighting layers brighten and open up small spaces, but position them strategically to illuminate your KALLAX displays and eliminate shadows around your concealed storage.
- Position one floor lamp: In the corner farthest from windows, ideally near your KALLAX arrangement to create attractive display lighting
- Add table lamps: On your new drop-leaf surface and HEMNES cabinet top to create task lighting and ambient glow
- Consider wall sconces: If surface space is limited, mount them to highlight your storage displays
Why integrated lighting matters: Lighting is massively important in small rooms—but when you light your storage thoughtfully, it becomes decor that makes your space feel intentionally designed rather than just organized.
Cleanup & Disposal
- Store extra IKEA hardware in labeled containers for future adjustments—these modular systems often need occasional tightening or reconfiguration
- Keep assembly instructions in a designated folder since you may want to move or expand pieces as your needs evolve
- Dispose of packaging materials according to local recycling guidelines (most IKEA cardboard is recyclable)
- Wipe down all surfaces with a microfiber cloth to remove installation dust and fingerprints
Troubleshooting
Problem: KALLAX unit feels wobbly after assembly → Fix: Check that all cam bolts are fully tightened by turning clockwise until snug; add wall anchor if the unit is against a wall
Problem: Drop-leaf table won't stay up or feels unstable → Fix: Verify bracket alignment and that the support arm clicks completely into place; check that mounting screws are hitting studs
Problem: Storage boxes don't fit KALLAX cubes perfectly → Fix: Measure cube openings first (13" x 13" / 33 x 33 cm) before purchasing containers; some compression is normal but boxes shouldn't require force
Variations & Upgrades
- Renter-friendly option: Use tension rods and curtains instead of permanent wall mounts; choose Command strips over screws where possible
- Budget version: Start with one KALLAX unit and upgraded lighting, then gradually add more storage as budget allows
- Custom look upgrade: Paint KALLAX units to match wall color for a built-in appearance, or add wood veneer contact paper for a high-end look
FAQ
Can I use these pieces in different room configurations later? Yes! The best organizational systems are adaptable and evolve as needs change, which is exactly why modular IKEA pieces work so well for renters and anyone whose lifestyle might shift.
Will this work in a rental apartment? Absolutely. Most of these solutions use minimal wall mounting, and Command strips work for lighter items. For heavier pieces requiring wall anchors, most landlords approve storage improvements—just ask first and offer to patch holes when you move.


Comments
Be the first, drop a comment!