



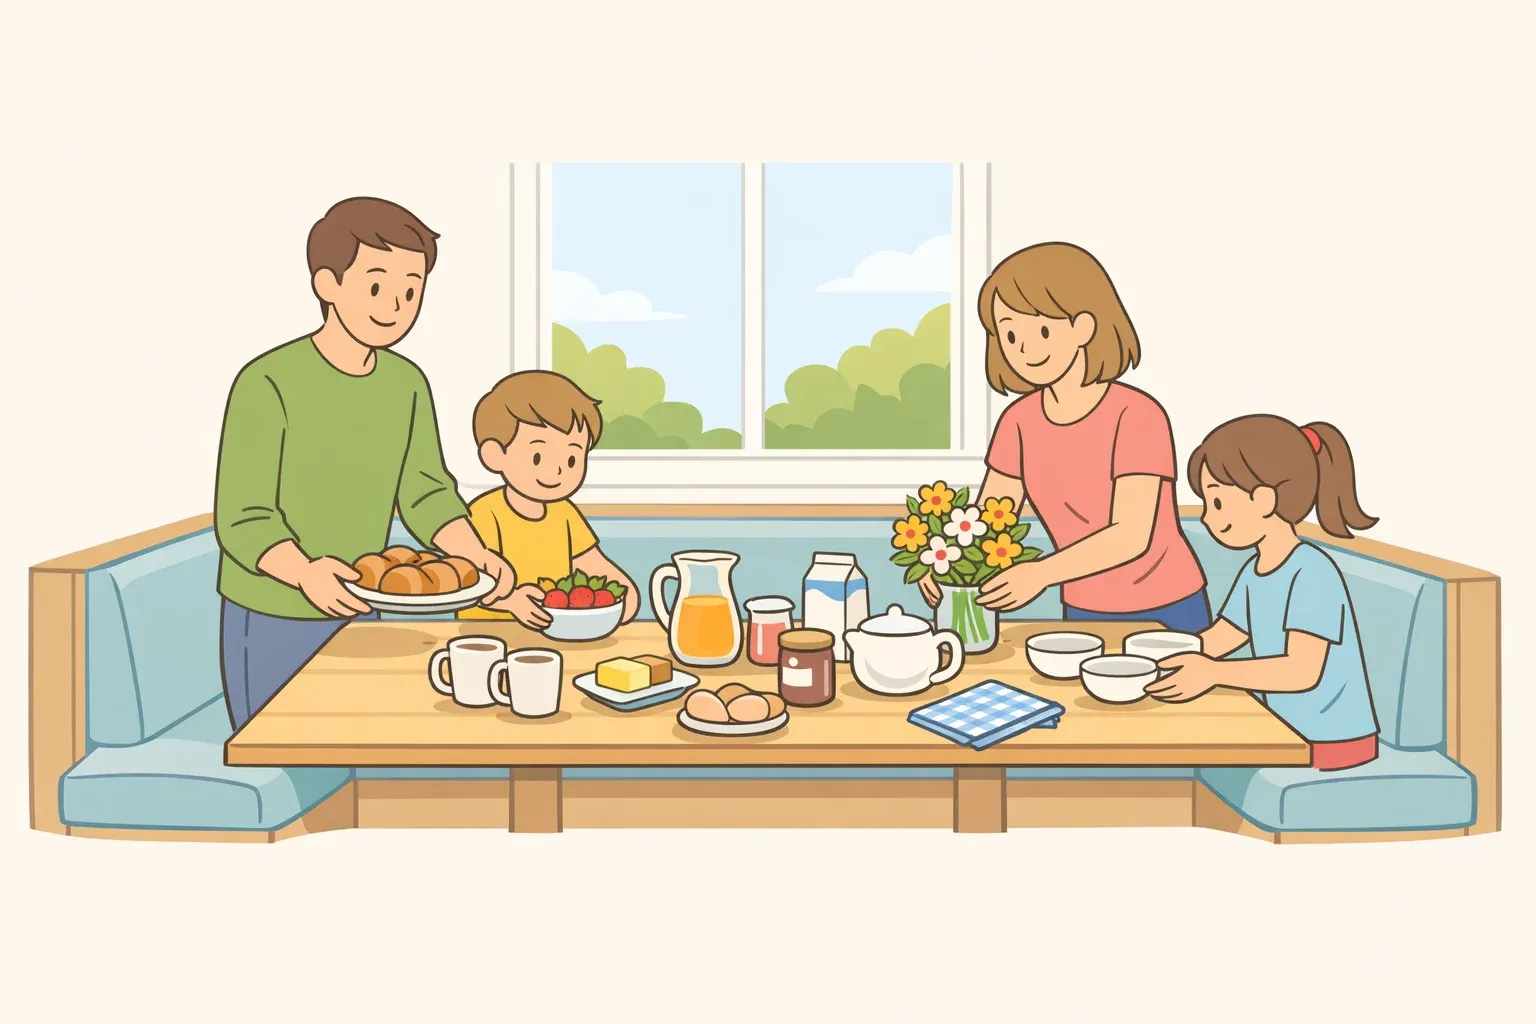
The corner that does nothing until it does everything
Most kitchens have at least one dead corner: a stretch of wall, an awkward alcove, a spot that accumulates mail, backpacks, and good intentions. The appeal of cozy breakfast nook ideas starts here, in the recognition that this space is already doing nothing useful.
A built-in banquette converts it into seating for four to six people in roughly the footprint where freestanding chairs could manage two or three, because fixed seating eliminates the pull-out clearance each chair requires behind it. That's the practical argument. The cozy part follows directly from it.
This guide has one controlling idea: coziness in a breakfast nook isn't a decorating layer you apply on top. It's the result of getting three things right: space that fits your kitchen's actual circulation, proportions that fit your body, and light that shifts with how the space is being used. Get those right, and the atmosphere arrives on its own. Get them wrong, and no cushion or pendant will fix a bench that disrupts kitchen workflow at 7 a.m.
This is a planning guide built around a built-in banquette, which is the configuration where these decisions carry the most weight. If your corner is less defined or your budget favors flexibility, a freestanding setup, whether a compact table with tucking chairs, a portable bench, or a wall-mounted fold-down table, solves the same casual-dining problem with lower stakes. The spatial principles still apply; the irreversibility doesn't.
Before reading further: This guide is most useful if you already have a corner or alcove outside your kitchen's main work zone. If you're not sure whether your kitchen can support a nook at all, start with the feasibility step below.
Step 1: Confirm your kitchen can support a nook without creating a new problem
This is a spatial decision before it's a design one. The most common mistake is choosing materials and finishes before confirming whether the corner can actually absorb a dining setup.
Three-question feasibility check:
Is the available corner or wall section outside the kitchen's main work triangle? In compact layouts, seating belongs at the periphery, tucked away, not in the path between the refrigerator, sink, and stove. Better Homes & Gardens noted that one set of homeowners gave up a walk-in pantry to create a two-bench nook in just 6 feet of space, a genuine tradeoff worth naming upfront.
Can you maintain at least 36 inches of clearance between the table's outermost edge and any countertop, island, or high-traffic path? Less than that and the nook becomes an obstacle every morning.
Many workable nooks start around 5x5 feet, but circulation matters more than raw size. The two-bench example above fits in as little as 6 linear feet of wall, which is how tight the tradeoff can get.
Built-in or freestanding?
A built-in banquette earns its place when you want permanent under-seat storage, a fully integrated look, and maximum seating density in a fixed footprint. It carries a higher upfront cost: basic built-in benches can start in the hundreds of dollars, while custom work runs into the thousands. Costs rise with custom storage, finish matching, wiring, and upholstery details.
A freestanding setup is the lower-risk path when the available corner is less defined, the layout changes frequently, or the budget favors flexibility. A kitchen island with bar seating or a fold-down wall-mounted table solves the same problem with fewer permanent commitments. Neither is a lesser choice.
The irreversible part: Clearance is the one call you can't undo with a cushion swap or a new pendant. Measure it first. If the 36-inch minimum to the work zone doesn't clear, a built-in will feel like furniture someone left in the wrong room.
Step 2: How to create a cozy breakfast nook layout that actually fits
Once feasibility is confirmed, lock in the configuration and dimensions before touching materials or finishes. These numbers are the ones hardest to correct later.
Three standard configurations and when each makes sense:
Straight: One bench along a single wall, paired with chairs or stools opposite. Best when only one usable wall is available, or when entry and exit from both sides matters, since there's no trapping anyone in a corner.
L-shaped: Benches along two walls meeting at a corner. The most space-efficient arrangement, with both walls doing work simultaneously. A corner L-shaped banquette can seat four people in a footprint where freestanding chairs might only fit two. The tradeoff is that the person seated deepest in the corner has to climb past everyone else to leave. That's fine for households where meals linger; less fine for a household of people rushing out the door at 7:15.
U-shaped: Benches on three sides, best for larger dedicated nook spaces where maximum seating matters more than footprint economy. Requires significantly more square footage and commits the space entirely to dining.
The five measurements every subsequent decision depends on:
Both wall lengths from the corner out, which determines your maximum bench run and whether an L-shape is viable
Clearance to the kitchen work zone, 36 inches minimum from the table's outermost edge to any countertop or path; this number either confirms or kills the plan
Ceiling box location and height, which determines whether existing wiring can land a pendant at the right height or whether new wiring is needed before walls close
Window position and sill height, since any window within the bench run affects backrest height, cushion placement, and how much natural light the nook actually receives
Table height versus target seat height: a standard 30-inch dining table pairs correctly with an 18-inch bench seat and delivers 12 inches of knee clearance; if the table is non-standard, the bench height adjusts accordingly
Comfort dimensions:
Seat height: 17 to 19 inches from the floor
Seat depth: 18 to 20 inches; 24 inches of table width per seated person
Backrest angle: 10 to 15 degrees from vertical, the difference between a bench people linger at and one they vacate after ten minutes
Gotcha: Measure a chair you already find comfortable before setting any dimensions. Seat height is the most consequential call in the entire build. Published standards are a starting point, not a substitute for a physical reference.
Table shape matters more than most people expect. Round and oval tables work better than rectangles in corner nooks; the curves soften hard wall angles and make moving around the space less physically awkward, with a tulip or pedestal base eliminating corner legs that catch knees and bags. Pedestal bases also make entry and exit easier for anyone seated against the wall. Skip glass tops: they show every fingerprint and crumb at the exact moment the space should look its best.
Step 3: Build for storage, then choose surfaces that survive daily use
Frame decisions and seating surface decisions often get conflated. They're separate jobs: the frame determines what the nook can hold; the seating surfaces determine whether it holds up.
Frame and storage:
A well-built banquette puts the cavity underneath to work. Hinged lift-top seats are the most practical mechanism, absorbing oversized pots, tablecloths, seasonal serving ware, and school bags that would otherwise compete for cabinet space. For painted finishes, the most common choice in white and transitional kitchens, MDF panels over a plywood frame deliver smooth, cabinet-grade surfaces. For natural wood looks, white oak, walnut, and maple each offer distinct grain character and a different finish range. Painted wood maintains exactly like cabinetry: wipe down with a damp cloth, touch up as needed.
Professional fabrication earns its place when the build requires soft-close storage hardware, wiring for integrated lighting, custom fitted cushion upholstery, or finishes that need to match existing cabinetry. Builds without those elements are within reach of a confident DIYer. Custom professional projects typically run one to three weeks from design sign-off to installation.
Seating surfaces where many nooks quietly fail:
The frame can look right, and the cushions can still flatten or stain within a year if comfort and durability aren't treated as design constraints from the start.
Cushion thickness: 3 to 4 inches of foam wrapped in Dacron gives the full, plump appearance that reads as designed rather than temporary. A thin cushion signals unfinished regardless of the fabric on top.
Fabric durability: Performance fabrics rated above 30,000 double rubs on the Martindale scale, including performance velvet, indoor-outdoor linen, and tight boucle, clean with mild soap and water and handle daily household volume.
Cover construction: Specify removable, washable covers. Breakfast nooks handle spills, art projects, and homework, so cleanability isn't optional.
Table surface for households with children: An inlaid stone top handles coloring projects and liquid spills without worry. For general use, a sealed solid wood or marble-finish pedestal is durable and easy to wipe down.
Don't skip back cushions. For anything longer than a quick weekday breakfast, whether weekend brunch, homework, or morning coffee, a flat-backed bench grows uncomfortable well before anyone's ready to leave. Lumbar support is not decorative, and Bloom Decors specifically recommends back cushions or pillows for extended sitting.
Step 4: Light the nook first, then finish the atmosphere
Lighting is the highest-use investment in a breakfast nook, more than any material or decorative choice. A bare overhead fixture makes the corner feel like a corner. A pendant with a dimmer makes it feel like a destination.
Lighting ordered by impact:
Pendant placement: Hang the fixture 28 to 36 inches above the tabletop. That height defines the space, pools light where it's needed, and doesn't block sight lines. Size it to read as slightly oversized; a timid pendant disappears visually and fails to anchor the nook. Run the pendant rough-in before closing walls. It's the easiest detail to adjust before drywall goes up, and one of the more disruptive ones to revisit afterward.
Dimmer switches on all nook lighting: The same space needs clear, bright light for a rushed weekday morning and something much softer for a Saturday that lingers. Warm bulbs in the 2700 to 3000K range read as genuinely cozy rather than clinical.
Layered sources: Under-cabinet strips, wall sconces, and toe-kick lighting at the bench base each shift the nook's character at different times of day. Multiple independently controlled switches make the nook usable as conditions change without rewiring anything.
Visual finishes in order of impact on a compact nook:
In tight spaces, lighter finishes reduce visual weight in a way dark tones can't reverse. Soft whites, warm beiges, natural wood tones, and pale upholstery all keep a corner feeling open. A single accent color on the banquette wall, whether sage green, dusty blue, or warm terracotta, adds depth without affecting the rest of the kitchen.
A well-placed mirror opposite the nook can visually double perceived depth, particularly effective when two converging walls already create a contained feeling. For windows, sheer curtains, Roman shades, or café curtains preserve morning light without darkening the corner; top-down/bottom-up cellular shades handle simultaneous light and privacy when a neighbor is close.
Tabletop styling: keep it restrained.
Three items on the table at most: a small vase, a candle or small lamp, and a tray or ceramic object. More than that crowds the surface before anyone sits down. Fresh herbs in small pots, a single flower, or a fruit bowl keep the space feeling inhabited rather than staged. Wall art hung 6 to 8 inches above the seating back, in consistent frame styles with varied sizes, adds personality without consuming floor space.
What to do after you measure
A corner that clears the feasibility numbers is worth building out. The entire appeal of a cozy breakfast nook rests on it feeling like a deliberate place to be, not a space you've squeezed yourself into.
Once the five measurements are confirmed, the action sequence is straightforward:
Confirm configuration and clearance. L-shaped if two walls are available and the 36-inch clearance holds; straight if only one wall works and easy exit on both sides matters; freestanding if the corner is too undefined for fixed construction.
Set the seat-to-table relationship. 18-inch bench height against a standard 30-inch table; backrest angle 10 to 15 degrees from vertical; 12 inches of knee clearance confirmed before any materials are ordered.
Decide on storage and finishes before fabrication begins. Lift-top hardware, wiring, and matched cabinetry finishes are the variables that determine whether you need a carpenter or can handle the build yourself. Lock these in before cutting anything.
Run the pendant rough-in before closing walls. The ceiling box location is straightforward to move before drywall, significantly less so afterward.
Order fabric samples before committing to upholstery. Performance fabrics rated above 30,000 Martindale double rubs look and feel noticeably different from standard upholstery fabric in person. Confirm the choice against the actual cushion foam thickness before production.
The nook that gets used every morning is the one where the proportions feel right without anyone noticing. That's what the measurements, the backrest angle, and the dimmer are actually doing: removing friction between the space and the people in it. Everything else is finishing touches.




















Comments
Be the first, drop a comment!