



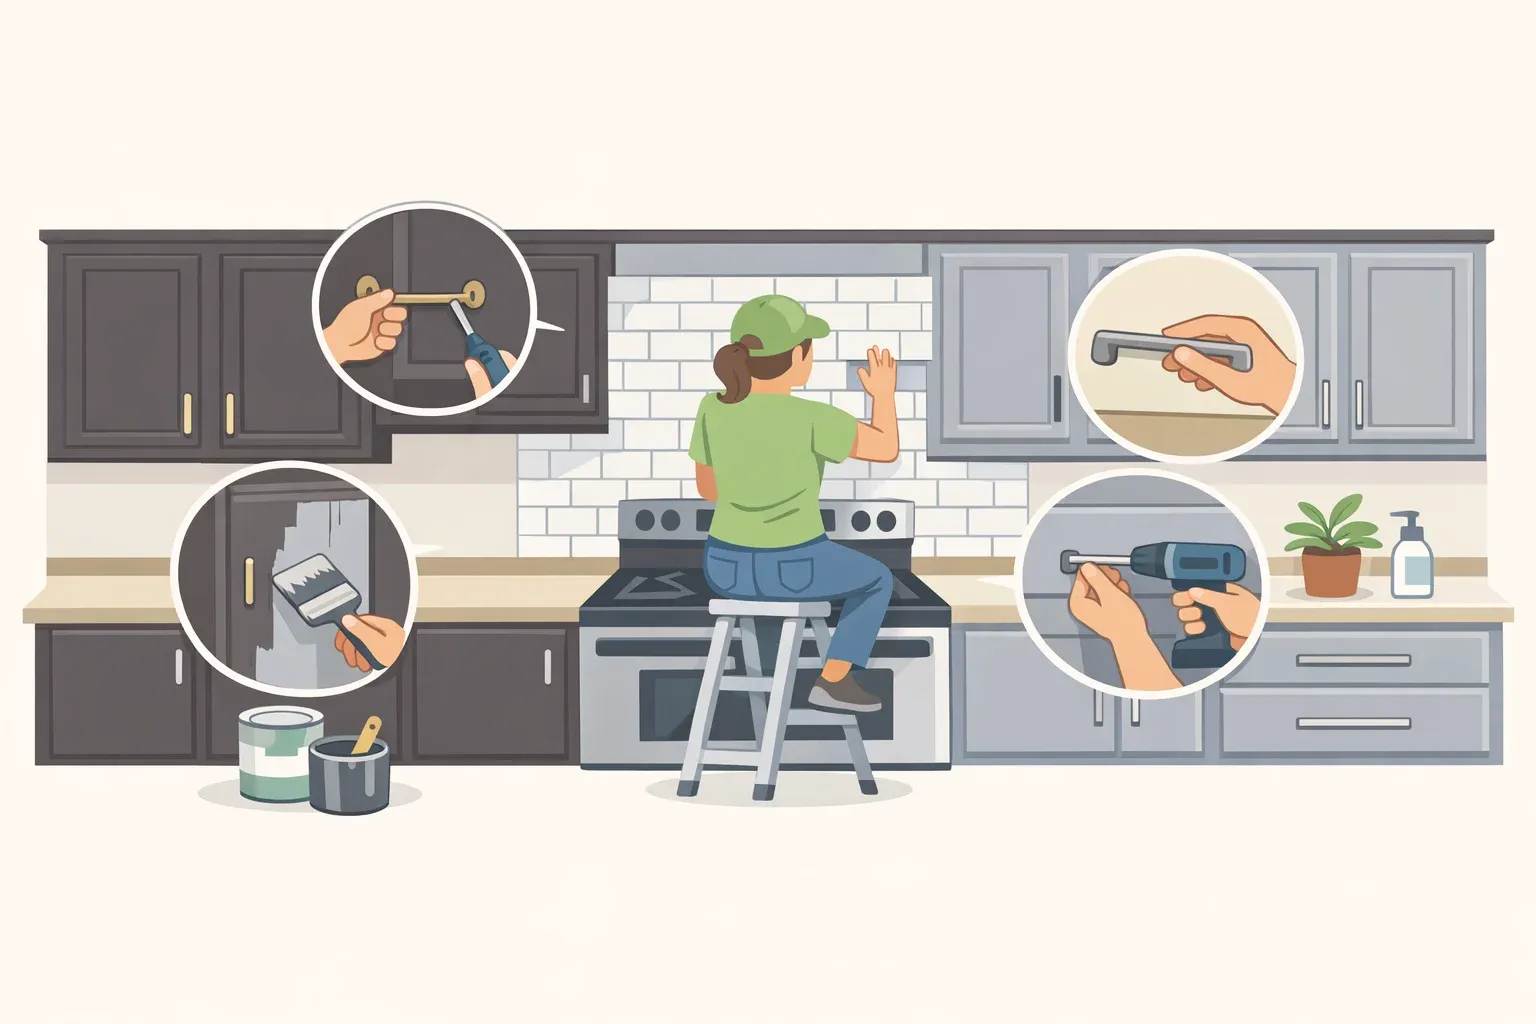
How to Update a 2000s Kitchen Without Replacing Cabinets: A $2,000 Guide
The kitchens that photograph well in renovation features tend to look like someone started from scratch. Most of them didn't. When Jessica and Matt Preteroti set out to refresh their early-2000s kitchen, the starting point wasn't a gut job. It was a clear-eyed read of what was worth keeping. "The cabinets were in fantastic condition, and there was a ton of storage, but nothing about the space really 'wowed,'" Jessica said. "It was an awesome space to cook: large spans of countertop, two ovens, and a Wolf range, but the visuals left a little to be desired." A purely cosmetic problem, as The Kitchn covered earlier this year.
That distinction, cosmetic problem versus structural problem, is what made a $2,000 total budget possible. If you're working out how to update a 2000s kitchen without replacing cabinets, that's the first question to settle before you price tile or schedule a contractor. This guide uses Jessica's documented transformation as a working framework: how to assess what stays, how to run a cheap test phase before committing real money, how to choose a backsplash that earns its place behind dark cabinets, and how to finish the room without losing the thread.
One note on scope: The primary case study documents dark-painted cabinets and a marble-look ceramic tile with metallic gold veining. Where green tile appears as a design direction, it draws from a separate high-end Boston project covered by Architectural Digest in mid-2024, treated here as a comparable choice within the same design logic, not the centerpiece of Jessica's makeover.
Step 1: Assess your dated wood kitchen cabinets before spending anything
The single most important move in a budget kitchen refresh isn't the tile choice or the paint color. It's deciding whether the cabinet boxes are worth saving.
Early-2000s cabinetry earned its dated reputation from finish color, not construction. Orange-toned wood and flat honey-oak stain read as timestamps, but the underlying material can be worth keeping for the sheer quality of the wood, The Kitchn noted earlier this year. The finish is a surface problem. Paint solves surface problems.
Run a physical inspection before pricing anything else. Press firmly on cabinet floors and faces for soft spots. Open every drawer to test slides. Check corners for delamination or separation at the seams. If the boxes are solid throughout, what you have is a paint project. If they're compromised, replacement is the correct call, and no amount of backsplash work changes that.
Once you've committed to keeping the boxes, the color decision is relatively clear. Dark gray, navy, and deep green have displaced the honey-oak and off-white finishes that defined this era, The Kitchn reported. Black works for the same reason: it reads as deliberate where the original tones read as default. A Boston designer who built a high-end black-cabinet kitchen described the palette as "tux and chic," pointing to "black cabinets, reeded glass doors, and green countertops," then called the whole project "an exercise in portion control," Architectural Digest reported in mid-2024. Strong choices balanced carefully against existing materials, not stacked on top of each other. That logic holds at any budget.
There's one structural tradeoff to settle here, not later: removing upper cabinets opens the room visually and creates space for floating shelves, but it permanently converts enclosed storage to open storage. Jessica and Matt made that swap, The Kitchn reported. Whether it's right depends on how you actually use your kitchen. Decide during assessment, before demo starts.
One execution note before you order paint: satin black and deep-green enamel finishes are unforgiving on imperfect surfaces in ways that lighter stains aren't. Plan for proper deglossing, a bonding primer, and a cabinet-specific enamel rated for regular cleaning before committing to the color. This is prep work, not optional.
Step 2: Run a cheap first phase to test your bones thesis
Here's what $500 bought Jessica before she touched a single cabinet or ordered backsplash tile: she painted the existing brown backsplash white, swapped recessed ceiling fixtures for bold black pendant lights, and replaced the original tile counters from 2003 with DIY concrete ones featuring a waterfall edge, according to The Kitchn.
The concrete countertops cost $200 of that total. "Eventually, I'd love to swap out my DIY countertops for a stone or quartz," she said, "but for the time being, I couldn't beat the $200 price point of the concrete." That's a deliberate placeholder, not a compromise to apologize for. It kept the project moving without locking in a surface she'd want to revisit.
The strategic value isn't just the savings. It's the information. Resetting the lighting and surface palette for $500 reveals whether the layout itself is the actual problem. If the room still doesn't work after this round, you've spent $500 to learn that, not committed $1,500 more in the wrong direction. "All of those changes cost around $500, and it was a great jumping off point for the later, larger renovations," Jessica said.
The second, more intensive phase added about $1,500 and brought the full project to $2,000, The Kitchn reported. That's what the next two steps cover.
Step 3: Choose your statement surface and understand the installation before you commit
The backsplash is where most of the visual work happens in a kitchen built around dark cabinets. It's also where most DIYers hit the most difficulty, and where the gap between "bold tile in a showroom" and "bold tile on your wall" becomes real.
On selection: Jessica's original plan was more restrained than what she installed. Stock limitations at local tile shops narrowed her options on a compressed timeline. "I was at the mercy of whatever was in stock at the tile shops and knew I needed to have an open mind," she said. What she found was a marble-look ceramic tile with metallic gold leaf veining, bolder than intended. The decision proved right. "The metallic gold veining is really special," she said. "It reflects as you walk through the space, so the wall almost feels alive in a sense," The Kitchn reported.
The practical lesson isn't specific to this tile. Going in with a locked-down specification on a tight timeline creates frustration. Going in with a style direction, reflective versus matte, large-format versus small, bold color versus neutral with texture, creates room to find something that works within what actually exists in local inventory. Behind dark cabinets, the backsplash earns its impact through contrast. Whether that contrast comes from a reflective surface, a deep color like emerald or forest green, or strong textural variation is a secondary decision. Committing to one that does visible work rather than one that disappears behind the cabinetry is the primary one.
On installation difficulty: Grouting the sparkly backsplash was the hardest part of Jessica's entire renovation, The Kitchn reported. "For the life of me, I couldn't get the grout to stick to my grout float or the tile, so I tried a mortar bag, which was another fail, and ultimately, I ended up grouting the entire space with my hands," she said. Know that before you buy a similar tile. Polished and high-variation ceramic surfaces behave differently from standard field tile, and this frustration is documented, not exceptional.
Handmade or textured tiles in the zellige style add further complexity. They carry uneven edges and surface undulation by design, require narrower grout joints, typically 1/8" to 3/16", and should be installed by pulling from multiple boxes simultaneously to distribute tonal variation across the wall, Studio Cement Tile noted in late 2025. On handmade tile, one tile sitting slightly higher than its neighbor is within spec. Know that before installation so you don't pull tiles that are performing correctly.
Standard subway tile in a vertical stack or herringbone layout with a contrasting grout color delivers a strong result with far less of that complexity. The format is predictable; the drama comes from the grout color and layout pattern. Dramatic doesn't require difficult.
Order 10-15% more tile than your square footage calculation, Studio Cement Tile advises. Cuts, breakage, and tiles where surface variation falls outside acceptable range will consume supply faster than expected. Running short mid-install on a discontinued dye lot stops the project cold.
Step 4: Finish the supporting elements as a coordinated step, not afterthoughts
Once the cabinets are painted and the backsplash is in, three elements finish the room: the range hood, the open shelving, and the lighting. Jessica and Matt handled all three in the same 10-day window as the tile work, The Kitchn reported. They share a logic: each one supports the visual move already made by the cabinets and backsplash rather than competing with it.
The custom range hood came in at under $75 in materials. "I made and installed the entire thing with a box cutter and a drill," Jessica said. She painted and sealed it to match the kitchen palette. Easiest part of the renovation, by her account, a useful counterpoint to the backsplash, which was the hardest. A custom-looking hood doesn't require custom pricing.
Floating shelves replaced the removed upper cabinets and restored some open storage. Under-shelf lighting, added in the same step, determines how the rest of the room reads. In a kitchen with dark painted cabinets and a reflective backsplash, where the light lands is a genuine design decision. Lighting that falls on the backsplash makes the wall come alive. Lighting that doesn't makes an expensive tile choice hard to see.
On timing: "I was on a strict timeline, so I scheduled out the renovation to the hour," Jessica said. Map the dependency chain before demo starts: which tasks can run in parallel, like painting cabinets while tile adhesive sets, and which are sequential hard stops, tile in before grout, grout cured before under-shelf lighting goes up. These aren't flexible points; they're the fixed constraints that keep everything else on schedule.
What this approach gets right, and when it works
The $2,000 transformation from a beige, 2003-era kitchen to a dark Scandi-industrial space, completed in 10 days, is a useful proof of concept, The Kitchn reported. The real lesson isn't the budget figure. It's the decision logic that made the budget work.
This approach fits when the cabinet boxes are structurally sound, the layout already functions well, and the problems are cosmetic. It doesn't fit when the boxes are compromised, the layout creates workflow problems, or the required electrical or plumbing work brings contractor costs into the picture. At that point, preserve-and-refresh doesn't save money; it delays a more expensive problem.
For the kitchens where it does fit: keep the cabinets if the bones are good, run a low-cost first phase to confirm the direction before committing to the second, choose one dominant visual move and build everything else around it, then pick your statement tile based on what your timeline and installation skill can actually support. A bold tile installed poorly does less than a clean subway tile installed well.
The design principle running through this, and through a $150,000-$200,000 professional renovation built around the same black-cabinet, strong-surface logic, is identical at any budget. The kitchens that feel dramatic are the ones that changed the right things, not the ones that changed everything.




















Comments
Be the first, drop a comment!