



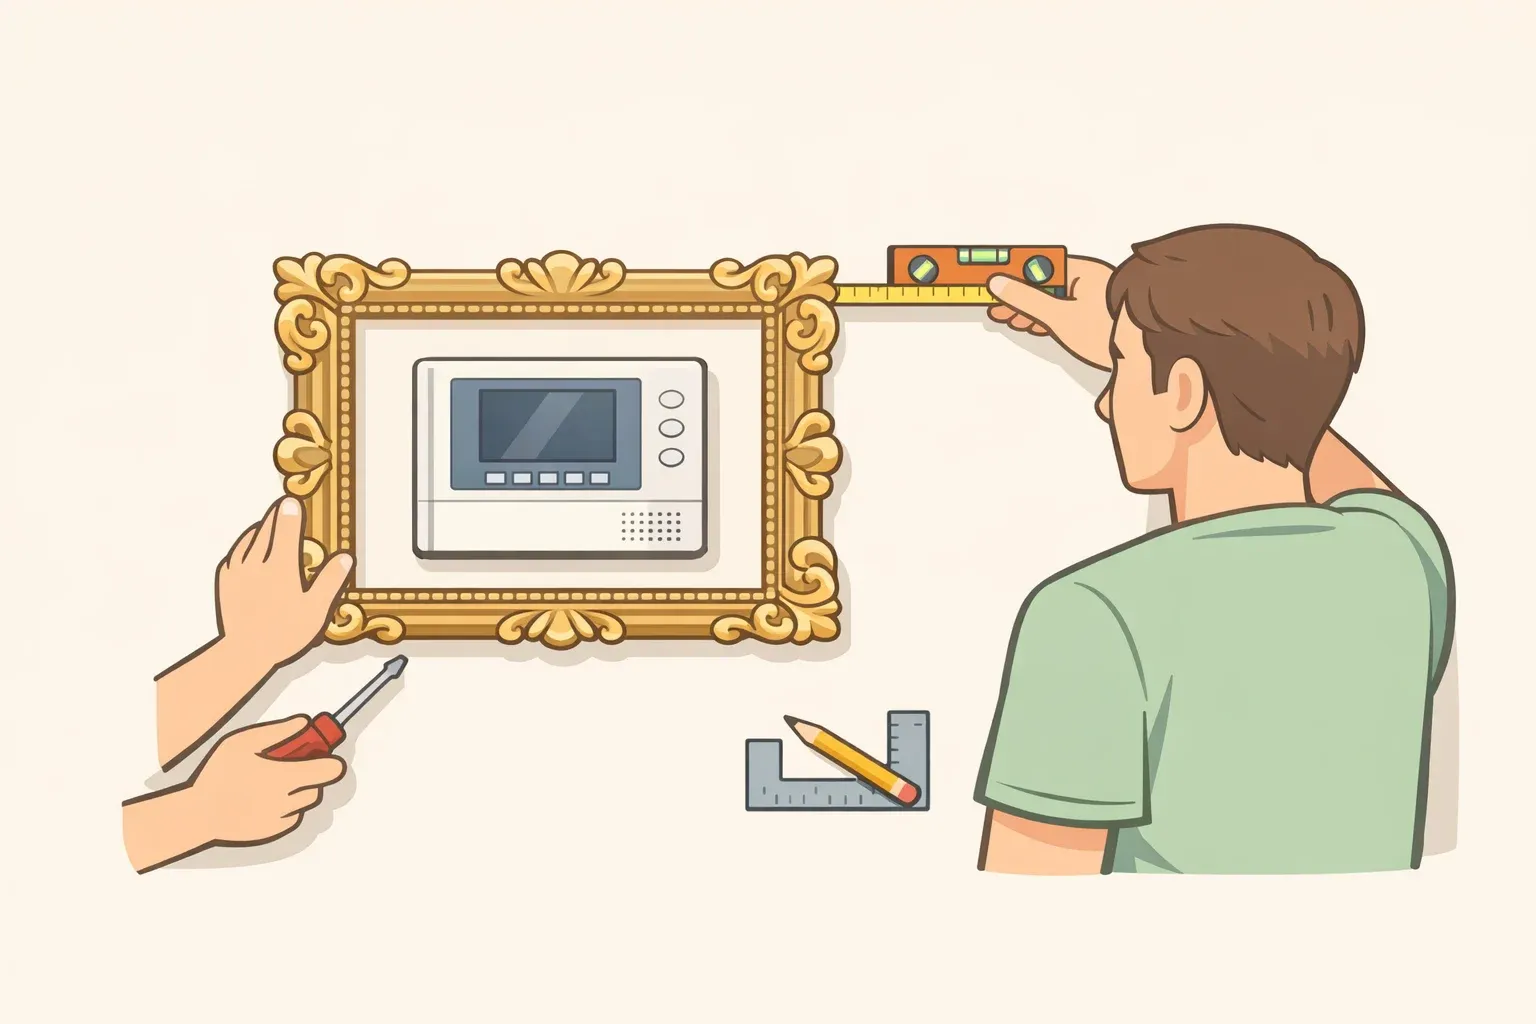
How to Hide an Intercom in a Hallway: Frame It Instead
A gilded picture frame mounted around a wall intercom does something small and surprisingly effective: it turns an object everyone grimaces at into something guests actually comment on. Not because it hides the intercom it doesn't but because it gives the device a visual context that reads as chosen rather than inherited. That distinction is also what keeps this project safe and lease-legal.
This guide walks you through how to decorate around an intercom the right way: measure the unit, choose a frame that clears every button and indicator, finish it in a gilded tone, and mount it so nothing is blocked, nothing is damaged, and the whole thing comes down clean when you move. Under $30, one afternoon, fully reversible.
Before buying anything, check two things:
- The intercom is inside your unit, in your entryway or hallway, not in a shared lobby or building corridor. Intercoms in common areas fall under building safety codes, ADA accessibility requirements, and in some jurisdictions emergency-system integrations, per the NYCHA Design Guidelines (last updated in early 2026). That's outside renter DIY territory.
- Your lease allows non-damaging wall additions, or you've confirmed as much with building management.
If the unit has recording indicators or posted signage near it, read Step 1 before touching anything.
What you'll need: tape measure, painter's tape, pencil, camera phone, frame (criteria in Step 2), metallic spray paint, sandpaper or tack cloth, removable adhesive mounting strips rated for the frame's weight.
Step 1: Measure the unit and map what can't be touched
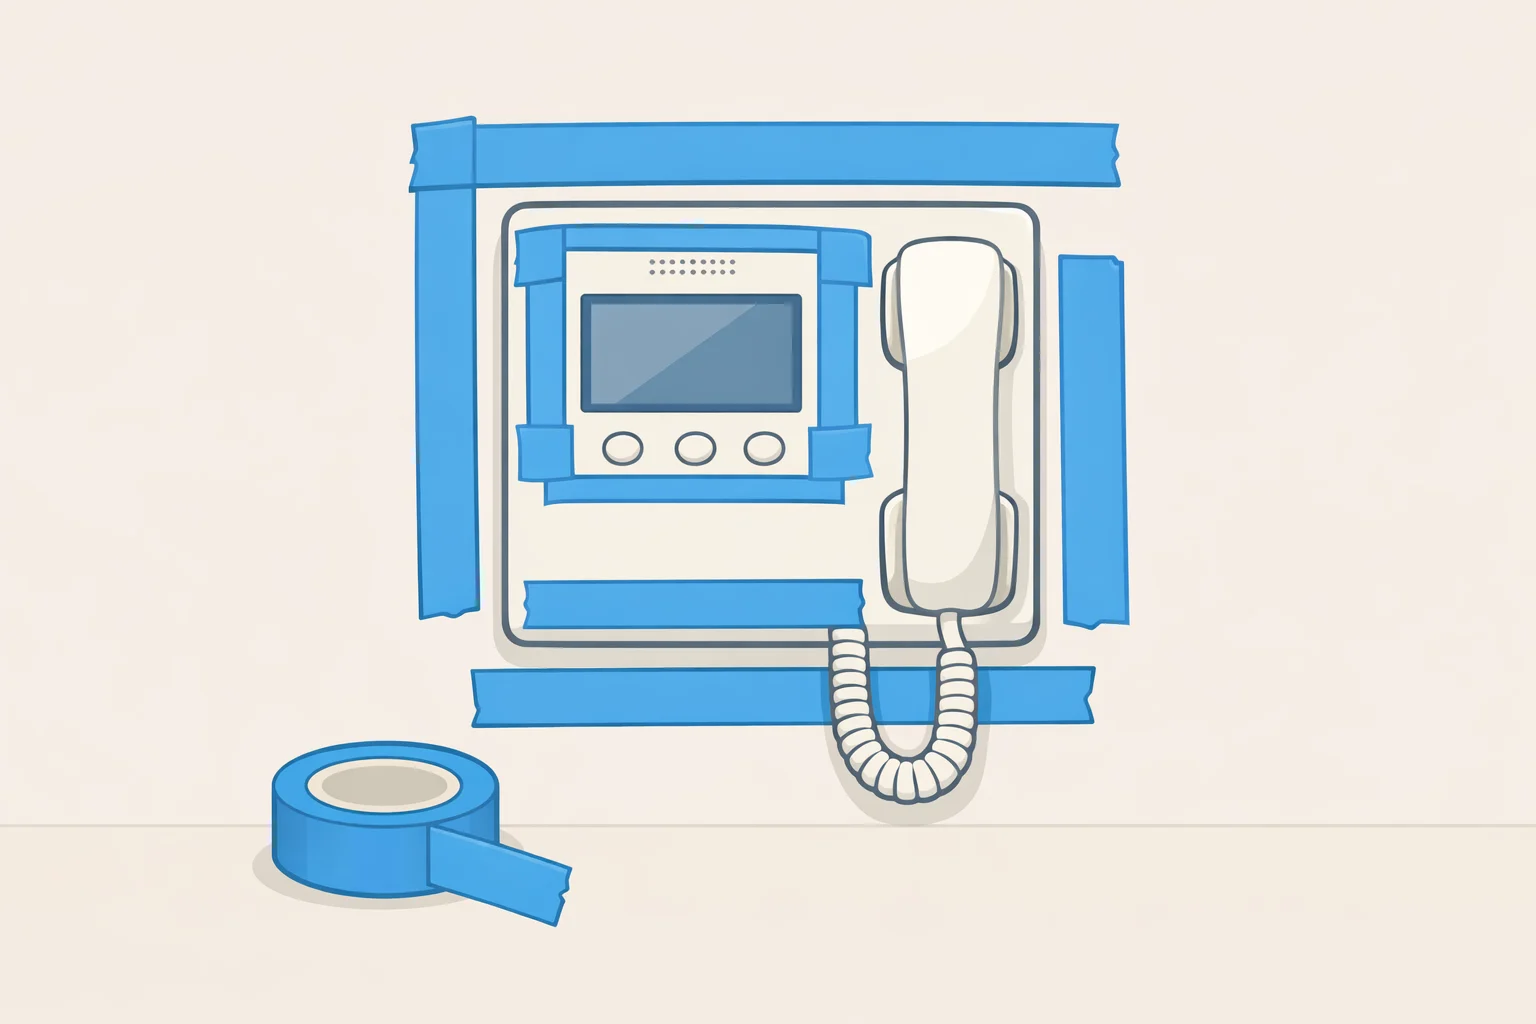
Every frame decision size, depth, interior opening follows from what you measure here. Two minutes with a tape measure prevents a wasted trip to the frame store and a frame that looks wrong once it's on the wall.
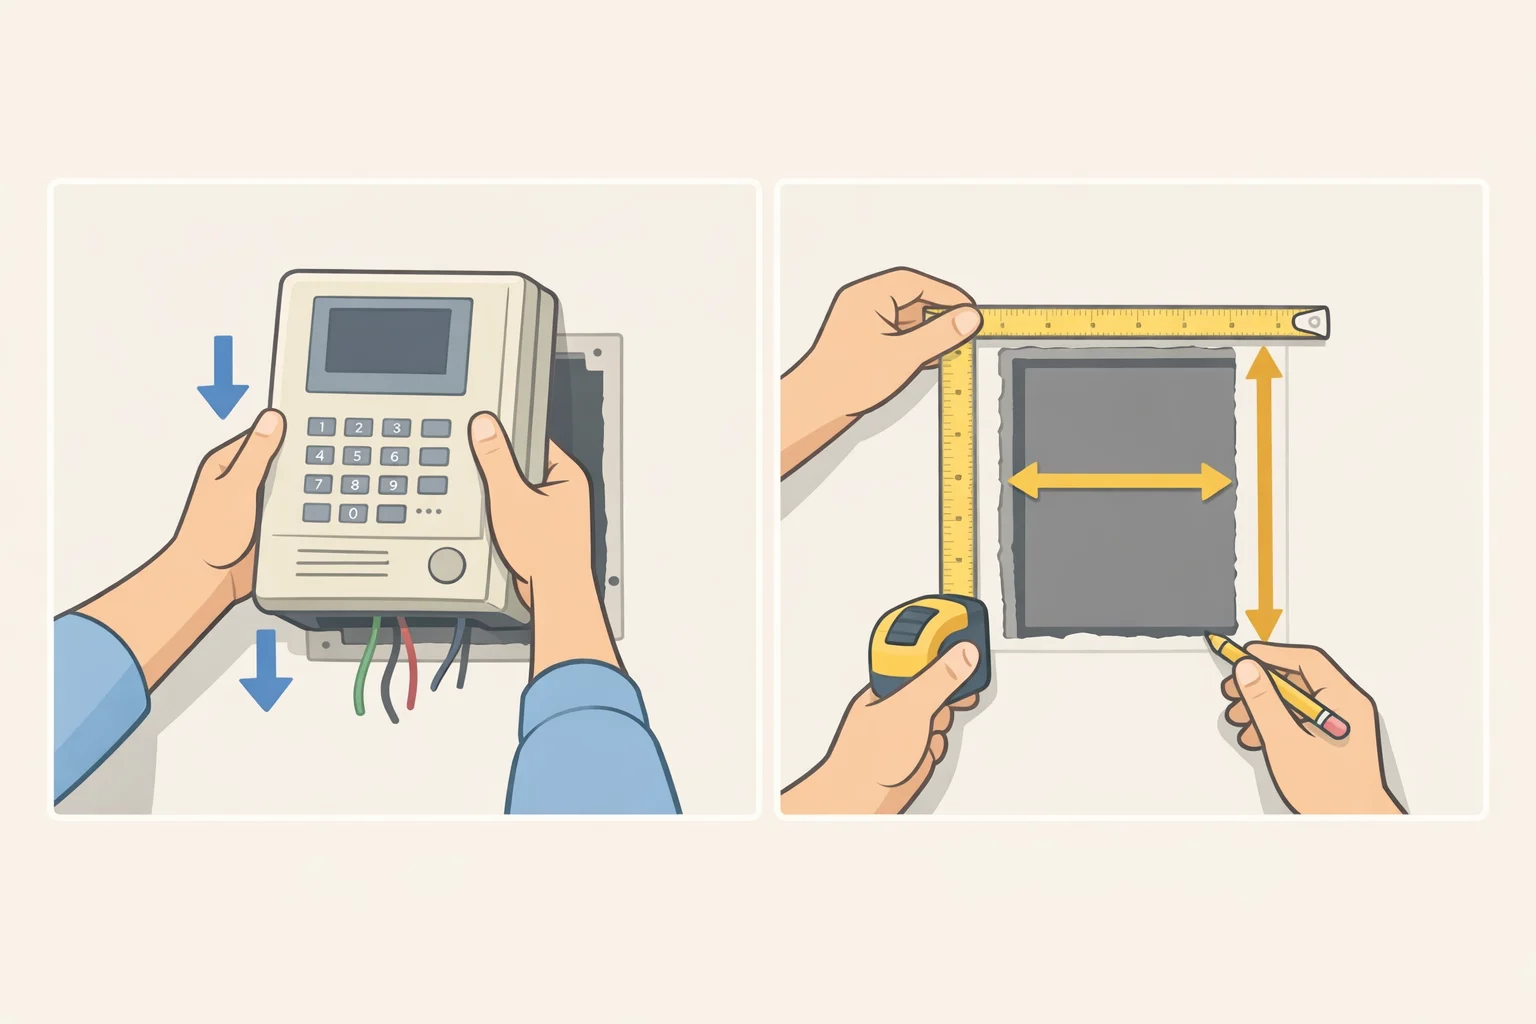
Identify the unit type first. Flush-mounted intercoms, where the face sits flat against the wall surface, take any standard flat frame. Protruding units extend outward and need a shadow-box or float frame with enough interior depth to clear the unit's body without resting on it. Measure how far the unit protrudes. If it sticks out more than about three-quarters of an inch, a standard flat frame won't sit flush against the wall; it will lean visibly against the device instead.
Photograph and mark the functional zones. Take a straight-on photo of the unit. Then use painter's tape to mark the outer boundary of each element directly on the wall: speaker grille, buttons or touchscreen edges, camera lens (if present), LED indicator lights, and any recording notices posted near the unit. These marks are your clearance minimums. The frame's interior opening must fully clear all of them. Measure from the center of the unit to each marked boundary, transfer those measurements to paper, then remove the tape.
Why none of those clearances are negotiable. Smart intercoms often include video and audio recording features that carry real privacy obligations. Depending on the state, recording may require one-party or two-party consent, and keeping required signage visible is how property owners stay on the right side of those laws, per Comelit Group. Courts have ruled against property owners who failed to manage recorded communications properly, and for a renter that exposure lands as a landlord dispute or a failed safety check. ADA rules also require that controls remain reachable and usable in all public and common areas, which is part of why shared-space intercoms are off-limits for this project entirely.
The practical rule for an in-unit intercom is straightforward: don't block controls, speaker grilles, cameras, indicator lights, posted notices, wiring access points, or ventilation. If the frame covers any of those, the position needs to change.
Write down your non-negotiables now. You'll use this checklist again in Step 3:
- All buttons and touchscreen areas fully pressable
- Speaker grille unobstructed by any frame edge
- Camera lens (if present) has a clear, unblocked field of view
- All indicator lights and recording notices visible from normal standing distance
- No wiring access points or ventilation gaps covered
- Frame removable without tools and without contacting the unit
Step 2: Choose a frame that fits the unit and a renter's constraints
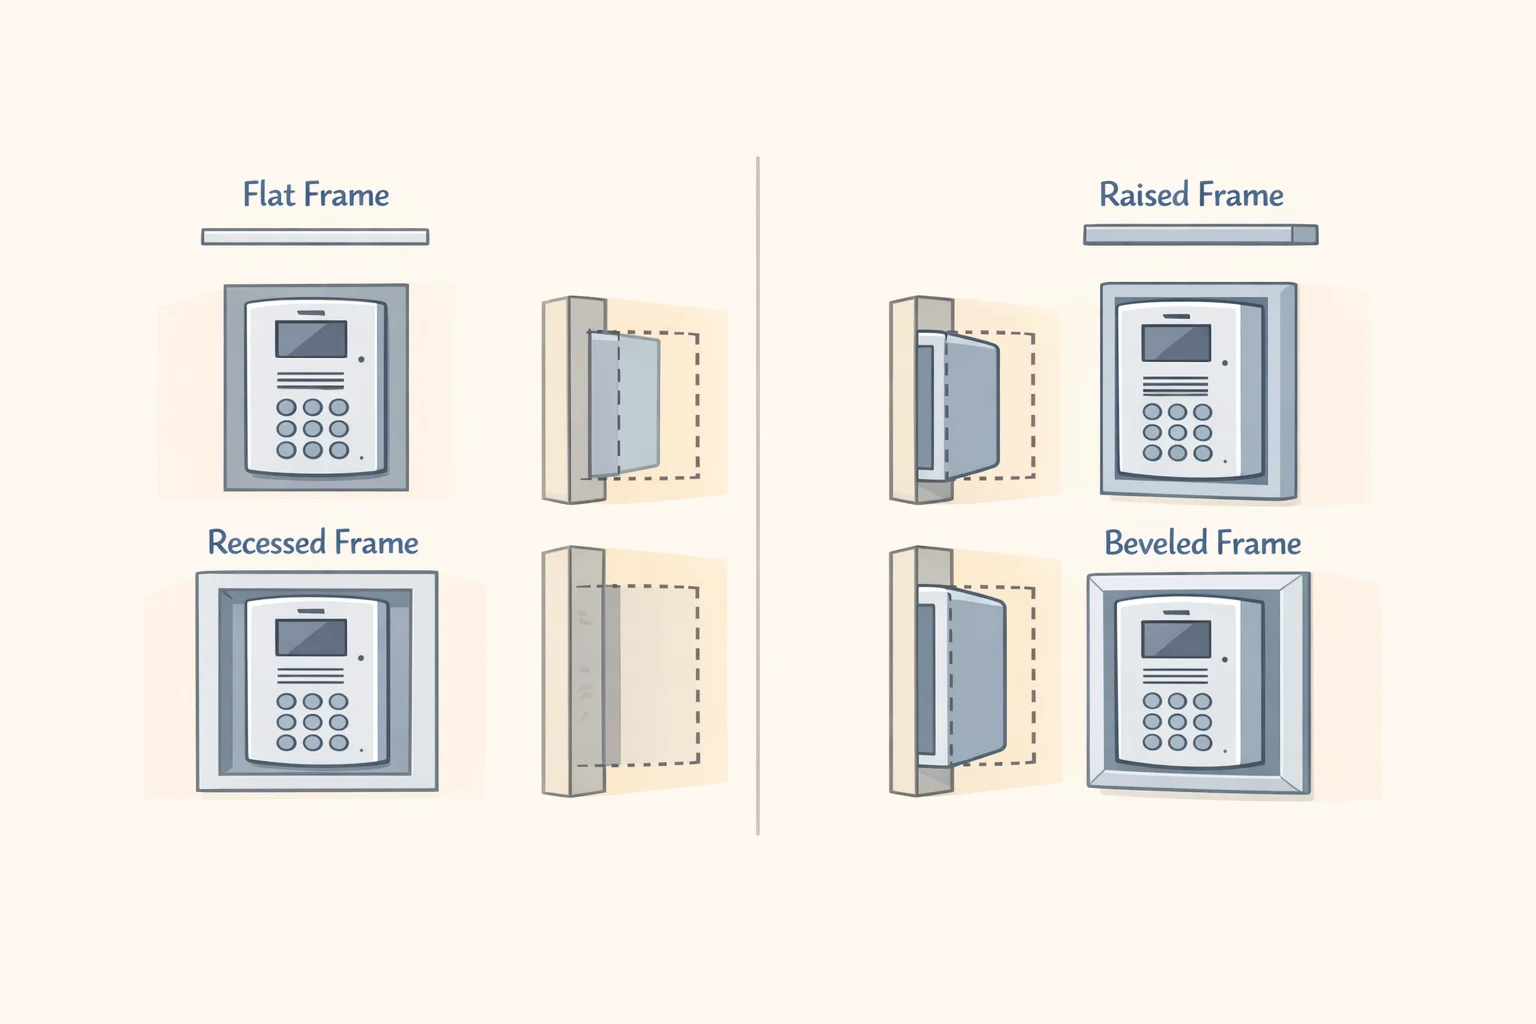
Size the interior opening before you look at anything else. The frame surrounds the intercom without overlapping it. Add meaningful clearance beyond the outer housing on each side, more so if any functional element sits close to the unit's edge. Measure your specific unit rather than assuming a standard size fits. An oversized frame looks considered; a tight one looks like a measurement error.
Match frame depth to what you measured. A flush-mounted unit takes any standard flat frame. A protruding unit needs a shadow-box or float frame look for those labels specifically, as they're designed with interior depth to clear a raised surface. The frame should rest against the wall, not against the device.
A quick reference for common situations:
- Flush unit, no camera: standard flat frame, any finish
- Protruding unit: shadow-box frame; measure the protrusion before buying
- Unit with camera or recording notice: size the interior opening generously; confirm the lens and any posted notices are clearly visible with the frame in position
- Textured wall surface: buy adhesive strips rated specifically for textured surfaces
- Unit that's unevenly mounted or slightly off-level: level the frame to the wall, not to the unit a level frame on a slightly tilted unit reads correctly to the eye; a frame mounted parallel to the tilt looks wrong
On the gilded finish. Gold and brass tones work on hallway intercoms because they reference traditional architectural hardware: door plates, mail slots, coat hooks. The device stops reading as building infrastructure and starts reading as a deliberate fixture. Flat or satin gold holds up better on walls than high-gloss, which shows fingerprints and makes chips obvious. Metallic spray paint adheres well to wood, resin, or metal frames with a light sand and a primer coat first.
For antique-gold depth: apply a dark brown or black base coat, let it dry completely, then dry-brush a metallic layer over it. The dark base reads through at the recesses and gives the finish some age. Rushing the dry time between coats is where most paint jobs go wrong.
Mounting for renters. Removable adhesive strips designed for picture hanging handle frames in this size range cleanly, leave no wall damage, and release without residue when removed per the manufacturer's instructions. No lease violation, no patching on move-out, no contact with the intercom itself.
One failure point worth flagging: adhesive strips lose holding strength on fresh paint, heavily textured surfaces, and humid entryways near exterior doors. Follow the manufacturer's cure time before hanging anything. Skipping that step is the difference between a frame that stays up and one that doesn't.
Step 3: Mount the frame and confirm everything still works
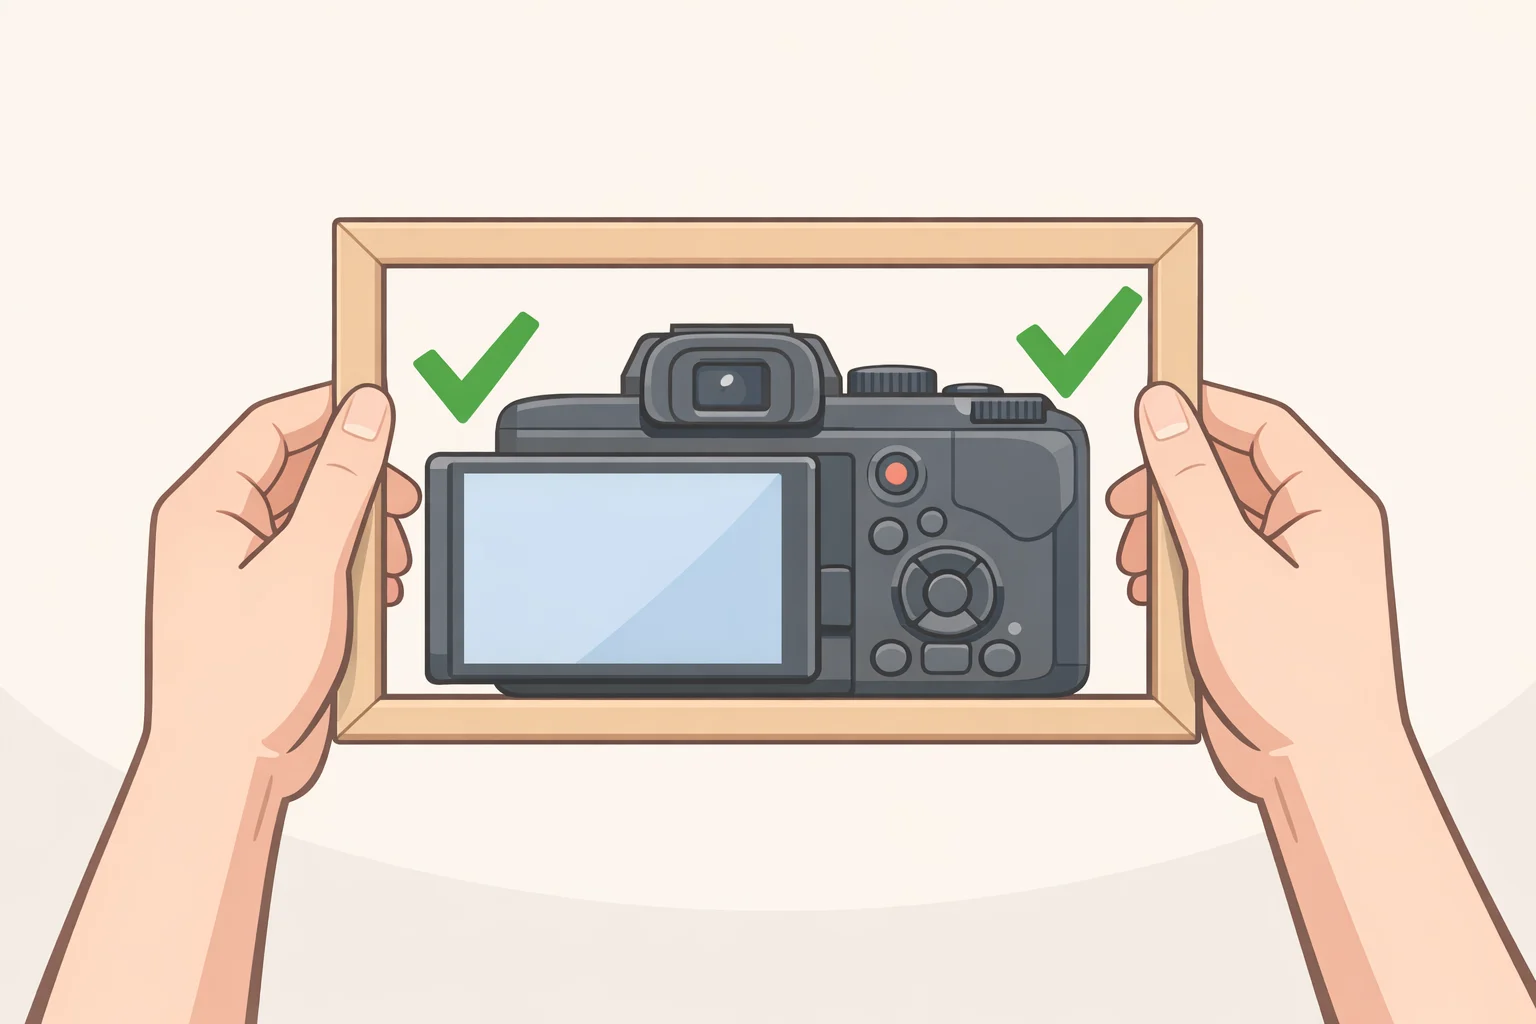
Mark position before you commit. Hold the unpainted frame against the wall in the intended position. Confirm the interior opening clears everything on your checklist. Take a photo on your phone. If anything looks tight in the photo, it is tight in real life adjust before you paint or apply adhesive.
Position for how it reads, not for geometric center. Centering the frame exactly on the unit often looks slightly bottom-heavy. Set the intercom a little below the visual center of the frame's interior opening. The eye reads this as balanced in a way that pure mathematical centering doesn't quite achieve.
Apply adhesive strips to the frame back, not the wall. Follow the manufacturer's sequence: attach strip pairs to the frame, press firmly, then position the frame on the wall. Mark the intended position lightly in pencil before pressing the frame down repositioning after strips contact the wall weakens the bond.
Weight matters more than most people expect. If the frame turns out heavier than anticipated, don't stack extra adhesive strips to compensate. A frame that needs to stay reliably in place on a textured or high-humidity wall should use a picture rail, a french cleat mounted above the intercom, or a dedicated wall anchor. Strips loaded beyond their rated capacity fail suddenly, not gradually.
Run the full operational check before calling it done. Work through the checklist from Step 1:
- Press every button does it depress fully and register?
- Speak toward the unit from a normal conversational distance is the speaker unobstructed?
- If there's a camera, look at the lens from standing height is the full lens visible with no frame edge in the way?
- Are all indicator lights and posted notices visible from where a visitor would stand?
- Can you reach and remove the frame without tools and without touching the unit?
If anything fails that check, the frame position needs to change. A partially blocked recording indicator or a button that doesn't fully depress is a much harder conversation with a landlord later than adjusting the position now.
What to check if the building upgrades the unit
A properly sized and finished gilded frame changes how an intercom reads in a hallway: from building infrastructure renters work around to a deliberate architectural detail, the kind of thing people pause at and ask about. The modification is fully reversible, leaves no wall damage, and costs under $30 in most cases. For renters specifically, those aren't incidental features; they're the point. Nothing touches the device, nothing alters the wall permanently.
The approach works because it creates visual context for the intercom rather than attempting to conceal it. Style around it, not over it that's what keeps this both effective and compliant.
One thing worth planning for: intercom upgrades are increasingly common in multi-unit buildings, with newer systems adding touchscreens, cameras, and emergency integrations that older audio-only units don't have, per the NYCHA Design Guidelines (last updated in early 2026). If the building replaces the unit after you've framed it, take the frame down and remeasure before reinstalling. A new unit will likely have different dimensions, a different camera position, and additional indicator elements every clearance requirement changes. The frame may need to be resized or the finish touched up, but the same logic holds: give the device a surround that makes it look like it belongs there, and leave every part of it fully functional.




















Comments
Be the first, drop a comment!