


Looking at this past year's DIY adventures, there's something deeply satisfying about rolling up your sleeves and transforming your space with nothing but determination and a well-planned weekend. Budget-friendly makeovers have proven time and again that you don't need to break the bank to create stunning results—just a bit of creativity and the willingness to get your hands dirty.
The momentum behind this approach is undeniable: strategic room transformations demonstrate how effective budget interior design can be, with simple changes creating dramatic visual impact that rivals expensive renovations. What makes this trend even more compelling is the growing recognition among homeowners that smart, targeted improvements often deliver better results than complete overhauls. According to industry professionals, 57% predict that homeowners will focus on renovations rather than new builds in 2025—a shift that reflects both economic wisdom and the proven effectiveness of strategic transformation approaches.
Paint projects that pack a punch
Difficulty: Novice
Time: 1-2 weekends
Cost: $25–150; contractor/total cost typically $300+
Fresh paint remains the ultimate game-changer for any space transformation, and this year's projects proved just how powerful the right color choices can be. Renovation experts confirm that paint can completely alter how a room looks and feels in just a weekend—and I can personally attest to this after tackling multiple rooms throughout the year.
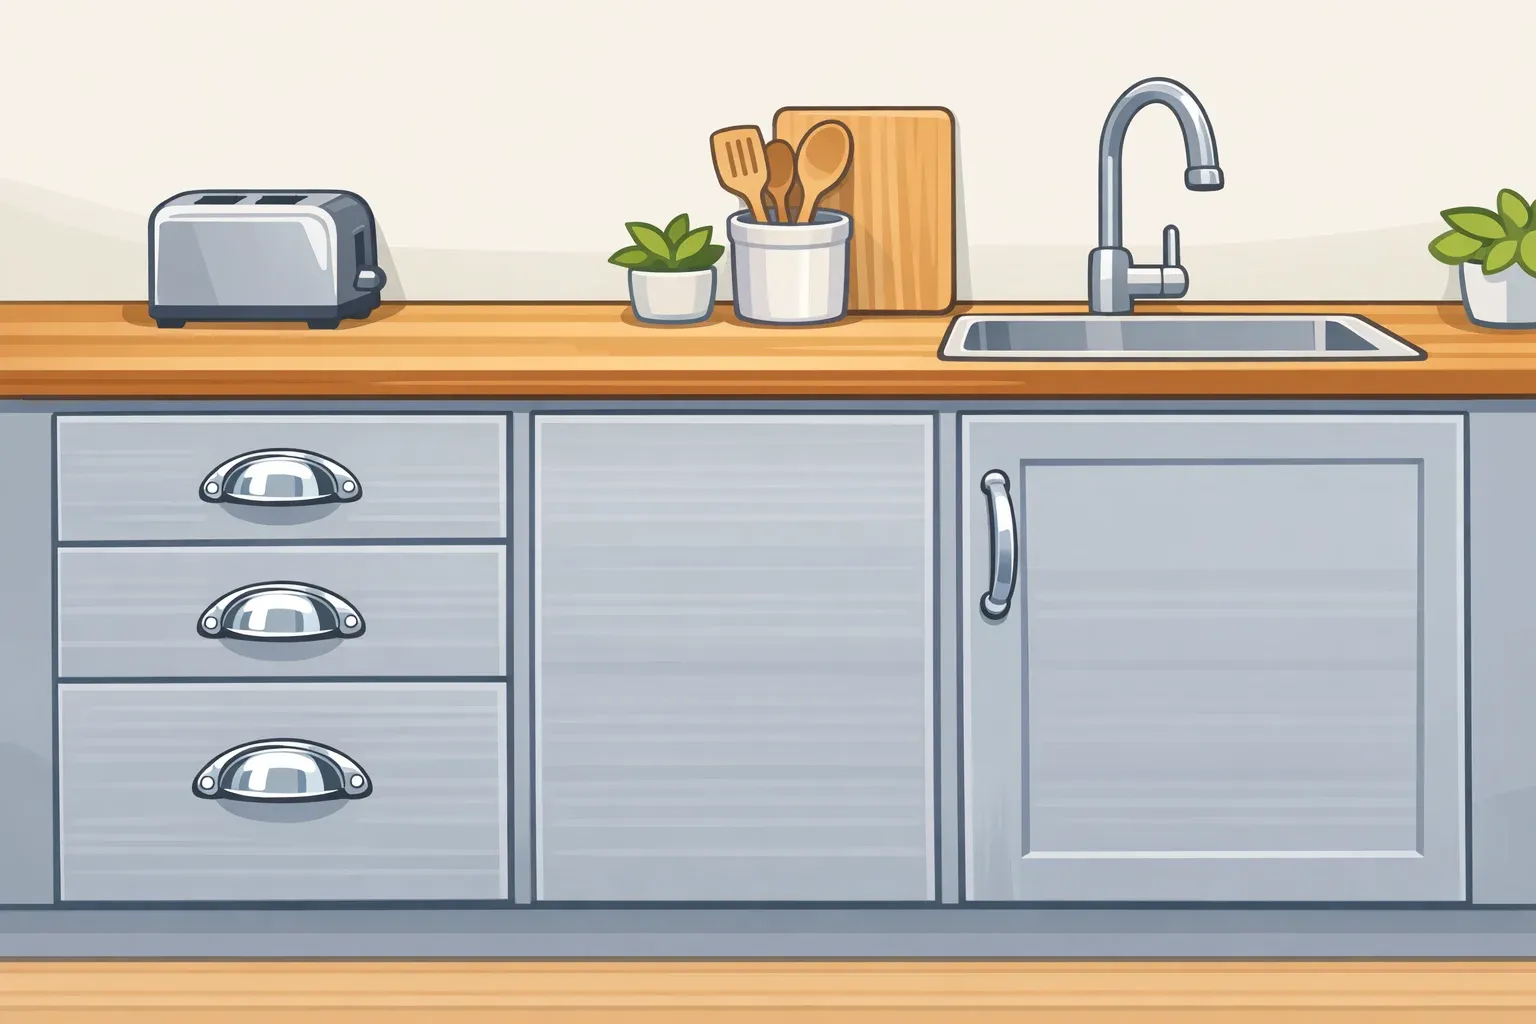
Cabinet refreshes emerged as the clear winner in the paint category because they offer maximum visual impact in the spaces where you spend the most time. Updating kitchen surfaces can dramatically modernize spaces without the expense and hassle of full replacements, but the key to professional results lies in understanding why this approach works so effectively. Cabinets occupy significant visual real estate in kitchens and bathrooms, making them natural focal points that influence how we perceive the entire space.
Safety First: Always work in well-ventilated areas, wear a dust mask during sanding, and use drop cloths to protect floors.
The transformation process involves removing cabinet doors and hardware, giving everything a thorough cleaning with degreaser, then light sanding to help the primer adhere. Quality primer is non-negotiable here—it's what makes the difference between a professional-looking finish and a project you'll regret in six months. This year, I experimented with everything from classic whites to bold navy blues, discovering that each choice completely transformed not just the kitchen's appearance, but how the space felt to work in daily.
Accent walls became my go-to technique for rooms where full repainting felt overwhelming. Design professionals note how strategic color placement adds character without overwhelming entire rooms, but the psychology behind this approach runs deeper than simple decoration. Accent walls work because they create visual hierarchy—giving the eye a deliberate focal point while allowing the rest of the room to provide calming balance.
Tip: Test paint colors in different lighting conditions before committing. Paint large swatches and observe them throughout the day to understand how natural and artificial light affects your color choice.
Why it works: Paint transformations succeed because color directly influences mood and perception of space. Light colors reflect more light and make rooms feel larger, while strategic dark accents create depth and sophistication.
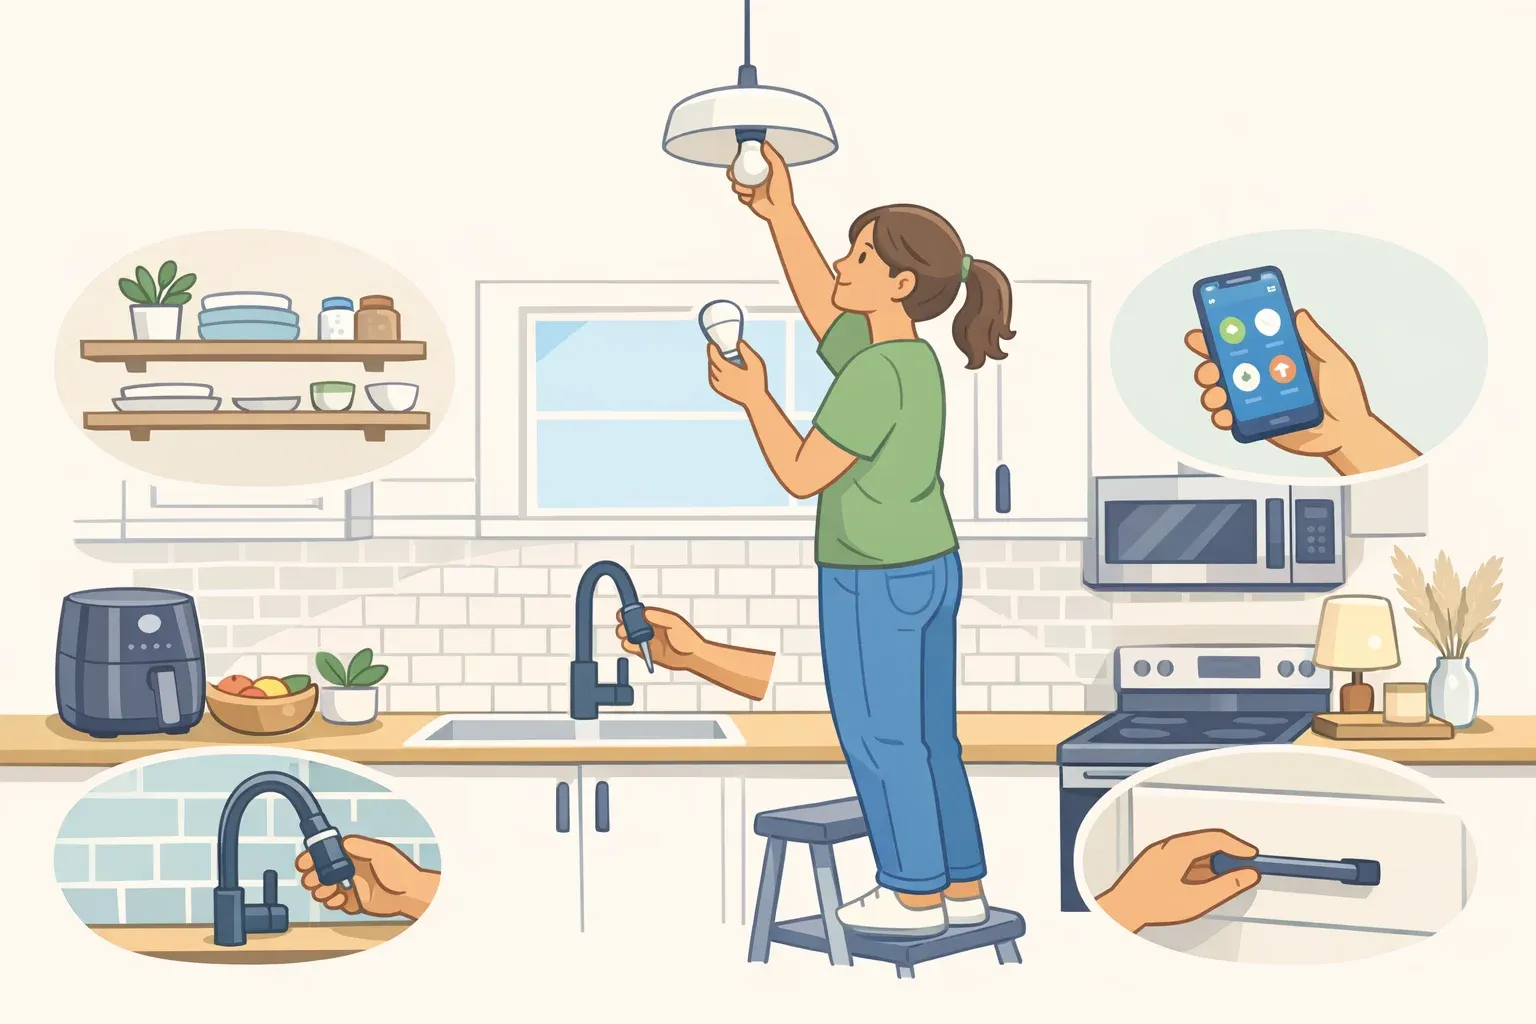
Hardware swaps that make the difference
Difficulty: Novice
Time: 2-4 hours
Cost: $30-200
Small details consistently create surprisingly large impacts in room makeovers, and hardware updates proved to be the most cost-effective transformation technique I discovered this year. But understanding why this works reveals an important design principle: our brains use details to assess overall quality and care. Home improvement specialists confirm that new pulls and knobs can transform kitchens and bathrooms from drab to charming—often for less than $100—because these tactile elements get noticed every single time you use them.
Brass fixtures became my signature choice across multiple projects, adding warmth and sophistication that immediately elevates any space. The installation process requires careful measurement of existing holes to ensure new hardware fits properly, but the real skill lies in understanding proportional relationships. Professionals recommend preparing for minor touch-up work when removing old hardware, as you'll often find small dings or discoloration that need addressing—details that become more apparent once you've upgraded surrounding elements.
Materials needed:
New cabinet pulls or knobs
Screwdriver set
Measuring tape
Wood filler (for hole adjustments)
Touch-up paint
The beauty of hardware swaps lies not just in their immediate visual impact, but in how they change your daily experience of the space. Swapping out dated brass pulls for sleek matte black handles instantly modernizes a space, while upgrading to substantial, well-crafted hardware makes cabinets feel more expensive and custom-built. The psychological effect extends beyond aesthetics—quality hardware that operates smoothly reinforces the sense of a well-maintained, thoughtfully designed home.
Light fixture replacements round out the hardware transformation strategy perfectly. Experts note that switching old fixtures refreshes spaces without major rewiring, but the impact goes beyond simple style updates. Lighting affects how we perceive color, texture, and space proportion, making it a powerful tool for amplifying other improvements like fresh paint or new hardware.
Safety note: Always turn off power at the breaker before working with electrical fixtures, and use a non-contact voltage tester to verify the power is off.
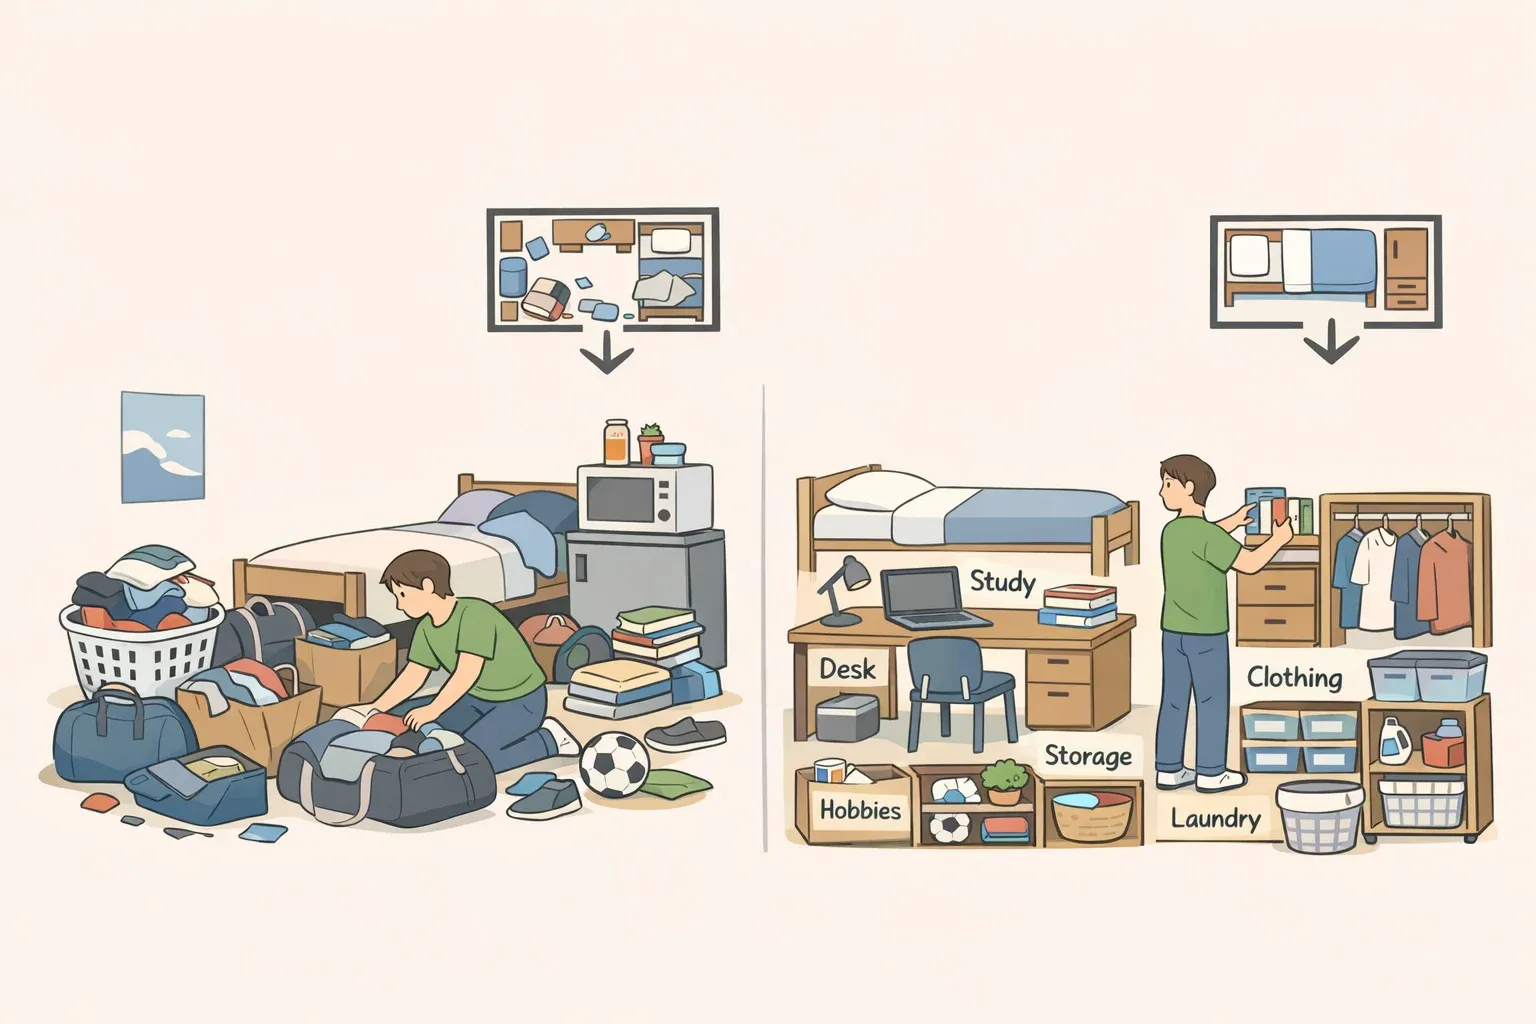
Creative storage solutions
Difficulty: Moderate
Time: 4-8 hours per project
Cost: $50-300
Functional improvements often provide the most lasting satisfaction in home projects because they solve real daily frustrations while adding genuine visual interest. This year's custom storage builds proved that organizational solutions don't have to be purely utilitarian—the best storage designs enhance both function and aesthetics by working with your space's natural flow.
Floating shelves dominated this category because they represent the perfect marriage of form and function. Sleek, modern display solutions showcase décor items without overwhelming spaces, but their real power lies in how they create vertical visual interest while maintaining floor space. Installation requires careful stud location using a reliable stud finder, followed by precise level placement for both safety and aesthetics. The key insight I learned is that perfectly level shelves become invisible to the eye, allowing displayed items to shine, while even slightly crooked installation draws attention to the mounting rather than the contents.
Tools needed:
Stud finder
Level (2-4 foot recommended)
Drill with bits
Wall anchors (for non-stud mounting)
Measuring tape
Built-in organizers transformed previously chaotic areas into streamlined, functional zones that actually stay organized because they're designed around specific usage patterns. Design experts emphasize that open shelving provides budget-friendly storage alternatives, especially in kitchens where traditional cabinets prove costly. my pantry makeover (author's project) cost about $75 but doubled the usable storage space by creating dedicated zones for different item categories—a organizational psychology principle that makes maintenance nearly automatic.
The breakthrough came from recognizing that under-utilized spaces often represent the biggest organizational opportunities. Renovation specialists suggest that areas like under-stair spaces and unused wall sections offer tremendous organization potential, but success depends on matching storage solutions to actual usage patterns rather than forcing ideal organization onto real-life habits.
Why it works: Custom storage solutions maximize every inch of available space while addressing your specific organizational needs—something off-the-shelf solutions rarely achieve. More importantly, they're designed around how you actually live, making them sustainable long-term.
Surface upgrades that wow
Difficulty: Moderate
Time: 1-2 days
Cost: $100-500
Floor and wall treatments delivered some of the year's most dramatic transformations because surfaces establish the foundation for how we perceive entire rooms. Understanding this hierarchy—surfaces set the stage, then furniture and accessories complete the story—helps explain why even small surface improvements create such outsized impact.
Peel-and-stick solutions revolutionized quick updates by removing the technical barriers that previously made surface improvements intimidating. Industry professionals confirm that modern backsplash options provide trendy kitchen updates without contractor involvement, but success with these products depends on recognizing that surface preparation determines long-term durability. Meticulous cleaning, ensuring surfaces are completely dry, and applying slowly to avoid air bubbles transforms a potentially frustrating project into a satisfying transformation.
Materials for peel-and-stick backsplash:
Peel-and-stick tiles
Level
Utility knife
Ruler or straightedge
Hair dryer (for adjustments)
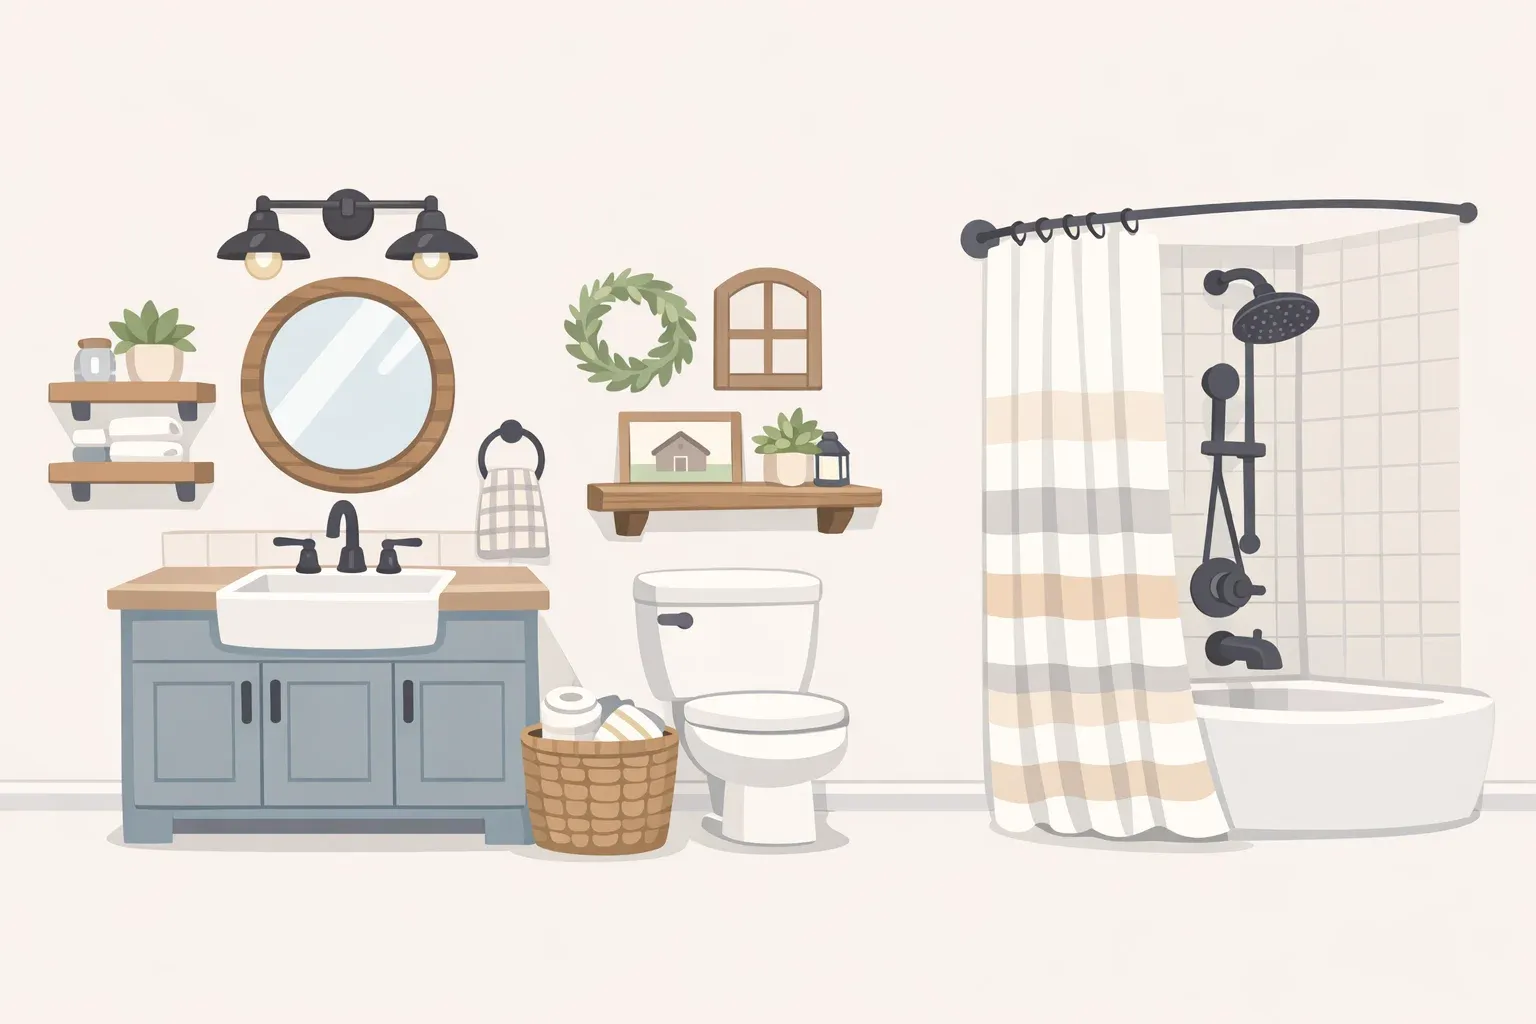
Tile painting projects proved surprisingly effective for bathroom refreshes because they address the psychological impact of worn, dated surfaces. Home improvement guides demonstrate that proper surface preparation and quality paint create lasting results for under $50, but the real value lies in how refreshed surfaces change your daily experience of the space. I transformed a dated bathroom floor using specialty tile paint, creating a cohesive foundation that made existing fixtures and accessories suddenly look more intentional and well-coordinated.
The process involves thorough cleaning with degreaser, light sanding for adhesion, applying specialized primer, then finish coats with tile-specific paint. The chemistry behind these specialized products—enhanced adhesion promoters and flexible resins—explains why they succeed where regular paint fails on non-porous surfaces.
Architectural details like crown molding add character through the design principle of visual weight and proportion. Renovation experts note that crown molding creates clean ceiling lines while adding sophistication, particularly valuable in older homes seeking updated appeal. Installing crown molding requires patience and precise measurements, but the impact on a room's perceived value is immediate because these details signal quality craftsmanship and attention to design.
Tip: Use a miter box or miter saw for clean, precise cuts when working with molding—hand-cutting rarely produces professional results that maintain consistent angles throughout the installation.
Looking ahead: what worked best
This year's projects confirmed that strategic planning trumps expensive materials every single time, but the deeper lesson involves understanding how individual improvements build toward comprehensive transformation. DIY specialists emphasize that starting small and building confidence leads to more ambitious successful projects down the road, creating a progression where each completed project teaches skills and builds confidence for the next challenge.
The most rewarding transformations combined multiple small improvements rather than betting everything on single large investments because layered improvements create synergistic effects. A painted room looks good, but painted walls with new hardware and updated lighting create a transformation that feels completely intentional and professionally coordinated. Home improvement experts confirm that careful planning and quality execution matter more than expensive materials, but the real insight is that systematic improvements compound their individual impacts.
The projects that brought the most satisfaction were those that solved real problems while improving aesthetics—storage solutions that actually stay organized, paint colors that make rooms feel larger and brighter, and hardware that feels substantial and well-made. These upgrades prove their worth every single day through improved function, enhanced mood, and the quiet satisfaction of living in spaces that truly work for your lifestyle.
Looking back, the biggest lesson was learning to trust the process and invest time in proper preparation steps. Rushing through surface prep or skipping the primer always led to disappointing results that required redoing, while projects where I invested time in understanding why certain steps matter exceeded expectations. Quality tools made a noticeable difference too—spending a bit more on brushes, sandpaper, or measuring tools paid dividends in final results and project enjoyment.
The psychological transformation proved just as valuable as the physical improvements. Each successful project built confidence and problem-solving skills, creating momentum that made larger challenges feel achievable. Understanding material properties, tool capabilities, and design principles develops intuition that applies across multiple project types, making future improvements faster and more successful.
Ready to tackle your own transformation projects? Start with one small area that frustrates you daily, invest in a few quality basic tools, and remember that every expert was once a beginner figuring things out one project at a time. Focus on understanding why certain approaches work rather than just following steps, and you'll develop the confidence to adapt techniques to your specific situation. Your dream space is absolutely achievable—it's just one well-planned, properly executed weekend project away from becoming reality.


Comments
Be the first, drop a comment!