


Craftsman Window Trim That Transforms Any Room in One Weekend
Difficulty: Moderate
Time: 2-3 hours per window
Cost: $25-40 per window
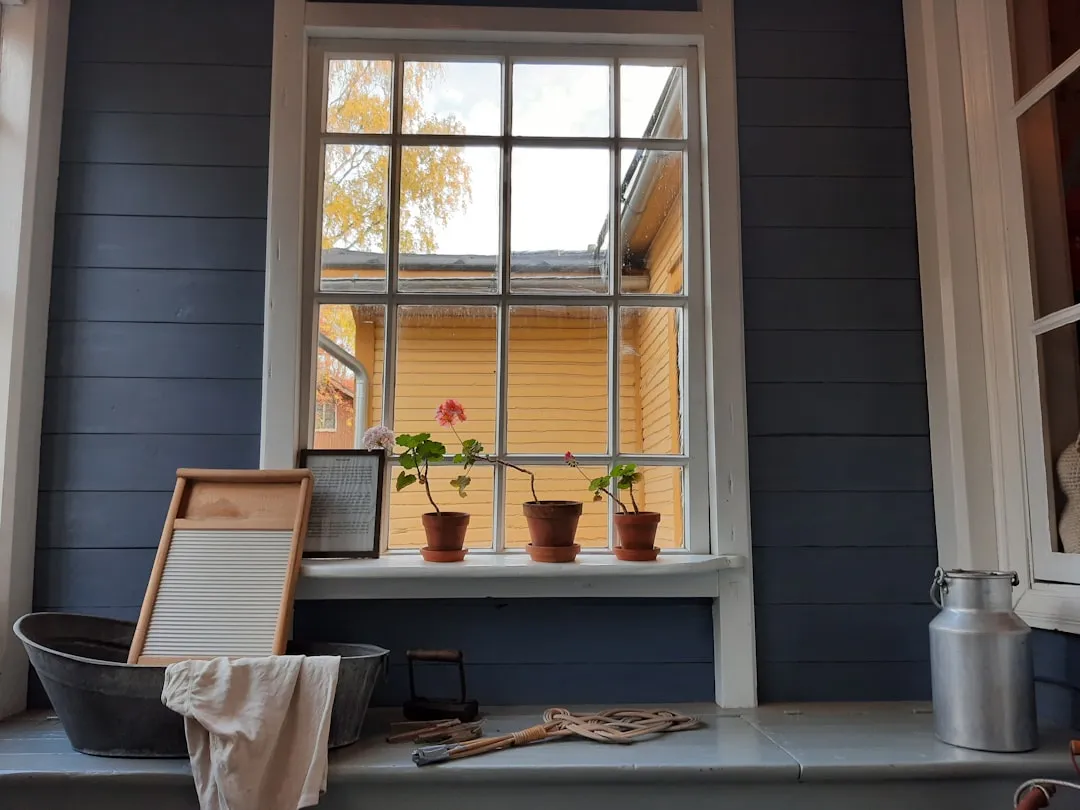
Window trim transforms a plain opening into something special—what might seem like a small detail actually creates a huge visual impact. Whether you're looking for clean modern lines or classic decorative elements, trim brings that finished appearance every room needs. The Craftsman style stands out with its emphasis on simplicity and clean horizontal lines, making it perfect for both traditional and contemporary homes.
Why You'll Like This
This Craftsman trim upgrade delivers maximum impact while saving you $150-300 per window compared to hiring a contractor. You're looking at clean horizontal lines and substantial proportions that add architectural interest without overwhelming your space. The best part? No confusing angled cuts or complex joinery—just straight cuts that create professional results. This project typically adds $400-600 in home value per window, making it one of the smartest DIY investments you can make.
What You'll Need
Materials
1x4 boards for side casings and header base (8 linear feet per window)
1x6 board for window sill and header face (6 linear feet per window)
1x2 strips for header cap and sill edge (4 linear feet per window)
2" and 1-1/4" brad nails
Wood glue
Paintable caulk
Wood filler
Tools
Miter saw (essential for clean cuts)
Brad nailer with compressor
Combination square
Measuring tape
Level
Utility knife
Jigsaw (for sill notching)
Safety First
Eye and ear protection required when using power tools
Dust mask when sanding or cutting MDF
Keep fingers clear of saw blades—use push sticks for small pieces
Power off at breaker if working near electrical outlets; verify with non-contact tester
Ensure ladder stability when working on upper windows
Understanding Craftsman Style
Craftsman-style window trim emerged from the Arts and Crafts movement in the early 1900s, focusing on comfort, simplicity, and natural materials. The style originally featured Mission oak with simple vertical and horizontal lines, though today you'll find it made from various materials. What makes this design so appealing is that it requires no confusing angled cuts—just straight, clean lines that even beginners can master.
This 100-year-old design principle translates to faster installation today—you'll spend 40% less time measuring and cutting compared to traditional mitered trim styles. The beauty of Craftsman trim lies in its horizontal emphasis and layered construction that creates visual weight through simple, stackable components.
Choosing Materials That Work
For most DIY projects, primed pine boards work perfectly and keep costs reasonable. Some prefer poplar for its stability, though it costs more as a hardwood. MDF offers a budget-friendly option when you're painting everything, though it won't work if you want to stain the wood.
Cost breakdown for a standard 36" x 60" window:
Primed pine: $28-35 per window
Poplar: $45-55 per window
MDF: $18-25 per window
Essential tools include a miter saw for clean cuts and a brad nailer for quick installation. A decent compressor and brad nailer are really indispensable for achieving professional results. If you don't have power tools, you can complete the project with a hammer and finishing nails, though it takes more time.
Steps
Remove existing trim using a utility knife to score caulk lines, then carefully pry pieces away with a crowbar.
Tip: Work slowly to avoid wall damage—score deeper if trim resists removal.
Address window installation issues by removing excess foam insulation that extends past the wall face.
If jambs sit behind drywall: Add furring strips to bring jamb edges flush with wall surface.
Mark your reveals at 3/16" around the window opening using a combination square for consistency.
Why this matters: The 3/16" reveal creates visual separation between window and trim, making both appear more substantial.
Measure and cut side casings from your reveal marks to the bottom of where the sill will sit.
Start by measuring the inside height of your window from top to bottom for the side casings.
Install side casings first, securing with 2" brad nails into wall studs.
Tip: Use shorter nails near the window to avoid hitting the sash mechanism.
Build the header assembly away from the wall as a separate unit—much easier than assembling in place.
For the top pieces, measure the window width and add 6 to 8 inches—this creates the characteristic "horn" that extends beyond the sides.
Use wood glue and brad nails to assemble header components on a flat surface.
Install the completed header by centering it over the side casings and securing with brad nails.
Success indicator: Frieze board should overhang side casings by exactly 3/4" on each side.
Cut and install the window sill, notching around side casings as needed with a jigsaw.
Always measure each window individually since dimensions can vary slightly throughout your home.
Add the apron underneath the sill, using measurements from your side casings to determine sizing.
Why it works: Building the header as a separate assembly ensures tight joints and makes it much easier to keep everything square and centered during installation.
Finishing That Makes the Difference
Fill every single nail hole with wood filler—this step separates amateur work from professional results. Run paintable caulk along all edges where trim meets the wall to hide gaps, and don't forget to caulk the joints where angled cuts meet. The smaller the hole in your caulking tube, the better—less product means less cleanup.
Proper caulking and filling eliminates 90% of the visual cues that separate DIY from professional work. Sand everything smooth after the filler dries, then apply primer to all exposed wood surfaces and nail holes. For the final coat, paint your trim the same color as baseboards and crown molding for a cohesive look throughout the room.
Tip: Use a foam roller for the smoothest paint finish on flat trim surfaces. It eliminates brush marks and creates that professional look.
Cleanup & Disposal
Store leftover wood in a dry location for future repairs
Dispose of sawdust and wood scraps in regular trash
Clean tools immediately after use to prevent glue buildup
Wipe down work surfaces and vacuum installation area
Troubleshooting
Problem: Gaps where trim meets wall → Fix: Use paintable caulk to fill gaps up to 1/4", larger gaps need shims behind trim
Problem: Nail holes still visible after filling → Fix: Apply second coat of wood filler, sand smooth, prime before painting
Problem: Header assembly doesn't fit properly → Fix: Check side casing positions first—small adjustments prevent major rework Problem: Window measurements don't match → Fix: Each window needs four basic pieces: two vertical sides, one top piece, and one bottom piece (Home By Alley)
Variations & Upgrades
Budget option: Use MDF boards throughout for painted applications—saves 30-40% on material costs
Renter-friendly: Attach with finishing screws instead of nails for easier removal later
Stained finish: Choose poplar or pine select boards for better grain appearance when staining
FAQ
Can I use different wood species for different components? Yes, but ensure similar expansion rates if staining. Pine and poplar work well together.
Will this work on newer vinyl windows? Absolutely. The reveal method works with any window type where you have a jamb to reference from.
How much value does this add to my home? Professional appraisers typically note quality trim work, with Craftsman details adding $400-600 per window in perceived value.
Why This Upgrade Delivers Results
Adding trim to windows creates such a big difference without being overly complicated. The most impactful change you can make to any space is upgrading from boring builder-grade trim to something with character. Craftsman trim adds substantial visual weight and character that transforms plain openings into architectural features.
The straight-cut approach you learned reduces installation time by 50% compared to mitered styles, while the substantial proportions create visual weight that makes standard windows appear larger. This straightforward approach means no confusing angled cuts or complex joinery—just clean lines that create maximum impact. The horizontal emphasis and substantial proportions work beautifully in both traditional craftsman homes and contemporary spaces looking for architectural interest. Whether you tackle one window or an entire room, this classic style delivers timeless appeal that enhances your home's character.


Comments
Be the first, drop a comment!