


A DIY burlap planter cover hides the plain plastic nursery pot your houseplant came in without forcing you to repot it. Instead of buying a ceramic cachepot or disturbing a healthy root system, you wrap the existing container in burlap, secure it with twine, and lift the sleeve off whenever you need to water or swap plants.
This guide covers what burlap to buy, how to cut and wrap it, how to keep it dry, and when to replace it. The plant stays in its original container the entire time.
If your local recycling program does not accept nursery pots, reusing the pot you already have is more practical than buying a new decorative container. A burlap sleeve does not solve the plastic waste problem, but it gives the same nursery pot a longer decorative life and keeps the plant-care setup simple.
This technique works best on pots with straight or gently tapered sides, roughly 4 to 12 inches in diameter. Very wide shallow bowls and tall narrow cylinders are harder to wrap cleanly. For those shapes, a cachepot is usually the better call.
Supplies for a burlap planter cover
Natural burlap fabric, about 1/2 to 1 yard for most nursery pots, or a repurposed coffee sack
Scissors or pinking shears
Jute twine
One wide rubber band
A flat plastic saucer or small plastic liner for moisture protection
Step 1: Choose untreated jute burlap
Use natural, untreated jute burlap. Skip waxed, coated, dyed, or chemically treated burlap for this indoor sleeve. Those finishes are unnecessary for a decorative cover you will handle often, and they can make the fabric stiffer, less breathable, or less pleasant to fold.
Weave weight affects how the sleeve looks. Lighter burlap drapes more softly around small pots, while heavier burlap holds a cleaner shape on larger pots. For most nursery pots, either works. Choose a heavier weave if you want a more structured cover.
Skip fabrics with synthetic dyes or chemical finishes. Since this sleeve stays on the outside of the pot, the risk to the plant is low, but untreated natural burlap is easier to handle and safer to dispose of later.
Not sure whether a fabric is natural or synthetic? Check the label first. If you still need to test a scrap, do it outdoors or over a fire-safe surface with a tiny piece of fabric; natural jute chars and crumbles, while synthetic material may melt or smell like plastic.
Craft stores and garden centers sell natural burlap by the yard. Coffee roasters are also worth asking. Some shops that roast their own beans receive coffee in jute sacks and may be willing to give away extras instead of throwing them out.
Step 2: Wrap the nursery pot
Measure generously
Lay the burlap flat and stand the pot in the center. You need enough fabric to wrap fully around the pot with a 2- to 3-inch overlap, plus 3 to 4 inches of extra height beyond the pot's rim. That overhang folds, gathers, or rolls into a cuff at the top, and it also gives you something to grip when lifting the inner pot out for watering.
Cut larger than you think you need. Trimming excess takes seconds; a short cut wastes the piece.
Cut the fabric
Scissors work fine. Pinking shears, the zigzag-edged variety, slow fraying along cut edges and leave a cleaner finish. If the pot will sit somewhere prominent, that extra minute is worth it.
Add moisture protection
Before wrapping, place a flat plastic saucer under the finished sleeve, or tuck a small plastic liner between the nursery pot and the burlap at the base. This is backup protection only: the safest routine is still to remove the nursery pot, water it over a sink, and let it drain before putting it back. Foil can work in a pinch, but it tears easily and should not be the only thing protecting a shelf or tabletop.
The drainage rule matters because decorative outer containers work best when the plant remains in an inner pot with drainage holes. Better Homes & Gardens recommends using decorative pots without drainage as cachepots with an inner draining pot, which can be lifted out for watering.
Wrap the pot
Center the pot on the burlap. Pull the fabric up evenly on all sides, keeping tension consistent so it does not bunch to one side. For tapered pots, pleat or gather the excess at two or three evenly spaced points around the circumference rather than pushing it all to one spot.
Two neat pleats on opposite sides usually look cleaner than one large bunch of fabric.
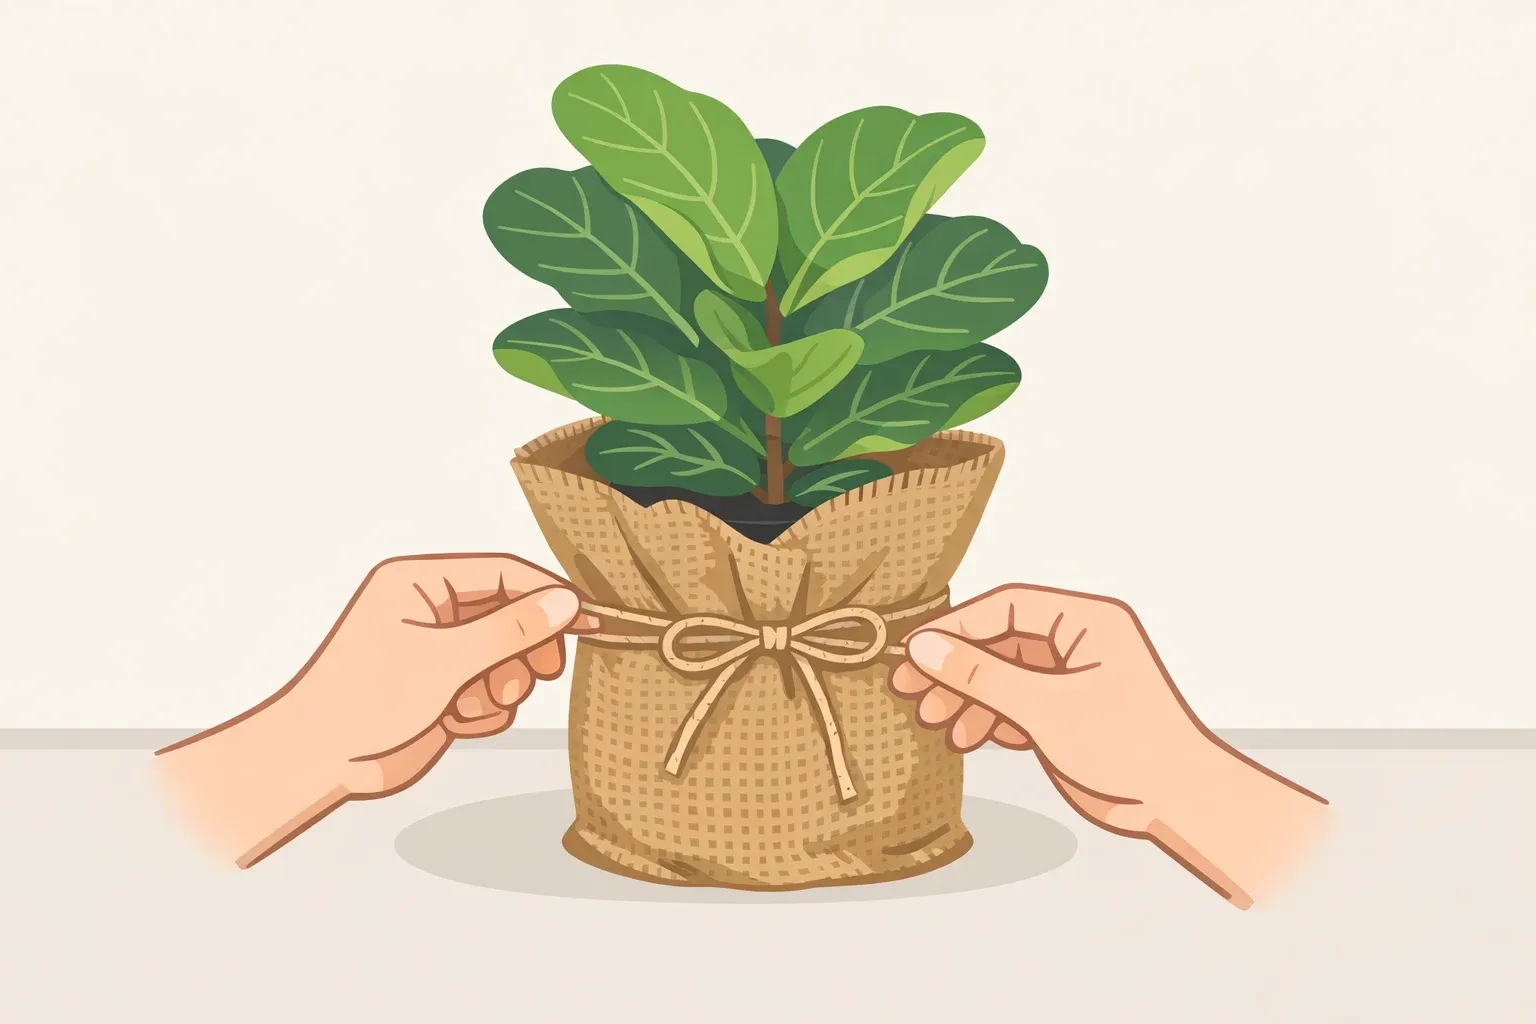
Secure and finish
Slip a wide rubber band over the gathered fabric to hold everything temporarily while you work. Tie jute twine over the rubber band; one clean wrap and a simple knot is enough. A bow gives a softer look if that suits the setting.
The twine should be snug enough to hold the sleeve in place but not so tight that it compresses the gathers. If the knot is too tight, removing the inner pot for watering becomes harder.
Styling options:
Rolled cuff: Fold the top 2 to 3 inches outward for a tailored rim. Heavier burlap holds a fold better than lighter weaves.
Gathered top: Pull fabric above the rim loosely together and tie twine around it. This looks more casual and works best with a looser weave.
Coffee sack, graphic side out: If you are using a roaster's burlap sack with printed branding, turn it so the graphic faces front.
Fabric tie: Use a strip of cotton instead of twine for a softer, layered look.
Step 3: Keep the burlap dry
The sleeve is decorative, not part of the watering system. Burlap's open weave can wick moisture instead of containing it. Outdoors, that can be useful; indoors, a wet sleeve can stain floors, damage shelves, and start smelling musty.
For regular watering, lift the nursery pot out of the burlap sleeve, carry it to a sink, water thoroughly, and let it drain before returning it to the cover. Avoid watering while the pot is sitting inside the burlap; wet fabric can stain the surface below and stay damp long enough to smell musty or mildew. Keep the finished sleeve on a waterproof saucer as backup protection.
Southern Living gives similar care advice for decorative cachepots: remove the plant's inner pot for watering so stagnant water does not sit around the roots.
Troubleshooting
Fraying edges: Fraying is expected with cut burlap. Pinking shears minimize it from the start; a thin line of fabric glue along raw edges can stop active fraying on a piece already in use.
Fabric slipping down the pot: The rubber band may not be holding, or the burlap may be too heavy for the pot size. Add a second rubber band lower on the pot before tying, or switch to a lighter fabric.
Water stains on the burlap: Let the fabric dry completely, then brush it with a dry, stiff-bristled brush to lift residue. Significant staining usually means it is time to replace the piece.
Musty smell: The sleeve got wet and stayed wet. Remove it, dry it fully in open air, and adjust the watering routine. If the smell persists after thorough drying, mildew has set in. Replace the burlap.
Bulky look on a small pot: Switch to lighter fabric, trim more aggressively, or use the rolled-cuff finish, which sits closer to the pot's profile.
Best and worst uses:
Good fit: Standard nursery pots with straight or gently tapered sides, 4 to 12 inches across, on shelves, tables, or windowsills.
Poor fit: Very wide shallow bowls, tall narrow cylinders, pots watered in place, hanging planters, built-ins, or high-humidity rooms where burlap will not reliably dry between waterings.
For any of those poor-fit situations, a washable cachepot is usually more practical.
When to replace the burlap cover
A removable burlap sleeve can last longer than burlap used outdoors or in direct contact with soil, but fading, softening, fraying, and staining are normal over time.
Replace the cover when you see visible mold that does not clear after airing out, significant fraying along cut edges, fabric that has gone limp and will not hold its shape, or staining that has become too noticeable.
When an untreated natural jute sleeve is done, cut it into smaller sections and add it to a compost bin only if your local composting setup accepts natural fibers. Do not compost burlap that is synthetic, dyed, waxed, coated, or chemically treated. Better Homes & Gardens describes jute as a natural material made from plant fibers, but composting rules still depend on the fabric and your compost system.
Natural burlap is inexpensive and easy to replace, so treat the sleeve as a seasonal cover rather than a permanent planter. The nursery pot keeps doing the plant-care work; the burlap is just the part you change when it wears out or stops matching the room.


Comments
Be the first, drop a comment!