



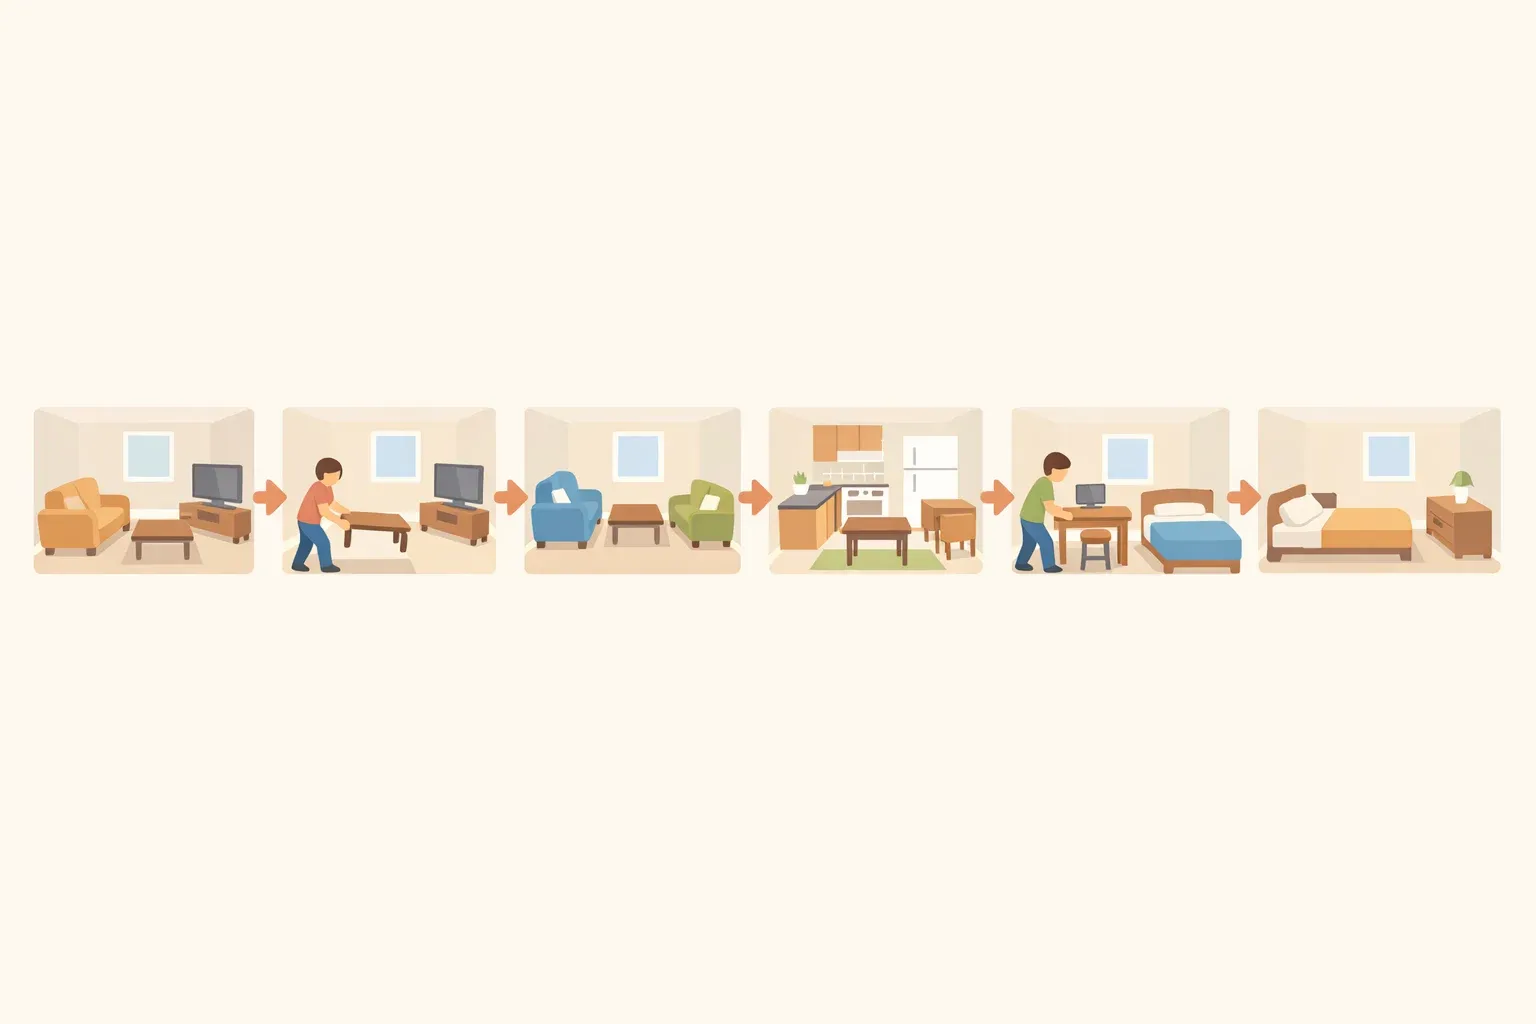
Architect Graci Mills spent nearly two years living in her 50-foot Bed-Stuy railroad apartment before she renovated a single wall. She and her partner tested different room arrangements until, as she put it, they were "confident about how we wanted it to work."
That trial-and-error stretch offers a useful answer to how to design a railroad apartment layout without defaulting to an open floor plan: figure out what a household doesn't actually need, then let go of it. Mills eliminated a bedroom entirely, deciding "at this moment, we don't need a second bedroom," and turned that space into a living room instead.
Architectural Digest has flagged this as a recognizable design problem, profiling a New York designer who turned a railroad apartment's "tricky layout into its biggest strength." This guide draws on two fully documented NYC renovations to build a repeatable process: Mills's own home, and a comparable railroad-style layout at the Hudson Street Loft, renovated by AlexAllen Studio Architects.
A railroad apartment is defined by one structural fact: rooms strung end to end with no central hallway, a setup renovators call the "hallway dilemma." This is not an argument for maximum openness. It's a process for deciding, room by room, how much enclosure a household is willing to give up, because Mills and the Hudson Street team made different choices, and both worked.
Prerequisites: what to gather before you design a railroad apartment layout
Structural changes, removing partitions, relocating plumbing, cutting in a pocket door, require a licensed architect or contractor to confirm feasibility. In a co-op or condo, a full NYC railroad apartment renovation also requires board approval. Nothing in the steps that follow substitutes for that verification.
Before planning anything, gather four inputs: which rooms must stay fully enclosed, your household's tolerance for shared noise and light, where plumbing currently sits, and whether you own or rent.
Budget context, mentioned once and only for rough planning: contractor estimates put whole-apartment remodels at $25,000 to $75,000 depending on scope and finishes. Kitchen work alone can run from $15,000 for cosmetic updates to $50,000 or more for a full gut renovation with new plumbing and electrical.
If structural budget or board approval isn't on the table, skip ahead to Step 6, the light-touch path. It's a complete sequence on its own.
Step 1: Diagnose the apartment with a floor-plan exercise before touching decor
Start here, before any decor decision: on a copy of your small railroad apartment floor plan, mark every window, plumbing line, door, radiator or heater, and any wall you suspect is load-bearing. Then draw your household's daily route, from entry to kitchen, to bathroom, to bedroom, to exit. Wherever that route crosses a wall or bottlenecks in a hallway, you've found your real design problem.
Mills did a version of this herself. She mapped out floor plans showing how the apartment's layout had evolved over the decades: originally two bedrooms in the middle with no interior hallway, then reconfigured in 2012 to put bedrooms at each end before she moved in.
Locate plumbing before deciding anything else. At the Hudson Street Loft, a building code confining plumbing to one permitted "wet zone" dictated where the kitchen and bathrooms could go, ahead of any aesthetic choice.
Marking plumbing and windows is something a reader can do alone. Confirming which walls carry structural load is not, and no floor-plan exercise changes that. A contractor or architect needs to sign off on any wall before it comes down, no matter how confident the sketch looks on paper.
Step 2: How much can your household actually live without enclosing?
Score four factors honestly: how many rooms must stay fully enclosed for sleep or private calls, your tolerance for shared noise and cooking smells, where plumbing already sits, and whether you own (structural change is possible) or rent (usually it isn't). Two documented renovations show how differently that scoring can play out.
Zoned-but-connected (Mills's choice). After living in the space and testing arrangements for nearly two years, Mills kept one enclosed bedroom, converted the second into an open living room, and installed a pocket door at the one boundary that still needed privacy. Her lived-in trial doesn't prove this is the right ratio of open to enclosed space for every household, but it shows how a two-year test run can sharpen a decision that's easy to get wrong on paper.
Enclosed-but-flexible (Hudson Street's choice). The Hudson Street Loft kept both children's bedrooms and the primary suite fully enclosed, arranged in the same railroad layout as the rest of the apartment. Rather than open those rooms up, the architects built oversized pocket doors into two of the thresholds, so each room can swing between fully private and fully connected depending on the hour, Architectural Record reported. The walls stayed. The flexibility moved into the doorways instead.
Either path leads into Steps 3 through 5. If neither is realistic given your budget or lease, skip to Step 6.
Step 3: Opening a wall and reconfiguring a kitchen solve different problems
Wall removal and kitchen placement look like the same decision. They're not, and treating them separately keeps a renovation from solving the wrong problem.
Remove a partition only where it currently blocks the daily route traced in Step 1. At Hudson Street, an underused hallway was eating floor space without serving any real function, so the architects removed it and folded that square footage into a more generous living and dining area. That's a circulation fix, not a decorative one.
Kitchen placement is a separate calculation, even when it happens to land in the same footprint. The building's code confined plumbing to a single permitted wet zone, and that constraint, not any aesthetic preference, is what pinned the galley kitchen's location and turned it into the home's functional spine. The hallway got removed because it blocked the route. The kitchen went where it went because the plumbing said so.
Mills's kitchen makes the clearest case that a kitchen doesn't need walls to be zoned. She designed it with two peninsulas facing opposite directions, so the same open footprint serves a dinner party facing the dining table, or casual use facing the living room, Brownstoner noted.
Step 4: Pocket doors and glass partitions solve visual privacy
Once wall placement is settled, the next question is how to restore privacy without rebuilding a wall. Two devices do most of the work in a long narrow apartment design.
Pocket doors, first. At Hudson Street, an oversized pocket door lets a children's bedroom open fully into the kitchen, Architectural Record reported. A second pocket door lets the primary bathroom function as either a private en suite or an accessible bathroom for the main living space. Mills's own 4-foot pocket door closes for privacy but otherwise stays open for light and air.
Glass partitions do a similar job at a different scale: they define separate zones while letting light travel the apartment's length. Pair one with a pocket door, which disappears into the wall when open, or a sliding barn door, which slides along the surface and stays visible but out of the walking path. Either way, nothing swings into limited floor space.
One caution, not a categorical rule: these devices restore a visual and psychological boundary. Whether a given room still counts as a legal bedroom, or needs additional sound-dampening, depends on the building's code and layout, and a pocket door or glass wall doesn't settle that question by itself. Confirm both with an architect or the local building department before assuming otherwise.
Step 5: A decision checkpoint, three questions, room by room
Before any construction begins, run every room through the same test. For each space or activity mapped in Step 1, ask three questions:
Does it need acoustic separation, for sleep, work calls, or a newborn?
Does it need to remain a legal, code-compliant bedroom?
Can it tolerate visual zoning only, cooking, dining, casual lounging?
Apply it to Mills's second bedroom: she didn't need the acoustic separation, and nothing required the room to remain a legal bedroom, so the value of a second enclosed room didn't outweigh the value of a larger living room. That's the inference her own account supports, not proof every household would answer the same way.
The tradeoff is worth stating plainly. An open plan trades daily friction, shared noise, cooking odors traveling the apartment's length, more of the household visible at once, for daylight and flexibility. Households with mismatched sleep schedules, remote-work calls, or young children should run this test per room rather than deciding all at once.
Step 6: What renters and limited budgets can still fix, and what requires landlord sign-off
Not every railroad apartment renovation involves a contractor. Several of the same effects come from furniture and light instead of construction.
Break sightlines before spending on anything permanent. A freestanding shelf, a sofa back, or a folding screen creates the same visual zoning a wall would, without construction.
Layer lighting and swap window treatments. Replace heavy curtains with sheer ones to preserve privacy while admitting light, and add wall sconces and task lamps rather than relying on a single ceiling fixture.
Add reversible storage. Multi-functional furniture, storage ottomans, lift-top coffee tables, bed frames with drawers, reclaim storage without built-ins, the same source notes.
Freestanding furniture and removable window treatments typically avoid permit work. Electrical changes, hard-wired sconces, plumbing, and anything mounted to a wall or ceiling are a different story. Confirm those with a landlord, co-op board, and licensed contractor before installing them, since a lease can restrict even reversible-sounding changes.
Step 7: The dark middle and material continuity, universal regardless of path
Two problems show up in nearly every railroad apartment, whether it's been fully opened or left mostly enclosed, and fixing them is basic railroad-style apartment space-saving work no matter which path was chosen in Step 2.
The dark middle. Railroad apartments commonly develop a shadowy zone between front and rear windows. Recessed lighting paired with task fixtures addresses it directly; contractors put that kind of lighting overhaul at $2,000 to $5,000 depending on complexity, the same source notes. Light paint and mirrors opposite windows are lower-cost versions of the same idea, though their effect is a matter of design judgment rather than a measured guarantee.
Material continuity. Mills refinished her original floors, uncovering white oak beneath a dark stain, and patched them where walls had been removed, keeping the flooring unbroken from end to end. Continuous flooring can make an open plan feel intentional rather than pieced together.
This step differs from Step 6's furniture-based storage in one important way. Mills's partner, Andrew Keck, built floor-to-ceiling storage into a former closet, a permanent structural addition suited to owners undertaking a real renovation, not a renter's reversible fix.
Mills and the Hudson Street team arrived at different amounts of enclosure, and both held up. Mills spent two years testing her layout before giving up a bedroom for open living space; the Hudson Street architects kept every bedroom and the primary suite sealed but built the flexibility into oversized pocket doors instead. Neither is the correct amount of openness. Each matched a specific household's daily route and tolerance for shared space.
Approval requirements fall along a spectrum rather than a clean split between structural and cosmetic work. Removing a wall or moving plumbing needs a professional's sign-off and, in a co-op or condo, board approval. But lighter fixes can require sign-off too: mounted shelving, hard-wired sconces, and new flooring can each need a landlord's or board's approval depending on the building, which is why Step 6's caution applies well beyond structural work.
The next move is on paper, not in a contractor's estimate. Take the marked-up floor plan from Step 1, run each room through the three questions in Step 5, and note which side of the enclosure decision each one landed on. Bring that document to an architect or contractor, and the renovation conversation starts from a plan instead of a guess.

















Comments
Be the first, drop a comment!