


Store Your Boot Chaos: The $20 Hack That Transforms Closets in 30 Minutes
Difficulty: Novice
Time: 30 minutes
Cost: ~$15-35
Ever stared at a pile of boots cluttering your closet floor and wondered where they all came from? You're not alone. Finding smart storage for boots without sacrificing precious closet real estate is one of those everyday challenges that can make or break your morning routine. The good news? There's a surprisingly clever solution that maximizes vertical space while keeping your boots accessible, organized, and in perfect shape.
Why You'll Like This
Boot storage presents unique challenges compared to regular shoes. Tall boots can lose their shape or develop creases if not stored correctly. Unlike sneakers that stack easily, boots need structured support to maintain their form and prevent that annoying slouch that makes them look worn out. Finding adequate storage space for boots can be particularly challenging in small closets where every inch counts.
The secret? Transform that unused wall space into an organized boot paradise using simple vertical storage systems that keep your boots upright, accessible, and properly supported.
What You'll Need
Materials
1 hanging chain for clothing hangers (7-chain pack: ~$10)
1 set of clips with hooks (50-piece set: ~$10)
Alternative materials: Wall-mounted boot rack (~$25), peg rail system (~$15), or rod-and-board setup (~$20)
Tools
Measuring tape
Level (for wall-mounted options)
Drill with bits (for permanent installations)
Pencil for marking
Safety First
When installing wall-mounted systems, locate wall studs with a stud finder before drilling
Use appropriate anchors for your wall type (drywall, plaster, etc.)
Adult supervision is required when using power tools
Test the weight capacity before loading with heavy boots
Steps
Assess your vertical space and choose your method. Measure available wall space, closet interior sides, or door areas. For the clip-and-chain method, you need about 3 feet (91 cm) of vertical clearance and a sturdy closet rod or hook mount point.
Set up the hanging clip system. Thread the hooks of individual clips through the links of your hanging chain, spacing them about 6 inches (15 cm) apart. This creates multiple attachment points for boot pairs.
Tip: Start with fewer clips and add more as needed to avoid overcrowding.
Mount your chain system. Hang the chain from your closet rod or install a wall hook rated for at least 20 pounds (9 kg). The chain should hang freely without touching the back wall.
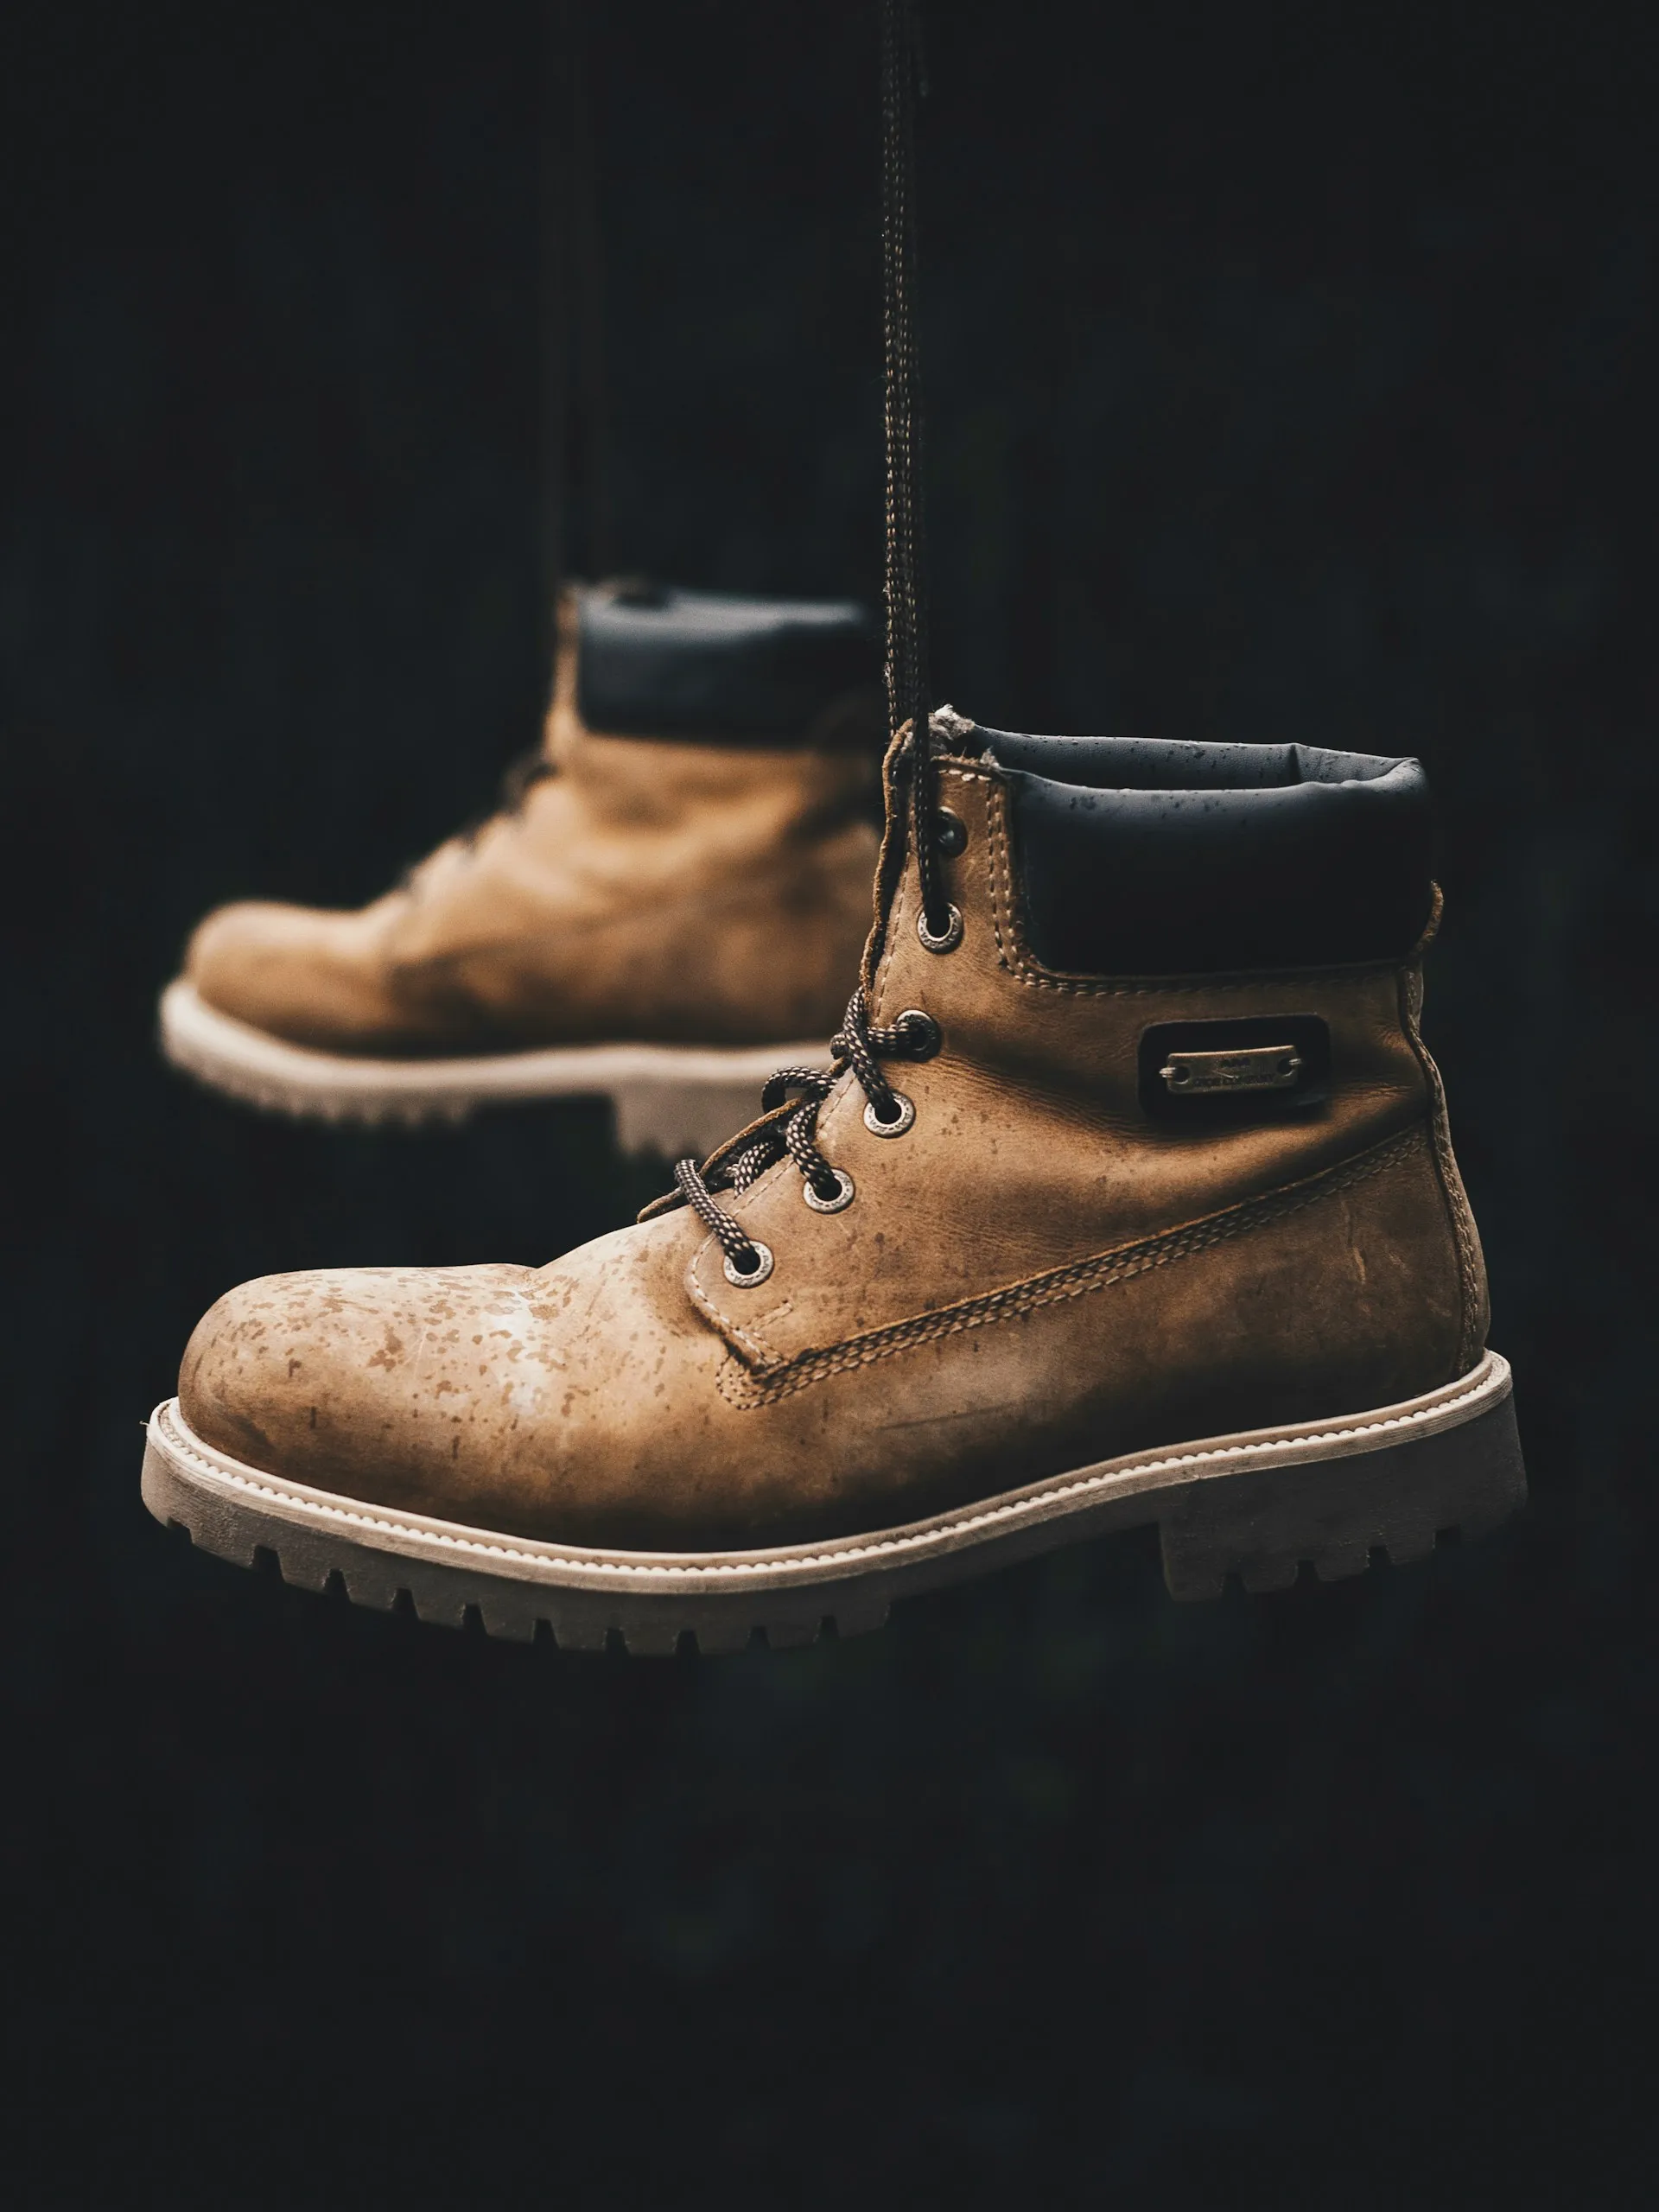
Clip boots in pairs from the top. Gather each boot pair at the top opening and secure with one clip, keeping boots together. This maintains their upright shape while preventing separation.
If boots keep slipping: Clip them higher up on the shaft where the material is typically firmer.
Why it works: This method distributes weight evenly while allowing air circulation around each boot, preventing moisture buildup and maintaining shape without expensive boot trees.
Cleanup & Disposal
Store extra clips in a small container for future use
Keep the chain system clean by wiping it down monthly with a damp cloth
Check clip tension periodically to ensure a secure hold
Troubleshooting
Problem: Clips won't hold heavier boots → Fix: Use two clips per pair or upgrade to stronger spring-loaded clips rated for more weight
Problem: Boots develop creases at clip points → Fix: Move clips to reinforced areas near the boot top or add tissue paper stuffing before clipping
Problem: Chain spins or twists → Fix: Mount an additional anchor point at the bottom or switch to a wall-mounted peg system
Variations & Upgrades
Budget Option: Use shower curtain rings on a tension rod for lightweight boots (~$8 total)
Renter-Friendly: Peg rack installation only requires a couple of screws that leave minimal marks on a closet door, making this hack renter-friendly
Heavy-Duty Upgrade: Wall-mounted 4-pair boot racks can be mounted inside a closet, mudroom, or garage, with metal racks treated with anti-rust coating for durability
DIY Alternative: Using an inexpensive rod, brackets, and a board to create a flexible, efficient wall-mounted storage solution. Mount a 1x6 board (15x2.5 cm) as backing, then install rod brackets 3.5 inches (9 cm) out from the board. Slide the boots between the rod and the backing board.
Maintenance Tips
Boot Care: Cedar boot shapers help boots retain their shape, preventing creases and peeling leather, while also helping eliminate unpleasant odors without harsh chemicals.
Seasonal Rotation: Use this system to swap out winter boots for summer footwear, maximizing year-round utility.
Installation Quality: Professional installers suggest painting boards and walls behind them the same shade with wipeable cabinet-grade paint in satin or semi-gloss, avoiding matte finishes for easier cleaning.
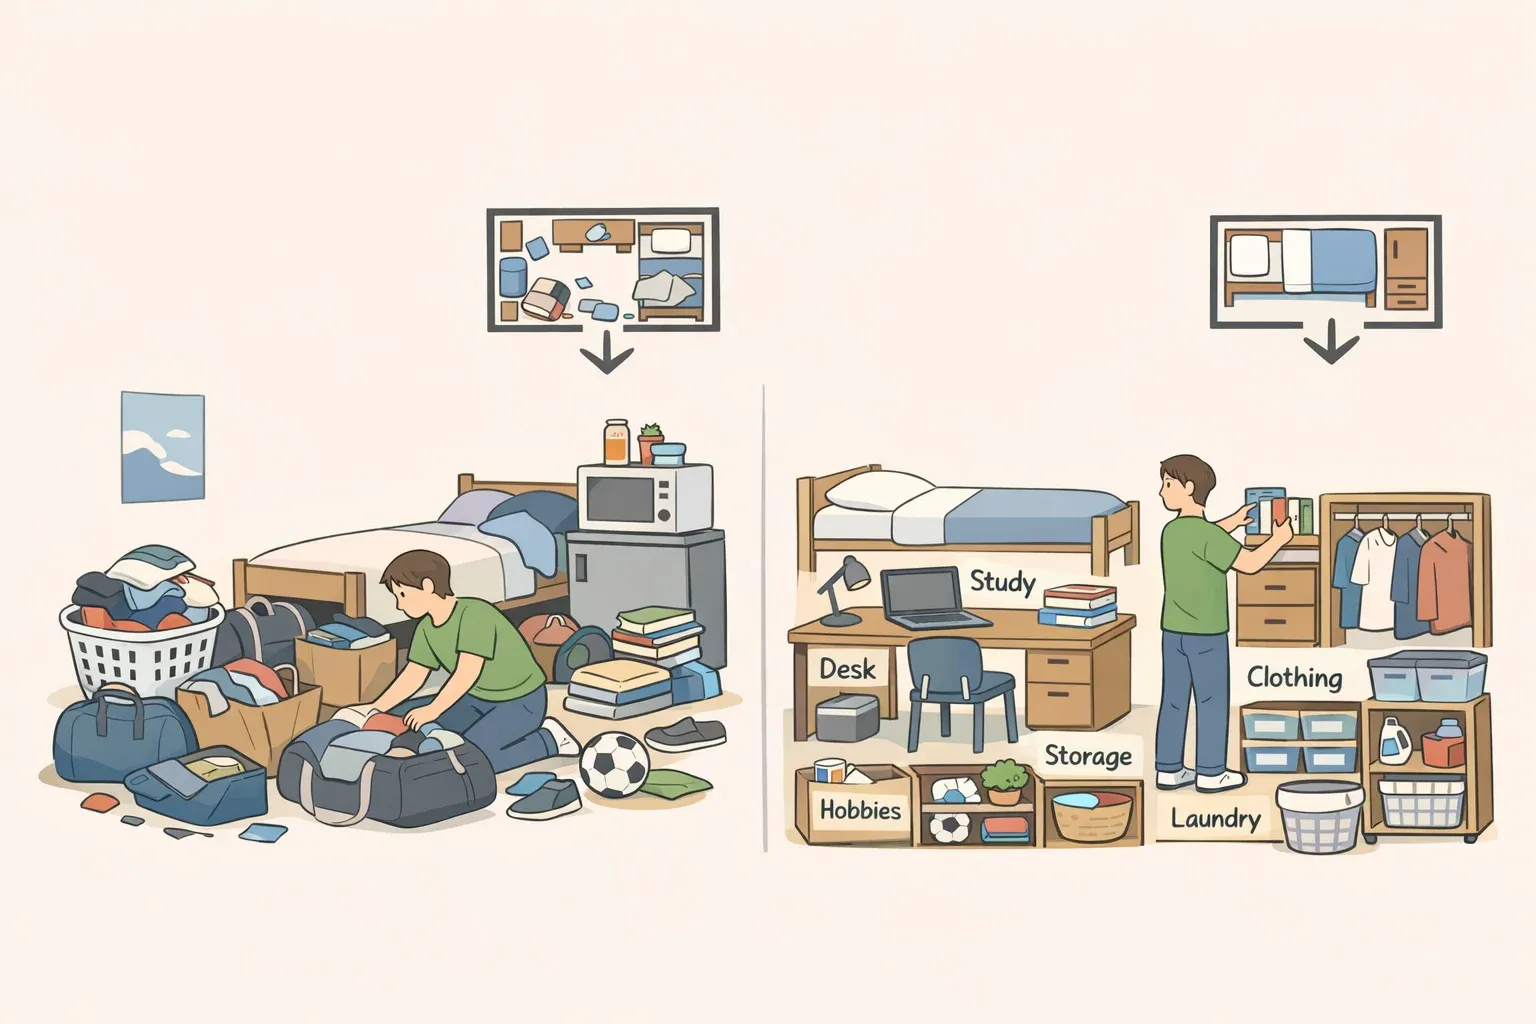
The transformation from chaotic boot pile to organized vertical storage is honestly remarkable. Since wall-mounted systems remain static rather than moving with doors, shoes stay safer while making use of previously wasted space. Whether you choose the simple $20 clip-and-chain system or invest in a more elaborate wall-mounted rack, you're fundamentally solving the same problem: making better use of available space while keeping your boots in excellent condition.
Your morning routine becomes smoother, your closet looks better, and you'll actually be able to find the exact boots you want when you need them. That's a win worth celebrating.


Comments
Be the first, drop a comment!