


IKEA IVAR cabinet hack: how to add brutalist style for under $250
This guide walks through exactly how to replicate this brutalist IKEA IVAR cabinet hack: what to buy, how to measure and lay out 84 wood spheres before a single drop of glue touches the surface, how to stain a heavily textured cabinet without blotchy results, and what the finished piece honestly looks like up close.
The pitch is straightforward. One unfinished pine cabinet, 84 half-round wood spheres, wood glue, and a walnut stain. The total came to $250, roughly one-eighth the price of comparable brutalist-style cabinets that retail for thousands, per Apartment Therapy. The sphere grid creates genuine sculptural relief. The walnut stain pulls everything into a single material. Together, the effect reads as considered, not cobbled together.
Before committing: the active build takes about six hours, per Apartment Therapy, but stain and polyurethane curing adds up to two days of waiting. Plan this across a weekend, not a single afternoon. Worth knowing upfront: modifying the IVAR voids IKEA's commercial guarantees and the right to return the product, per IKEA's own customization guidance. At $250 all-in, most people will find that a reasonable tradeoff. Just don't treat it as fine print.
Prerequisites: No power tools or advanced carpentry required. You need basic comfort with a brush, a well-ventilated workspace, and the discipline to leave things alone while they dry.
Why this specific treatment creates a brutalist look
Brutalist furniture is defined by repetitive geometric relief: the same form, multiplied across a surface until it reads as texture rather than ornament. Think uniform, protruding hemispheres covering a cabinet door. At small scale, the effect is tactile and intentional. At the price point of actual designer versions, it's expensive-looking by design.
Half-round wood spheres, glued in a grid, produce exactly that effect on the IVAR's flat pine doors. The walnut stain is what prevents it from looking applied: it unifies the spheres and the cabinet into one material language, so nothing reads as stuck-on. The natural variation in pine grain, which shows differently under stain than a uniform factory-finished surface would, adds warmth. Harper said the staining process became her favorite part of the whole project, and that she loves the warm color and the grain variation throughout the wood, per Apartment Therapy.
The IVAR works as a base for a specific reason: it ships in unfinished solid pine, which Harper called "a great blank slate for many furniture projects," per Apartment Therapy. No stripping a factory finish, no adhesion battles. IKEA's own customization guides treat untreated pine as the assumed starting condition for any surface treatment. Painted furniture, laminate cabinets, or anything with a clear topcoat already applied would require significantly more prep before this technique would take properly.
Before you start: measure your IVAR and plan the layout

This is where the project either goes smoothly or costs you a gluing session. Do this before ordering supplies.
Confirm your panel dimensions. Harper's build used a specific IVAR model; her 84-sphere count is specific to that cabinet's door and side panel dimensions, per Apartment Therapy. Measure your own door width and height, then calculate how many 2-inch spheres fit across each row with your preferred spacing. A consistent gap between spheres, typically around half an inch, keeps the grid readable without making it look sparse. Too much space and the brutalist effect dissolves. Too little and they compete rather than cohere.
Dry-fit one row before ordering. Lay spheres flat-side-down across your door without glue to confirm your spacing works. Adjust the gap until the row sits evenly with roughly equal margins on each side. Note that measurement, because every subsequent row needs to match it.
Order a small overage. Budget for 10 to 15 extra spheres. Wood spheres are cheap, and having spares means a dropped or damaged piece won't stall the project mid-glue.
Stain in place, not separately. Staining the spheres before gluing sounds like it might save time; it doesn't. The glue joint creates a seam that needs the same stain coverage as the surrounding wood, and pre-stained spheres complicate adhesion. Stain everything together after assembly.
What to buy for this DIY IKEA IVAR cabinet makeover
Gather everything before you start. Once the spheres are glued, the build moves forward on a staining and curing schedule that doesn't benefit from mid-project supply runs.
Materials list (based on Harper's $250 build, per Apartment Therapy):
- IKEA IVAR cabinet with doors
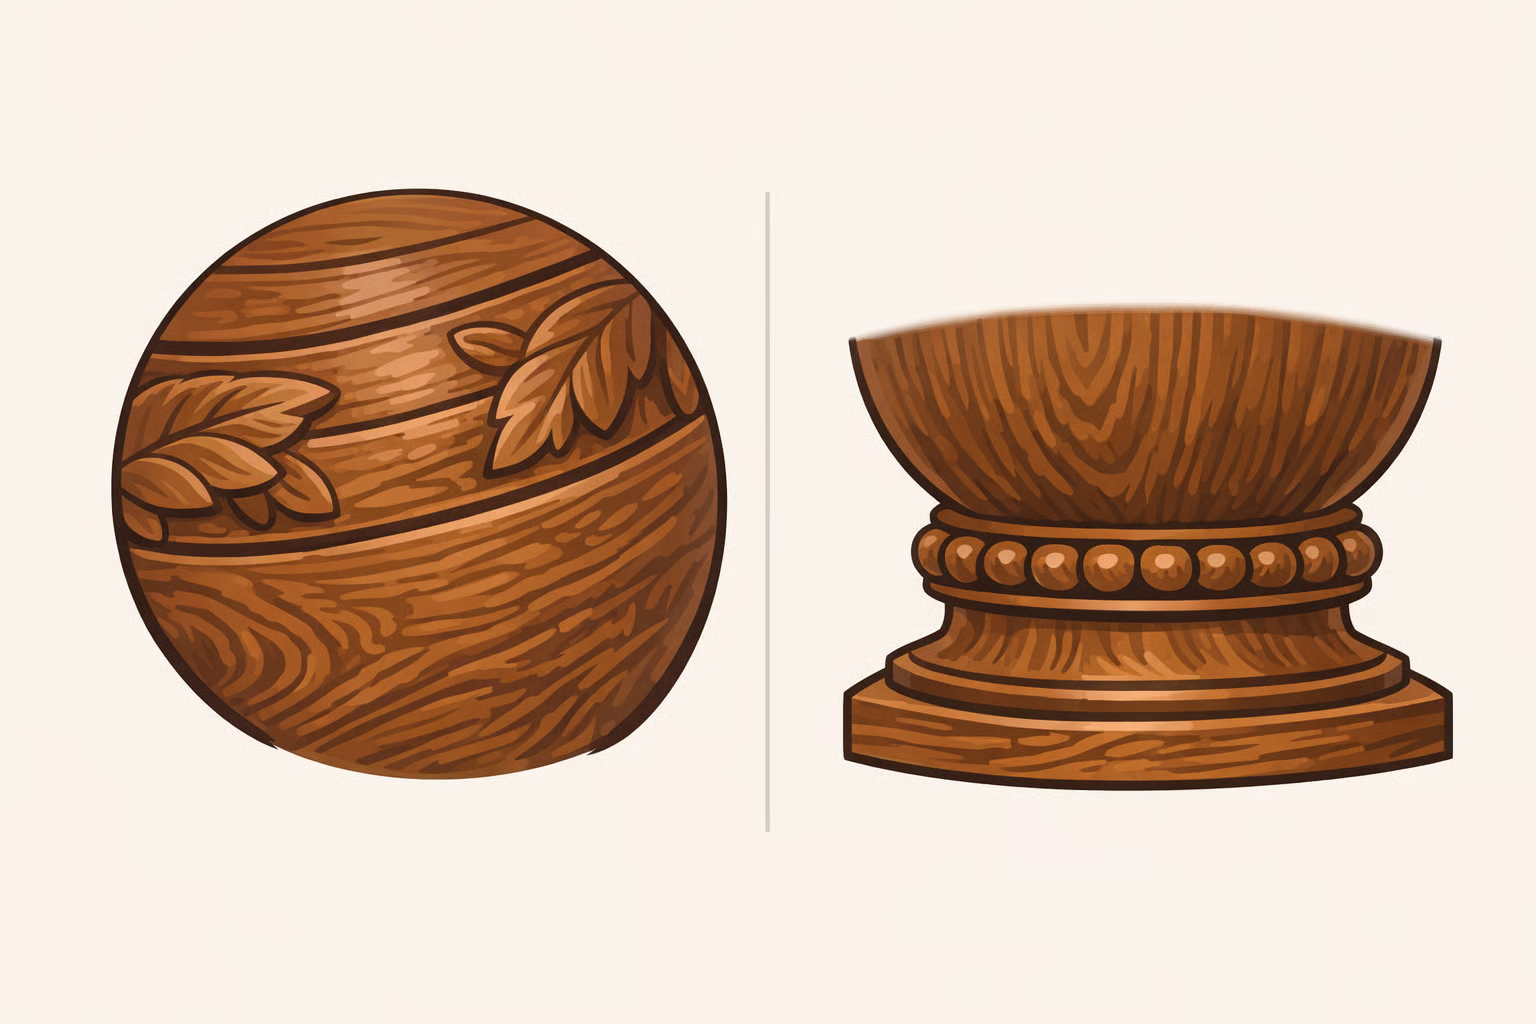
- 84 × 2-inch half-round wood spheres (flat side down for gluing), plus 10-15 spares
- Wood glue
- Varathane American Walnut wood stain
- Varathane semi-gloss polyurethane
- Foam brushes and/or lint-free rags for staining
- Small detail brush for getting into sphere recesses
- Chalk line tool (Harper's own retrospective recommendation after eyeballing alignment the first time)
- Sandpaper: 120-grit and 220-grit
- Tack cloth or damp rag for dust removal
What can vary: Stain color is the most flexible element. American Walnut reads warm and dark, but other oil-based penetrating stains will work as long as the application is consistent across the full surface. Sphere size could scale up or down by about half an inch without breaking the aesthetic, though larger spheres change the gluing surface area and the time required for finishing.
What shouldn't vary: the finish sequence (stain fully before poly), the flat-side-down orientation of each sphere, and the choice to use wood glue. Construction adhesive is the wrong tool here; it can bleed through raw pine in ways that resist stain, leaving permanent marks under the finish coat.
How to customize an IKEA IVAR cabinet: step-by-step
Step 1: Assemble the IVAR and sand all exterior surfaces.
Build the cabinet per IKEA's instructions. Sand the full exterior, doors, sides, and shelves, with 120-grit sandpaper first, then follow with 220-grit. This opens the pine grain slightly for better stain penetration and removes rough spots that would be amplified under finish. Remove all dust with a tack cloth or lightly damp rag. Let it dry fully before moving on.
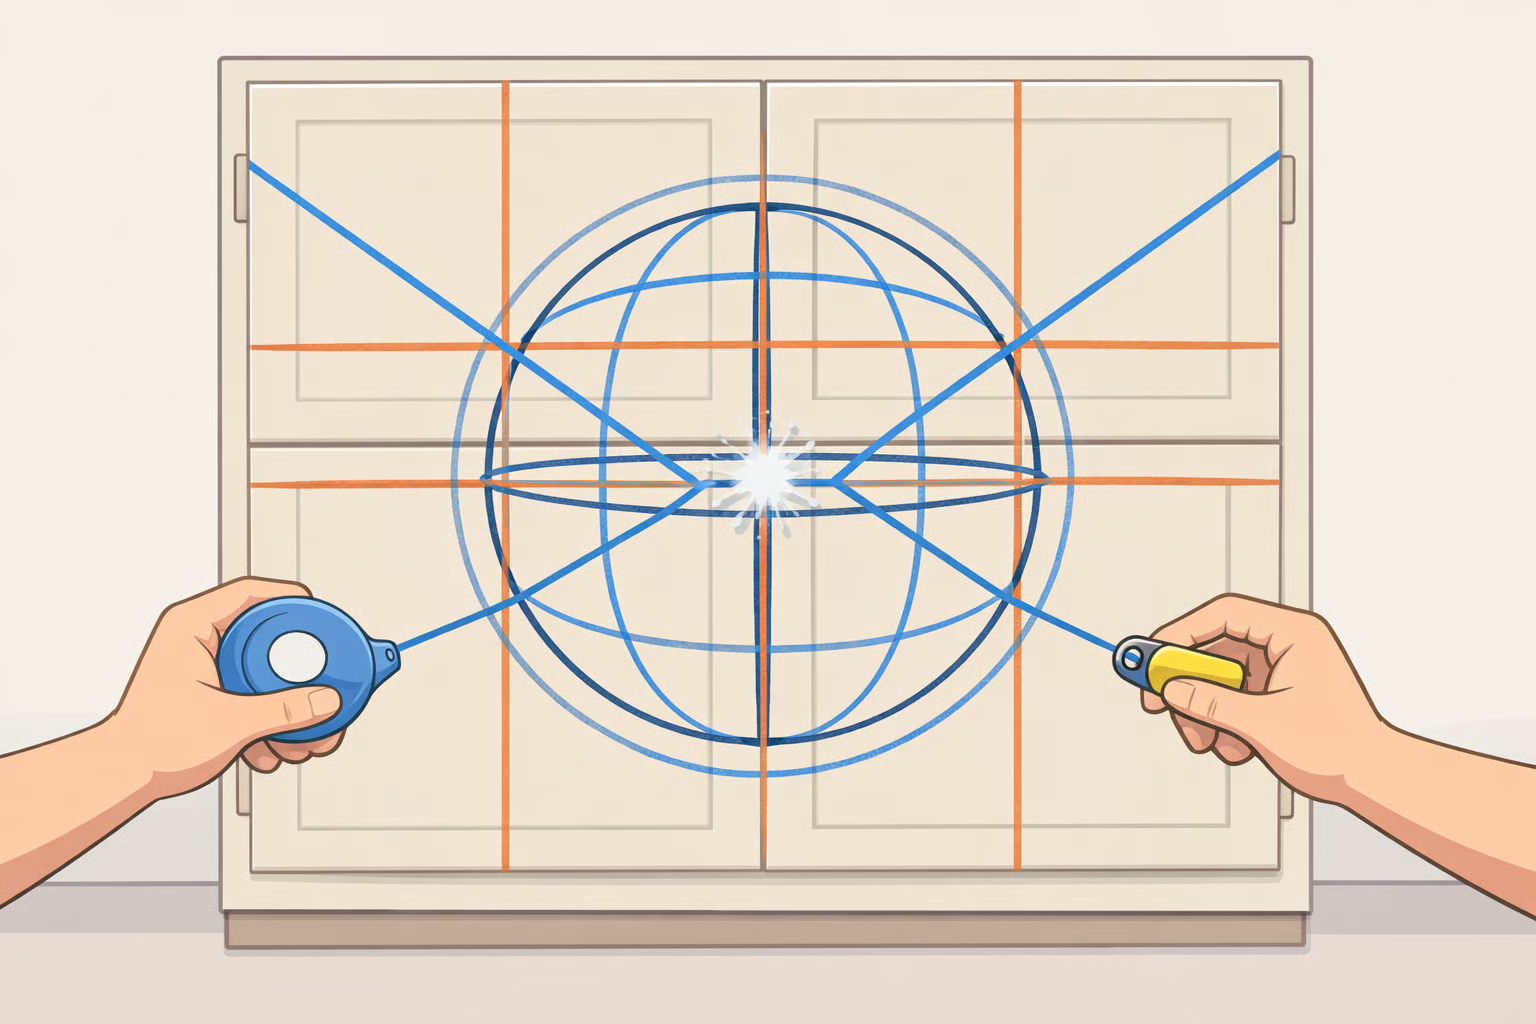
Step 2: Snap chalk lines for the sphere grid. Don't skip this.
Before any glue touches anything, snap chalk lines across each door and side panel to mark your horizontal rows. Add vertical guides with a square. Harper's team eyeballed placement on their build and said afterward they'd use chalk lines next time for tighter alignment, per Apartment Therapy. The spacing reads fine in person. It shows in photographs. Mark the grid first.
Step 3: Glue the spheres, one row at a time.
Apply a small bead of wood glue to the flat face of each sphere. Press firmly onto the door at each grid intersection, hold for 10 to 15 seconds, and move to the next. Work left to right, row by row. Complete both doors first, then move to the side panels, three rows of six spheres each, per Apartment Therapy. Let the glue cure for a minimum of two hours; overnight is the safer option before doing anything else.
⚠️ Glue squeeze-out: Wipe excess glue from around the sphere base immediately with a damp cloth. Dried glue seals the pine surface and resists stain, leaving a visible light halo around each sphere once the finish goes on. You won't see it until it's too late to fix cleanly.
⚠️ Cure time: A sphere that shifts even 2 to 3mm will be obvious once the uniform stain coat goes on. The chalk lines from Step 2 also make any drift visible before it sets permanently. Check alignment before walking away.
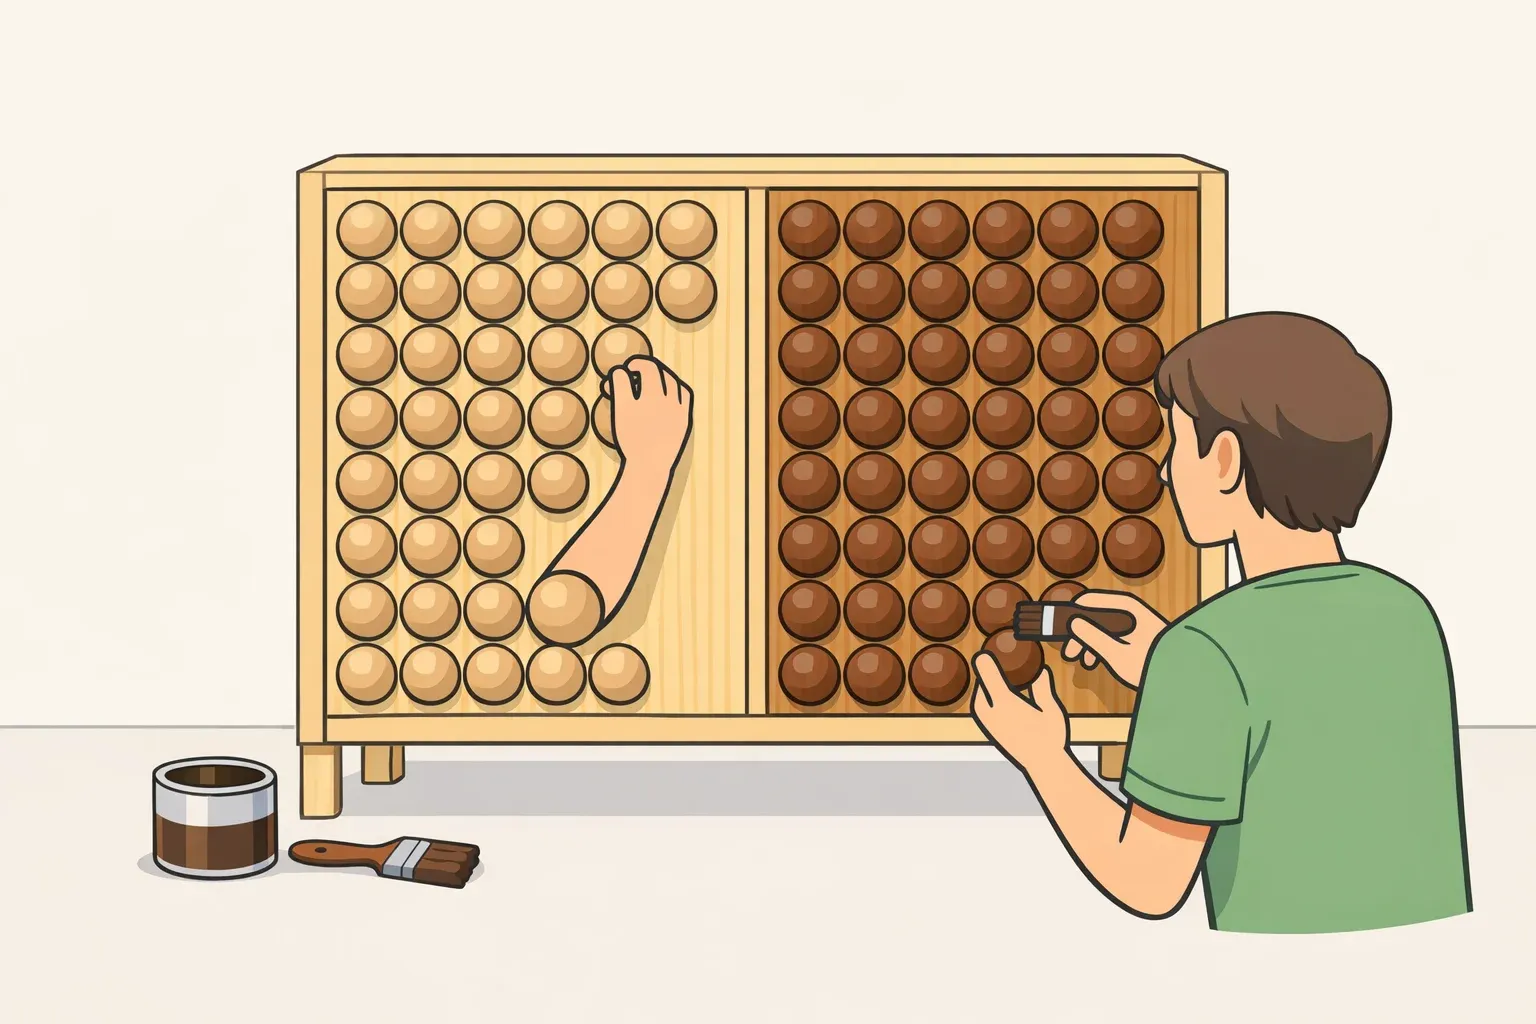
Step 4: Stain the entire cabinet.
Apply Varathane American Walnut stain with a foam brush or lint-free rag on all flat surfaces, using long, consistent strokes. For the spheres, switch to a small detail brush: coat the curved surface first, then work stain into the recess where each sphere meets the door. Harper described the process as "surprisingly hard to coat evenly," per Apartment Therapy, and with 84 half-spheres, three shelves, and the full exterior to cover, that assessment holds.
Work in sections and maintain a wet edge. Going back over areas that have started to dry creates lap marks. Raw pine absorbs stain unevenly across the grain, so some sections will appear darker or lighter before the finish coat. This largely resolves once the polyurethane goes on; what remains reads as character rather than error.
Ventilation is non-negotiable. Oil-based stain fumes are strong. Work outdoors or in a space with active cross-ventilation. Allow the stain to dry thoroughly before sealing; a full overnight dry is the lower-risk option.
Step 5: Apply two coats of semi-gloss polyurethane.
Brush two coats of Varathane semi-gloss poly over the entire stained surface, including all spheres. Let the first coat dry completely before applying the second. Water-based polyurethane can stay tacky far longer than the label suggests; a similar IVAR finishing project documented by Studio Adash last year reported their poly stayed sticky for over 24 hours after application. Don't test by touch. Touching the surface during cure drags the finish and creates marks that require sanding and recoating.
Step 6: Rehang the doors and anchor the cabinet to the wall.
Rehang the doors and check hinge alignment using the IVAR's built-in adjustable hinges. Then anchor the cabinet to the wall using the restraint hardware included in the original packaging. IKEA explicitly recommends wall anchoring for all freestanding storage furniture. With 84 spheres adding weight to the front face, this step matters more than it would on a stock cabinet. If the original hardware is missing, IKEA offers free replacement restraint kits via their spare parts form (part number 106990).
What the finished project actually looks like
The result reads as intentional. The sphere grid is consistent, the stain unifies everything, and the relief effect holds up at a distance. Close up, the handmade quality shows in two places: slight variation in sphere spacing if chalk lines weren't used, and some unevenness in stain depth around sphere bases where the detail brush had to work into tight recesses. Neither reads as a flaw in person. Both are visible in close-up photography.
The inversion worth knowing before you start: Harper thought sphere spacing would be the hardest part and it turned out to be straightforward, per Apartment Therapy. The staining stage, which looks like the mechanical part of the job, is where the project actually demands attention and patience. Budget more time for the finishing phase than the assembly phase.
Troubleshooting the most common failure points:
- Blotchy stain on pine: Raw pine is porous and absorbs stain at different rates across the grain. A pre-stain wood conditioner applied before the stain coat creates a more even base. Harper didn't use one, and the variation read as character in her finished piece. If evenness is the priority, condition first.
- Crooked sphere alignment: Fixable before glue cures; not fixable after staining. Use the chalk lines. If a sphere drifts during the cure window, reposition it immediately.
- Glue marks showing through stain: The result of squeeze-out that wasn't wiped promptly (see Step 3). If you catch dried glue before staining, scrape it gently and sand the area lightly. After staining, you're living with it.
- Tacky poly surface: Not a defect; a cure-time issue. Leave it alone and wait. Touching it makes it worse.
What this budget IKEA cabinet hack actually proves
The brutalist sphere treatment is one of the more convincing IVAR transformations available because the design logic is sound. Repetition, relief, and a unified stain color are all the language this style requires, and all of them are achievable with materials from a hardware store and one unfinished pine cabinet.
The IVAR's raw pine is the reason it works at all. Harper called it "a great blank slate," per Apartment Therapy, and IKEA's own customization guides show the untreated surface accepting paint, fabric, and added texture without special prep. The open grain takes stain and wood glue cleanly, which is what separates this hack from techniques that require stripping a factory finish before anything else can happen.
Harper's build proved the method is reproducible in a single weekend for well under $300. The technique is transparent you can see exactly how it was done and that transparency is part of what makes the result feel considered. No trick concealed in the construction. Just a grid, a stain, and enough patience to let things dry.


Comments
Be the first, drop a comment!