


IKEA DIY Luxury Table Hack: Turn BLANDA Bowls Into a 0 Designer Table
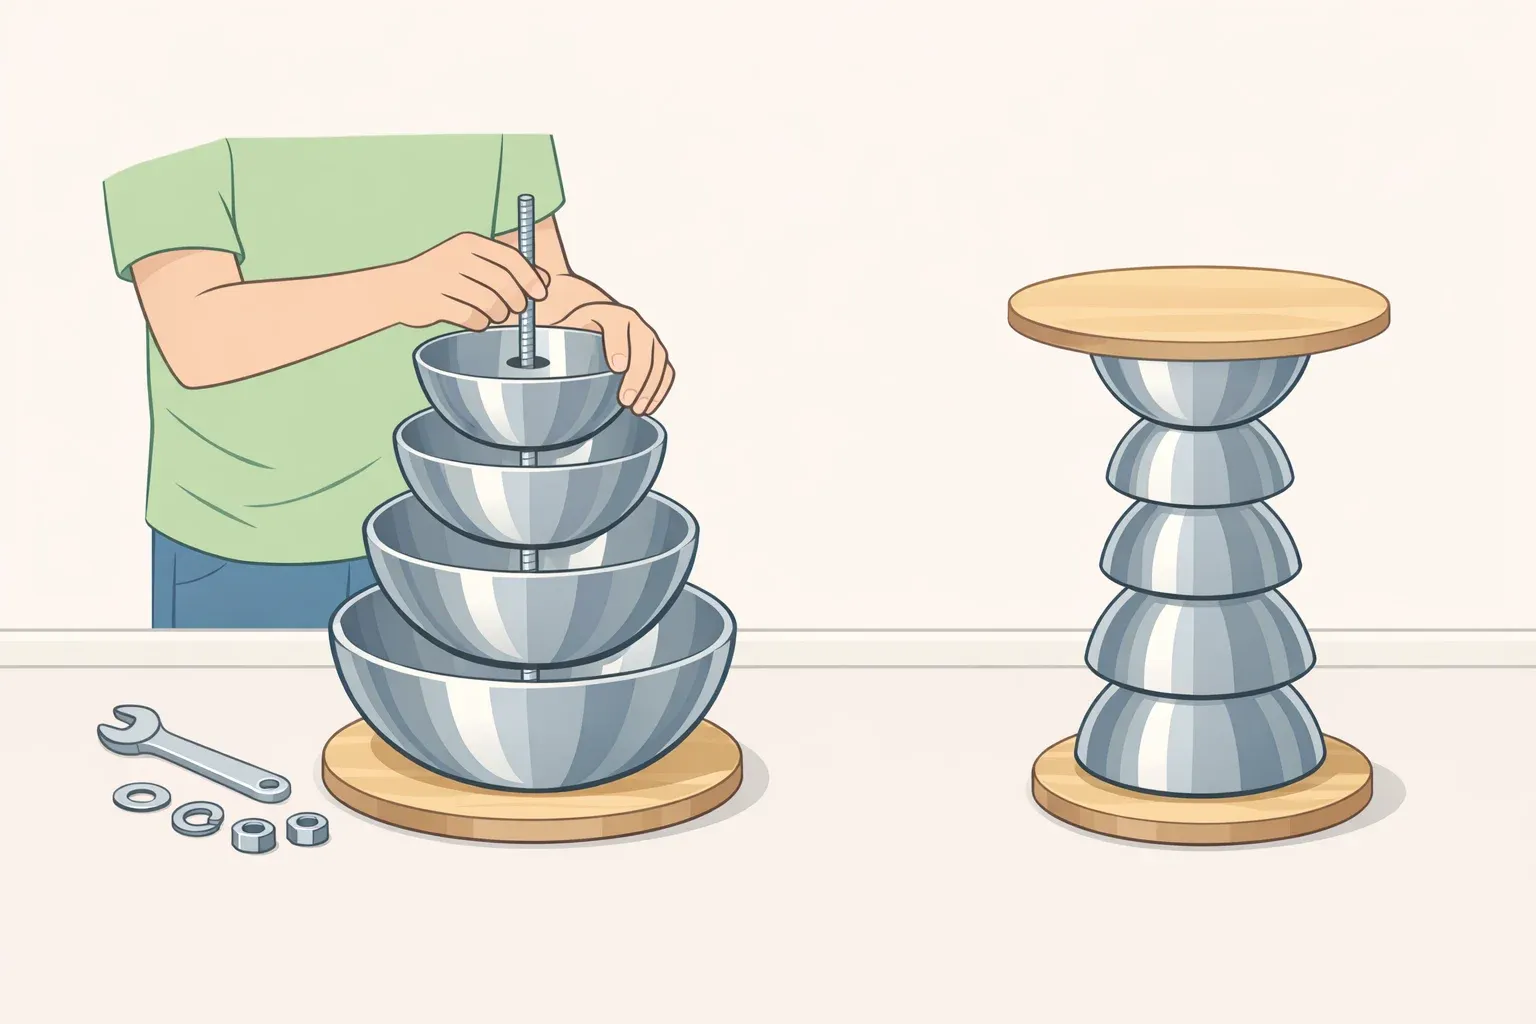
Four IKEA BLANDA MATT serving bowls. A threaded rod. About a week of patience. The result is a sculptural pedestal side table that mimics the monolithic, cast-plaster silhouette found on designer accent pieces priced at $400–$800, for somewhere between $80 and $140 depending on bowl size and what supplies you already own. The finish does the visual heavy lifting; the threaded rod through the center is what makes it furniture rather than a decorative object you're afraid to touch.
The build has accumulated over 133,000 social media likes, per IKEA Hackers in February 2025 not because it's clever, but because the finished silhouette genuinely resembles the organic pedestal forms that define high-end contemporary accent furniture.
Is this build right for you? Build it if you want a sculptural accent table for a bedroom or living room corner, are comfortable with sanding, priming, and drilling, and can spare a week mostly waiting for coats to dry. Skip it if you need a surface that holds anything heavier than a lamp, a book, and a drink. This is not a coffee table, not a high-load piece, and not a project for someone without drill access.
Why this IKEA table hack looks high-end

Before buying anything, understand why this works visually. The finished table reads as expensive because it mimics the design language of cast-plaster or carved-stone pedestal tables: a monolithic silhouette with no visible joints, no hardware, no obvious construction logic. The eye reads it as a single carved object.
Four BLANDA bowls stacked rim-to-rim create that silhouette naturally. Two pairs of bowls meeting at their widest points produce a rounded, hourglass-adjacent profile close to the organic pedestal forms that characterize high-end contemporary accent furniture. The bowls' smooth, slightly curved surfaces lend themselves to this illusion in a way that flat-sided objects simply don't.
Unpainted, the seams between bowls and the metallic surface give the game away immediately. Filled, sanded, primed, and painted particularly in a matte, stone-effect, or chalk finish the piece loses all visual trace of its origin. The seam-filling and painting steps are not optional details; they are the product.
The builds that demonstrate this most clearly:
- A TikTok DIYer who used four 11-inch BLANDA BLANK bowls topped the stack with a wooden platter painted pale beige. The finished piece read as a clean minimalist accent table, not a craft project, Apartment Therapy reported in early 2024.
- A separate build used MDF legs, skimming plaster, and stone-effect paint over a single large BLANDA MATT bowl to produce a raw, architectural side table. The plaster surface finish was the element that crossed it from repurposed kitchenware into something resembling a design object.
- DIY builders attempting to recreate pedestal tables from brands like Crate & Barrel found comparable retail versions priced above $500, making the bowl build a credible visual substitute at a fraction of the cost, Liv & Bloom documented in 2023.
The BLANDA range's consistent appeal across these variations comes down to its smooth, curved profile. Apartment Therapy identifies it as reading as intentional design rather than repurposed kitchenware a distinction that matters enormously once the paint goes on.
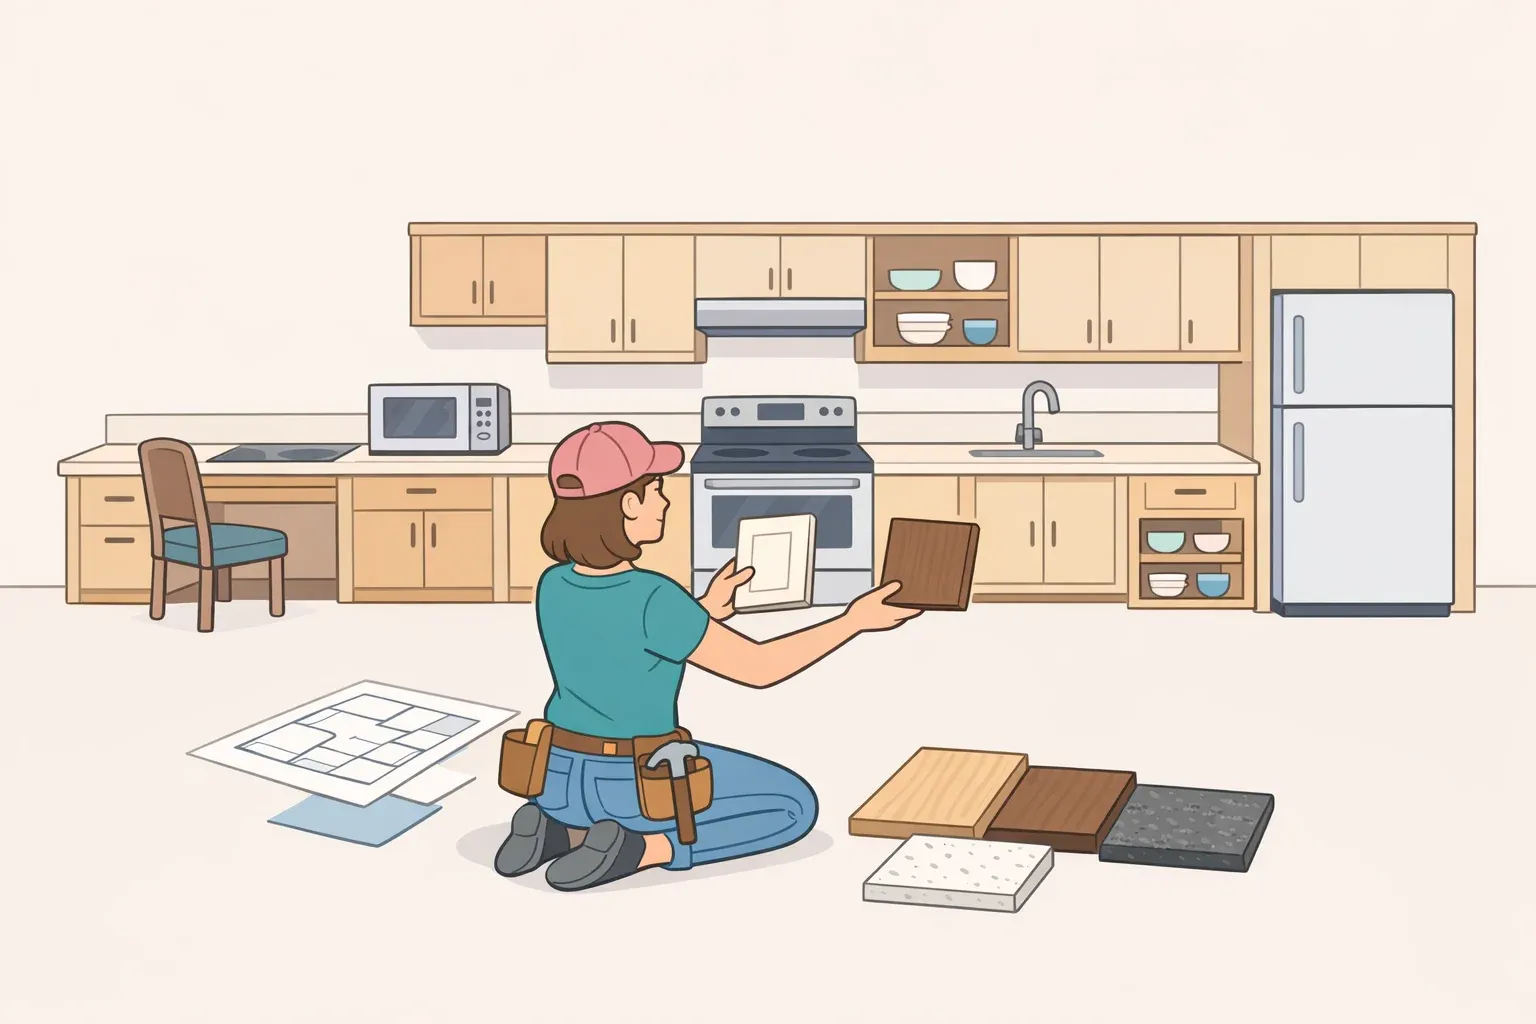
Materials, tools, and the size decision
Choose your bowl size before buying anything else. It determines total cost, finished height, and where the table will work best in a room.
8-inch bowls (~$10 each): Produce a compact, lower-profile piece suited beside a chair, at a bedside, or in a small corner. Total build cost around $80 with supplies. Approximate finished height: 16–18 inches.
11-inch bowls (~$25 each): Produce a taller, more sculptural table with stronger visual presence. Better suited beside a sofa or as a standalone accent piece. Total build cost around $140 all-in. Approximate finished height: 22–26 inches.
You need four bowls regardless of size. The BLANDA MATT range covers three diameters 5-inch, 8-inch, and 11-inch and if primer, sandpaper, and drill bits are already on hand, the bowls become essentially the only purchase, per IKEA Hackers.
Full materials list:
- 4 × IKEA BLANDA MATT bowls (in your chosen size)
- Multi-purpose contact adhesive (instant-bond type)
- Threaded rod sized to the full height of your bowl stack, plus two washers and two nuts
- Wood filler or lightweight spackling compound
- Sandpaper: 120-grit and 220-grit
- Spray primer rated for metal or multi-surface use
- Finish paint: chalk paint, stone-effect spray, or satin in your chosen color
- Tabletop: round wood platter, MDF circle, or lightweight marble-effect tray
- Two-part epoxy or multi-surface super glue (for attaching the top)
Tools:
- Drill with a metal-rated bit (diameter matched to your threaded rod)
- Putty knife
- Fine sanding block
⚠️ Before you buy paint: Standard wall paint will peel off stainless steel within weeks. Confirm your primer is rated for metal or multi-surface use. This is the single most common mistake in bowl-table builds, and no amount of additional coats will fix a bond that was wrong from the start.
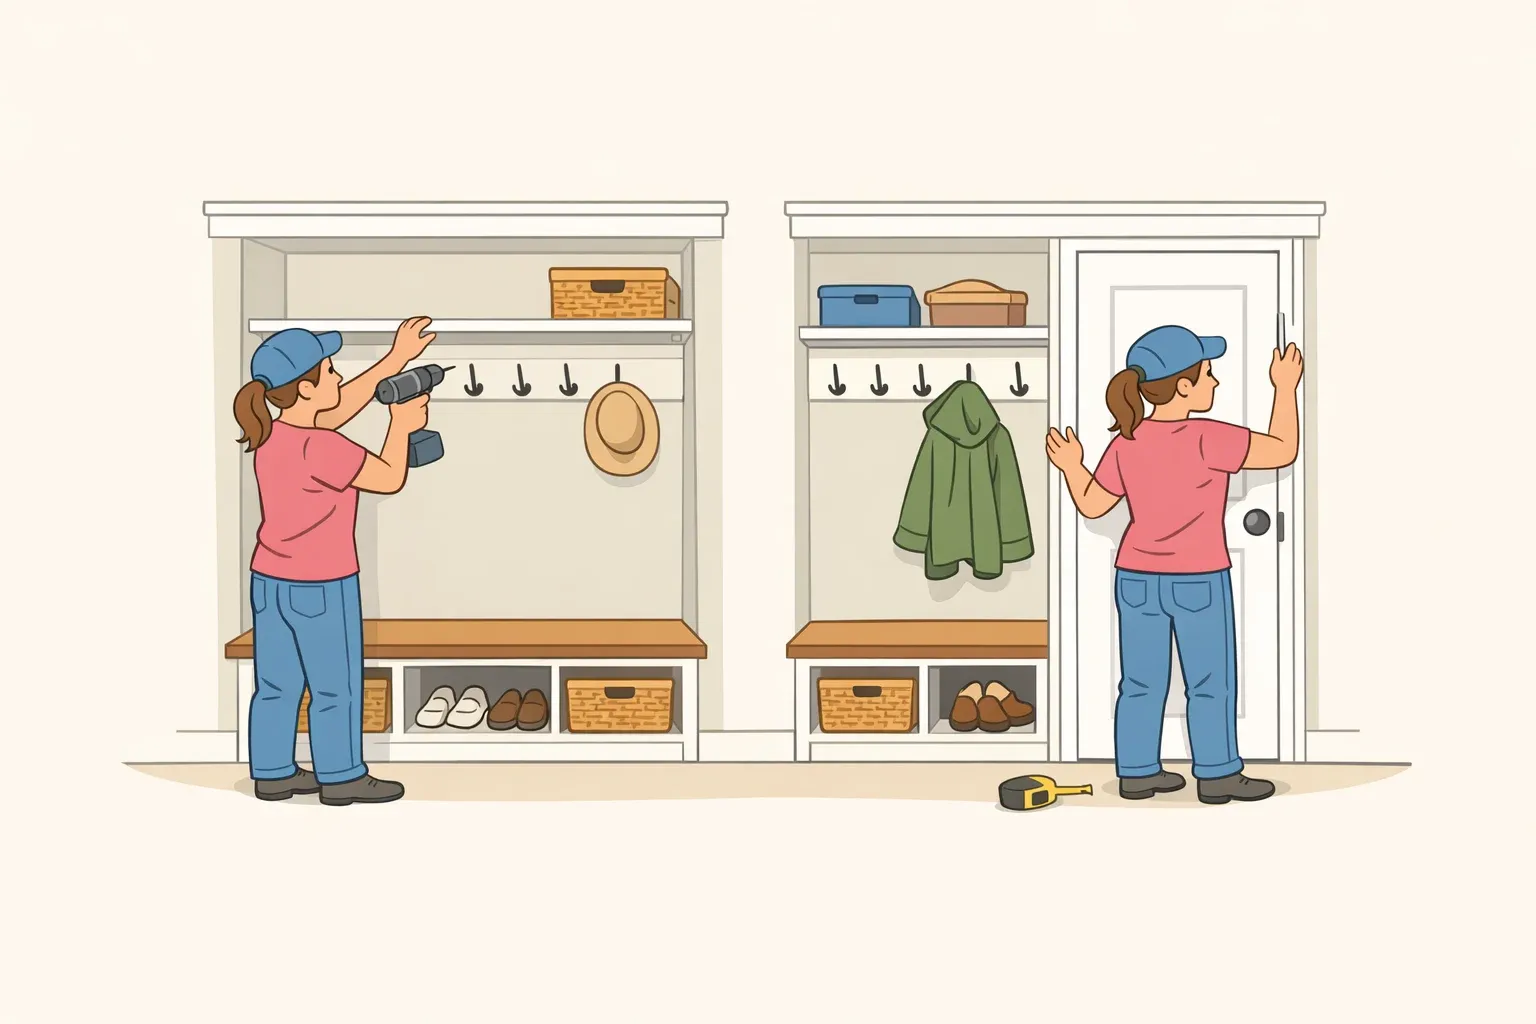
Step-by-step: the build

Step 1: Dry-stack and align the bowls.
Stack all four bowls rim-to-rim without adhesive and check that each junction aligns cleanly all the way around. Mark the best orientation lightly with tape. Gaps here become fill-work later the tighter the alignment, the less filler you need. Decide now whether you're adding the threaded rod, because that decision changes what you do in Step 2.
Step 2: Drill the center hole before you glue.
Mark the center point on the bottom of the lowest bowl. Drill slowly through each bowl in sequence using a metal-rated bit. Use cutting oil if available; forcing the drill on stainless steel will skate the bit without cutting. Test-fit the rod through all four bowls to confirm it passes cleanly from base to top.
⚠️ Don't skip this step. The builder profiled by IKEA Hackers described the table as "100% solid" after adding the rod, compared to merely functional with glue alone. At a finished height of 20-plus inches, a glued-only version carries real rocking risk on uneven floors.
Step 3: Glue the bowls together.
Apply contact adhesive to both mating rims of the first bowl pair. Wait the tack time specified on your adhesive typically 30–60 seconds for contact-bond types then press firmly and hold for a full minute. Repeat for the second pair, then join the two halves. Let the full assembly cure for at least two hours before handling. Overnight is better.
Step 4: Install the threaded rod.
Feed the rod through all four bowls. Place a washer and nut at the bottom and tighten to anchor the base. At the top, add a washer and nut recessed just inside the top bowl's cavity don't let hardware protrude above the rim, where it will interfere with the tabletop attachment. Tighten both ends. The assembly should now feel completely rigid.
Step 5: Fill the seams.
Apply wood filler to each rim junction using a putty knife. Work it into the gap and slightly over the edges so it creates a smooth bridge between bowl curves. This step is what makes the finished table read as a single cast object rather than assembled parts take your time. Let it dry fully, then sand with 120-grit to bring the filler flush with the bowl surface. Follow with 220-grit for a smooth finish. Wipe clean and allow to dry completely before moving on.
Step 6: Prime and paint.
Apply spray primer in two thin coats, sanding lightly between them. Then apply your finish in at least two coats. A single color across the entire piece reinforces the monolithic illusion any variation in tone draws the eye back to the seams. Matte and chalk finishes hide minor imperfections well. Stone-effect spray applied in short bursts at varying angles from about 12 inches produces a convincing travertine texture without requiring plaster work.
Allow full cure time between coats typically 24 hours for spray paint at room temperature, per build documentation from both IKEA Hackers and Apartment Therapy. Rushing this is where finishes crack or peel.
Step 7: Attach the tabletop.
Apply two-part epoxy or multi-surface super glue to the rim of the top bowl. Set the top in place, press firmly, and don't move the table for a full 24 hours. This cure window is non-negotiable the top-to-base joint is the most stress-prone point in the build, and a premature bump will compromise it.
Stability check before use: Place the table on its intended surface and apply gentle side pressure in four directions. No rocking, no give at the top joint. Set a moderately heavy book on the center the table should sit perfectly still. Any movement means the rod needs tightening or the epoxy needs more cure time.
Choosing the tabletop and understanding the weight limits
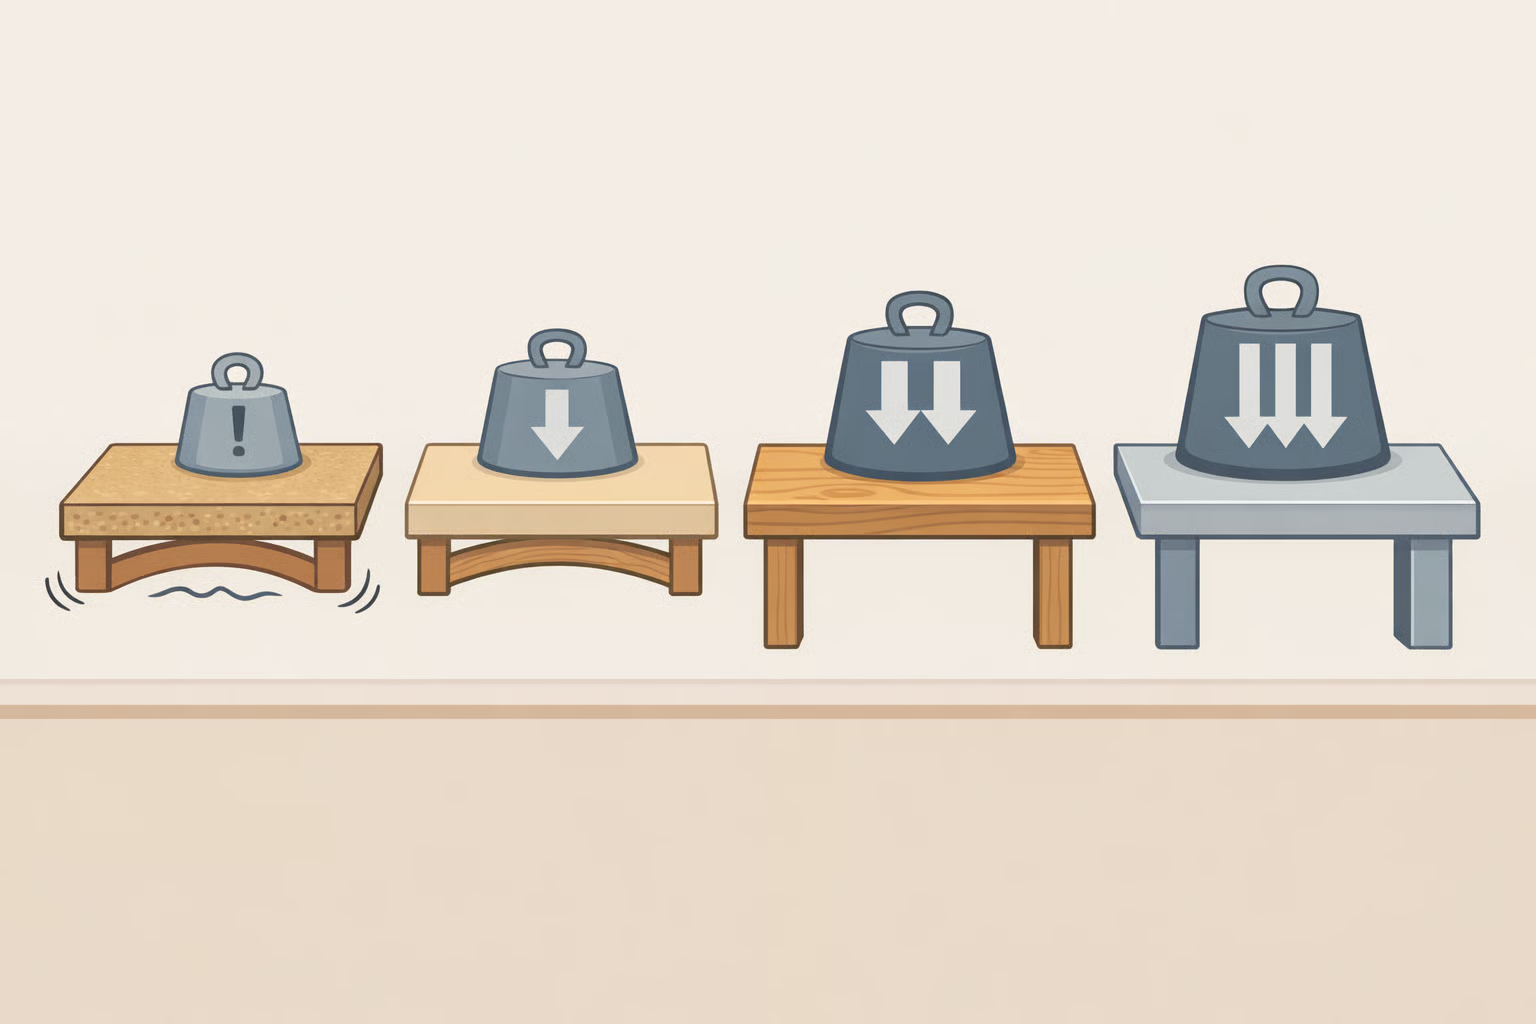
The tabletop choice is where the build either delivers or pulls its punch. It also carries the most structural uncertainty, particularly if the stone-look finish draws you toward an actual stone slab.
Round wood platter or chopping board: The lowest-friction option. Sand the underside lightly, paint to match the base, attach with epoxy. One builder used a round chopping board glued to the top bowl before painting the whole piece in black wood paint, Apartment Therapy noted in early 2024.
Cut MDF circle: A hardware store can cut MDF to your specified diameter for a few dollars. Prime both sides to prevent warping, paint to match or contrast the base. MDF takes paint cleanly and gives the top a heavier, more furniture-like presence.
Marble-effect tray or laminate top: A lightweight resin or laminate marble-effect tray that looks like stone but weighs under 1 kg is the optimal choice for anyone after the high-end visual without the structural risk.
Real stone or marble slab: Worth thinking carefully about. A 60 × 40 cm marble slab at 2 cm thickness weighs roughly 14 kg on its own, per weight data published in March 2026. The BLANDA bowl stack has no published load rating and no formal structural testing behind it the adhesive joints are bearing that weight without mechanical fasteners into a rigid frame. If real stone appeals, keep it very small: a 20 cm round slate piece, not a full slab.
The honest limitations of this build:
No formal load testing exists for this table. Adhesive bonds on metal surfaces are sensitive to temperature fluctuation, and the multi-layer finish filler over metal, primer over filler, paint over primer involves materials that expand and contract at slightly different rates over time. Load capacity is unknown and untested. Treat it accordingly: one lamp, a few books, a glass, a small plant. Keep it away from high-traffic areas, young children who might pull on it, direct sunlight, and significant humidity changes.
What the finished table actually costs
The 11-inch version, which produces the most visually impressive result, costs around $140 fully built roughly $100 in bowls plus $40 in supplies. The 8-inch version comes in near $80. If primer, sandpaper, and drill bits are already on hand, the bowls are essentially the only expense, per IKEA Hackers.
Designer pedestal accent tables of similar silhouette and scale regularly sell above $400–$500 at mainstream retailers. The bowl build undercuts that by a factor of three or more while delivering a visual result most guests won't question, as Liv & Bloom found when pricing out Crate & Barrel equivalents in 2023.
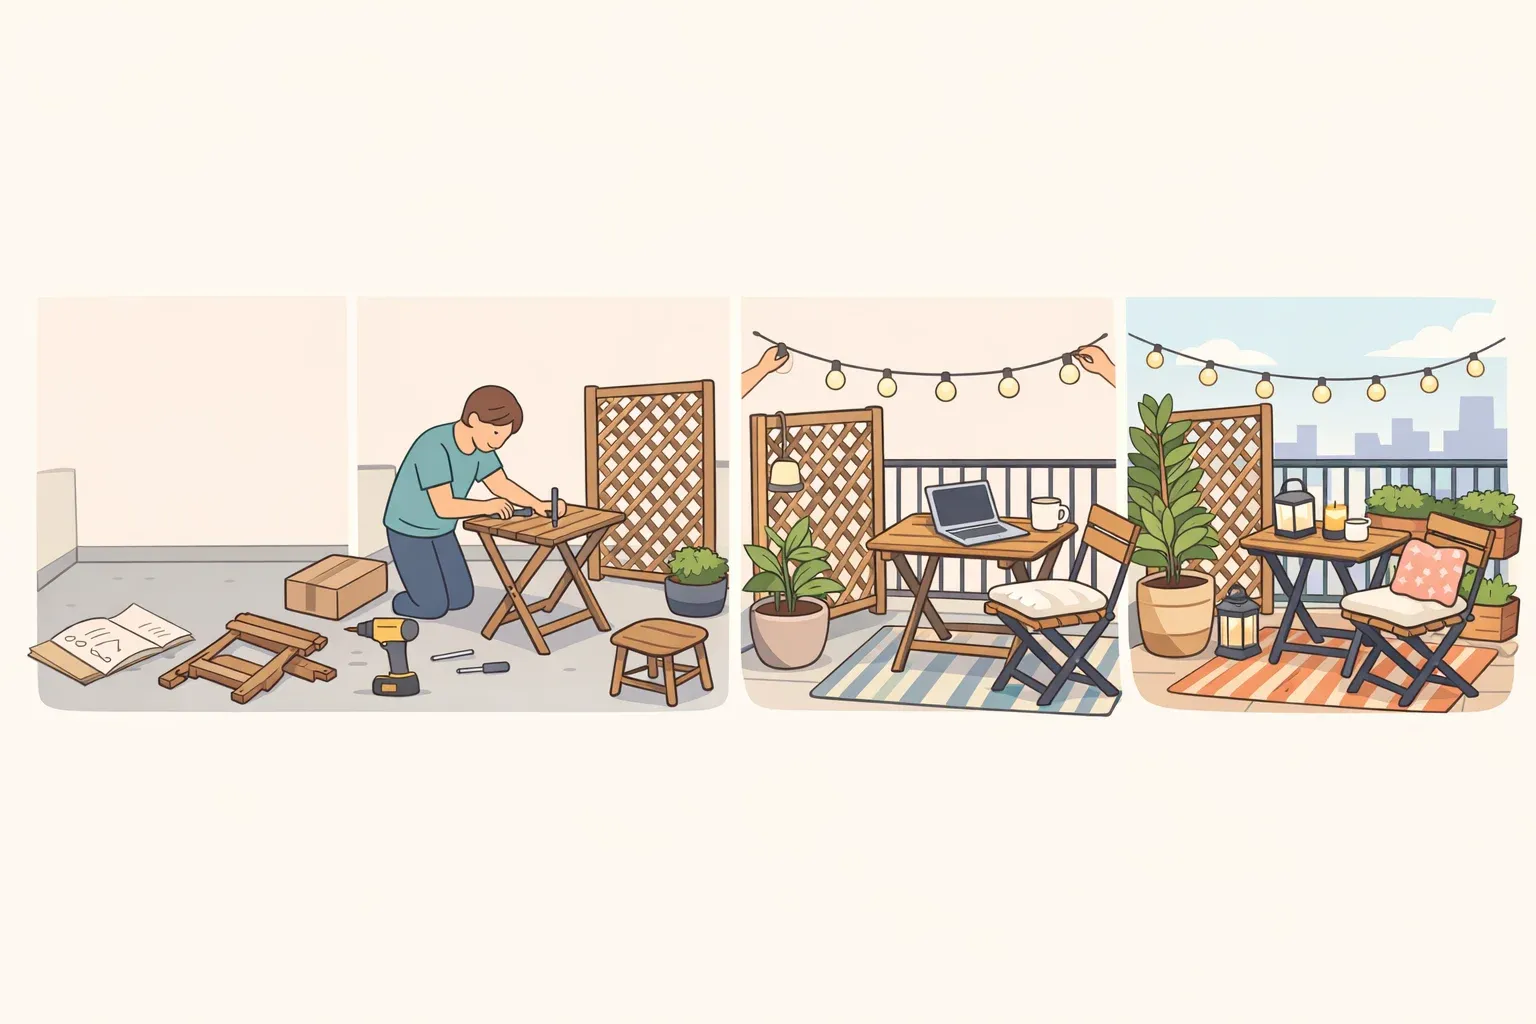
Two caveats worth sitting with: long-term durability is unknown, and the build demands patience. Count on roughly a week from first glue to finished surface, mostly waiting for coats to cure. What it delivers in return is a genuinely sculptural piece, built to your finish preferences, that competes on looks with furniture costing several times more.
The threaded rod stays the single best decision in the build. Under $5, 20 minutes to install, and the structural difference between a finished piece you trust and one you quietly worry about every time someone leans on it. Build it in from the start, and the rest is patience and paint.


Comments
Be the first, drop a comment!