



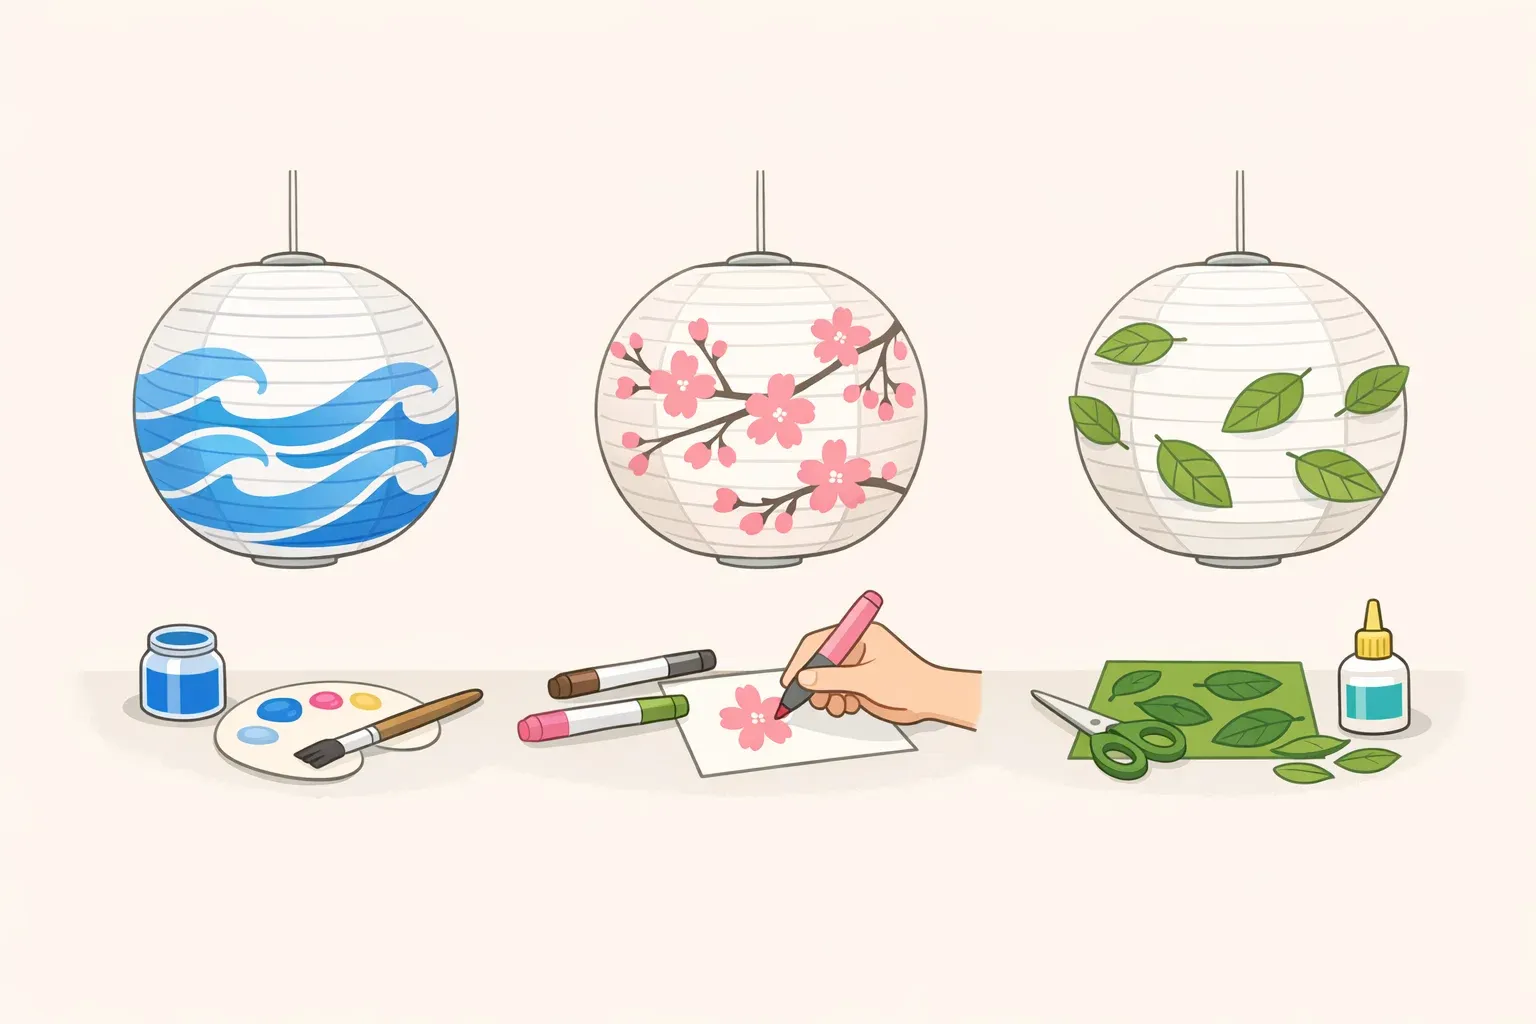
An IKEA paper lantern makeover doesn't call for advanced art skills. It calls for the REGOLIT paper shade, some paint, and one of three techniques from IKEA's own decorating project. IKEA frames the plain shade as a base for a "style update" that adds "a personal twist" to a room. If you're looking for how to customize an IKEA paper lantern, the choice comes down to full color, painted lines, or a repeat stamp motif.
Interior stylist Katie Phillips, called Katty in IKEA's project, built three designs from that same shade, including a geometric pattern matched to the wallpaper already hanging in her family room. This DIY paper lantern lampshade guide walks through all three of her methods: roller color, freehand line painting, and stamping, plus an optional taping technique added here for readers who want sharper edges on their lines.
Skill level, timing, and limits to know before you start
Skill: IKEA quotes Katty saying she wouldn't call herself good at art, though she loves it, and that readers don't need to be an artist to try this. If you're comfortable with a paintbrush, a roller, and basic craft supplies, that's enough to start.
Drying time: check your paint's own packaging instead of assuming a fixed number of hours. It varies by product, and there's no drying window confirmed for this specific paper.
Main limitation: IKEA's project confirms these methods with children's MÅLA paint on a REGOLIT shade specifically. Swapping in a different paint, tape, or paper hasn't been tested here, so treat substitutions as something to try on scrap material first, not a guaranteed match.
Best starting method: the roller technique. It uses only paint and a roller, which makes it a practical entry point if this is your first time customizing a shade.
What you'll need for this IKEA REGOLIT lamp shade DIY
A REGOLIT paper lamp shade
Children's MÅLA paint, the product IKEA used for Katty's shades
A paint roller
A stamp, if trying the stamp method, plus a roller to load it with paint or ink
Painter's tape, a pencil, and a straightedge, for the optional taping technique
Scrap paper or a spare shade, for testing paint, stamps, or tape before touching the real one
A drop cloth or scrap paper to protect the work surface
Other water-based craft paints haven't been confirmed on this specific paper in IKEA's project. If a substitute is all that's on hand, test it on scrap paper or a spare shade before committing to the shade you plan to keep.
There's a tradeoff worth knowing before the first brushstroke. IKEA states that altering a product so it can no longer be resold or used for its original purpose voids the commercial guarantee and return rights. That's a condition to weigh going in, not a rule confirmed to apply to every decorated shade.
Before you start: shade terms and workspace setup
IKEA's instructions say to assemble the lamp before painting on lines, without spelling out exactly which stage of assembly that means. Rather than guess, follow the REGOLIT instructions for forming the paper shade itself, and keep the shade off the lamp's electrical fitting while you paint, unless those instructions explicitly say otherwise.
Unplug the lamp before you start, and keep the shade and any wet paint away from the cord and socket while you work and while everything dries. Work on a drop cloth or scrap paper, and prop the shade on something narrower than its base, like an overturned bowl, so wet paint doesn't rest against a surface while it sets.
Test paint thickness, stamp pressure, or tape adhesion on scrap paper or a spare shade before committing to the shade you plan to keep. Let the paint dry completely, as checked against your product's label, before handling the shade again.
Choose your IKEA paper lantern makeover method
Each of the three techniques in IKEA's project trades speed for planning time differently.
Roller: The quickest option, needing only paint and a roller.
Stamp: a repeat motif using a stamp loaded with paint or ink. As a practical starting point, test the stamp on scrap paper before touching the shade to check spacing and paint amount.
Freehand geometric lines: take the most planning, since it means working out a repeat pattern before any paint goes on.
The freehand method also leaves the most room for a design tied to your own room, which is where Katty's wallpaper-matching idea comes in, covered below.
Step-by-step: three ways to customize the shade
Method 1: Roller for full or distressed color
This is the method IKEA describes as needing only paint and a roller.
Load the roller with paint, then roll off the excess on scrap paper until it stops leaving thick ridges. Check the test coat especially where the shade's paper panels meet at the seams; a heavy paint load can pool there, so scale back before rolling the actual shade if you see buildup.
Roll the paint around the assembled shade, working in one direction and overlapping each pass slightly so bare paper doesn't show through.
Apply it neatly for full, even color, or go over it again freehand for a more distressed look. IKEA describes both as options, not a mistake to correct.
Set the shade aside to dry undisturbed, propped so wet paint doesn't touch anything, until it's dry to the touch per the paint's label.
Method 2: Freehand lines for a room-matched geometric pattern
This is the pattern Katty built to match her family room's wallpaper.
Follow the REGOLIT instructions to form the shade before painting any lines. IKEA notes that assembling first makes accurate line placement easier.
Base the pattern on wallpaper, fabric, or art already in the room, the way Katty matched her lines to the wallpaper hanging in her family room.
As a practical starting point, mark a centerline or choose an even repeat count, such as six or eight lines, before painting. This isn't part of IKEA's published method, but it can help the pattern line up when it wraps back around to where you started. Test spacing on paper first if you're not sure how it will look.
For crisper edges than freehand painting alone, pencil-mark the lines lightly, then run painter's tape along them before filling in with paint. This step also isn't part of IKEA's published method. Test a strip of tape on a spare piece of the shade's paper first, and peel it back to see whether it lifts any fibers, before taping the whole pattern. Peel the tape off before the paint fully cures.
Let the shade dry fully, undisturbed, before handling it again.
Method 3: Stamp for a repeat motif
IKEA describes ink stamps as another easy way to add a pattern.
Pick a stamp pattern, then load it with paint or ink using a roller, the technique IKEA describes for Katty's shade.
As a practical starting point, test one full repeat on scrap paper first, checking spacing and pressure, before stamping the shade itself.
Mark a starting point on the shade with a small pencil dot, then work around in one direction from there. This isn't part of IKEA's instructions, but it helps keep the repeat consistent as you go.
Reload the stamp between prints and lift it straight up rather than dragging it, for even coverage. Let each section dry before the shade touches anything else.
Troubleshooting common problems
Paint looks uneven after the first pass: Let it dry completely before deciding whether it needs a second thin coat. Adding wet paint over wet paint is more likely to smear or pool than fix the unevenness.
The paper buckles or feels wet and spongy: Stop adding paint and let the shade dry undisturbed. If it's still soft or warped once dry, don't reinstall it; start over with a fresh shade.
Tape lifts the paper's surface when you peel it off: Skip the taping technique for that section and switch to freehand lines instead. Test any remaining tape on a fresh scrap first.
A stamp print comes out partial or smeared: Reload the stamp with more paint or ink, ease off the pressure on the next print, and let the current section dry before reworking it.
The pattern doesn't meet cleanly where it started: This is usually a spacing issue, not a structural one. Let the seam land in the least visible spot; IKEA's own guidance treats a less exact, freehand finish as a legitimate distressed look, not an error.
The dry shade doesn't fit its frame the way it did before: Don't force it. Testing on scrap paper can't fully predict how the whole shade will hold up, so set this one aside and use a fresh shade instead.
When to stop instead of forcing a fix
IKEA's project doesn't test how this paper holds up against every possible paint, tape, or substitute material, so treat visible damage as a hard stop rather than something to patch mid-project. If the shade tears while you're working, set it aside and start over with a fresh shade instead of trying to repair it and keep going.
Finishing your IKEA lamp shade makeover
Once the shade is fully dry, follow the REGOLIT instructions to reattach it, and check your lamp base's own manual for the correct bulb type and wattage. A finished-looking shade doesn't confirm it's compatible with your particular lamp base, so check the manual instead of assuming.
Before it goes back on the frame, give the dry shade one more look for gaps, warping, or paint that still feels tacky. If the finish looks looser or less precise than planned, that's consistent with IKEA's own guidance: a freehand, less exact roller finish is described as a distressed look, not something to correct.
If the shade touches the socket, does not seat correctly, or produces an unusual smell when the lamp is on, switch it off, unplug it, and stop using the modified setup. Check the fixture's instructions or contact the manufacturer.




















Comments
Be the first, drop a comment!