



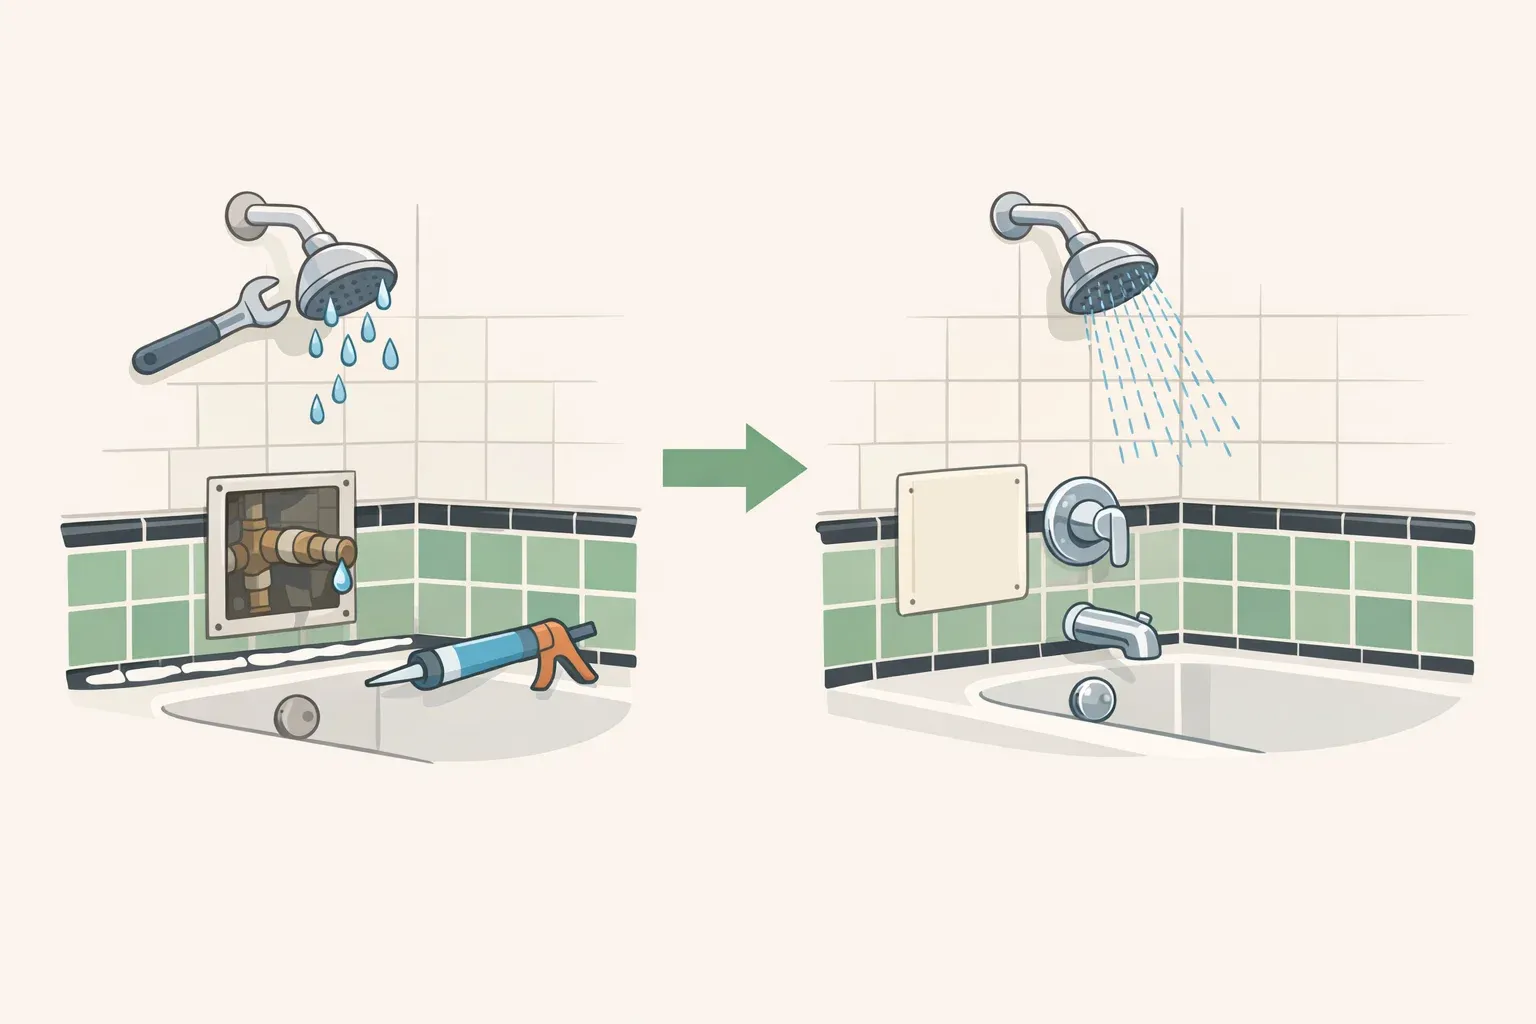
A homeowner in the Kings Hill neighborhood lived for years with a bathroom remodeled once in the early 2000s. What finally got her moving wasn't a plan to preserve history. It was a shower leak that forced the issue, in a renovation documented last year by her contractor.
Instead of gutting the room and starting from scratch, she and her contractor rebuilt around what had survived, using an old photo of the original tile wainscot and console sink as their actual design target.
That's the model for how to renovate an old bathroom without losing its character: document what exists, repair what's repairable, replace only what genuinely needs it, and let condition and code, not sentiment, decide whether a section of the room, or the whole thing, has to come out. This isn't a fringe preference reserved for old-house obsessives.
The National Park Service identifies rehabilitation, repairing and adapting a historic property for continued use while keeping the features that convey its history, as the treatment applied to the majority of historic buildings, not full restoration or wholesale replacement. Historic bathroom renovation, in other words, usually means keeping and adapting, not tearing out and starting over.
This is a planning guide, not an installation manual. It walks through documenting the room, sorting elements into keep, repair, or replace, testing and inspecting before anything gets disturbed, and writing a brief a contractor can bid against.
It stops before demolition and technique, because once material testing and scope are locked in, invasive work belongs to licensed professionals. Keeping as much as possible isn't automatically the right call either, and a later section covers what actually points toward a full gut instead.
What this planning process requires
Scope: planning and documentation only. No demolition, cutting, or removal happens in this guide.
Time: a few hours to a full weekend to photograph, measure, and research the room, plus a week or two of back-and-forth if you're waiting on old photos, permits, or test results.
Difficulty: beginner-friendly for documenting and sorting your own bathroom. Anything involving concealed plumbing, wiring, structure, or suspected hazardous material needs a licensed contractor or qualified specialist, not a homeowner's guess.
What to bring to a contractor walkthrough: your keep/repair/replace worksheet, photos and measurements, any tile or material samples you've gathered, and a list of open questions about anything you couldn't confirm yourself.
Document what you have before you decide anything
Start with evidence, not preference. Before judging any single tile or fixture, look for old photographs, prior owners, listing archives, or a local historical society that might have records on the house.
In the Kings Hill case, a photo shared by a previous owner, showing the bathroom's original tile wainscot and console sink, became the direct design reference for the new room. That single photo replaced a vague "vintage style" search with an actual target to match. NPS guidance backs this order of operations: treatment decisions should reflect a property's significance, physical condition, and available documentation before any work choices get made.
A more elaborate example shows how far documentation can go when the budget and stakes are higher. Research on a 1952 Los Angeles home designed by Paul R. Williams, the first African American architect licensed west of the Mississippi River, turned up the original powder room paint color, and the surviving green fixtures, floor tile, and mural all dated back to the years Williams and his wife lived there.
That project, featured earlier this year, proves documentation is possible decades later for finishes most people would assume were just old. It doesn't prove it's affordable. That was a bespoke architectural restoration, not a typical remodel budget, and the comparison is useful for the principle, not the price tag.
For an ordinary bathroom, the checklist is simpler: photograph tile, fixtures, and hardware from multiple angles; measure the room, door swing, and window placement; note the flooring type and its apparent installation era; and gather any old photos or permits you can track down. Leave this step with two lists. One is a "keep" list: confirmed original, visibly sound. The other is an "unknown" list: anything that needs a professional look before you decide.
The keep-repair-replace worksheet, applied element by element
Not everything old in your bathroom is original, and that's fine. Sort what you find into three rough categories: material from when the house was built, period-appropriate replacements installed later but consistent with the house's era, and later additions that aren't historic at all but still work well and are worth keeping anyway. A 1970s pedestal sink in a 1910 house isn't original, but if it's functional and fits the room's proportions, ripping it out just to chase authenticity can cost you more than it gains.
With your lists sorted, run each item through NPS's sequence for evaluating a historic feature: first assess whether replacement is actually necessary, then weigh how much of the feature and where it sits relative to the room's historic character, then evaluate appearance, physical compatibility, and long-term performance before choosing a material. Applied to renovating a vintage bathroom, that sequence looks different depending on the category of element.
Doors and trim. If they're intact and functional, they usually clear the test at step one, no repair or replacement decision needed. In the Kings Hill project, the original pocket doors were simply integrated into the updated layout without any debate.
Tile. Investigate before you remove anything. The Kings Hill team sourced several white crackle-glaze tile samples and compared each one to the original tile to find the closest match, rather than assuming a full rip-out was the only option. That lines up with NPS's Standard 6: when replacement of a distinctive feature is necessary, the new material should match the old in composition, design, color, texture, and, where possible, materials.
Fixtures. Aim for in-kind replacement or a documented compatible substitute, not a literal salvage requirement. The Kings Hill homeowner chose a decorative console sink and a nickel-plated, wall-mounted soap dish as vintage-inspired reproductions that reinforced the room's original vocabulary.
The Paul Williams primary bath shows the other end of the same idea: new fixtures by India Mahdavi for Bisazza were designed to read as vintage glamour without pretending to be salvage, an intentionally contemporary addition rather than an imitation.
Storage and layout additions. New elements should be justified by real need and sized to protect the room's openness. At Kings Hill, a custom wall of cabinetry and a built-in medicine cabinet added storage without sacrificing the open feel of the space, and mirrors were placed strategically to make the most of existing natural light instead of cutting new windows.
Hidden systems. Plumbing and structure are a professional call, not a guess from the hallway. The pocket-door wall in the Kings Hill house turned out to be a double-stud wall, deep enough to update plumbing and add a recessed medicine cabinet, but that depth was confirmed by the contractor, not assumed from the outside.
Use the table below to run this same sequence on your own bathroom, element by element:
Element: Example: Tile wainscot
Evidence of age/originality: Old photo from a previous owner
Visible condition: Assess yourself
Water or safety concern: Assess yourself
Repair feasibility confirmed by: Tile supplier or contractor
Historic importance/visibility: High; primary visual feature
Decision: Repair or replace in kind
Replacement-match notes: Match the glaze finish, color, and texture as closely as possible
For your own assessment:
Element: [Your element]
Evidence of age/originality:
Visible condition:
Water or safety concern:
Repair feasibility confirmed by:
Historic importance/visibility:
Decision:
Replacement-match notes:
Keep in mind where this framework comes from. It's built on federal standards written for historic-designated and tax-incentive properties, not a legal requirement for an ordinary house. If your home sits in a local historic district or carries individual landmark status, check with your local preservation review board before treating any of this as optional.
For everyone else, treat Standard 6 as a comparison tool rather than a rulebook: matching the old material closely in composition, color, texture, and finish is what makes a replaced feature look intentional, whether or not anyone official is ever going to check.
How to preserve original bathroom features before demolition
Don't make the first cut yourself. Before prying up old flooring, cutting into old tile, or opening a wall, leave that opening to a licensed contractor, and have any suspect material tested before it's disturbed.
A building-information site notes that flooring and adhesive installed in North America before 1986 are commonly treated as presumed asbestos-containing until tested, and that disturbing suspect material, cutting, sanding, or prying, raises exposure risk and can lead to a costly cleanup.
Treat that as a general caution from a DIY-focused resource, not a lab result or an official testing protocol for your specific bathroom. Before opening anything, check with the EPA or your state or local environmental health agency for the correct testing process, and have the sample collected and tested by a qualified environmental testing service rather than guessing from a material's age or appearance.
The same source notes that suspect flooring or mastic left undisturbed beneath an intact surface generally isn't a current hazard, since the risk comes from disturbing it, not from its mere presence. That supports a don't-disturb-what-you-don't-need-to approach rather than a blanket instinct to tear out anything old just because it's old.
The Kings Hill project's discovery that the shower floor was solid concrete, even on the second story, came from a controlled opening made by the contractor, not homeowner exploration, which is exactly the boundary this section describes.
Other automatic stop-and-call-a-professional triggers: plumbing relocation, electrical work near water, any structural change, and anything your local building code requires a permit for.
When the evidence points to a full gut
A single controlled opening isn't the same decision as full demolition. The shower-floor discovery above expanded the project's information, not automatically its scope, and that's the general lesson: scope can grow in stages as evidence comes in, rather than getting decided all at once on day one.
NPS itself acknowledges that rehabilitation may require "more extensive repair and replacement" when alterations are genuinely necessary to support continued use of a property. Keeping features is a goal, not an obligation that overrides function. This is the flip side of learning how to update a period bathroom without gutting it: sometimes the honest answer is that you can't.
Situations that typically justify a full gut include widespread water damage behind walls or under flooring, failed or unsafe structural elements, plumbing or electrical systems that can't be brought to code without full access, or a layout that genuinely can't work for the household using it.
Hazardous-material findings can also change the math. If suspect flooring or mastic tests positive, the required remediation depends on local regulations and how much area is affected, and it may call for more removal than a partial "save what you can" plan anticipated.
Confirm scope with your environmental health agency or a qualified abatement contractor rather than assuming a limited fix is possible. The goal throughout is a documented decision, not a predetermined outcome in either direction. Some bathrooms genuinely need to come down to the studs, and plenty don't.
Building your contractor brief
Before requesting bids, put your decisions on paper. A workable one-page brief should cover:
Room measurements and photos
Existing drain and vent locations
Your keep list, with the evidence behind it
Your repair list, noting which professional confirmed feasibility
Your replace list, noting in-kind material versus documented compatible substitute
Your unknowns and suspect materials, with current test status
Desired layout constraints
Physical tile or material samples
Give bidding contractors specific written questions to answer, not open-ended ones: permit requirements for your jurisdiction, waterproofing method and warranty, and which flagged elements they'd repair versus replace and why. That question set echoes the same assess-need, evaluate-location, weigh-performance sequence used to build the worksheet above.
Order of operations matters here. Test any suspect materials first. Finalize your keep/repair/replace scope second. Obtain bids and permits third. Confirm material lead times fourth, asking suppliers directly about custom or matched-tile timelines rather than assuming standard shipping. Only after that should licensed professionals handle demolition and waterproofing.
Don't eyeball concealed work yourself. Request photos of waterproofing and plumbing before walls close, product or system spec sheets, and any required inspection sign-offs from your contractor, while checking visible tile alignment and fixture placement on your own.
Finishing the plan
A scope built this way should let you point to four things before final bids go out: what remains untouched because it was confirmed original and sound, what's being repaired and by whom, what's being replaced in kind or with a documented compatible substitute, and which hidden-condition findings could still change the bid.
Once your suspect materials are tested and the worksheet above is filled in for every element, schedule a contractor walkthrough with the brief in hand. Bring your photos, your samples, and your list of open questions. That conversation, not another round of research, is what turns the plan into a renovation.




















Comments
Be the first, drop a comment!