


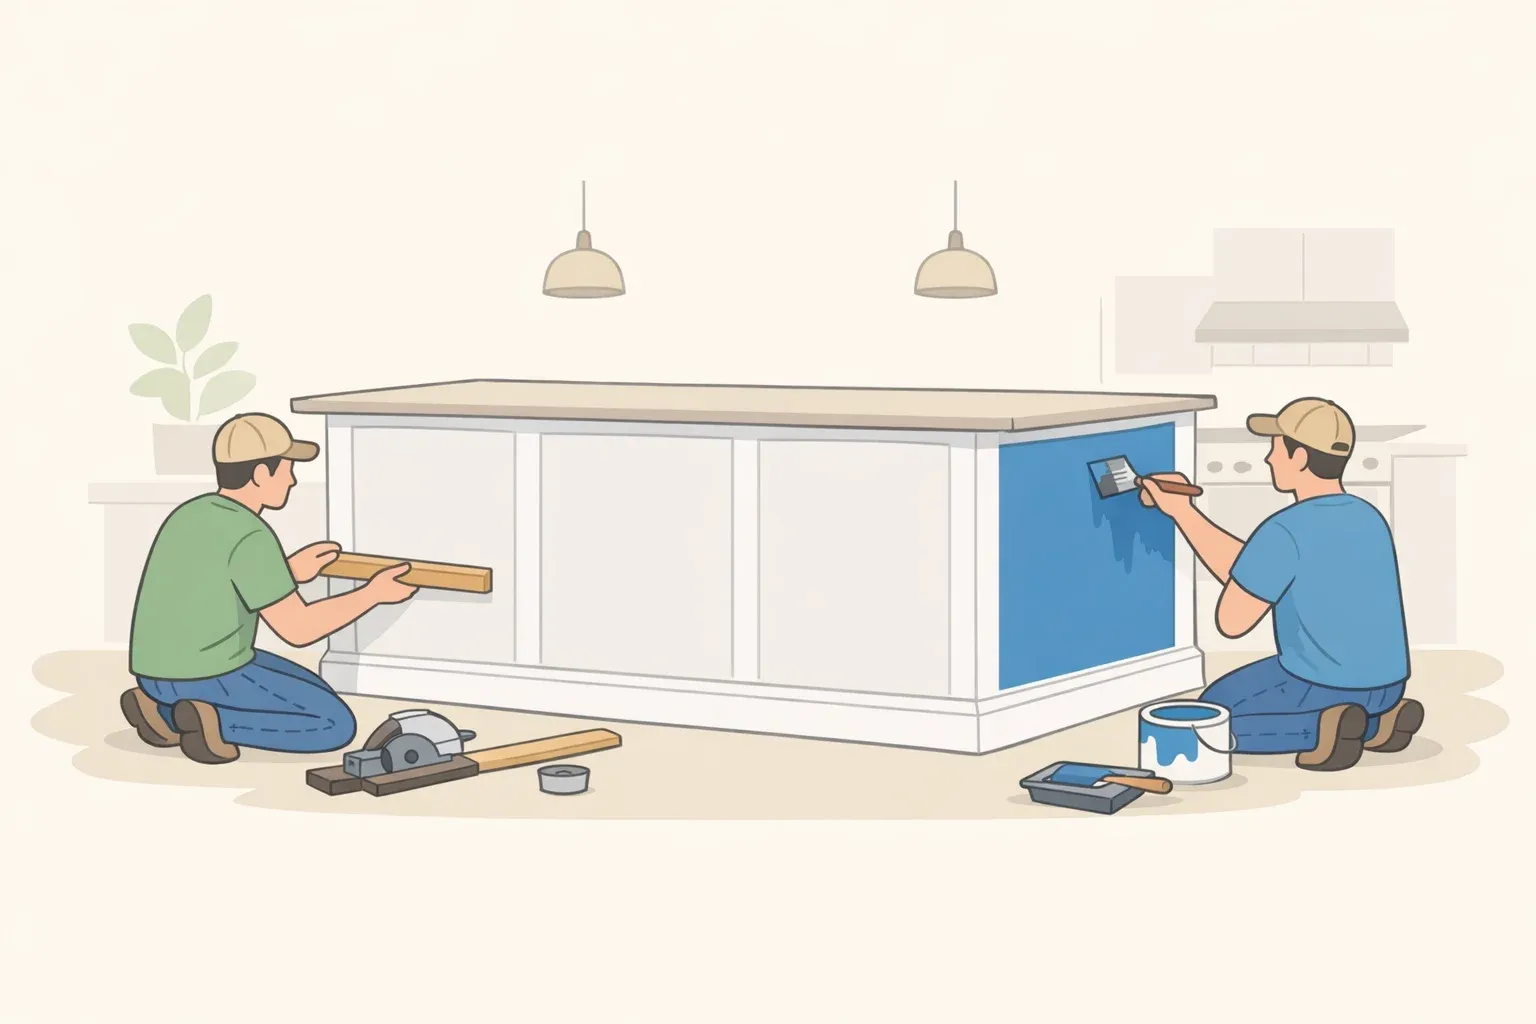
How to Upgrade a Builder Basic Kitchen Island: Trim & Paint
A builder-basic kitchen island is a cabinet box. It does its job. It just looks exactly like what it is: a stock unit that came with the house, unfinished on the back, flat on the sides, with no visual weight or intention to it.
This guide walks through how to upgrade a builder-basic kitchen island using baseboard trim, leg detail, and a finished back panel, then unify everything with primer and paint. Same footprint. Same countertop. Same storage. Just a fundamentally different first impression. One complete version of this exact upgrade came in under $100 including cabinet feet, with new baseboard as the primary cost and most other materials reused from what was already on hand, per Thrifty Decor Chick (published March 28, 2026).
Skill level: Moderate. You need to be comfortable with a miter saw, a brad nailer, and basic caulk-and-paint work. Not a beginner project, but not a remodel either. If your island wobbles, your outlet wiring is inaccessible, or your countertop overhang exceeds 10 to 12 inches without bracket support, address those first. Those are structural issues that cosmetic trim won't fix and may complicate.
Tools needed: miter saw, brad nail gun, construction adhesive, wood putty, paintable caulk, 4-foot level, sandpaper (120 and 220 grit), primer, paint in satin or semi-gloss finish.
Choose your upgrade level before you buy anything
Not every reader wants the full treatment. Here's the decision framework before spending anything:
Lowest effort, highest visual return: Paint the island a distinct color and add baseboard trim around the base perimeter. About 2 to 3 hours of work and under $50 in materials if you have leftover paint.
Next level: Add leg trim detail at the corners to create furniture-style posts. Adds 1 to 2 hours and minimal cost if you're already running trim.
Most custom result: Finish the back panel with vertical boards, framed by trim, unified under paint. This is the full guide below. Plan for 4 to 8 hours total and a materials cost of roughly $50 to $300 DIY depending on island size and trim profile, per Home Remodeling Expert (early 2025).
Estimated cost breakdown for the full upgrade:
- MDF trim: $0.50 to $3 per linear foot; pine: $1 to $5; hardwood: $5 to $15
- Finishing supplies (primer, paint, caulk, putty, adhesive): $30 to $80 estimated
- Cabinet feet (optional): typically $15 to $40 for a set
- Tool investment if buying essentials (miter saw, nail gun, level): $50 to $200
- Professional installation for comparable trim scope: $200 to $1,000
All cost data from Home Remodeling Expert (early 2025).
Which faces should you actually trim?
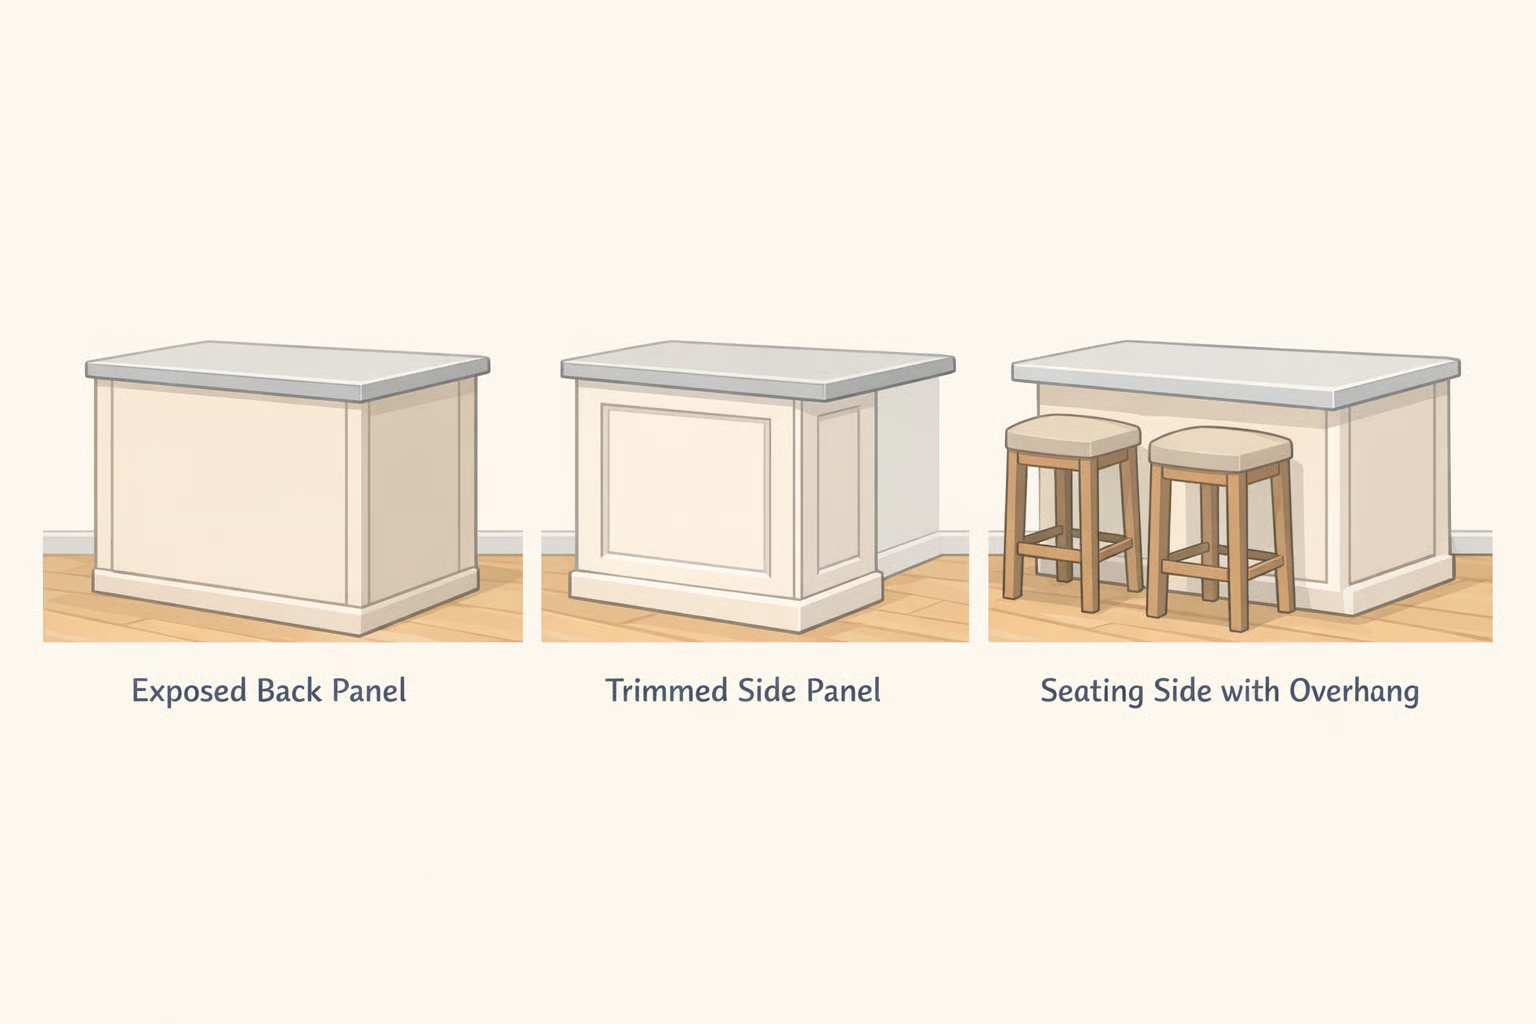
Not every side of the island deserves the same treatment. Matching the trim approach to each face keeps the result looking considered rather than slapped on.
The exposed back panel (the side facing a living area or dining table) is where the builder basic kitchen island makeover pays off most. This is the surface people see from across the room. It's also the most visually unfinished on a stock island. Prioritize this face for the full panel treatment.
Side panels visible from the entry or main sightlines benefit most from leg detail at the corners. Vertical trim strips at the corners transform an exposed cabinet edge into something that reads as an intentional column. The panel itself matters less here than the corner definition.
The seated side needs restraint. If barstools pull up to one face, keep trim shallow or skip decorative baseboard entirely on that side. A projecting baseboard profile cuts into the toe-kick clearance that makes standing or sitting at the island comfortable. A flush toe-kick option, which sits level with the cabinet base rather than projecting outward, is the better call for seating faces, per Home Remodeling Expert (early 2025).
Modern or minimalist kitchens should skip ornate baseboard profiles altogether. A flush or integrated toe-kick treatment keeps the custom kitchen island trim looking intentional rather than incongruent with the rest of the space.
Before you cut: four pre-work checks
The gap between a trim job that looks built-in and one that looks improvised usually traces back to something that wasn't checked before the first cut. Budget 20 minutes here.
1. Confirm the island is anchored. Push on it. Does it shift? Islands should be secured to the floor using 2x cleats fastened down to joists, with the cabinetry then screwed into those cleats, per Fine Homebuilding (October 2025). Adding trim and panels to an unsecured island won't stabilize it. Adhesive-bonded panels attached to a moving base will crack and separate. If it moves, stop here.
2. Check for level and note your floor variance. Kitchen floors are rarely perfectly flat. Place a 4-foot level along the base of each side and note where gaps appear, as Unfinished Kitchen Cabinets (February 2026) advises. A straight-cut trim board on an uneven floor will leave a visible gap. You'll address this in Step 2 using scribing.
3. Locate any outlets and plan around them. Any island countertop surface measuring at least 24 inches long by 12 inches wide requires its own electrical receptacle by code, and the countertop can't overhang a cabinet-mounted outlet by more than 6 inches, per Fine Homebuilding (October 2025). If your island has an outlet on the back panel or sides, mark its location before installing any panel material. Cut the outlet opening in the panel before installation, not after. Any doubt about the wiring means consulting a licensed electrician before proceeding.
4. Check toe-kick clearance and seating overhang. Standard toe kicks sit 3 to 4 inches back from the cabinet face. Adding a baseboard profile that projects outward can eat into that clearance. Standard baseboard height runs 3 to 5 inches, per ShunShelter (December 2023). Choose a profile proportional to your island's height, not the most decorative option in the store. Stone countertops typically require bracket support once overhang exceeds 10 to 12 inches, per Unfinished Kitchen Cabinets (February 2026). Decorative trim on a seating-side panel can interfere with access or visual clearance there.
DIY kitchen island upgrade: trim and panel steps
Work through these in sequence. Each step builds the substrate or reference point for the next.
Step 1: Install a backer layer at baseboard height.
Don't attach new trim directly to the factory base of the island. Nail thin strips of scrap wood, furring strips, plywood rips, or salvaged shiplap, around the perimeter at baseboard height. This creates a solid nailing surface and keeps the trim from sitting proud of or below the cabinet bottom. Reused material works fine here, as Thrifty Decor Chick (March 28, 2026) demonstrated. Nail into the cabinet sides with a brad nailer. This step takes 20 minutes and prevents the trim from warping away from the base over time.
Step 2: Cut and install baseboard trim.
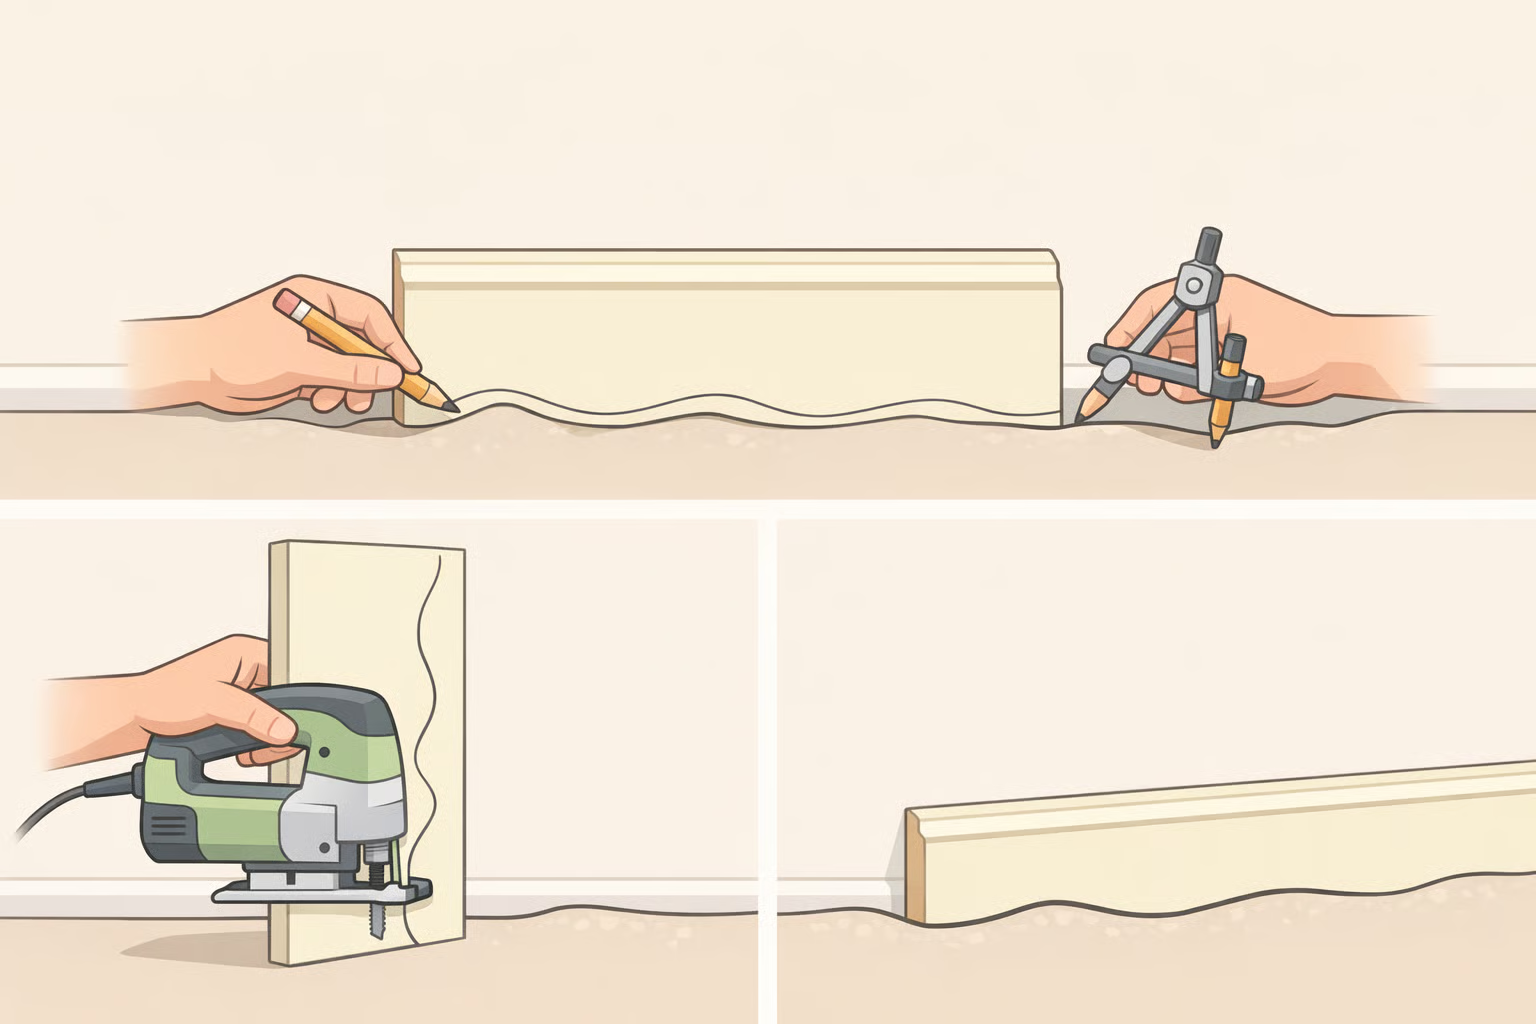
Measure each side. Cut outside corners at 45 degrees: this is non-negotiable for clean joints, per ShunShelter (December 2023). Dry-fit every piece before applying adhesive. If your floor check revealed unevenness, scribe each board: hold it in place, run a pencil along the floor to trace the contour onto the bottom edge of the trim, then cut that line with a jigsaw before installing, per THP Builders (January 2026). Apply construction adhesive in a zigzag pattern to the back of each piece, press firmly, and secure with brad nails.
Baseboard trim does practical work beyond aesthetics. It covers the gap between island base and floor and protects the cabinet bottom from mop water, chair legs, and foot traffic, per Home Remodeling Expert (early 2025).
⚠️ What makes this look cheap: A trim board that floats visibly above the floor on one side. Scribing takes an extra 10 minutes and is the difference between "custom" and "close enough."
Step 3: Add leg trim detail at the corners.
Cut vertical trim strips, 1x3 or 1x4 boards, to frame each visible corner post or leg of the island. The goal is to make each corner read as a furniture-style column rather than an exposed cabinet edge. Attach flush with the face frame using adhesive and nails. Visually, what this does is give the eye a clear vertical anchor at each corner: instead of a cabinet that ends at its edge, you get something that appears to have legs, which is the core of what makes a piece look like furniture rather than cabinetry, per Thrifty Decor Chick (March 28, 2026).
Step 4 (optional): Add cabinet feet.
Furniture feet or bun feet at the base corners reinforce the furniture aesthetic and were included within the under-$100 budget in the Thrifty Decor Chick project. When feet make sense: if the island has visible corner legs that benefit from visual grounding. When to skip them: if the island sits very close to the floor with minimal toe-kick space, if the feet would reduce clearance below ergonomic comfort, or if the island isn't anchored securely enough to handle added height stress at the base connection.
Step 5: Build and finish the back panel.
The back face of the island, the side visible from a living area or across a dining table, is where the builder basic kitchen island makeover has the most visual payoff. Start by installing furring strips inside the recessed cabinet back to create a flush nailing surface. Attach them with construction adhesive and a few brad nails, per THP Builders (January 2026). The furring strips give the finish layer something solid to sit against. Without them, a thin decorative panel will flex, gap at the edges, and look like it was added as an afterthought rather than built in.
Measure your open panel area and divide it into evenly spaced vertical boards. For reference: a 41-inch-wide panel area accommodates eight boards cut to approximately 5 inches wide with even spacing between each, per Thrifty Decor Chick (March 28, 2026). Use thin luan strips ripped to width at the hardware store. Space boards with a consistent spacer block and dry-lay the full arrangement before nailing anything.
Design option for the back panel: Flat vertical boards with even spacing give a clean, transitional result. For more texture and shadow, fluted or reeded panels add depth and a furniture-quality finish. Fluted panels feature concave grooves; reeded panels use convex ridges, both oriented vertically, per Corner Renovation (December 2025). The tradeoff is maintenance: grooved surfaces trap cooking debris faster than flat boards and need a narrow brush or vacuum attachment to clean properly. In a high-use kitchen, flat boards with deliberate gaps give you most of the visual depth with a fraction of the upkeep.
⚠️ What makes this look cheap: Tacking a thin panel directly to the raw cabinet back with no substrate. It will flex, gap, and read as decoration rather than construction. Furring strips first, then the finish layer on top, per THP Builders (January 2026).
The finish work that makes it look built-in
This is where most DIY trim projects come apart, not from bad installation, but from skipped steps afterward.
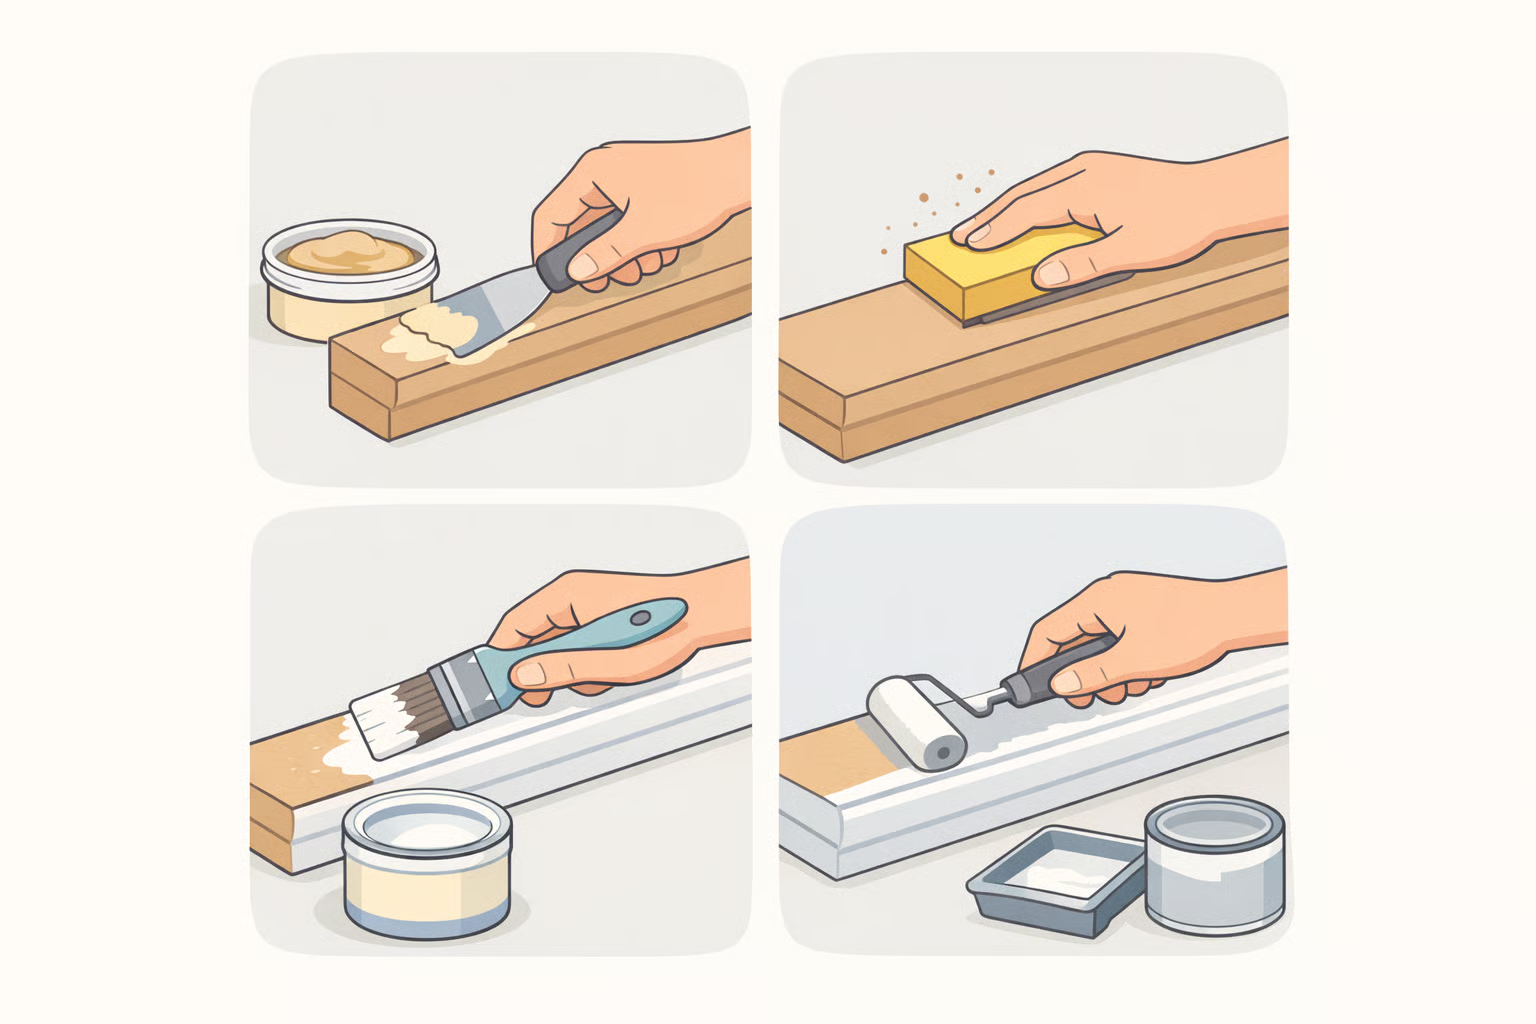
Fill every hole and gap. Work over the entire island once all trim and panel boards are installed. Wood putty for nail holes. Paintable caulk for gaps between trim pieces and for seams where new trim meets existing cabinet surfaces. Allow putty to dry fully, then sand smooth: 120-grit first, then 220-grit, per Thrifty Decor Chick (March 28, 2026). Visible seams are the most reliable signal that trim was added rather than built in, per Home Remodeling Expert (early 2025).
Prime before painting. MDF and raw wood absorb paint unevenly without primer. Cut ends are especially absorbent and will look raised or chalky if painted directly. Apply primer, let dry, sand lightly with 220-grit, then paint, per THP Builders (January 2026). For kitchen cabinetry, satin or semi-gloss sheen is the right choice: easier to wipe clean, more moisture-resistant, and it catches light in a way that emphasizes trim profiles. Apply several thin coats rather than one thick coat to avoid drips and get a smoother result.
Match your existing color precisely. Use leftover matching paint if available. If you don't have it, bring a cabinet door to a paint store for a spectrophotometer match rather than eyeballing it. A close-but-not-quite color will make the new additions visible rather than seamless.
⚠️ When to stop and call a professional: If pre-work checks revealed a structurally unstable island, exposed or inaccessible wiring, or a countertop overhang that lacks adequate support, those are not problems this cosmetic upgrade addresses. A carpenter handles anchoring and substrate issues; an electrician handles outlet access. The finish work here assumes a sound base.
What the upgrade accomplishes
Done in sequence, these steps convert a flat-sided stock island into something that reads as designed. The baseboard protects the base, hides floor gaps, and adds visual weight. The leg trim creates furniture-style structure at each corner. The back panel finishes the most visible face. The fill-and-paint work removes all evidence that these elements were ever separate.
Taken together, baseboard, leg trim, and panel detail made the entire island "feel and look so much more substantial" without changing its footprint, countertop, or storage, per Thrifty Decor Chick (March 28, 2026). The prep and finish steps, scribing trim to the floor, installing furring strips before paneling, priming before painting, are what separate a result that looks custom from one that looks like an addition, per THP Builders (January 2026).
After completing this builder basic kitchen island makeover, the logical next move is paint. A warmer, richer color on the island against white perimeter cabinets creates contrast that anchors the island as a deliberate focal point rather than a background element. After that, swapping builder-standard hardware for pulls with more visual weight costs under $50 and sharpens the custom kitchen island trim work you've already done. Neither change requires much time; both have an outsized effect on how the finished island reads in the room.


Comments
Be the first, drop a comment!