


How to Paint Oak Kitchen Cabinets Blue for Under $2,000
New kitchen cabinets for a standard 10-by-12-foot kitchen can easily top $5,000, and cabinet replacement alone accounts for nearly 40% of the average kitchen remodel budget, according to This Old House. This guide walks through how to paint oak kitchen cabinets blue from disassembly through cure time, and how to use hardware, wall color, and a few targeted additions to complete the visual reset for well under $2,000. Prep is where most DIY cabinet jobs succeed or fail: degreasing before sanding, oil-based primer brushed into the grain, two primer coats with progressive sanding between them. Get those right and the finish holds.
Is this project right for your kitchen?
Not every kitchen is a good candidate. Knowing which you have saves a weekend.
This makeover works well for:
Solid wood oak cabinets in sound structural condition: no warped doors, no delaminating surfaces, nothing that won't hang properly
Kitchens where the layout still functions; this project changes the visual, not the footprint
DIYers comfortable with a multi-weekend timeline, oil-based primer fumes (ventilation required), and a 30-day cure window before the finish fully hardens
Skip it if:
The cabinet boxes are failing structurally, or MDF doors have swollen beyond repair
You need a completely grain-free, factory-smooth surface oak's open grain softens significantly with proper priming and sanding, but some texture typically remains
Oak will look smoother after this process, not grain-free. For most blue painted oak cabinets, the result reads as cleanly painted rather than visibly textured, but that's worth knowing before buying primer.
Why painting outdated oak cabinets beats replacing them
There's a sharper argument for keeping what you have: when homeowners replace old cabinets at the sub-$5,000 price point, they often end up with lower-quality boxes than the ones they pulled out, as HGTV notes. Solid oak is worth preserving. Paint and supplies for a full kitchen run around $200, per This Old House, leaving substantial budget for hardware, wall updates, and other finish work that completes the transformation.
The $2,000 ceiling isn't a stretch goal. It's a realistic upper bound for a full visual reset that includes cabinets, hardware, and walls. The cabinet painting alone costs far less.
How to choose the right blue for honey oak
The color decision matters more than most guides acknowledge. Blue reads differently under kitchen lighting than on a paint chip, and honey oak's warm orange undertones create a specific challenge.
What works: Blues on the cooler side of the spectrum soft blue-grays, dusty blues, muted slate tones. These actively counteract oak's warmth rather than fighting it. A dusty blue reads relaxed and coastal; a slate blue-gray reads more contemporary and works well with brushed nickel or matte black hardware; a deeper blue-green slate can anchor a kitchen with white or warm-toned walls without feeling cold.
What to avoid: Warmer blues with yellow in their base. Against honey oak's residual warmth even through primer, they can read muddied or greenish in ways that weren't visible on the chip. When in doubt, pull cooler.
On sheen: Satin is well-suited to cabinets specifically. Per This Old House, it's easy to clean and designed for high-traffic surfaces like kitchens. Semi-gloss is scrubbable but more reflective; matte won't hold up to daily wiping.
Test before committing. For a fraction of the cost of a full gallon, sample pints let you test how a color actually reads on a vertical cabinet surface under kitchen lighting, per HGTV. A few dollars on samples is the cheapest insurance in this project.
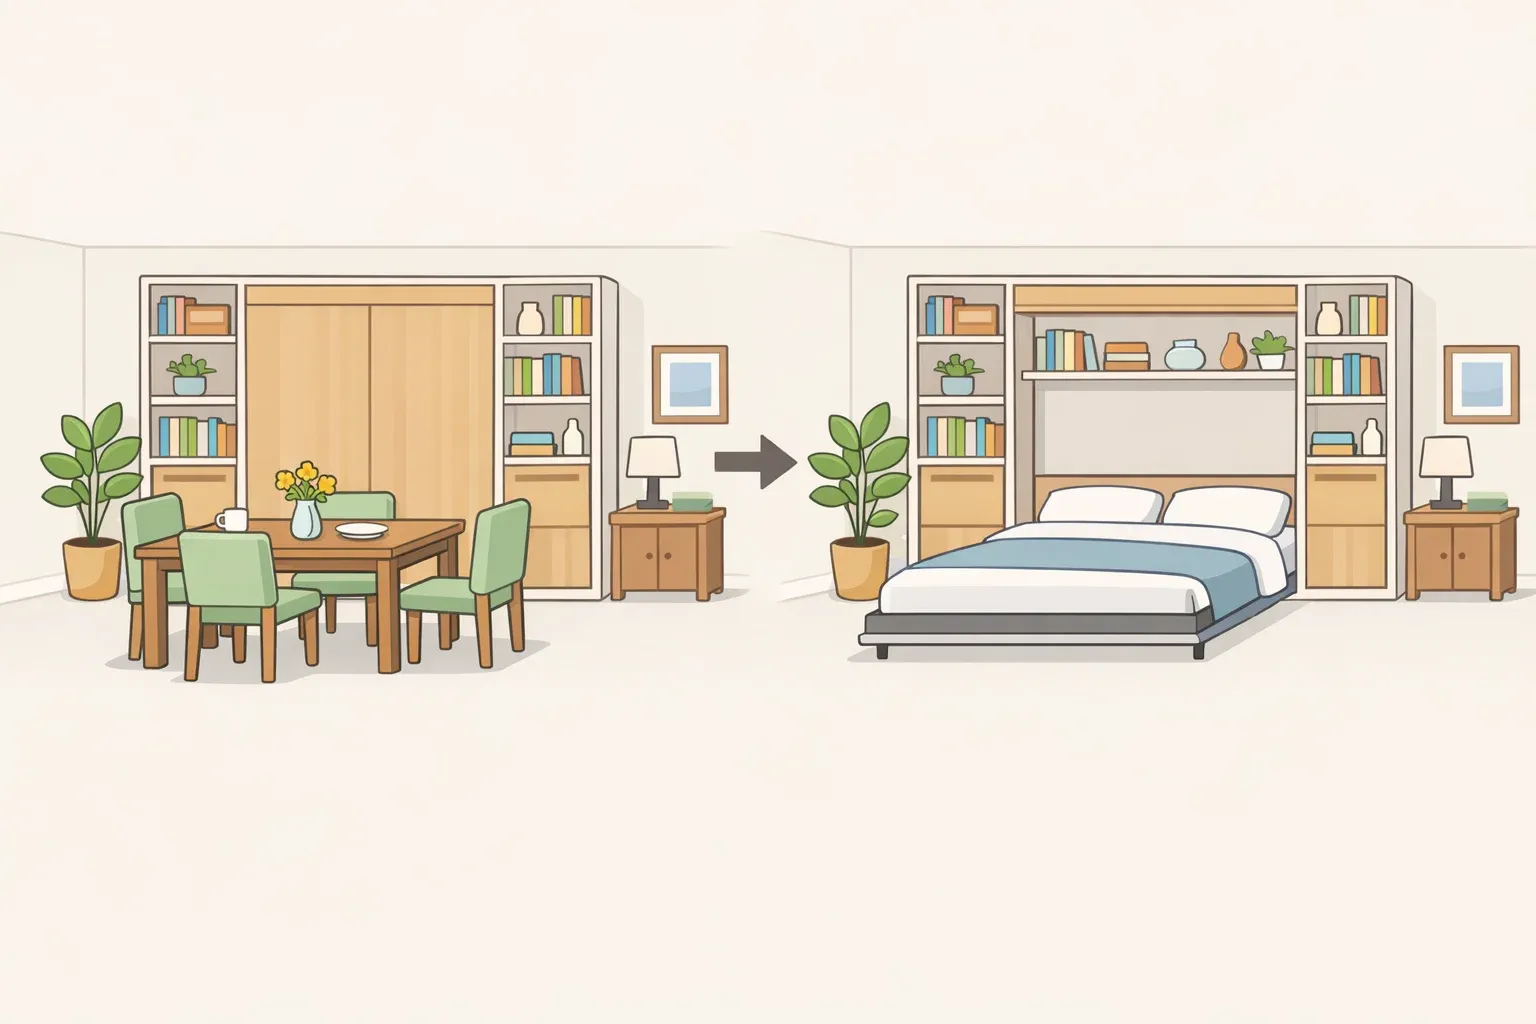
What the oak cabinet makeover covers: before, after, and budget
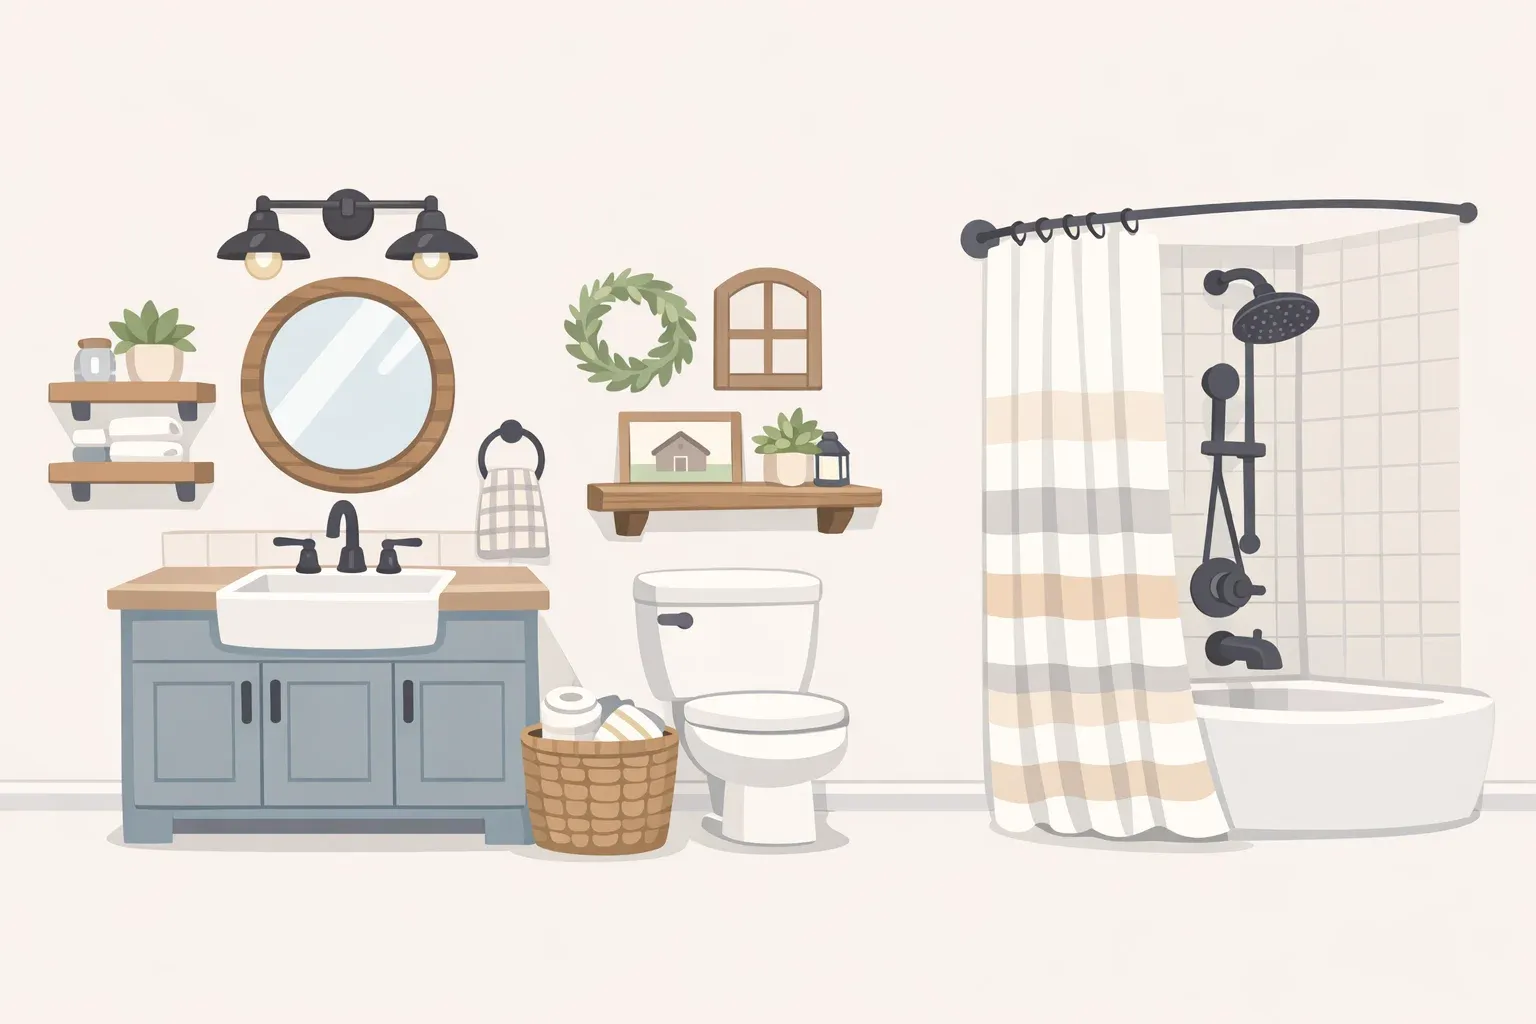
Starting point: Honey oak cabinets in original finish warm orange tones, visible grain, years of kitchen grease absorbed into open wood pores. Hardware likely original brass or dated chrome. Walls neutral or builder beige. The kitchen functions, but it feels like a different decade.
End result: Blue-painted cabinets with updated hardware, walls repainted to complement, and a kitchen that reads as deliberate rather than default.
Budget breakdown (estimated planning ranges):
ItemEstimated costPaint + primer (quality products)$80–$150Sandpaper, tack cloths, brushes, fillers$40–$80New cabinet hardware (pulls/knobs)$100–$300Wall paint$50–$80Sprayer rental (optional)$50–$75/dayMiscellaneous (tape, drop cloths, caulk)$20–$40Total range~$340–$725
The remaining headroom to $2,000 accommodates larger additions: new light fixtures, backsplash tile, or a countertop refresh. A paint-only cabinet job runs around $200 in supplies, per This Old House.
An oak cabinet makeover lives or dies in prep
Oak is a demanding painting substrate. Its open grain absorbs grease, and without the right primer, tannin bleed-through will show through the finish. The steps below are sequenced specifically for oak, not generic wood.
What to have on hand before starting:
TSP (trisodium phosphate) cleaner
Electric orbital sander with 120-grit paper; 220-grit and 320-grit for hand sanding primer
Oil-based primer (spray can for spot work, brush for full coats)
Quality topcoat: a waterborne alkyd cabinet paint. Painted by Kayla Payne recommends Benjamin Moore Advance in Satin it handles like latex, cures with oil-based durability, and cleans up with soap and water
Synthetic bristle brushes for latex or waterborne alkyd; natural bristle for oil-based products, per This Old House
Tack cloths, microfiber rags, painter's tape, wood filler, Bondo Glazing and Spot Putty for minor imperfections
Step 1: Disassemble and label everything
Remove all doors, drawer fronts, hinges, and hardware. As each door comes off, tape a numbered piece of masking tape to the back and note its location HGTV recommends this specifically because it prevents genuine confusion on reassembly, and it takes about two minutes. Build a drying station now: span a pair of 2x4s between two ladders and screw eye hooks into the boards so doors can hang freely while drying, rather than resting on a surface and picking up texture marks.
If switching hardware placement going from knobs to pulls, for instance fill the old screw holes now with two-part polyester wood filler. Per This Old House, it sets in about five minutes, so mix only in small batches.
Step 2: Clean first, then sand
Sanding before cleaning doesn't prep oak it grinds grease and grime deeper into the open grain and clogs sandpaper, according to Painted by Kayla Payne. Most failures start here, not in paint choice. Clean every surface first with a TSP solution: one part TSP to four parts hot water, per HGTV. Let everything dry completely before touching sandpaper.
Once clean: use a 120-grit orbital sander on flat surfaces. Sand profiles, curves, and edges by hand. The full flat surface doesn't need to reach bare wood, but edges and corners do finish chips there first, per Painted by Kayla Payne. After sanding, vacuum every surface with a brush attachment, then follow with a dry microfiber cloth or tack cloth. Dust left on the surface telegraphs through primer and paint, as both Painted by Kayla Payne and This Old House confirm.
Use wood putty for dents deeper than ⅛ inch; Bondo Glazing and Spot Putty for shallower imperfections, per Painted by Kayla Payne. Once filler is dry, re-sand with 220-grit.
Step 3: Prime two coats, oil-based, with sanding between them
Water-based primer alone won't block the tannins and absorbed grime in oak grain; oil-based primer is required to prevent bleed-through, per Painted by Kayla Payne. Work in a well-ventilated space both oil-based and shellac primers off-gas VOCs, per This Old House.
Even if the plan is to spray later, brush on the first primer coat by hand. Brushing forces primer into the deepest parts of oak's grain and fills the voids that a sprayer would leave behind. As This Old House puts it, primer "fills and seals the pores so that whatever paint you use will adhere well." Skipping or thinning this step undermines everything that follows.
When the first primer coat is fully dry it should sand to a fine powder, not gum up the paper sand with 220-grit wrapped around a hard sanding block. Apply the second primer coat. Sand again with 320-grit after it dries. This two-coat, progressive sanding sequence is what produces a surface smooth enough to take blue paint cleanly, per Painted by Kayla Payne. Vacuum and tack cloth thoroughly after each pass.
Caulking: what to seal and what to leave alone
After priming is complete not before caulk open seams and gaps at the cabinet box with a thin bead of latex caulk. The hole in the tube should be no bigger than a sharp pencil tip, per This Old House.
Don't caulk the seam where a floating panel meets the surrounding stiles and rails. That gap is structural. Wood expands and contracts with humidity, and sealing that joint will crack and separate as the cabinet moves, per Painted by Kayla Payne. Leave it alone.
Step 4: Apply blue paint in thin coats, then wait
Two to three thin coats, not one heavy one. Going from honey oak's orange tone to a medium or light blue is a significant color shift painting over a darker finish with a lighter color can require three coats, per This Old House. Two coats of quality paint are usually sufficient, but a third coat adds meaningful durability since kitchen cabinets take daily punishment from cooking heat and use, per HGTV. Allow at least four hours between coats, sand lightly between layers if needed, and tack cloth before each new application.
On method: a sprayer produces the smoothest result, but there's a real learning curve and it requires equipment rental, per This Old House. For brush work, use a synthetic bristle brush a 2½- to 3-inch angled brush for detail and a wider square brush for flat panels. Tipping off, which means lightly dragging a nearly-dry brush over a just-rolled surface, closes the gap between brush-applied and sprayed results considerably, per Painted by Kayla Payne.
Step 5: Reassemble after 48 hours, but treat the finish gently for 30 days
Doors can be rehung once the paint has dried for at least 48 hours, per Painted by Kayla Payne. "Dry" and "cured" are not the same thing. Full cure can take up to 30 days for waterborne alkyds; latex can take up to three weeks, during which the finish is still hardening and more vulnerable to dents and scuffs, per Painted by Kayla Payne and This Old House. During that window: wipe spills gently, avoid harsh cleaners, and don't press items against the cabinet faces. Hang doors using the numbers from Step 1, and install new hardware last.
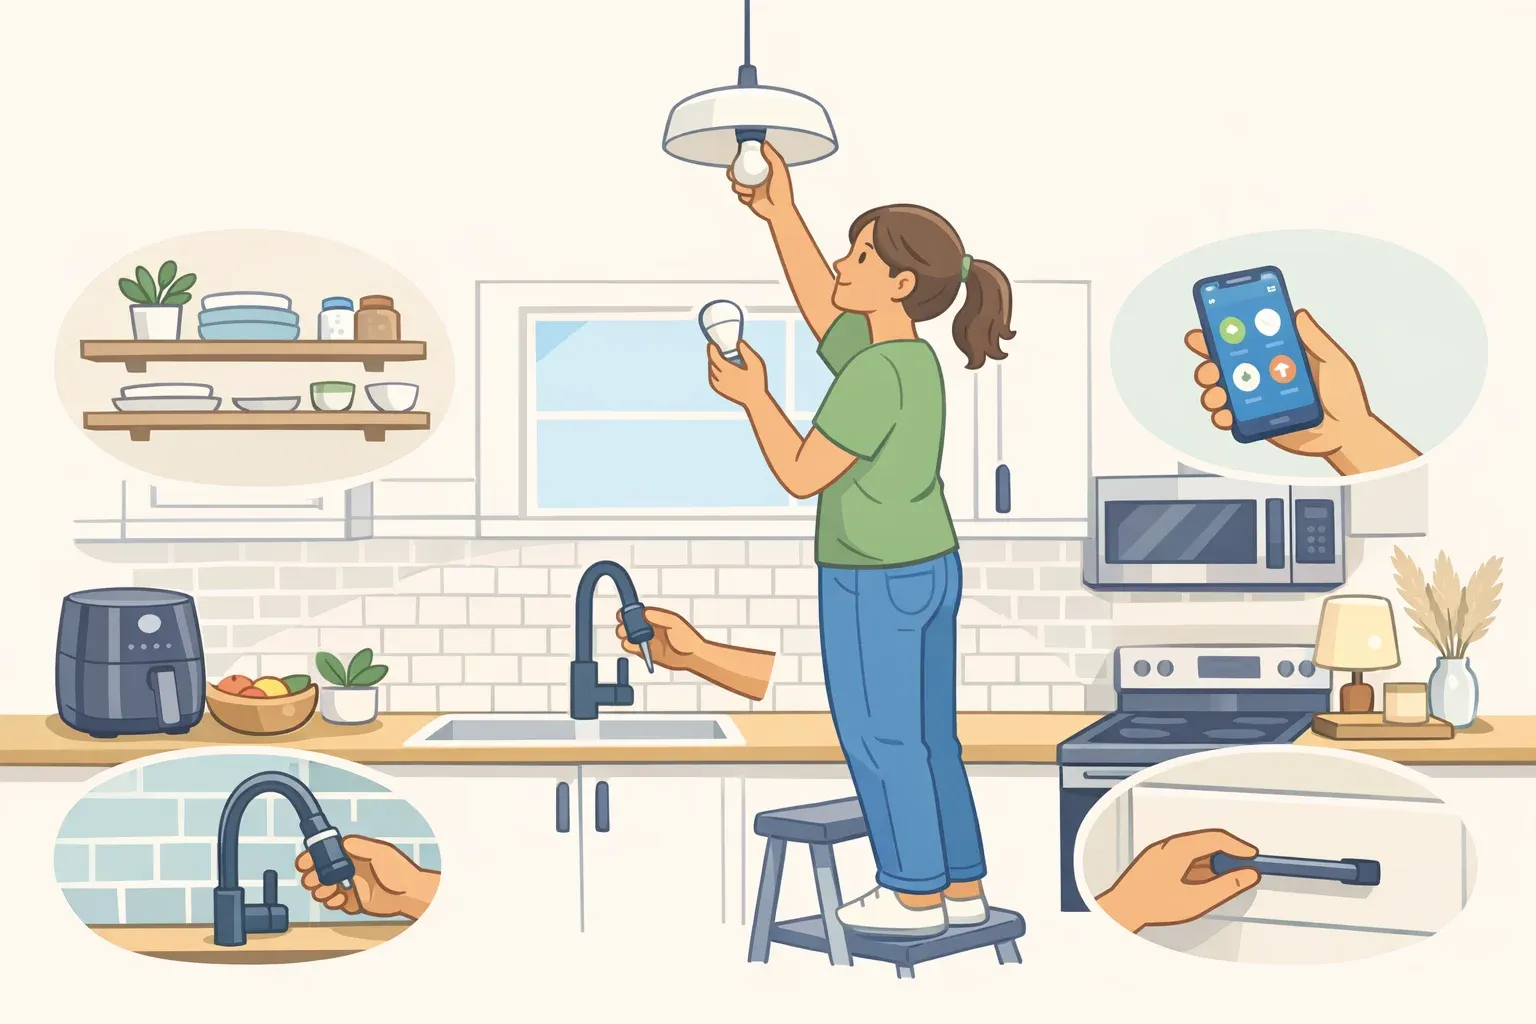
Completing the transformation: hardware, walls, and what's optional
Two additions complete the visual reset. Neither is expensive.
Hardware does more work per dollar than almost anything else here. Brushed nickel, matte black, or unlacquered brass all pair well with blue-gray cabinets; chrome tends to feel cold against them. Budget $100–$300 depending on kitchen size and hardware style. If switching from knobs to pulls, factor in filling old holes and drilling new ones that work happens back in Step 1.
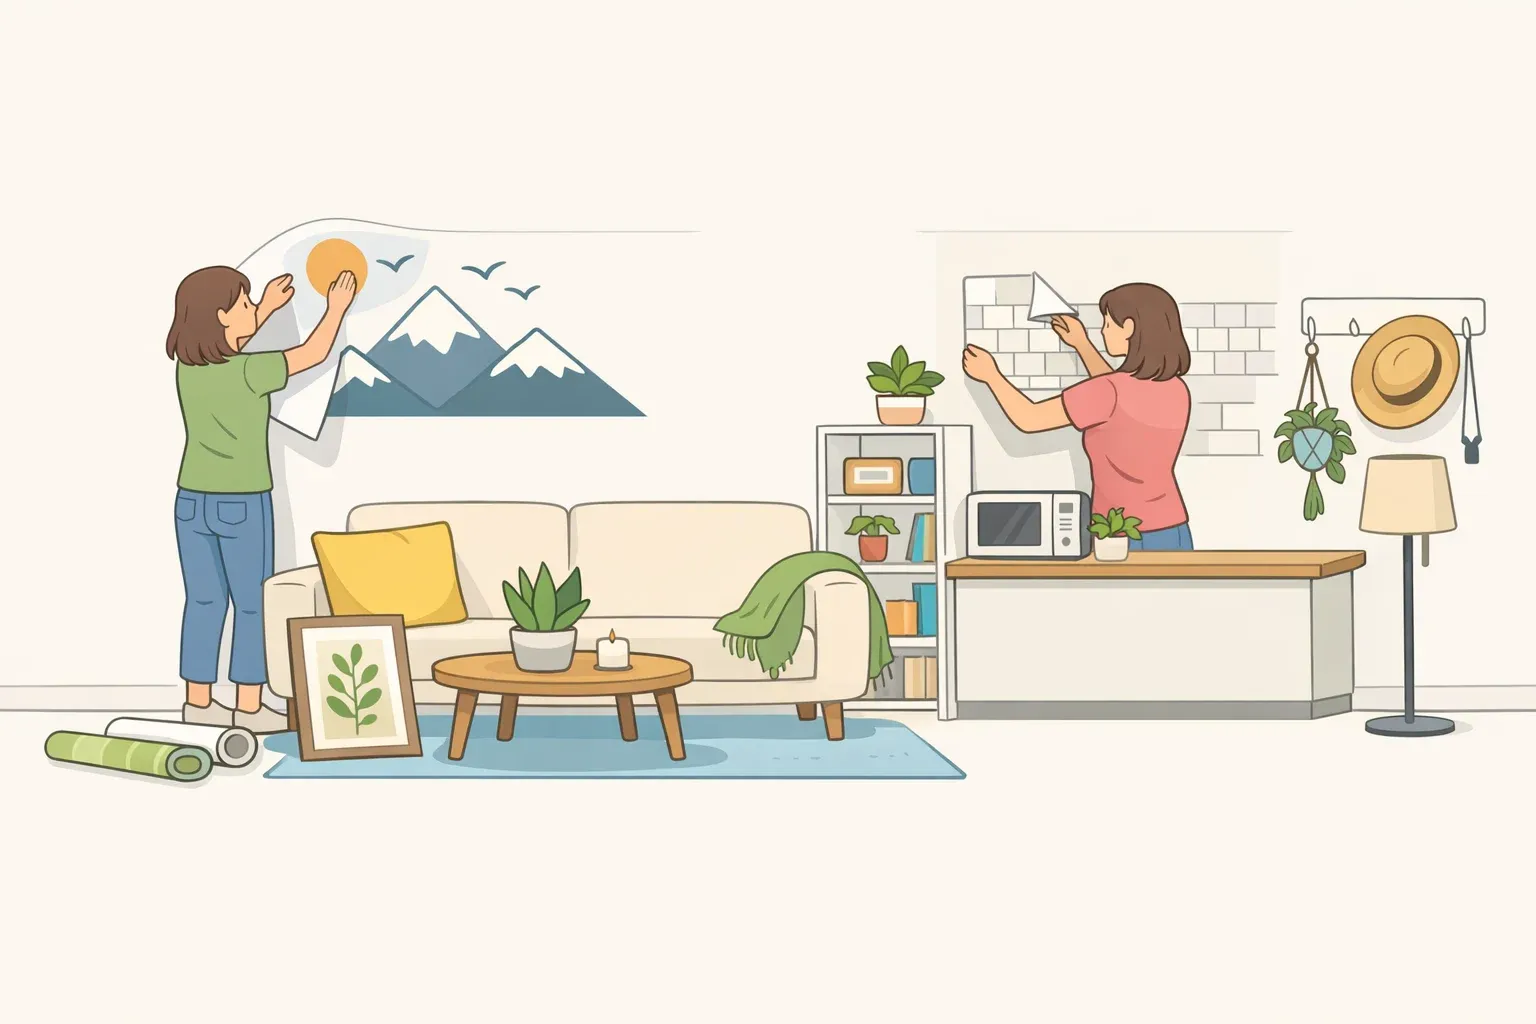
Wall color ties the room together. Warm whites, soft greiges, or a deeper tone pulled from the cabinet color all work alongside blue painted oak cabinets; plain beige rarely does. A gallon of wall paint runs $50–$80. Paint the walls after the cabinets are rehung so there's no risk of wall paint landing on fresh cabinet faces, per This Old House.
Backsplash, countertops, and light fixtures extend the transformation but also extend the budget and timeline. None are necessary for the cabinet makeover to look intentional and complete. They're additive within the under-$2,000 framework, not required.
A realistic planning note before you start
The active labor is a weekend or two depending on kitchen size, per This Old House. The full cure window runs up to 30 days plan for that before starting, not after. Don't begin unless the kitchen can stay in partial disassembly and the finish can be treated gently while it hardens.
The difference between a DIY kitchen cabinet paint makeover that lasts and one that peels is almost entirely in the prep: cleaning before sanding, oil-based primer brushed into oak grain, two coats with progressive sanding between them. Get the surface right and the blue does the rest.


Comments
Be the first, drop a comment!