



Cozy Small Kitchen Paint Colors: Placement Comes First
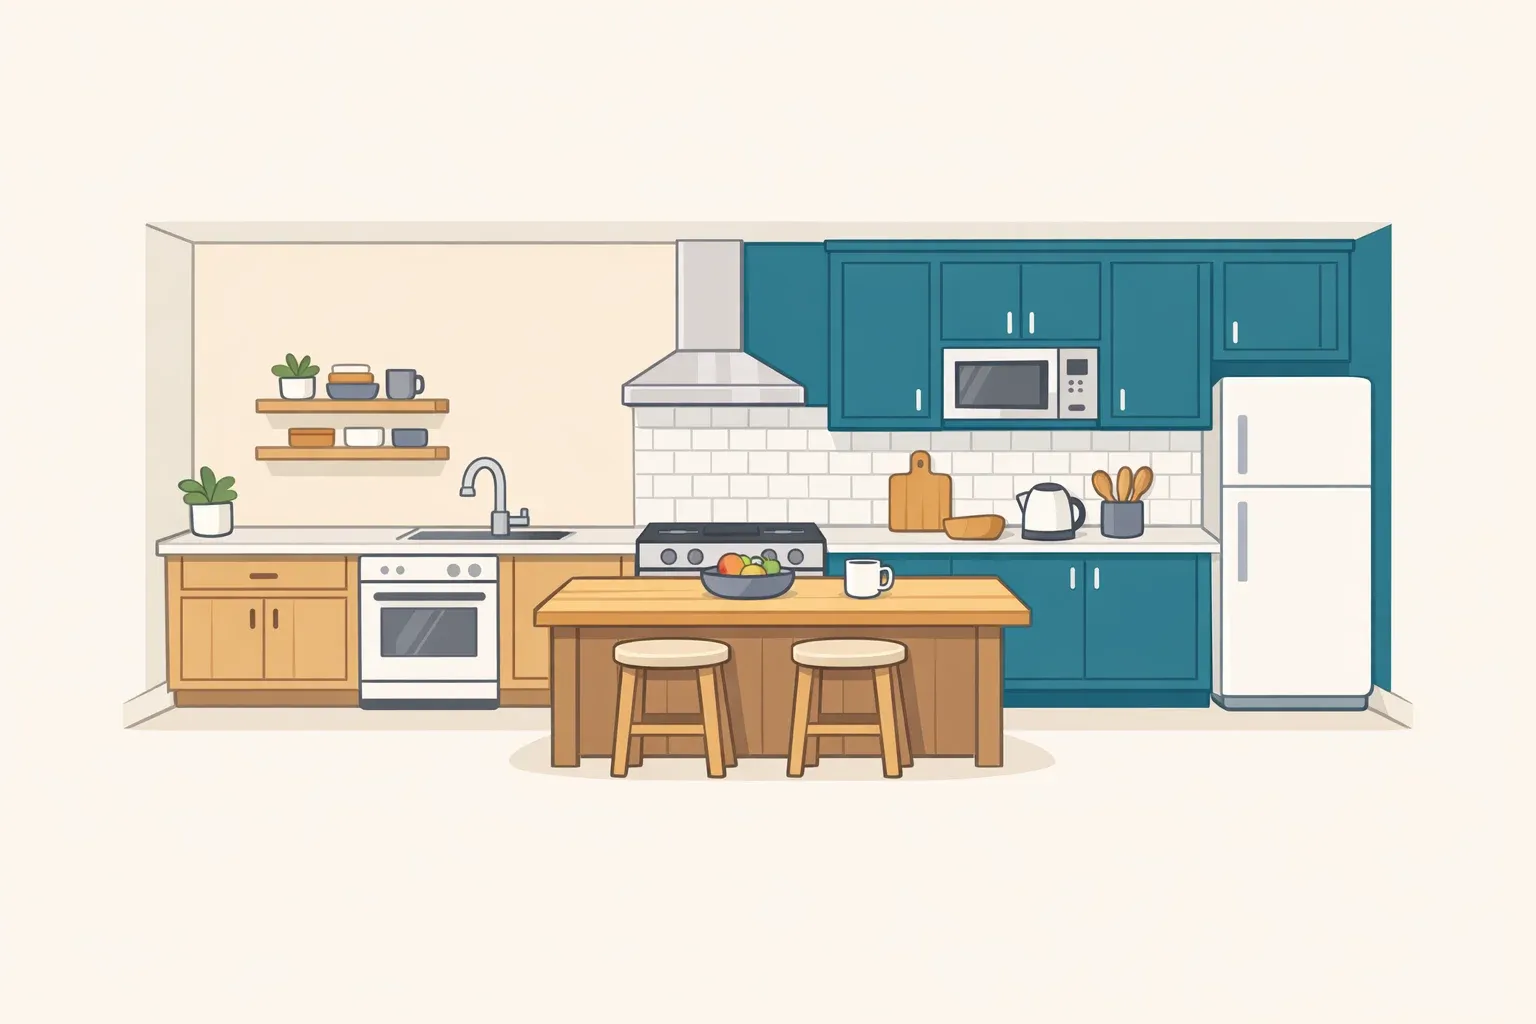
Choosing cozy small kitchen paint colors comes down to a decision most people skip: where the color goes, not just which color it is. A light, warm neutral covering most of the kitchen keeps the room feeling open, while one deeper accent, placed on a single coherent surface rather than scattered around, adds depth without shrinking the space visually. Use the lighter color across the larger area, then reserve the deeper color for one clearly defined surface. This guide walks through picking that placement, matching undertones to your kitchen's actual light, and executing both paint jobs from prep through cure.
The color and placement guidance below comes largely from Benjamin Moore and Sherwin-Williams, and both point in the same direction. Off-white and white paints are specifically credited with opening up small spaces because they reflect natural light and carry it through the room (Benjamin Moore, 2024). In multifunctional rooms like kitchens, pairing that light neutral with one deeper accent tone is recommended for adding visual interest while marking off a zone, whether that's an island, a run of lower cabinets, or a single wall (Benjamin Moore, 2024). An earthy green and khaki kitchen color scheme is one current example of this pairing in action: Sherwin-Williams' 2026 Color of the Year, Universal Khaki SW 6150, is a warm foundational neutral built to pair with a richer accent like Garden Gate SW 6167, which the brand describes as adding a "grounding presence" to a room (Sherwin-Williams, last year).
This is a practical method for choosing and placing two paint colors in a small kitchen, not a single documented case study. The pairing and placement advice below reflects paint-industry design guidance rather than a formula proven for every kitchen. Your room's light, finishes, and layout should override any single recommendation here.
Choose your placement before you choose colors
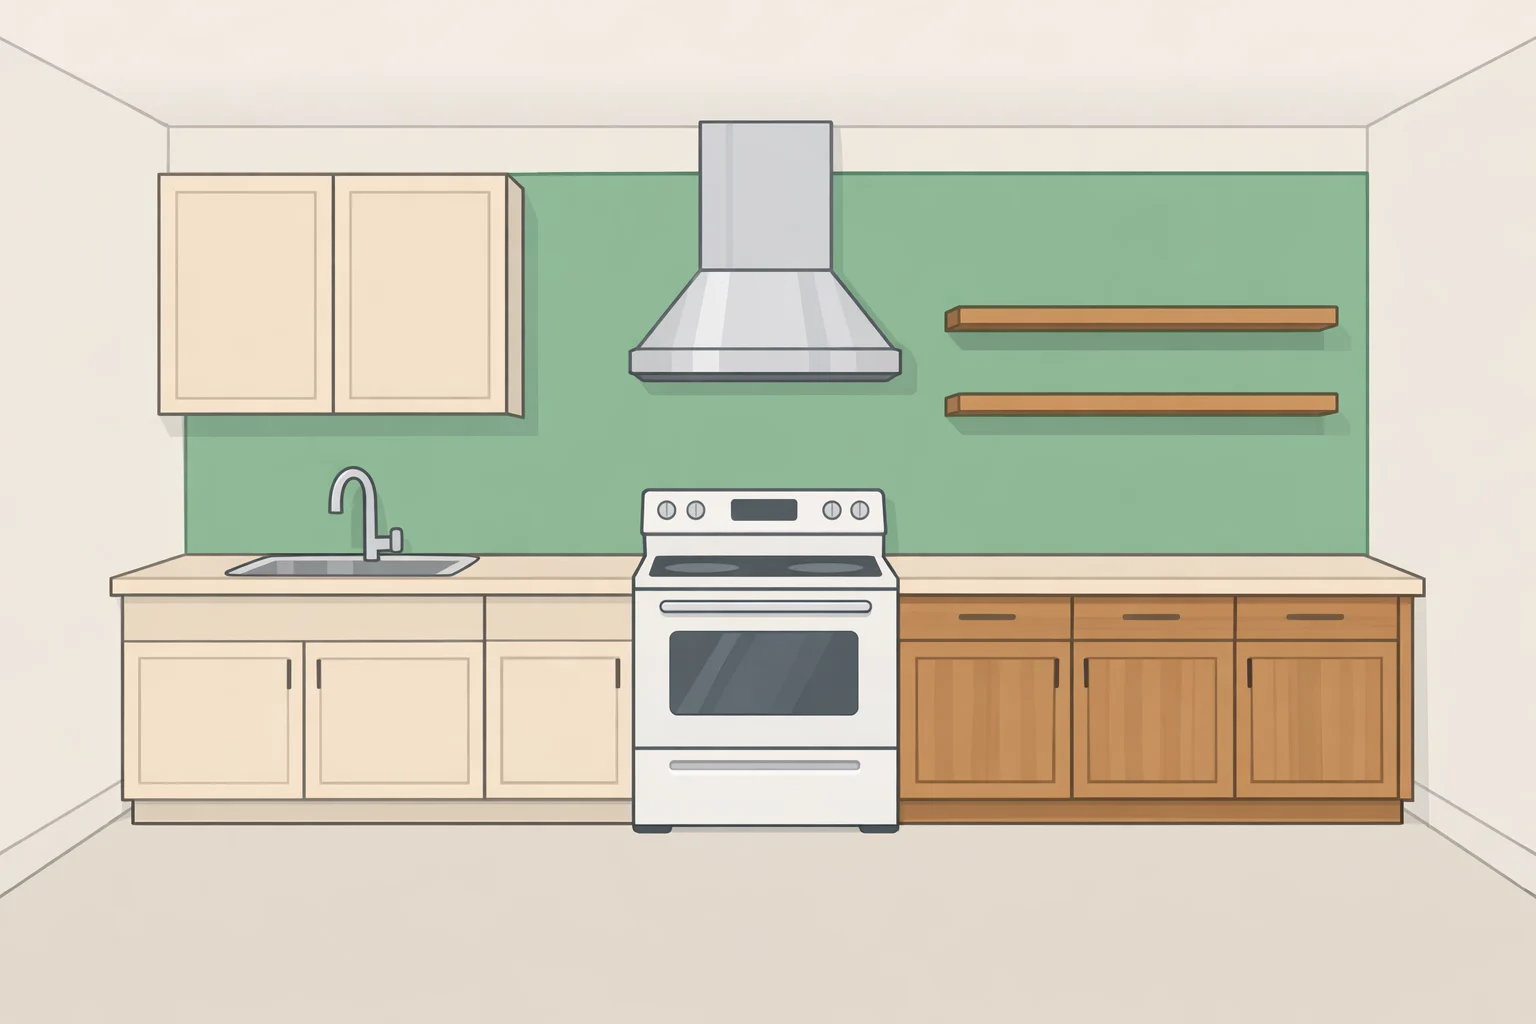
A painted shelf, one drawer front, or a random cabinet door can make a project look unfinished instead of intentional. Keep the accent on one coherent zone, not several small ones, so the two-tone effect reads as a decision rather than a patch job.
Two workflows work well:
- Lower cabinets or island in the accent color, walls in the neutral. Keeping the upper half of the room light preserves that openness, and Sherwin-Williams' kitchen design guidance approaches the same idea from the cabinet side: keep the walls a neutral hue and reserve a richer color, like a deep green, for the cabinets (Sherwin-Williams, last year). This route takes more work, since it involves cabinet prep and disassembly.
- A single uninterrupted accent wall, cabinets left as-is. If the kitchen has one clear wall, behind a range or in a nook, painting it the deeper tone creates contrast and a defined zone without touching cabinetry at all. This route generally involves less prep, since there's no cabinet work involved.
Weigh one layout factor before deciding. A wall behind a range or sink tends to collect more grease and steam than a protected wall, so if that's the only uninterrupted wall available, plan on a washable finish and more frequent wiping. Benjamin Moore recommends eggshell, satin/pearl, or semi-gloss for kitchen walls specifically because those finishes resist moisture, grease, and stains (Benjamin Moore, last year); any of the three will hold up fine on that wall.
Keep the accent smaller, or skip it, when the kitchen is dim or the countertop and backsplash already carry a bold pattern, like veined marble. Sherwin-Williams' guidance for marble-heavy kitchens is to paint walls and cabinets in white or cream specifically so the marble's veining stays the focal point (Sherwin-Williams, last year). The same logic applies to any strongly patterned surface: let it carry the visual interest and keep the paint quieter.
Once the workflow is picked, the path splits. An accent wall only needs the wall-painting steps later in this guide. Lower cabinets or an island need both the wall steps and the cabinet steps.
Choose cozy small kitchen paint colors by undertone
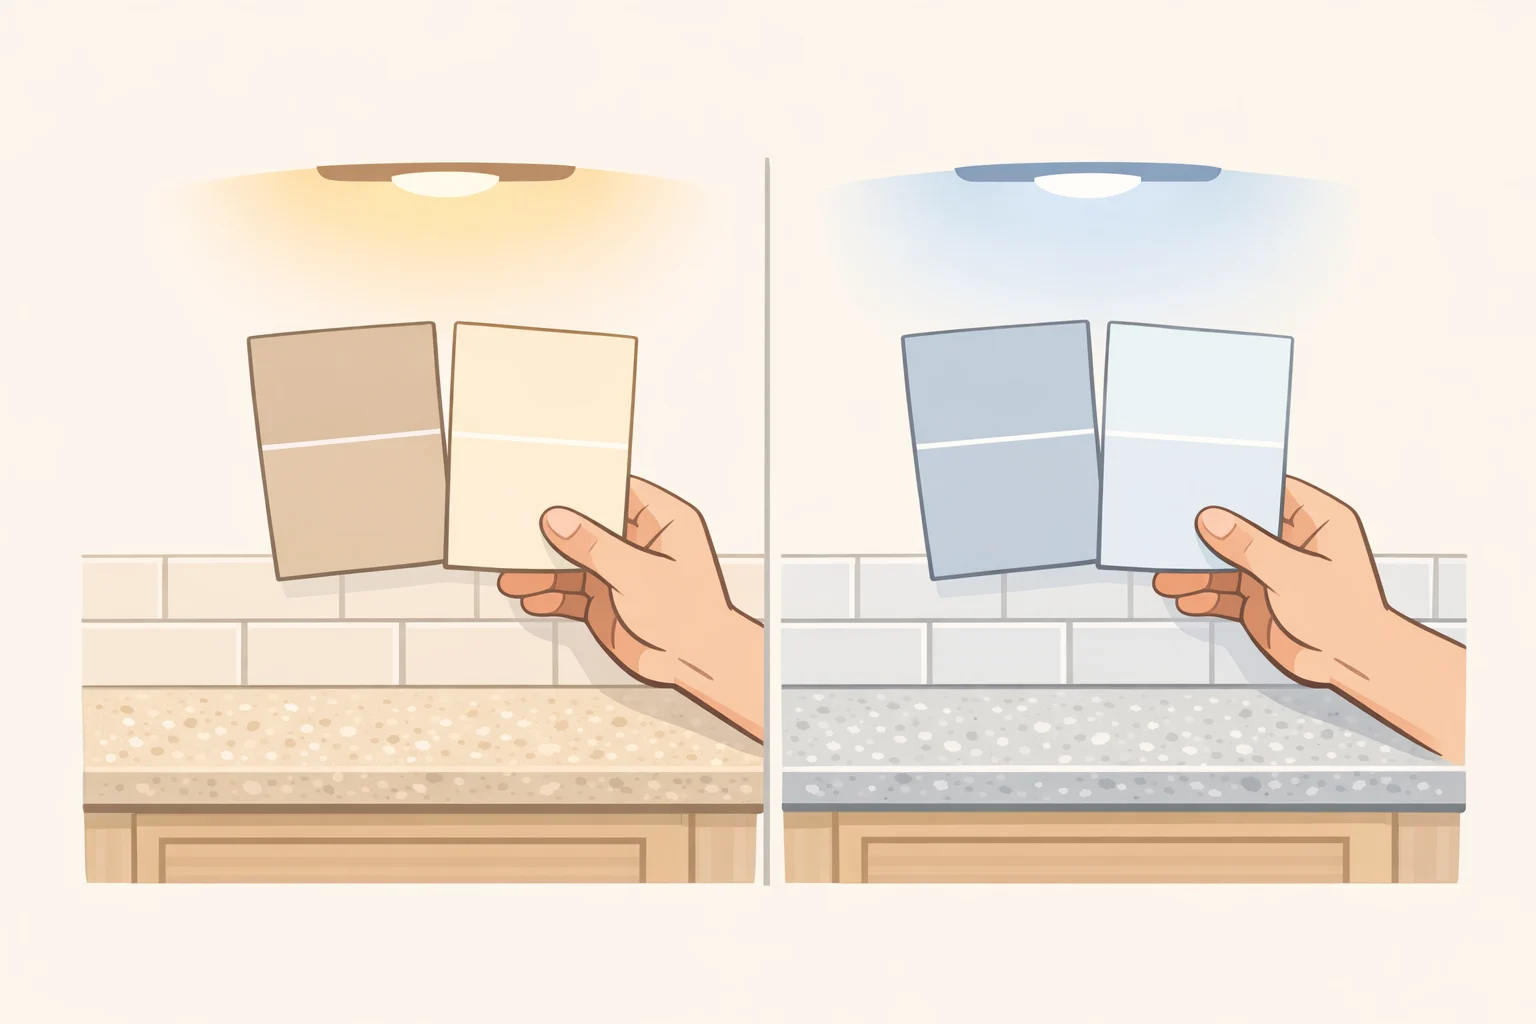
Sampling warm paint colors for a small kitchen takes days, not minutes. View candidate colors in the room over several days under real lighting before committing to anything (Benjamin Moore, 2024). Peel-and-stick samples, including one made for Universal Khaki, exist specifically for this kind of in-place testing (Sherwin-Williams, last year).
Hold the sample next to the backsplash, countertop, flooring, and cabinet finish rather than judging it alone. A color that looks right by itself can clash once it sits next to the room's other surfaces. Check it in daylight and again under the kitchen's task lighting after dark, since paint can shift noticeably between the two. Settle on the wall neutral first, then hold accent candidates up against that approved neutral rather than choosing both colors at once.
If warmth matters more than maximum brightness and the kitchen already gets decent daylight, test a warm neutral such as Universal Khaki SW 6150 on the walls, paired with a deeper accent like Garden Gate SW 6167 (Sherwin-Williams, last year). If the kitchen is genuinely dim and openness matters more, test a paler neutral instead. Benjamin Moore's light-reflecting guidance for small spaces specifically covers whites and off-whites (Benjamin Moore, 2024); khaki isn't covered by that same guidance, so sample it directly in the room before deciding whether it stays bright enough. To weigh the best warm neutral kitchen paint colors against paler options, put Cream and Sugar SW 9507, a creamy neutral that complements both warm and cool tones, next to White Snow SW 9541, a crisp white built for contrast and clarity, and see which one holds up under your light (Sherwin-Williams, last year).
Check which direction the kitchen faces before finalizing an undertone. A north-facing room enhances cool undertones, and a south-facing room enhances warm ones (Sherwin-Williams, last year). The rule of thumb is to pick an undertone that counteracts the existing light rather than amplifies it: a blue-undertone neutral in warm light, a yellow-undertone one in cool light (Sherwin-Williams, last year).
Pick the accent's undertone with the room's existing warmth in mind, not just its color family. If the countertop or backsplash already leans warm, test a cooler accent like Watery SW 6478, a soft blue-green, or Tarragon SW 9660, a moody blue-gray, to see whether it balances the warmth rather than piling on more of it (Sherwin-Williams, last year).
If trim is part of the project, match its undertone to the wall color rather than defaulting to stock white. A warm wall next to a cool-undertone trim can look discordant (Sherwin-Williams, last year). Once undertones are settled, the last thing to sort out is what the project actually needs and how much time each option takes.
Difficulty and downtime: what each option involves
An accent wall and a cabinet repaint are not the same undertaking, and it helps to know that before buying anything.
- Accent wall only: Simpler for most DIYers. There's no disassembly, and the kitchen stays usable the whole time the paint dries and cures.
- Lower cabinets or island: More demanding. Doors and hardware come off, surfaces need degreasing and scuff-sanding, and that part of the kitchen sits idle until the final coat clears its cure window on the label. Doors and drawer fronts need a flat surface elsewhere to dry undisturbed, like a table, the garage floor, or a drop-cloth-covered spot away from foot traffic.
- Both together: Plan separate prep and cure schedules for the walls and the cabinets rather than treating it as one job, since wall paint and cabinet paint often carry different recoat and cure times on their labels.
Painting only an island, without touching the walls, is a smaller version of the cabinet workflow and leaves the rest of the kitchen usable the whole time.
Active painting time is usually shorter than the whole project feels; the waiting in between is what stretches it out. Check the specific paint's label for recoat and cure times rather than assuming a fixed number of days for either job.
Renters should confirm what the lease allows before repainting cabinetry, and factor in that a bold accent color may need to be reversed before move-out. That's a lease question, not a paint question, so settle it before buying anything.
What you'll need
This guide covers painted walls and previously painted or sound bare-wood cabinetry, when the paint you've chosen is labeled for that use.
Not covered by the steps below: laminate, thermofoil, MDF, glossy factory coatings, peeling finishes, or water-damaged material. Those substrates can often be painted, but only with a primer-and-topcoat system matched to that specific surface. Confirm the right system with the paint manufacturer before starting, and treat it as a separate project from the one outlined here. Extensive damage, an unfamiliar factory coating, or a finish that calls for spray equipment is a reasonable trigger to bring in a professional refinisher instead of tackling it with a brush and roller.
Before you start
Work with windows open or a fan running for ventilation, wear eye protection while sanding, and check the product's label for the recommended mask or respirator, since a basic dust mask isn't rated for every paint's fumes. If you don't know the age or history of the existing paint, don't assume it's safe to disturb; have it tested or bring in a professional before sanding, especially in an older home.
The prep and application steps below reflect common manufacturer guidance for wall and cabinet paint. Formulas vary, so confirm the exact cleaning, sanding, priming, and cure requirements against your specific paint's label before you start.
For walls, gather:
- Painter's tape, drop cloths, and a degreasing cleaner
- Spackle and a fine sanding sponge
- An angled sash brush and mini roller
- Eggshell, satin/pearl, or semi-gloss paint, recommended for kitchen walls for its durability and resistance to moisture, grease, and stains (Benjamin Moore, last year)
For lower cabinets or an island, gather:
- Degreasing cleaner and clean water for rinsing
- Liquid deglosser or a fine-grit sanding sponge, plus tack cloth
- A screwdriver for hardware removal and painter's tape
- Bonding primer, if the paint label calls for one
- A furniture-quality cabinet paint such as Benjamin Moore's Advance Interior line, built specifically for cabinets (Benjamin Moore, last year)
Step-by-step: painting the walls or accent wall
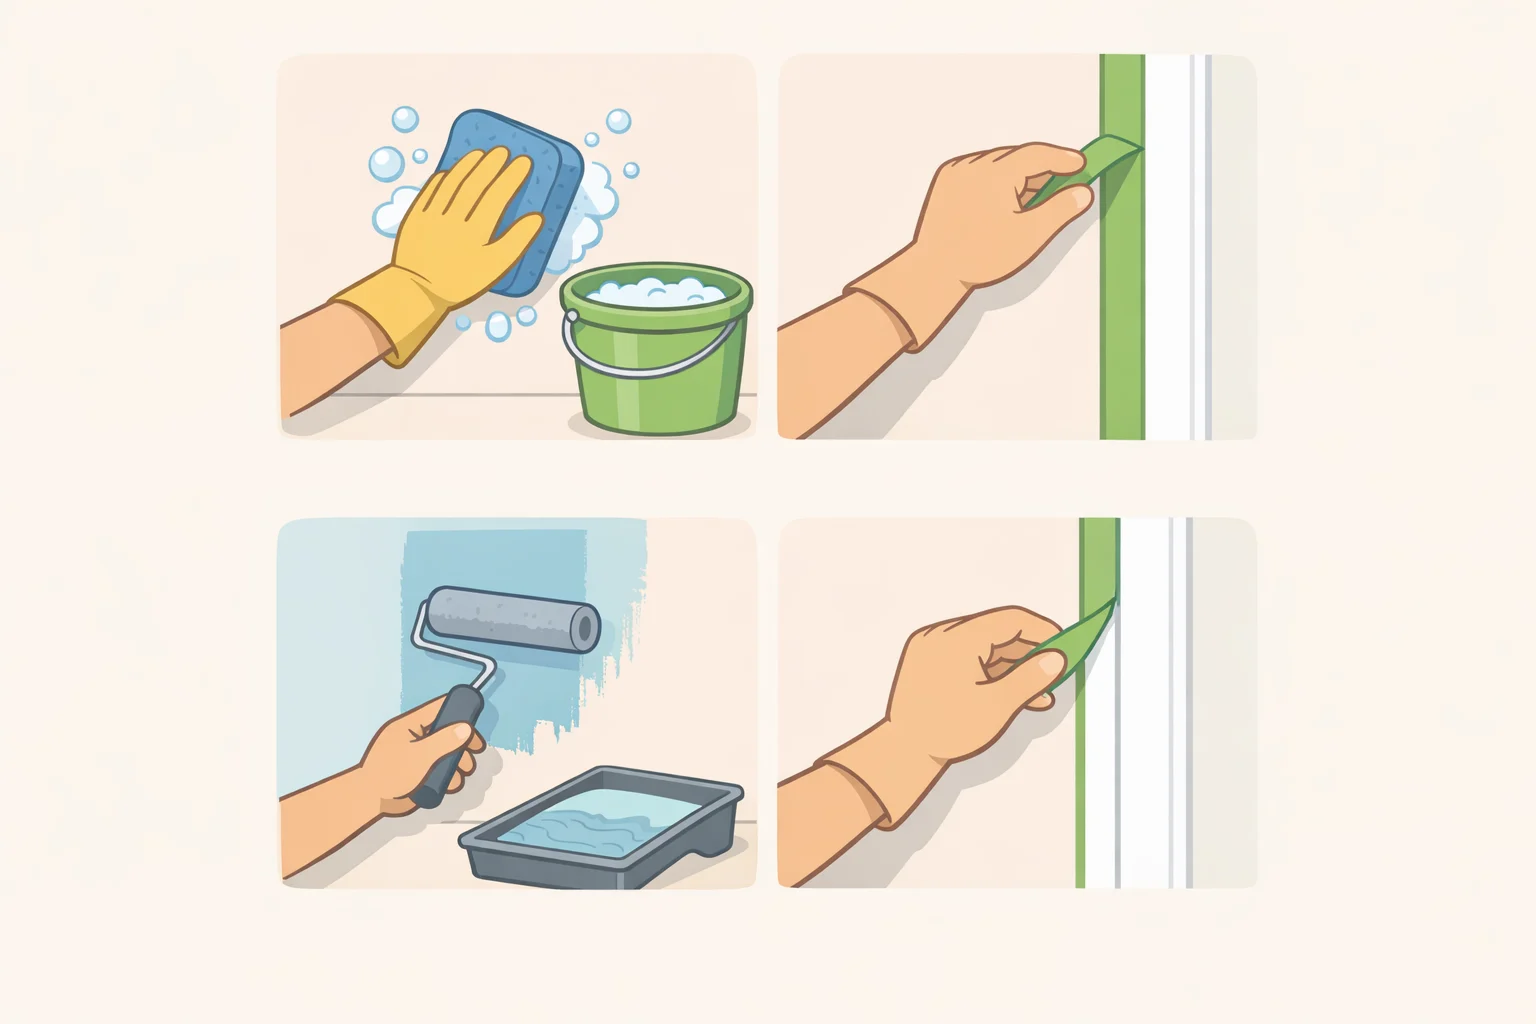
- Wash the wall with a degreasing cleaner, focusing near the stove and sink where residue builds up, then rinse with clean water and let the wall dry fully before sanding or priming. Leftover cleaner residue is a common, avoidable cause of poor adhesion.
- Patch holes or dents with spackle, let it dry, then sand smooth.
- Scuff-sand any glossy or damaged patches so new paint has something to grip, and spot-prime bare or stained areas.
- Tape off trim, cabinets, and countertops, and lay drop cloths.
- Apply the chosen color in thin, even coats rather than one heavy pass, following the number of coats specified on the label. Check as coats go on: the color should read even and calm in both daylight and task lighting, with no patchy spots. If it looks flat or gray under warm light, or too yellow under cool light, revisit the undertone before finishing.
- Pull the tape once the final coat has set, per the label's guidance. Many painters remove tape while the paint is still slightly tacky, since a fully dried edge can tear when the tape comes up; if you've missed that window, score along the tape line with a utility knife first for a cleaner edge.
- Check the label for recoat and cure times before hanging anything or pushing furniture back against the wall.
Step-by-step: painting lower cabinets or an island
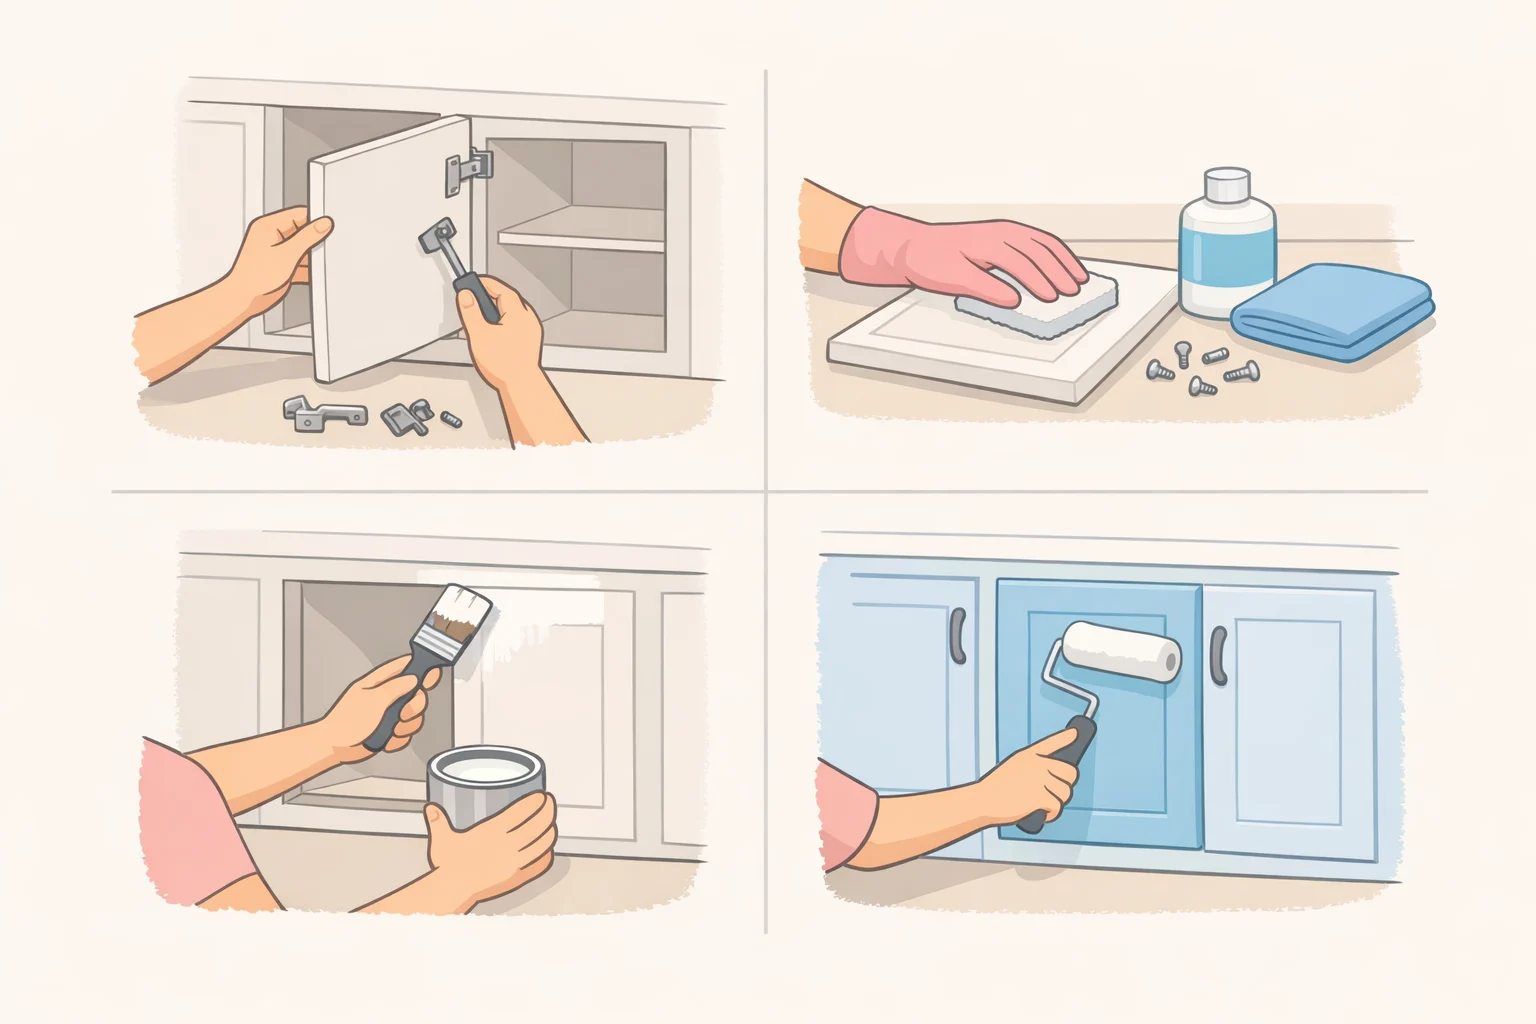
These steps are for previously painted or sound, unvarnished bare-wood cabinets. If yours are laminate, thermofoil, MDF, have a glossy factory finish, or show peeling or bare wood over a large area, stop here, follow the manufacturer's primer system for that surface, or call in a professional refinisher.
- Remove doors, drawer fronts, and hardware, labeling each piece.
- Degrease every surface thoroughly, then rinse and let dry completely before sanding.
- Scuff-sand or deglos the existing finish so paint has something to grip, following the paint manufacturer's stated prep method for the surface.
- Wipe down with a tack cloth to remove sanding dust.
- Check the paint label to confirm whether a bonding primer is required, and apply it if so.
- Apply a furniture-quality cabinet paint in thin, even coats, such as Advance Interior (Benjamin Moore, last year), following the number of coats and recoat window listed on the label rather than a fixed count.
- Let the final coat cure fully, per the label, before rehanging doors or resuming normal use. Cure time runs longer than dry time and varies by product.
Troubleshooting: what to fix yourself and what should stop you
Some issues are easy to fix mid-project:
- Roller marks or uneven sheen usually happen when paint gets rolled over before it's had time to start setting up. Let the surface dry fully, then recoat with a thin, even pass.
- Color bleeding under tape is easiest to prevent, not fix after the fact. Press the tape down firmly and test a small section before committing to the whole edge. For extra insurance, seal the tape edge with a thin coat of the base color first, let it dry, then add the accent coat over it.
- Wet drips on cabinet doors should be caught immediately with a dry brush. If they've already dried, sand flat and spot-recoat.
Other issues mean stopping and reassessing before continuing:
- Paint that won't adhere or is peeling off in sheets points to a prep issue, like leftover residue, an unaddressed glossy finish, or a missing primer. Sand or scrape the affected area back to sound material, reclean it, and confirm each prep step against the manufacturer's instructions before repainting.
- Surface still tacky well past the stated cure time calls for checking ventilation and confirming the coat wasn't applied too thickly. Let it continue curing in a well-ventilated space, and don't rehang doors or resume use until a light touch leaves no mark.
- Dust, hair, or debris baked into the finish should be sanded smooth and spot-recoated rather than left alone. A rough patch only gets harder to blend the longer it sits.
Finishing touches: check the work before you call it done
Inspect the tape line and sheen in raking light for missed spots or bleed-through on walls. On cabinets, check edges, corners, and door backs for tackiness or thin coverage before rehanging hardware and returning drawers to daily use.
Clean painted cabinets with a soft cloth and mild soap rather than abrasive cleaners, and hold off on hard pots, slammed doors, or damp towels draped on fronts until the full cure window on the label has passed. As a simple habit once the kitchen's back in regular use, glance at the edges near handles and hinges every so often, since those spots take the most contact and show wear first. Keep a small, labeled container of leftover paint on hand for exactly that kind of touch-up, rather than repainting the whole surface every time a chip or scuff shows up.




















Comments
Be the first, drop a comment!