



Bow Decor Ideas for Fall: Trend Facts and 3 DIY Builds
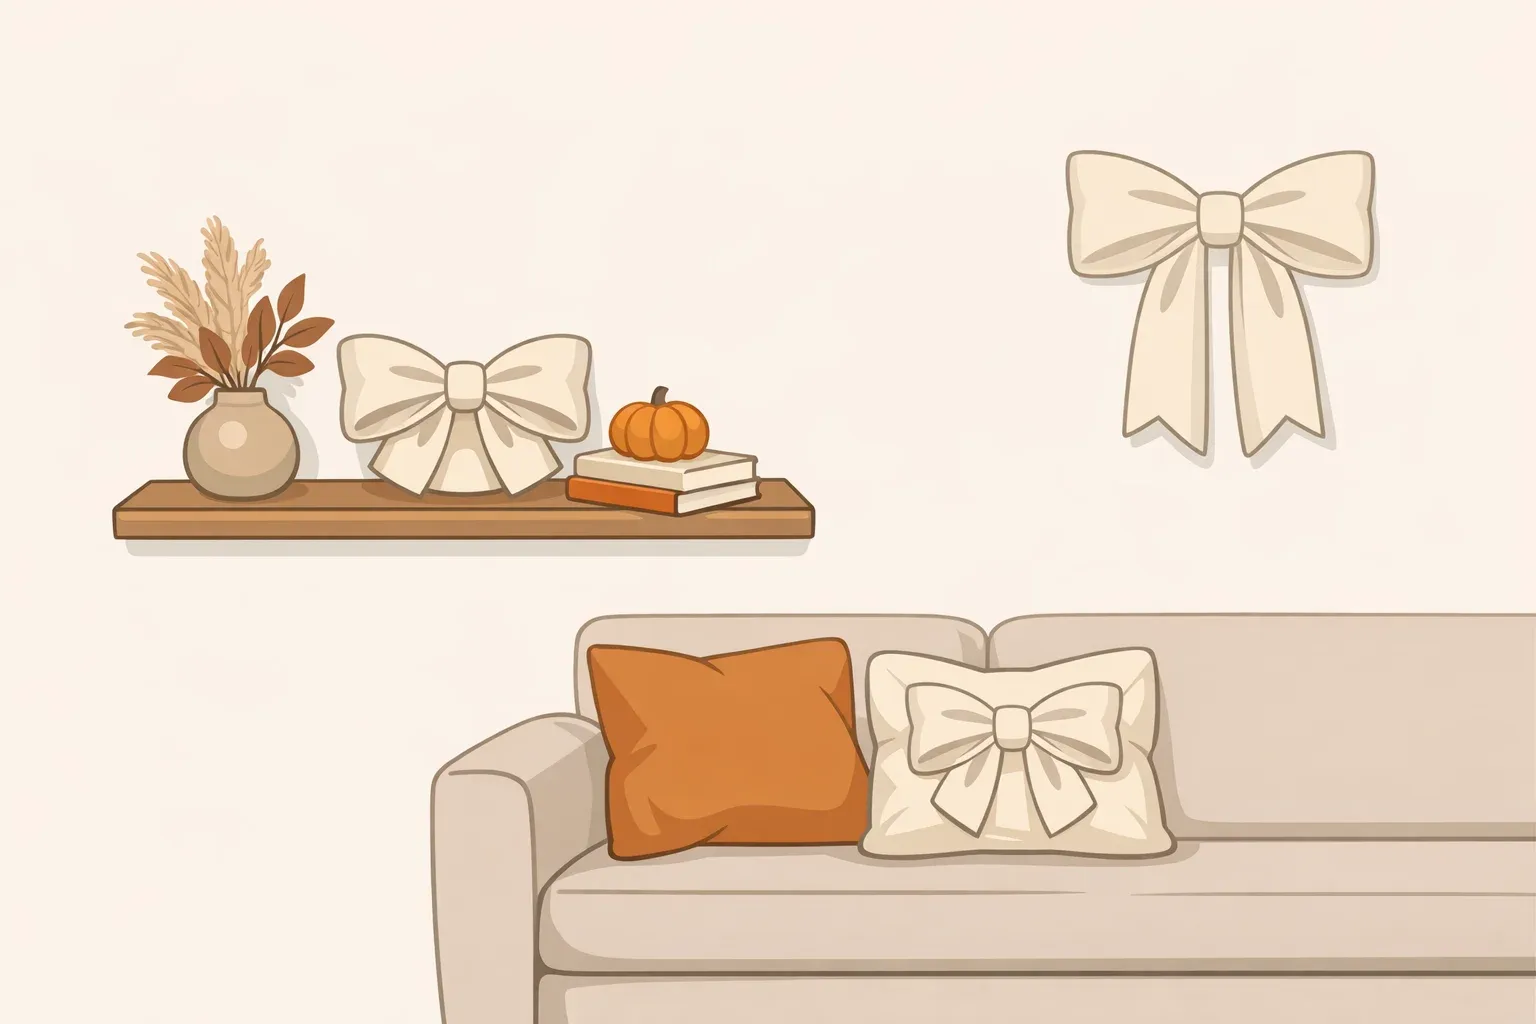
If you're looking for bow decor ideas for fall this year, here's the useful part first: a single sculptural, matte-finish bow can work well as a seasonal accent on a shelf, a cushion, or a wall. That's a styling call based on how the shape fits the season's broader design mood, not a lab-tested result, but it holds up fine on its own.
What doesn't hold up as well is the bigger story circulating around it, that bow decor is "taking over" fall interiors broadly, and that bows have already shifted into a "structural design language" across European home categories. Both claims trace back to one LinkedIn post from a single market observer, describing bows moving from "applied ornamentation" into product silhouettes across French, German, and Nordic collection previews (Colin Cheng, LinkedIn, last November). A separate House Beautiful report quotes several UK designers describing a real shift toward warmer, more textured, imperfection-friendly interiors this season (House Beautiful UK, last month). That trend comes from named designers on record in one report, and it's the one a bow accent can genuinely borrow from.
Below: a quick look at what each claim actually rests on, then three bow-inspired projects ranked by how much time, skill, and risk they ask of you, with the materials, steps, and stop points to build one without overcommitting to a trend that's still one person's read.
Where the bow trend claims come from
The broad "bows will dominate fall" claim has no corroboration outside Cheng's post. No named retailer launches, trade-show reporting, or sales figures show up anywhere in the available research, so treat that part as unverified, not confirmed.
The more specific claim, that bows have moved from ornament into silhouette-level design, splits into three forms in Cheng's read: gift-like rounded shapes with "integrated ribbon geometry," cleaner architectural volumes closer to tabletop sculpture, and asymmetric ribbon-motion silhouettes drawn from textile drape (Cheng, LinkedIn, last November). That breakdown is useful design vocabulary for shaping a DIY bow, but it's Cheng's own interpretation of unnamed "collection previews and trade show moodboards," not a documented industry shift.
The better-supported trend skips bows entirely. Several designers quoted in the House Beautiful report describe a move away from "minimalist, pared-back interiors" toward homes that feel "richer, warmer and more layered" (Kunal Trehan, House Beautiful UK, last month), with designer Anna Ross tying rising demand for "craftsmanship, tactility and trace of hand" to backlash against AI fatigue and the rise of mass-produced, AI-generated content (Anna Ross, House Beautiful UK, last month). Neither designer mentions bows once. A sculptural bow shape fits that mood without proving the bow-specific claims true, and that distinction is worth keeping in mind while building any of the three projects below.
Before you start: tools, materials, and choosing your project
Gather this basic toolkit before deciding which project to build:
- Fabric scissors
- Ruler or measuring tape
- Clamps or a couple of heavy books, for weighting glued seams while they set
- Needle and thread
- Fine-grit sandpaper
- Craft knife or coping saw, only if cutting wood or thick foam; wear eye protection for this step
- A level
- Hook or hardware rated for the piece's actual weight, if attempting the wall version
Color direction, labeled by source. Muted earth tones like aubergine, tobacco brown, deep olive, and burnt terracotta come from a UK designer forecast (Trehan, House Beautiful UK, last month). Cream, sage green, stone blue, and powder pink come from Cheng's read of European collections (Cheng, LinkedIn, last November). Treat both lists as starting swatches to hold against your own room, not a confirmed fall lineup.
Pick your project by risk tolerance:
- Fully removable and washable, zero wall or furniture risk: the cushion topper.
- A standalone display piece with no attachment risk: the tabletop bow.
- A wall accent, but you're renting or unsure of your wall type: the decorative-only wall version.
- A bow that actually holds a curtain: the functional wall version, built only with hardware rated for that job.
None of the sizes, times, or cure estimates below come from a specific tested product. They're general craft starting points. Check the packaging on your own clay, glue, fabric, and paint, since brands vary in cure time, coverage, and wash tolerance.
Bow decor ideas for fall: choose a project by commitment level
Project 1: bow-front cushion topper
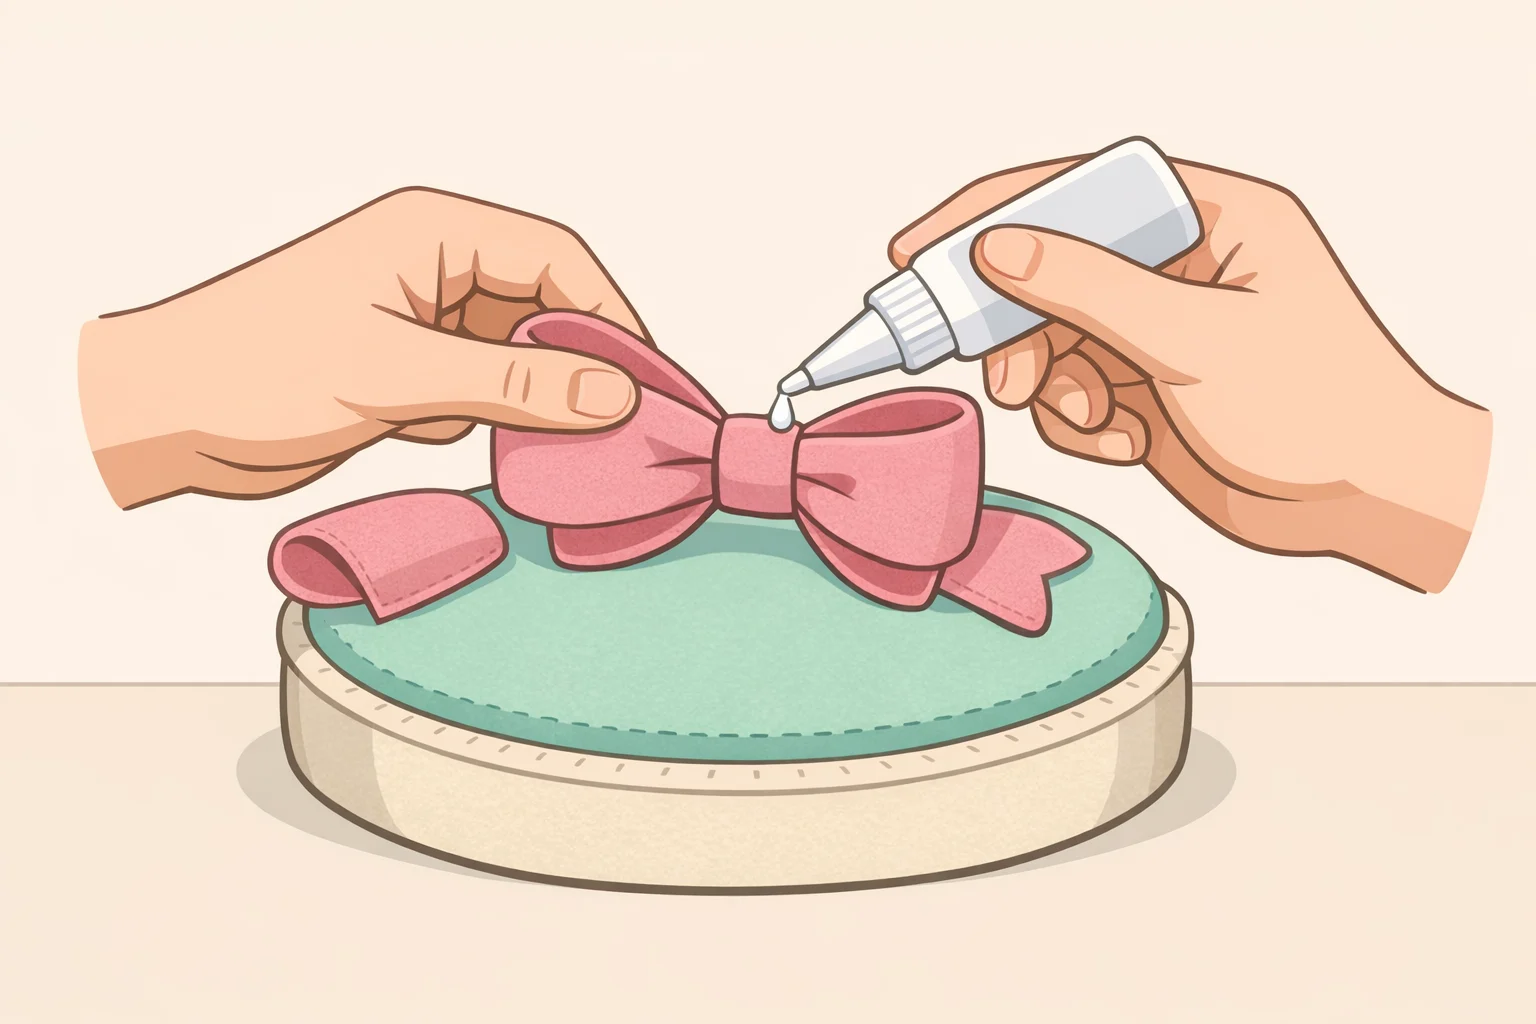
Beginner-friendly. Active work, cutting and folding, runs short, but the glued pinch point needs time flat under weight before you can handle it.
Materials: a felt or wool-blend fabric remnant, fabric glue rated for that material (or fusible web if the fabric is iron-safe), needle and thread, a button or hook-and-loop dot.
Steps:
- Cut two loops from the fabric, sized to roughly a third of your cushion's width, plus a narrower center-wrap band. There's no fixed ratio here; hold the pieces against the cushion and adjust before cutting.
- Fold each loop so the cut ends meet in the middle, then pinch and glue that fold. Felt and wool-blends hold a fold differently than cotton or synthetic weaves, so use a glue labeled for your specific fabric.
- Wrap the center band around both pinched loops and glue the ends underneath, out of sight, so the wrap hides the raw edges.
- Set the shaped bow flat under a couple of heavy books or clamps while the glue cures. Check your glue's own label for cure time rather than guessing, and don't handle the piece until it feels firm, not tacky, at the pinch point.
- Stitch a button or hook-and-loop dot to the back of the bow, sewing through several fabric layers rather than one thin edge so the anchor doesn't tear loose. Sew a matching dot to a removable cushion cover, not to the insert itself.
Gluing the bow straight onto a cushion insert with no removable cover limits you to spot-cleaning for the life of the piece. Sewing it to a removable cover instead keeps a wash cycle possible, but check the fabric's care label first; felt, wool-blend, and cotton don't necessarily tolerate the same cycle, and the glued pinch point should stay away from hot water regardless.
If something goes wrong: if the pinch point peels, reinforce it with one hand stitch rather than adding more glue, which tends to seep and stain the surrounding fabric. Seal any frayed cut edges with a thin line of glue before folding so they don't unravel later. A slightly uneven fold or a visible hand stitch isn't a flaw here. It fits the "trace of hand" quality Ross points to this season (Ross, House Beautiful UK, last month).
Project 2: sculptural tabletop bow
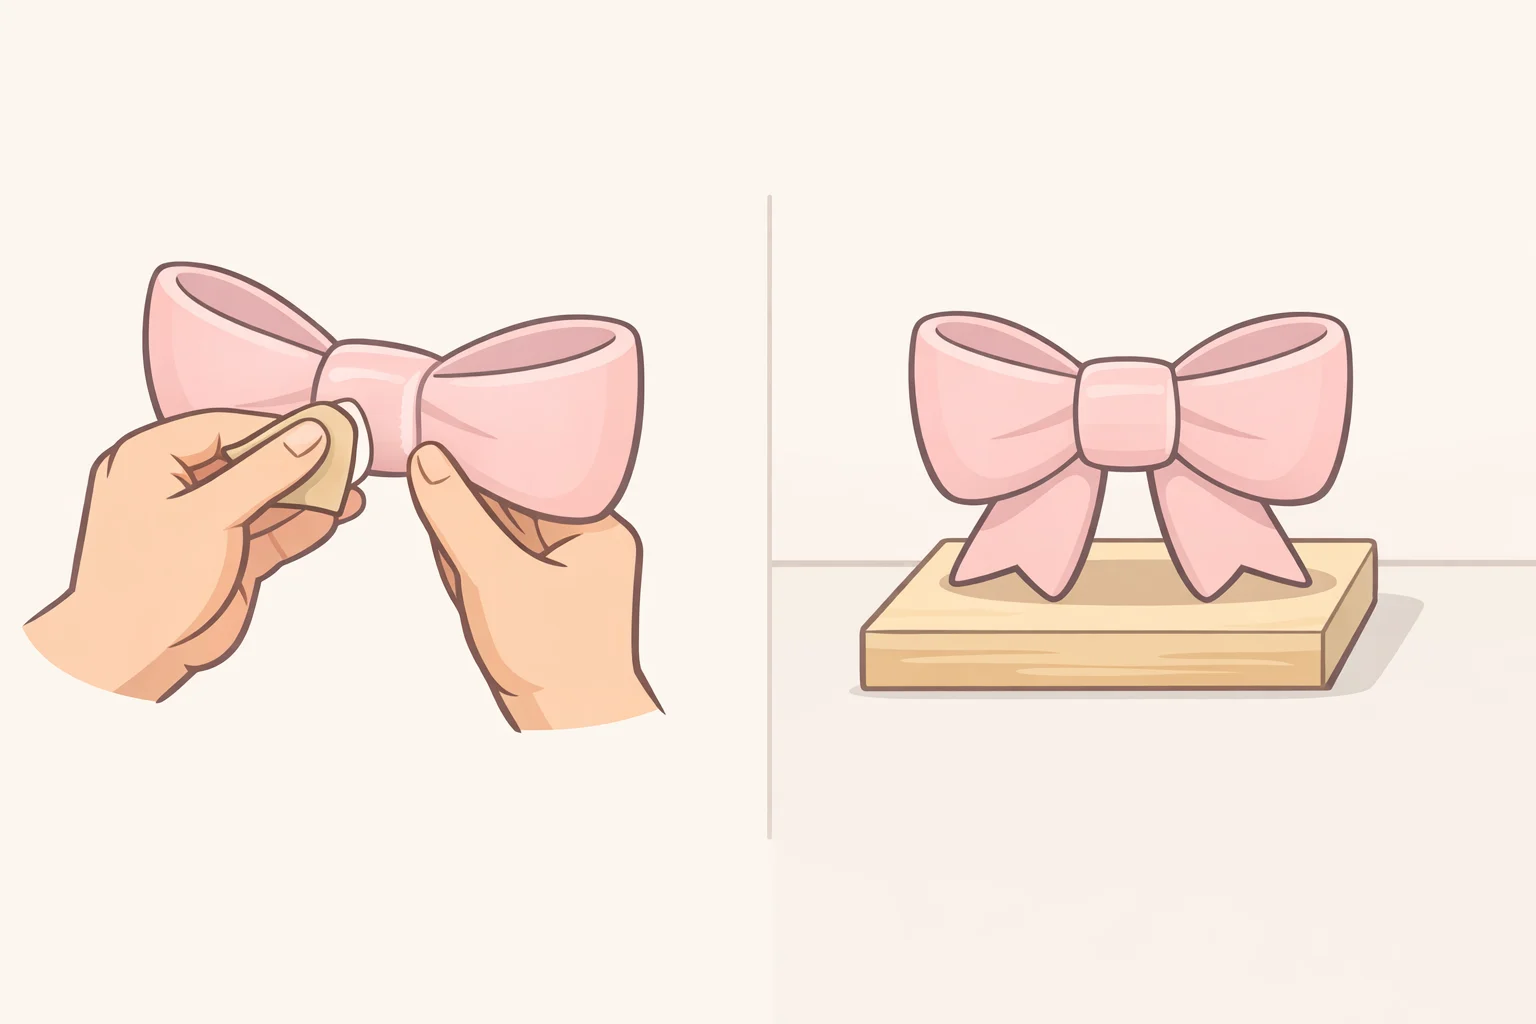
Intermediate. Shaping takes longer than the cushion version, and clay curing isn't something you can rush regardless of how much time you put into it.
Choose one material path before you start. Clay and plywood don't mix well partway through.
Air-dry clay version:
- Shape two loops and a center band, keeping the clay thickness as even as you can across the whole piece. Uneven thickness dries at different rates and cracks more easily.
- Smooth the seams while the clay is still workable rather than trying to fix them once dry.
- Give the piece a stable base while it's still soft, either by flattening the bottom of the center band or by resting the loops so the piece doesn't balance on a single thin edge.
- Let it cure fully before painting. Check your clay's own packaging for cure time; it varies by brand and by how thick you've built the piece, and thicker forms take longer than thin ones.
- Once cured and dry, paint in thin coats, letting each dry per the paint's own instructions before adding the next.
Thin plywood version:
- Work on a stable, clamped-down surface and wear eye protection before cutting.
- Cut the loops and center band with a coping saw sized for thin plywood, not a full-size saw.
- Sand the cut edges smooth, then paint in thin coats, the same as the clay version.
If something goes wrong: if cracks appear in cured clay, don't try to rehydrate it to smooth them out; air-dry clay isn't designed to take water back in. Sand the area lightly and reseal, or leave a small crack alone and let it read as texture, which works fine on a matte or wood-look finish. Confirm the finished piece stands on its own without wobbling and that the paint dried even, without patchy spots where a coat pooled too thick.
This is a shelf object, not hardware. A bow-handled mug has to hold liquid and survive repeated washing, which calls for a manufactured ceramic piece, not a DIY clay build. Set against a limewashed or heavily textured wall, a piece like this echoes the "texture without weight" quality designer Simon Mayhew describes for the season (Mayhew, House Beautiful UK, last month).
Project 3: bow wall accent
Intermediate to advanced. Cutting a clean bow silhouette from wood takes more control than cutting fabric or shaping clay, and mounting anything to a wall adds real risk if the hardware or the wall itself isn't up to the job.
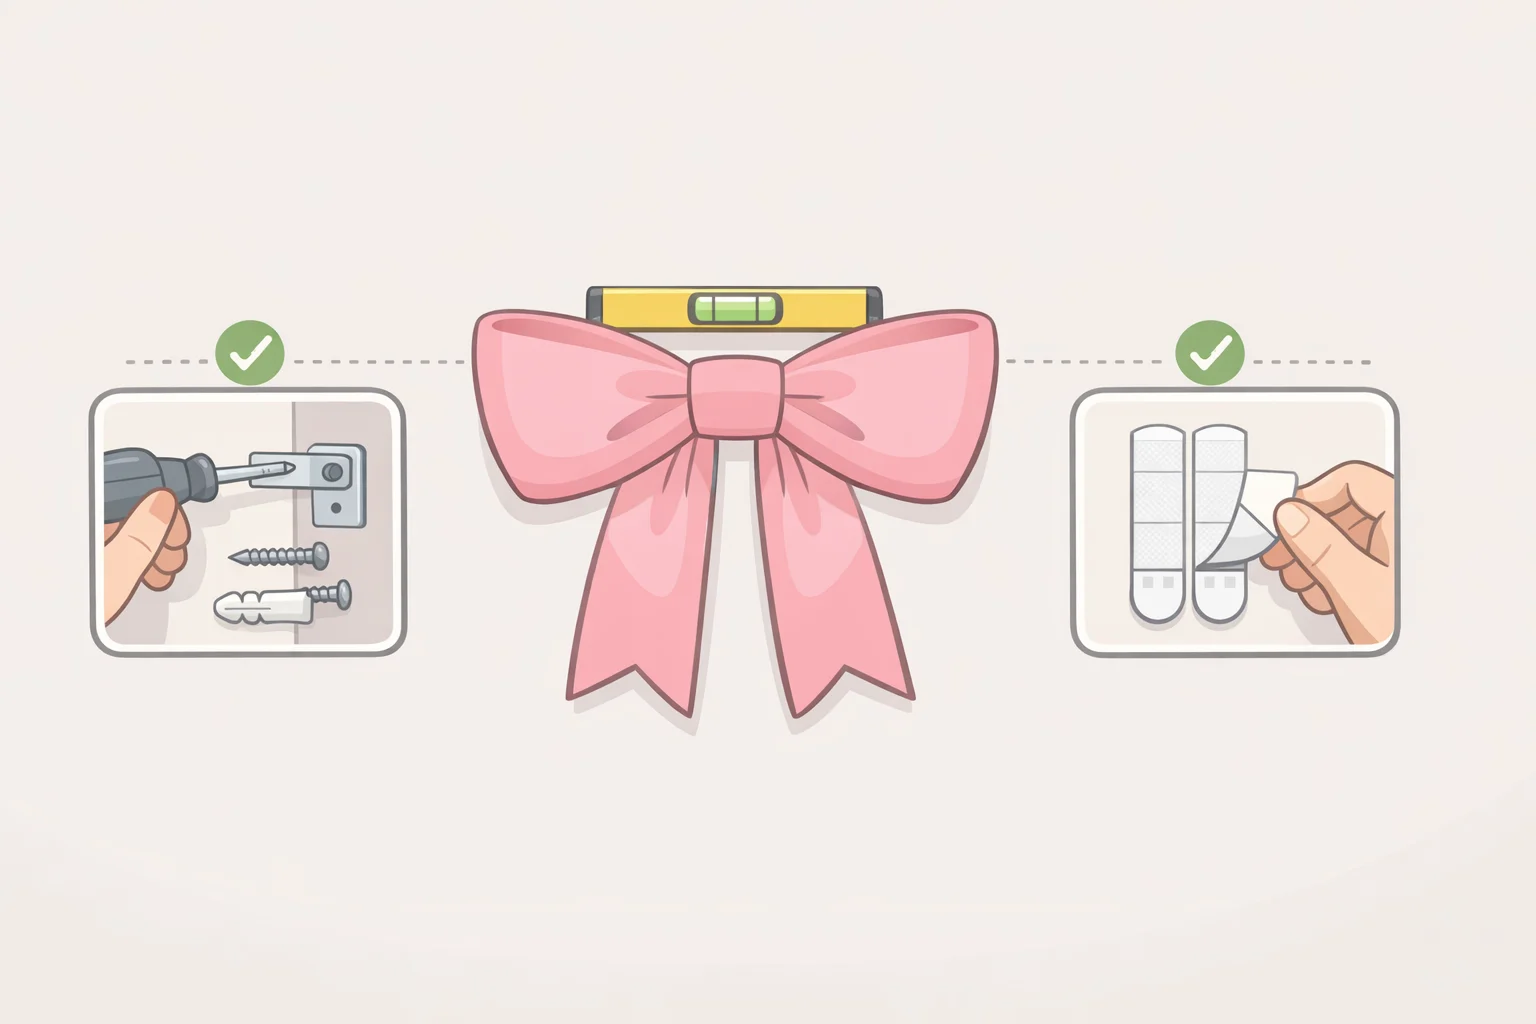
Before anything touches the wall, identify your wall type (drywall, plaster, or a rental with hanging restrictions), and read the hardware's own packaging for the surfaces and weight it's rated for. A listed weight rating doesn't guarantee the hardware will hold on every wall surface, in every adhesive condition, or under repeated curtain pull; it only confirms what the manufacturer tested it for. Confirm the rating clears the piece's real weight plus fabric pull if it will hold a curtain, and test any adhesive product on a hidden section of paint or wallpaper first, since removing it can take the finish with it. If you're not confident about your wall type or the hardware's rating, stop here and use the tabletop version instead.
Decorative, non-load-bearing version:
- Cut a bow shape from thin craft foam for an easier first cut, or thin plywood with a coping saw for a firmer piece, wearing eye protection either way and working on a stable, clamped surface.
- Sand the edges smooth and paint it.
- Mount it flat using adhesive strips or hook-and-loop fasteners rated by the manufacturer for both the piece's weight and your wall surface, following that product's instructions for placement and removal. This version doesn't hold curtain fabric, and it isn't built to.
Functional version, curtain-holding:
- Buy a commercially rated curtain holdback base built for that specific load. Don't build the load-bearing hook out of craft materials; it isn't engineered for repeated fabric weight and pull.
- Paint or attach a bow-shaped cover to the rated base rather than modifying the hardware itself.
- Don't substitute adhesive hardware for a curtain that gets pulled open and closed regularly unless the manufacturer explicitly rates it for that kind of repeated movement.
If something goes wrong: if the piece sits crooked, check that the hook or mount is level before assuming the bow itself is uneven. On the functional version, both curtain panels should hang at a matching height; if they don't, the holdback height, not the bow, is usually the problem. Uncertain wall conditions, a hook with no listed weight rating, or a plywood piece heavier than a lightweight hook can support are all reasons to fall back to the tabletop or decorative version instead of pushing ahead.
How to decorate with bows: styling notes worth considering
These are styling suggestions, not findings from either source. One bow accent per visual zone is a reasonable starting guideline; a large open room can likely carry two if they're placed far apart and vary in form, but a small room or a single tablescape tends to read better with just one.
Matte or textured materials, felt, wool-blend, painted wood, clay, sit more comfortably in the muted palettes both sources describe than a glossy satin ribbon would (Cheng, LinkedIn, last November; Trehan, House Beautiful UK, last month). If a room already has other seasonal decor, an asymmetric, ribbon-motion shape tends to blend in more easily than a gift-like rounded bow, since the softer, draped line carries less visual weight.
Run a simple check on whichever project you build: step back to the room's entrance and look at the piece from there. If it reads more like leftover gift wrap than a design object, scale it down or swap to a duller texture rather than adding a second bow to compensate.
Finishing up: what to check before you call it done
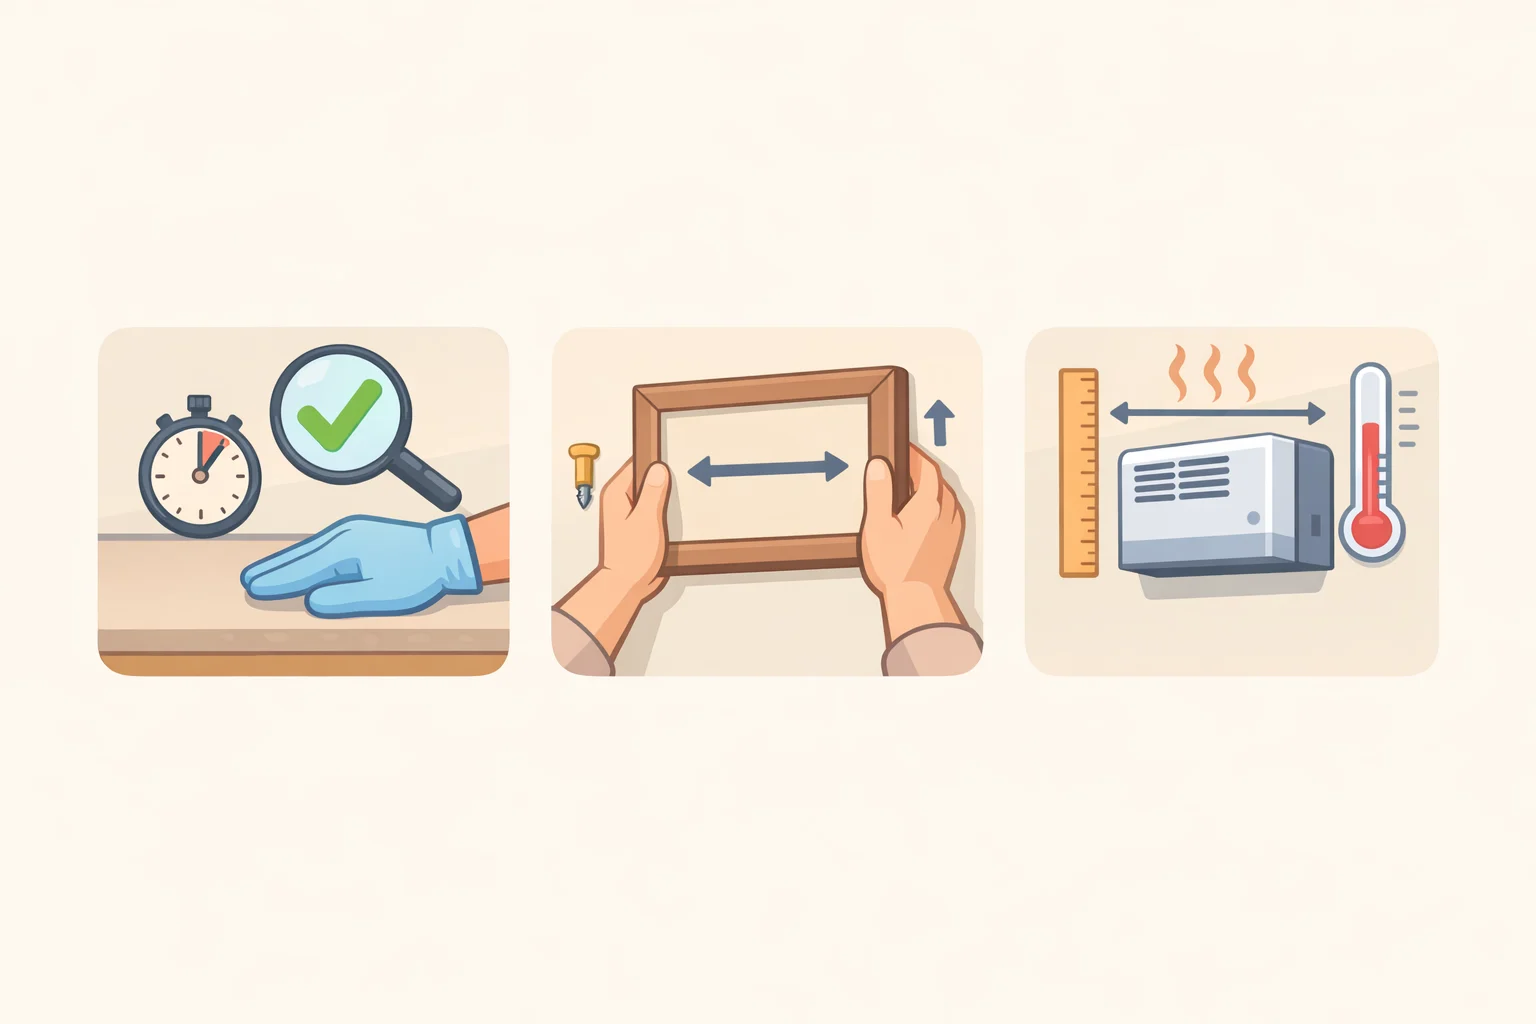
Keep felt, wool, foam, wood, and paint away from candles, space heaters, hot light bulbs, and other heat sources. Materials differ in how they ignite and burn, so don't assume a piece is safe near heat just because it looks solid or matte. The University of Tennessee's decoration policy requires flame-resistant treatment on flammable-looking materials and 18 inches of clearance from sprinkler heads, a rule built for that institution's buildings, not private homes, but a useful reminder to check local fire and building rules if you're mounting anything in a shared or rented space.
Before calling any of the three projects finished, run through this checklist:
- Tabletop bow: set it where it will actually live and confirm it doesn't wobble or tip when nudged.
- Wall accent: once mounted, give the piece a gentle tug to confirm the hardware holds, then check again after a day or two, since some adhesives lose grip as they settle.
- Any glued or painted piece: confirm the glue, paint, or sealant has fully cured per its own label, not just dried on the surface, before handling it roughly or exposing it to humidity.
- All three: check for snags on foot traffic or curtain movement, and look for marks left on furniture or the wall behind it.
If a piece loosens, leaves a mark, or starts to feel unstable, take it down and fix the cause rather than patching around it. Scale it down, switch materials, or swap in properly rated hardware before putting it back up.




















Comments
Be the first, drop a comment!