



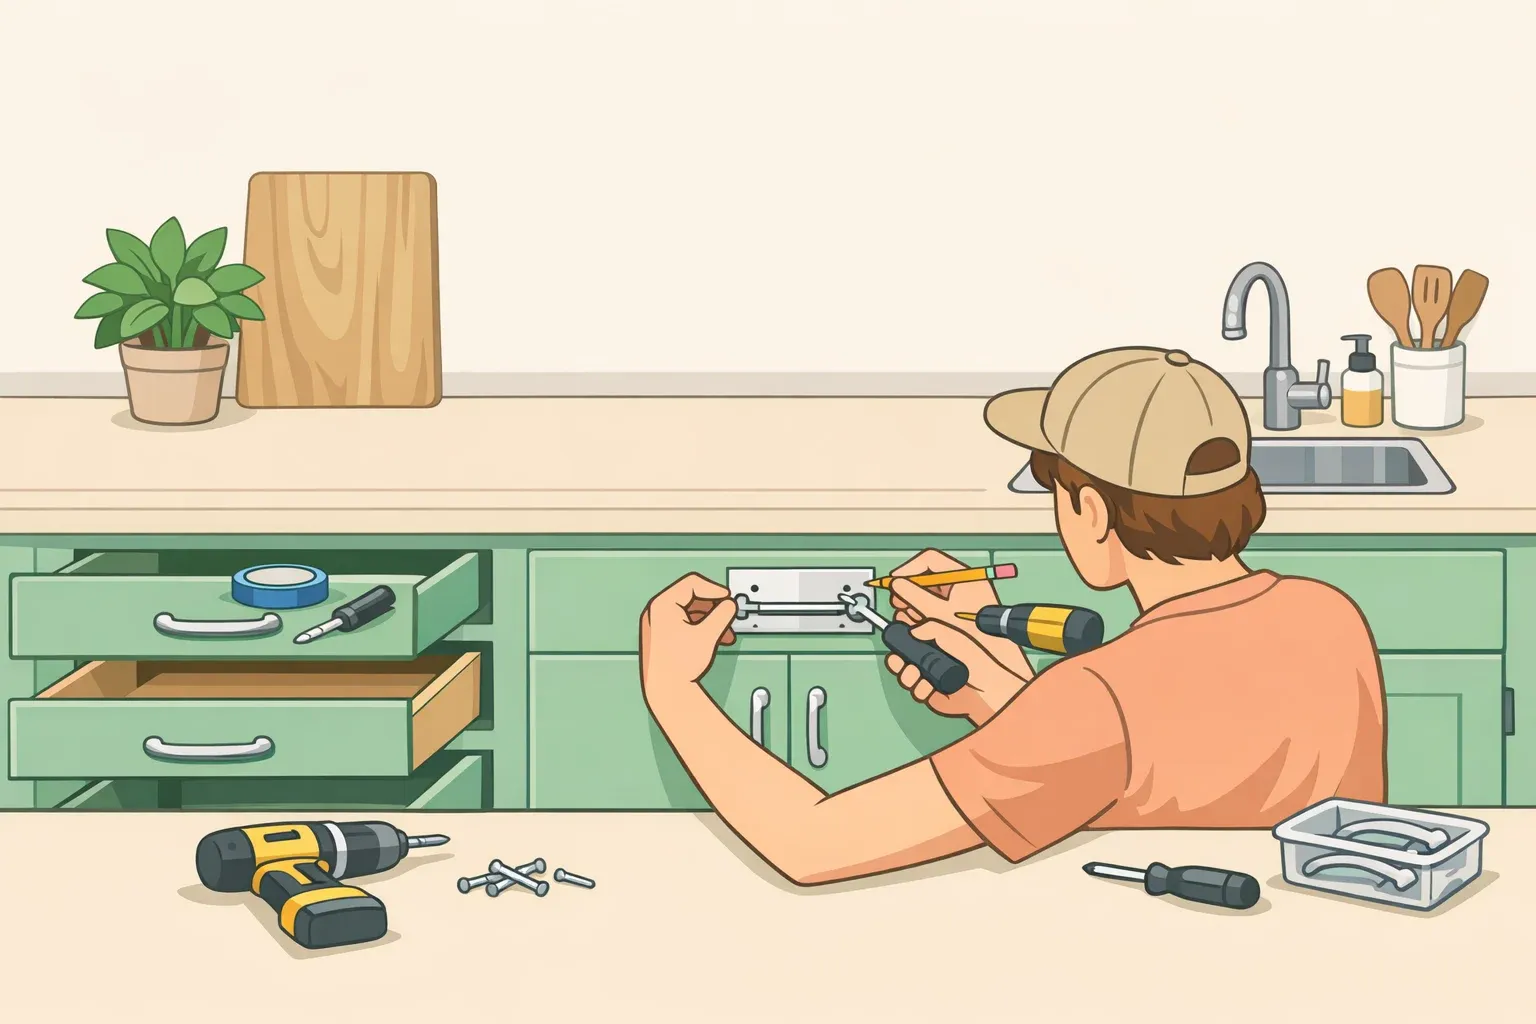
How to do a budget kitchen makeover with painted green cabinets for $3,000
A $3,000 budget kitchen makeover with painted green cabinets works if that money funds one project done well: a DIY cabinet repaint, new hardware, and a couple of finishing touches. It doesn't stretch to professional labor, brand-new doors, and a full room overhaul on top of that. Before buying anything, price your own version of this plan. Count your doors and drawer fronts, pick a paint system, and check local hardware costs, since those three numbers decide whether $3,000 actually covers your kitchen.
Two real kitchens sit at either edge of this idea, though neither one proves what $3,000 buys on its own. A renter refreshed a dated kitchen for $300 using peel-and-stick tile, new hardware, and decor, without repainting her main cabinet boxes (The Kitchn, about 9 months ago). A homeowner named Nancy spent $7,600 to have professionals remove her doors and drawer fronts, spray her cabinet boxes in place, and install new Shaker-style doors, plus hardware and a faucet (The Kitchn, more than two years ago). Nancy identified the cabinet fronts as her best return for the money, but her project still involved professional labor and replacement doors. This guide borrows that same logic: spend where the visual payoff is biggest, while keeping your existing doors and boxes and doing the painting yourself.
This guide walks through confirming what your cabinets are made of before spending anything, building a pricing worksheet instead of guessing at numbers, the repaint process with checks built in along the way, and a ranked order for whatever's left over. Every dollar amount below is a placeholder for you to fill in with your own quotes, not a figure copied from someone else's kitchen.
Check what your cabinets are made of before you buy paint
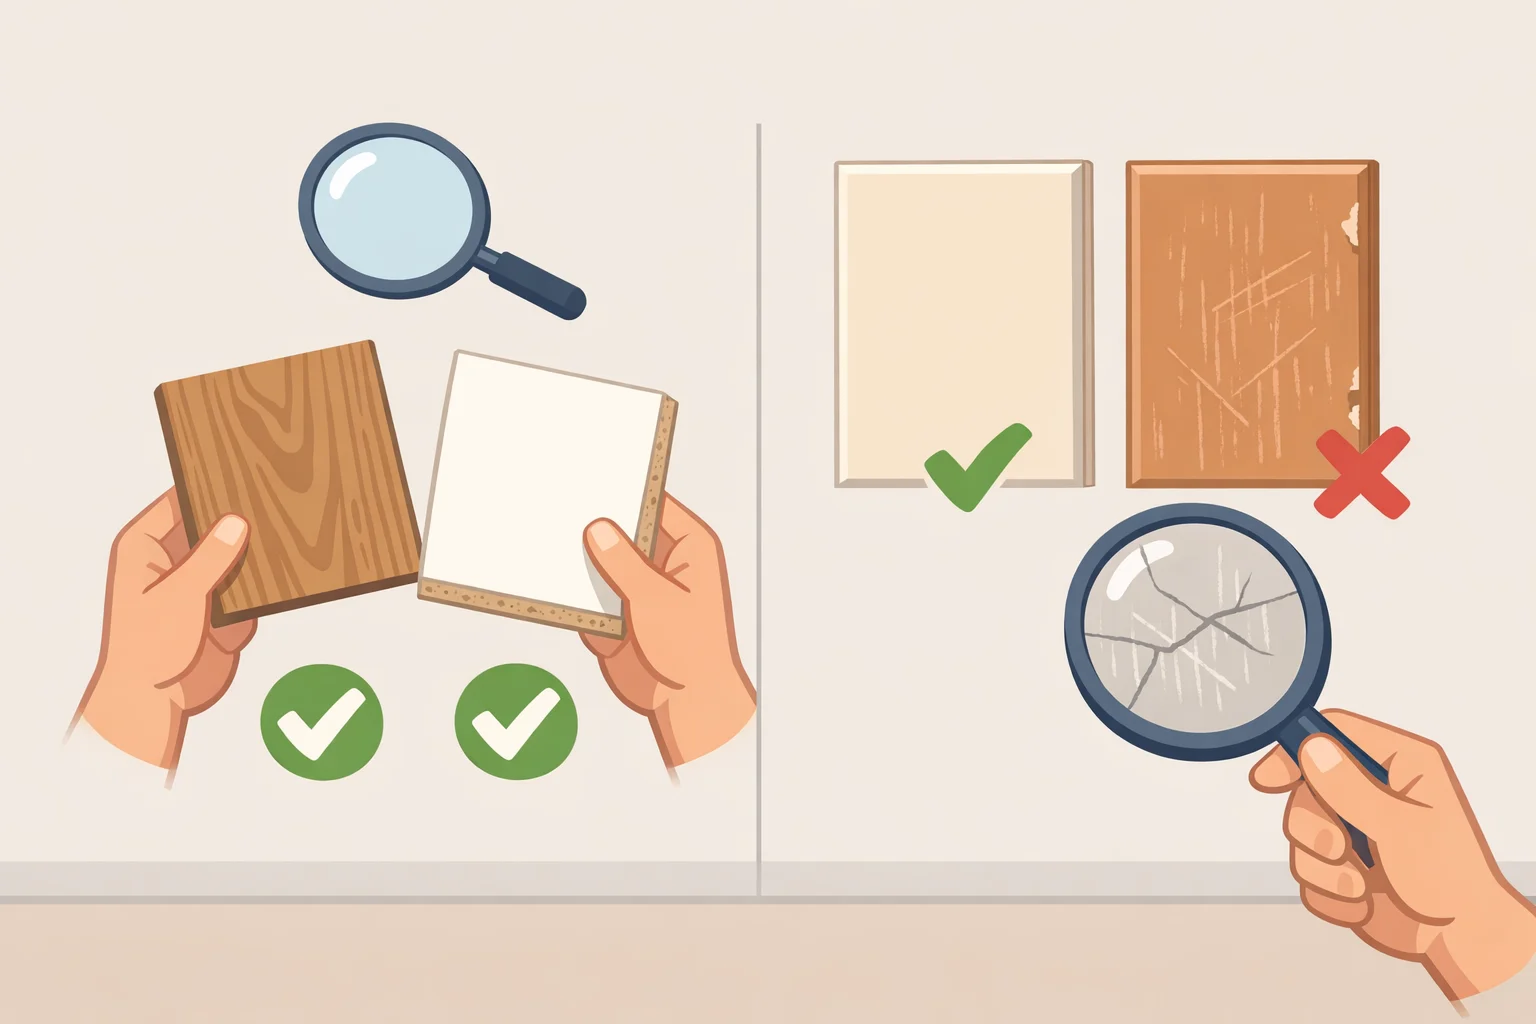
Cabinet material decides which path applies, and confirming it comes before buying a single can of primer. Skipping this step is how paint jobs fail on the wrong surface.
Before buying supplies, work through this checklist:
- Count every door and drawer front so you can size your paint, primer, and hardware order.
- Identify what the cabinets are made of: solid wood, veneer, laminate, previously painted MDF, or thermofoil, a vinyl layer heat-sealed over an MDF core (DSJ Painting, about 7 months ago).
- Inspect closely near the stove, oven, and sink, since heat and moisture damage tends to show up there first.
- Decide whether you're repainting doors and drawers only, or the boxes in place too. That choice affects prep, protection, and how much paint you need.
- Decide now whether new hardware will reuse your existing hole spacing. If it won't, fill and sand the old holes before priming, then drill new holes after the final coat has fully cured, so a drill bit doesn't chip fresh paint.
Non-thermofoil, sound. Solid wood, veneer, laminate, or previously painted MDF can be reasonable DIY candidates when there's no peeling, bubbling, lifting edges, heat damage, or moisture staining. Match your primer and paint to the specific surface; laminate and veneer often call for different products than raw wood, so check the label before buying a full kit rather than assuming one product works everywhere. If that checks out, move on to the pricing worksheet below.
Thermofoil, appears intact. Thermofoil is a different situation. It was built to be affordable, smooth, and easy to clean, not to be repainted (DSJ Painting, about 7 months ago). DSJ Painting and Decorating, a cabinet-painting contractor, is direct about this: thermofoil should be professionally evaluated before you agree to paint it, no matter how good the surface looks (DSJ Painting, about 7 months ago). When the vinyl has no peeling, tight and stable edges, and no failure near heat sources, painting it can sometimes work as a short- to mid-term fix, but only with professional-grade prep: degreasing, mechanical scuff sanding, a high-bond adhesion primer, and controlled spray application (DSJ Painting, about 7 months ago). Get an actual consultation quote before finalizing your plan, and treat that cost as coming out of the $3,000 total rather than sitting on top of the budget below.
Thermofoil, visibly damaged. Peeling, lifting, delamination near heat, or moisture damage means paint can't fix what's underneath. Thermofoil painted without the right prep, or painted after it's already failing, tends to chip, scratch, or peel again within months (DSJ Painting, about 7 months ago). Realistic alternatives, replacing the doors in paint-grade MDF or wood, or refacing over the existing boxes, are different projects with their own costs. Scope them with a local quote instead of forcing them into this plan (DSJ Painting, about 7 months ago).
Build a pricing worksheet before you commit to $3,000
A budget kitchen makeover works best when the expensive fixed pieces stay put. Nancy kept her existing floor, counters, and cabinet boxes, and put the savings into the cabinet fronts, new hardware, and a faucet swap (The Kitchn, more than two years ago). Apply that logic here, but run your own numbers rather than borrowing hers.
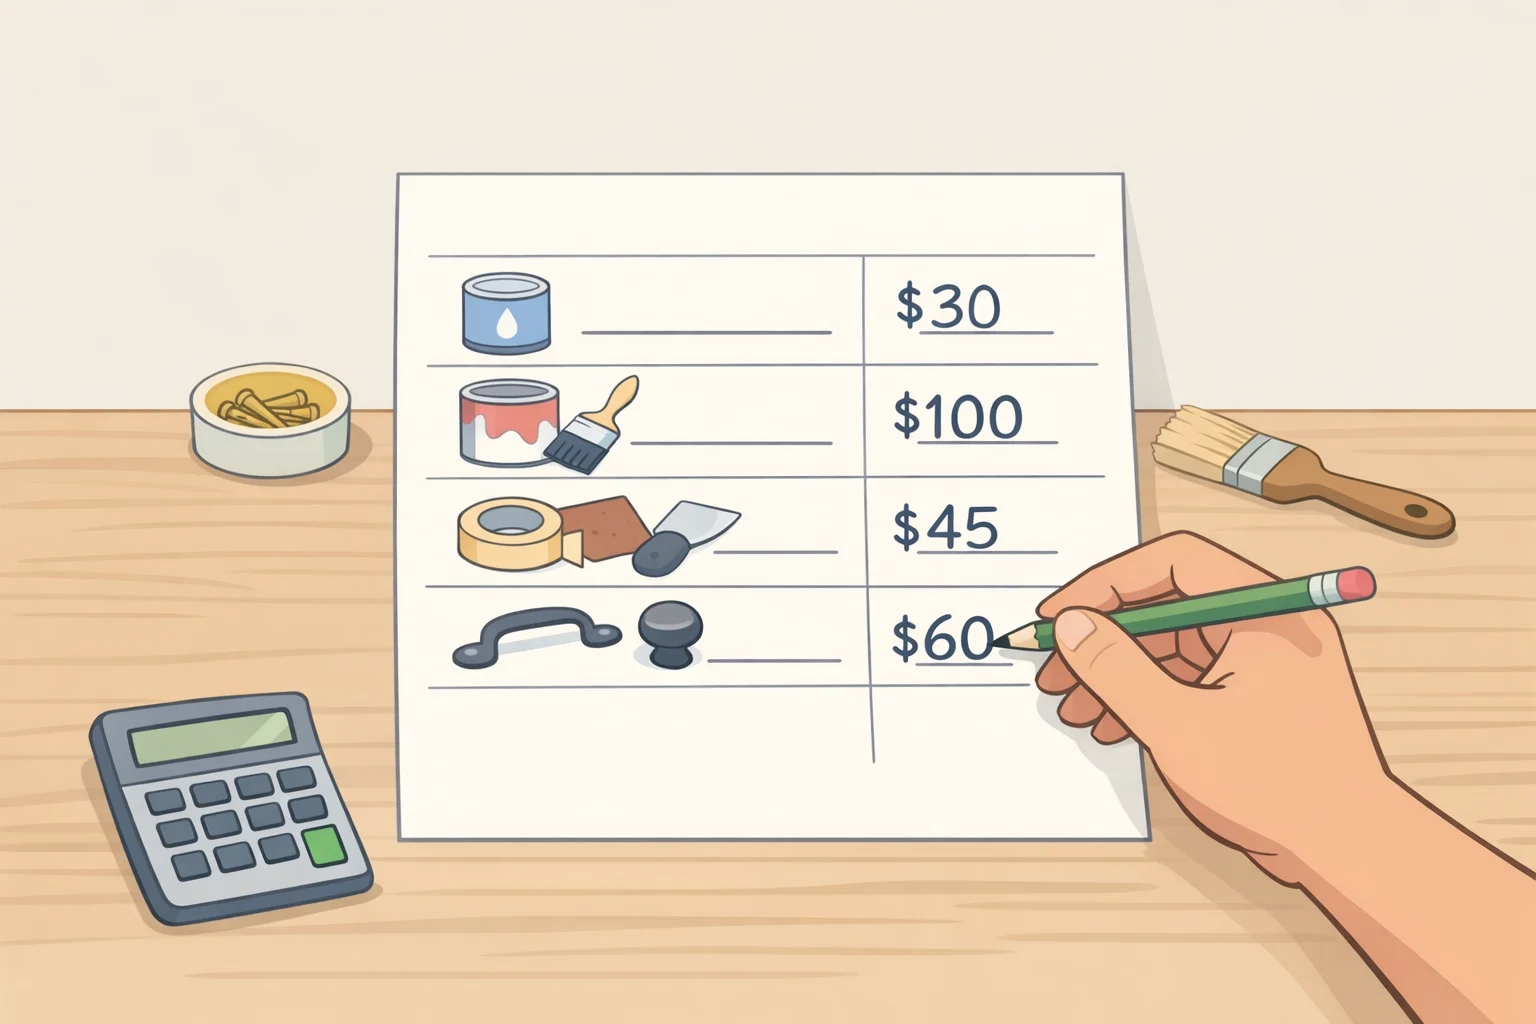
Price these categories separately, since lumping them together is how a budget quietly disappears:
- Primer and paint for two coats, priced for your measured door, drawer, and box count.
- Prep supplies: degreaser, sandpaper, tack cloths, painter's tape, drop cloths, brushes, rollers, and any protective gear the product labels recommend.
- Hardware, priced as unit cost multiplied by your pull-and-knob count. Buy just enough for one test door and drawer at first, and hold off on the full order until the paint passes the check in the steps below.
- Contingency, sized as a percentage of your actual quote, for a second gallon, more tape, or redo material.
There's no single dollar breakdown that fits every kitchen. Run your own figures through this worksheet before deciding whether $3,000 covers your plan as-is, or whether you need to adjust paint brand, hardware choice, or scope to fit inside it.
Renters should treat a full cabinet repaint as closer to a permanent change than the removable tricks lower in this guide. Check a lease before committing paint to boxes you don't own.
One thing this plan skips on purpose: countertops. The renter behind the $300 kitchen mentioned she might add contact paper to hers someday, but that's an idea she floated, not something she priced or finished (The Kitchn, about 9 months ago). Treat it the same way here, worth thinking about later, not a line item now.
If either thermofoil path applied to your cabinets, stop here. Rebuild this worksheet around your professional quote before buying anything for the section below.
How to paint kitchen cabinets green for a budget kitchen makeover
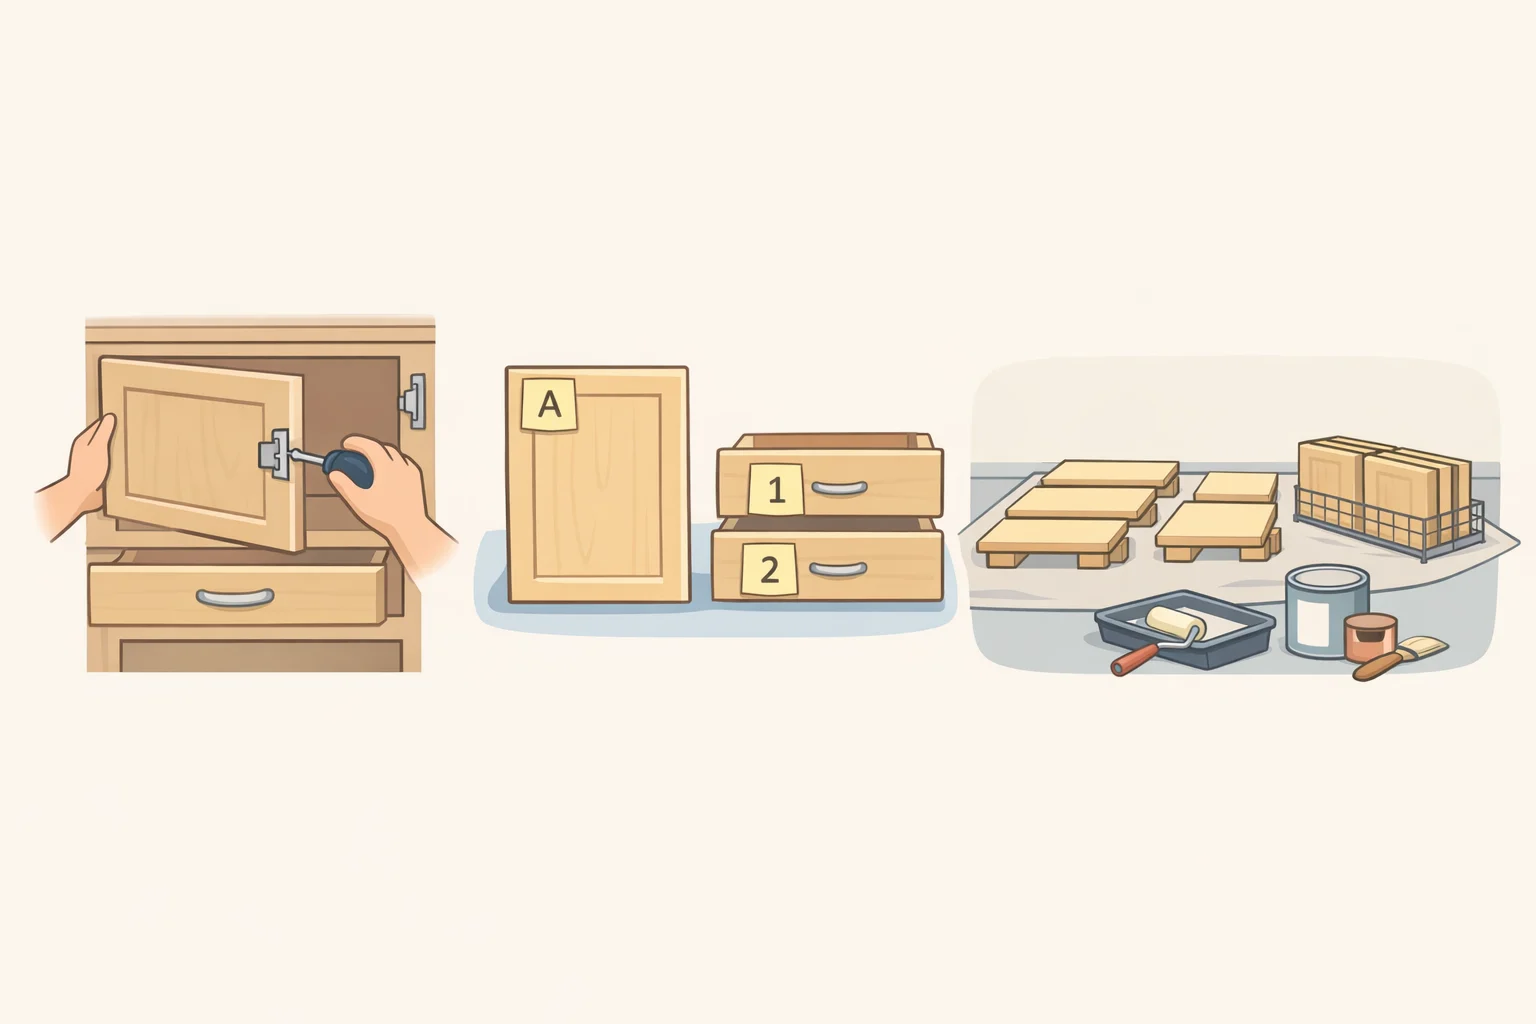
This method applies only to non-thermofoil cabinets confirmed sound in the check above. Before gathering supplies, settle your scope: doors and drawers only, or boxes painted in place too. That choice changes both the workflow below and how much paint you'll need.
Before you buy supplies, know what you're getting into:
- Skill level: beginner-friendly if doors and drawers come off to a garage or spare room; intermediate if boxes stay in place around a working kitchen.
- Materials covered: solid wood, veneer, laminate, or previously painted MDF. Thermofoil belongs in the professional path above, not this one.
- Timeline: check your specific paint's label for dry and recoat times rather than assuming a fixed schedule. Doors and drawers will be out of the kitchen until the final coat cures, at least 24 hours by Benjamin Moore's guidance, though the full sequence of degreasing, priming, sanding, and two coats runs longer than a single afternoon (Benjamin Moore, nearly two years ago).
What you'll need: cabinet-grade primer, such as Benjamin Moore's Fresh Start High-Hiding All-Purpose Primer, a favorite among professional painters (Benjamin Moore, nearly two years ago), interior cabinet paint in your chosen green, a degreasing cleaner, 220-grit sandpaper, a premium nylon or polyester brush, painter's tape, drop cloths, tack cloths, labeled bags for hardware, and a ventilated space to lay doors flat. Many painters also keep a foam roller on hand for flat panel faces. Handle the degreaser, sanding dust, and paint according to each product's label, including any protective gear it recommends.
Run maximum ventilation during the paint job and for at least 72 hours after you finish, which the EPA recommends for remodeling work generally (EPA, updated about seven weeks ago). That window is separate from drying time and applies even once the surface feels dry to the touch. If you uncover crumbling old paint, unexpected layers, or anything that doesn't match what you confirmed in the material check above, stop and reassess before sanding further.
If the boxes stay installed and in use, tape off adjacent walls, counters, and appliances, and work in sections so the kitchen stays partially usable. If you're only painting doors and drawers, remove and label them by location, then work in a garage or spare room. That's the simpler of the two workflows.
- Remove doors, drawers, and hardware, and label each by location. Stage them flat on a drop cloth instead of leaning them against a wall. If you're changing hole spacing, fill and sand the old holes now, before degreasing.
- Degrease every surface with a grease-cutting cleaner, not just soap and water. Product instructions and trade guidance both point to thorough cleaning as the step that determines whether paint actually sticks (Benjamin Moore, nearly two years ago; DSJ Painting, about 7 months ago).
- Sand to scuff the surface, then wipe away all dust with a tack cloth. Go lightly on laminate or veneer; heavy sanding can cut through the surface layer in a way solid wood tolerates but a thin veneer doesn't.
- As a rough check before committing paint to the whole kitchen, test the primer on a hidden spot and let it cure the full time listed on the can. Try scratching the test spot gently with a fingernail. If it lifts easily, something's off: wrong primer for your surface, rushed prep, or a material issue worth revisiting from the check above. One hidden spot won't guarantee every cabinet behaves identically, but it catches obvious problems before they spread across the whole kitchen.
- Apply primer. A high-hiding, all-purpose primer like Fresh Start is a common choice among professional painters, and it needs at least one hour to dry in a ventilated area before the next sanding pass (Benjamin Moore, nearly two years ago). Primer usually looks flat and slightly uneven at this stage; full uniformity mostly shows up after the second coat.
- Sand again once dry, focusing on corners and anywhere two flat surfaces meet, then wipe away the dust (Benjamin Moore, nearly two years ago).
- Apply the first coat with a premium nylon or polyester brush for panel edges and inset details (Benjamin Moore, nearly two years ago). Benjamin Moore's Advance line, for instance, goes on between 50°F and 90°F; check your own paint's label for its range. Let it dry completely. Drips, bubbles, or thin spots are far easier to sand out now than after a second coat locks them in.
- Sand a third time with 220-grit paper, then apply a second coat for complete, even coverage (Benjamin Moore, nearly two years ago).
- Cure before rehanging. Give it a minimum of 24 hours in a ventilated space, though two to three days is better, and avoid heavy cleaning or scrubbing for five to seven days (Benjamin Moore, nearly two years ago). If edges chip or lift near the sink or stove within that first week, stop and reassess before adding more hardware, rather than assuming a touch-up coat will fix it.
- Rehang one door and install one pull as a test, instead of finishing the whole kitchen at once. If it holds up to a few days of normal handling with no chipping, lifting, or loose hardware, rehang the rest and complete your hardware order. If it doesn't, pause before buying more pulls and knobs and revisit the prep steps above.
For color direction: a seafoam shade, Sherwin-Williams Quietude, shifted the mood of a kitchen Nancy described as "way too brown" (The Kitchn, more than two years ago). A deeper green, Valspar's Flora, tied a painted island to green backsplash tile in a separate makeover (The Kitchn, about 9 months ago). Pull a sample of any green you're considering and look at it in your own kitchen before committing to a gallon.
Spend what's left, ranked, not all at once
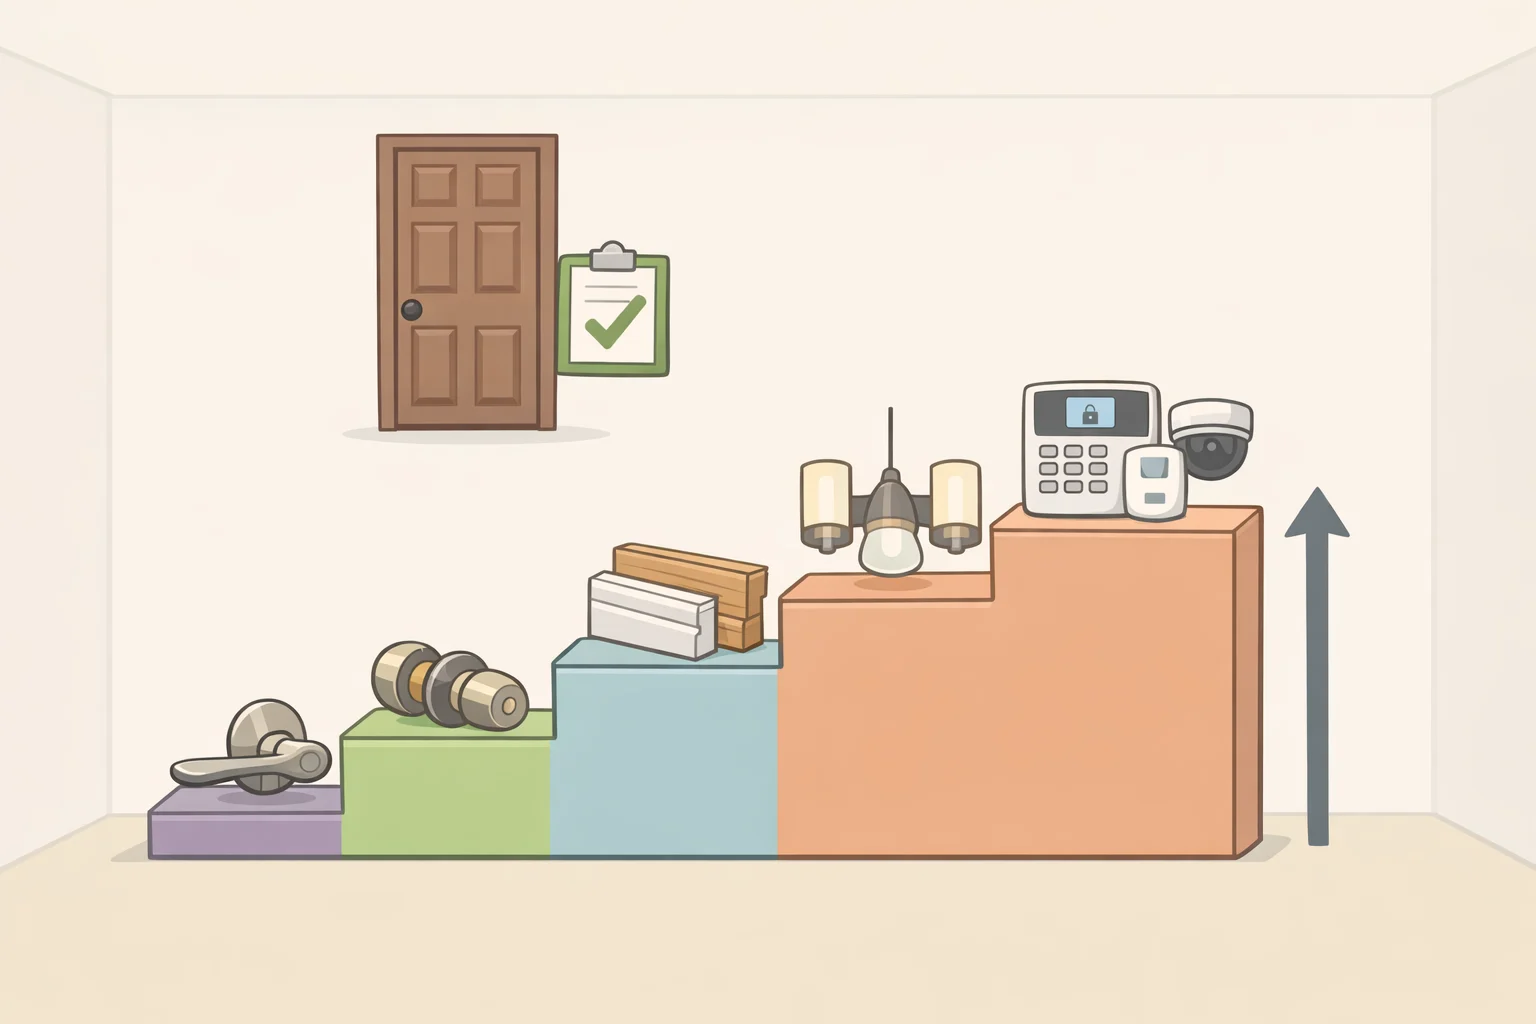
Once the test door from step 10 holds up, spend whatever remains in order. Trying to fund a full hardware order, a backsplash, and a fixture swap all at the same time is how the leftover budget disappears before the project is finished.
- Complete the hardware order. With the test pull confirmed, finish the doors and drawers and buy the rest of the pulls and knobs your worksheet accounted for.
- Backsplash or wall treatment, once the essentials are covered. Peel-and-stick tile cost just $30 in one documented project and became the element that visually connected mismatched cabinets and a dark countertop (The Kitchn, about 9 months ago). If you're renting, note that peel-and-stick isn't automatically damage-free at removal; that same project added a layer of removable vinyl shelf liner underneath the tile specifically to protect the wall.
- One small fixture swap, not both. Choose either a flush-mount light cover swap or a fixture refinished with a product like Rub 'n Buff (The Kitchn, about 9 months ago), or a faucet swap from chrome to a darker finish (The Kitchn, more than two years ago). Pick whichever bothers you more in the current kitchen. Funding both after paint, prep, and hardware stretches this budget too thin.
- Decor and textiles last. A runner, linens, and artwork are the lowest-cost-per-impact items, and the easiest to skip if the budget runs dry after the first three steps.
Finish, then check before you spend more
Hold to the cure and ventilation times from the painting steps above before treating the kitchen as back in daily use. The test door from step 10 is the real durability check, though, not a fixed calendar date.
If it's still holding up cleanly by the time the rest of the kitchen finishes curing, rehang everything, finish the hardware order, and move on to the backsplash, fixture, and decor spending above. If any door is chipping or lifting before you get that far, stop adding hardware and finishing touches, and go back to the degreasing and primer-adhesion checks earlier in this guide before putting more of the $3,000 toward the room.




















Comments
Be the first, drop a comment!