


This guide covers one specific technique: adding a mat to an inexpensive print or photo so it reads as deliberately framed rather than casually displayed. By the end, you'll know how to mat artwork cheaply at home, why the technique works, how to measure and cut the mat opening, how to choose a mat that actually elevates your piece, and how to assemble the whole thing without damaging what you're framing.
Prerequisites: A standard-size frame, the print or photo you want to display, and either a pre-cut mat (easiest) or a sheet of acid-free mat board plus a utility knife and metal ruler.
The case for doing this: a mat adds visual depth and physical separation between art and frame, giving the eye a place to rest. That's exactly why galleries use them. Decorative matting had taken social media by storm in the prior six months, with designers and everyday buyers alike using it to make small or simple pieces feel museum-caliber without paying for custom framing.
Pre-cut mats on Etsy run around $10 (down from $17). Custom online framing with a mat through a service like Artifact Uprising runs around $52. The DIY version lands well below that.
Why a mat changes how art reads
The mechanism isn't decorative; it's perceptual. A mat creates a buffer of negative space between the art and the frame edge, pulling the viewer's attention inward toward the image. Mats give the framing more surface area to carry color and texture.
Small or minimal art benefits most from this. A 4×6 snapshot dropped bare into an 8×10 frame floats awkwardly. The same photo with a well-proportioned mat reads as scaled and considered. Even something as subtle as an off-center mat opening can make a viewer pause and engage with a piece differently than they would with a centered print.
There's also a practical problem mats solve that rarely gets mentioned. Not all prints fit the standard 4:5 or 16:9 ratios that most consumer frames are built around. Postcards, vintage photos, film prints, and most downloaded art files are frequent offenders. A mat fills the gap cleanly, letting you put an oddly proportioned piece into a standard frame without cropping it or leaving raw empty space at the edges.
How to measure the mat opening
This is the step most DIY guides skip, and it's where most first attempts go wrong.
Step 1: Confirm the frame's inner dimensions. Remove the backing and measure the interior of the frame rabbet, the inner lip that holds everything in place. This is the maximum outer size your mat can be.
Step 2: Decide the mat opening size. The mat opening, the window, and the art shows should be slightly smaller than the print on all sides, typically a quarter inch of overlap per edge. That overlap holds the print in place and prevents the edges from showing through the window. So if the print is 5×7 inches, cut the mat opening to roughly 4.5×6.5 inches.
Measure the print carefully before cutting anything. If the print has a white border you want hidden, account for that when sizing the opening.
Step 3: Calculate the mat border width. Subtract the mat opening dimensions from the frame's interior dimensions, then divide by two. That's the border width on each side.
Worked example: Frame interior is 11×14 inches. Mat opening is 4.5×6.5 inches. That leaves 6.5 inches of mat width horizontally (11 minus 4.5) and 7.5 inches vertically (14 minus 6.5). Divide each by two: approximately 3.25-inch side borders and 3.75-inch top and bottom borders. Round to a clean number and adjust if you want a weighted bottom (see Step 8 below).
Step 4: If the art is an odd size, center the opening and work outward. Measure the print. Add the border width you want on each side. The result is the mat's outer dimension. If that doesn't match the frame, either adjust the border width or find a different frame. Cutting to a custom outer size is doable with a utility knife and metal ruler, but start with pre-cut mats until you've done this once.
How to choose the right mat for cheap art framing
Step 5: Read the art before touching anything else. Frame for the art, not for where it's going in your home. Look at what the piece is doing visually before deciding anything about the mat. Busy or minimal? High-contrast or muted? That answer determines almost everything downstream.
Step 6: Match mat complexity to art complexity. Bold, graphic, or high-contrast art needs a simple mat, usually white or off-white, that gives the piece room to breathe. Minimal art, a line drawing, a faded film print, a small snapshot with flat tones, can carry a colored or patterned mat that adds visual weight the art itself doesn't supply. If a piece is more minimal, a colored or patterned mat can give it the extra lift it needs. If it's already bold, a simple mat helps it breathe
Pairing a patterned mat with a small, delicate piece, a soft watercolor or pencil sketch, usually overwhelms rather than elevates. Reserve stripes and bold colored mats for work with enough visual energy to hold their own against them.
Step 7: Choose the color. A neutral mat (white, cream, light gray) works for almost anything and is the right call when in doubt. A colored mat should pull from the art itself: identify a secondary or muted tone in the image and echo it in the mat. Tonal pairings, where frame and mat share the same color family, have grown more popular. Start conservatively. A slightly tinted neutral is harder to get wrong than a fully saturated color.
Step 8: Consider a weighted bottom border. A weighted mat has a slightly deeper bottom border than the top and sides. This corrects an optical illusion where centered mats appear to sag downward, making the art look like it's sliding toward the bottom of the frame. The correction is subtle but noticeable; finished displays look more stable and intentional. As a starting point, add roughly half an inch extra to the bottom border and adjust from there.
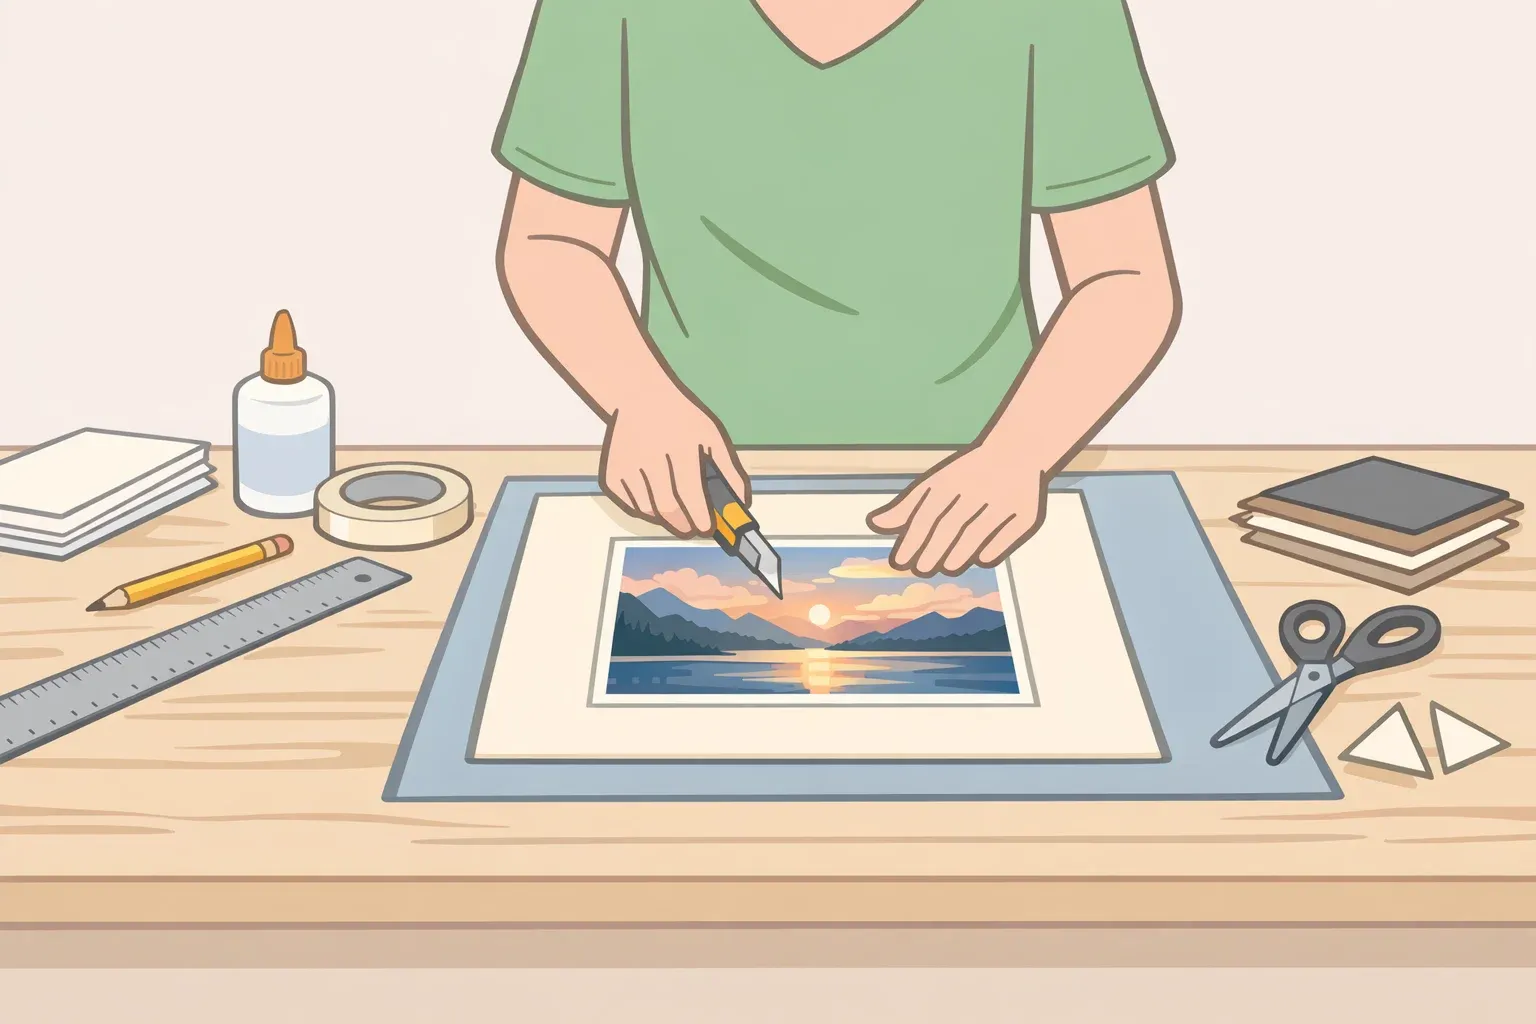
Assembly: how to mat a print at home
Step 9: Mount the print behind the mat. Lay the mat face-down on a clean surface. Position the print behind the opening, centered as desired. Use acid-free linen hinge tape or acid-free photo corners to attach the top edge of the print to the back of the mat board. Don't tape all four sides; paper needs room to move slightly with humidity changes, or it will buckle. Two hinges at the top edge are the standard archival approach.
For anything you want to keep, use archival-grade tape or corners. Regular tape yellows and becomes brittle over time, and it will eventually damage the paper beneath it.
Step 10: Place in the frame and close. Lower the matted print into the frame, secure the backing, and check the front for alignment. If the print has shifted, open the frame, adjust, and resecure. Takes thirty seconds.
Sourcing and cost breakdown
Pre-cut mat from Etsy: Best for colored or striped options in standard sizes. Approximate cost: about $10
Pre-cut mat from a craft store: Best for standard sizes and first attempts. Approximate cost varies by retailer.
Acid-free mat board sheet for DIY cutting: Best for odd-size art, multiple pieces, or full color control. Approximate cost varies by retailer.
Basic mat cutter tool: Best for cutting multiple pieces yourself. Approximate cost is a one-time purchase.
Custom online framing, such as Artifact Uprising: Best for pieces you want professionally finished. Approximate cost: about $52.
Buy pre-cut for standard sizes and for any first attempt. Cut your own only if the art is an unusual size or you're planning several pieces and want the per-mat cost to drop.
Common mistakes:
Cutting the mat opening too large, so the print edge becomes visible through the window (measure twice)
Using a non-archival board for photos or keepsakes
Picking the frame before confirming the art is a standard proportion
Pairing a patterned mat with small, delicate art that can't hold its own against it
What comes next
That's the full process: measure the opening and borders, choose a mat that either simplifies or amplifies depending on what the piece needs, mount the print with archival hinges, assemble. Pre-cut Etsy mats land around $10; custom framing the same piece runs around $52. The gap is real, and the DIY result is hard to distinguish.
Once you're comfortable with a single piece, vary mat widths across a gallery wall to create visual cohesion across mixed-size prints. Or try a double mat, two stacked layers in contrasting colors, for a more finished look on pieces you want to feature prominently. Both follow directly from what you just learned.


Comments
Be the first, drop a comment!