


Gold Ceiling Makeover: Transform Your Ceiling for Under
There are two versions of this project. The minimal version, a single gold rectangle framing a light fixture, runs under $15 in materials and takes one afternoon. The full-room version, a centered frame spanning most of a standard living room ceiling, costs around $28 to $30 and takes the same afternoon. Both produce the same result: a ceiling that looks like someone made a deliberate choice about it.
This guide walks through how to decorate a plain white ceiling using metallic gold decorative tape applied in a single framed rectangle. One roll for the small version, two for the larger. No contractor, no painting, no permanent commitment if your test strip comes back clean.
By late 2024, House Digest reported broad agreement among designers that plain ceilings were on their way out, replaced by surfaces treated with beams, molding, tile, and decorative trim. The tape method here is the lightest-commitment entry point into that category. It won't show up in an architecture magazine, but it will change how the room reads.
This is a step-by-step walkthrough for one technique, with specific notes on where it fails.
Is this project right for your room?
Answer these three questions before buying anything.
Surface type: Metallic tape bonds to smooth, clean, painted drywall. Textured ceilings, orange peel, skip trowel, acoustic spray, are a different story. Adhesion becomes inconsistent, and removal can pull paint with it. Press a short test strip in an inconspicuous corner and leave it for 48 hours. If it sits flat and releases cleanly, you're clear to proceed.
Renter status: Check with your landlord before starting. Peel-and-stick adhesives vary; some release without a trace, some lift paint down to the drywall. The 48-hour test tells you which you have. Know the answer before you're on a ladder with 20 feet of tape already applied.
Ceiling height: A bold metallic treatment on a ceiling under 8 feet can feel oppressive rather than architectural. House Digest noted in November 2024 that treated ceilings draw the eye upward and create the illusion of a taller room. That effect depends on having room to work with. For ceilings under 8 feet, use the minimal version described below and inset the frame generously from the walls.
If all three are green, move to materials. If your ceiling is textured or your test strip fails, skip to the final section for alternatives that handle those surfaces.
Gold ceiling makeover: materials and layout
The tape
One roll of metallic gold decorative tape. Before ordering, confirm three things from the product listing: width (the useful range for accent line work is ¼ inch to 1 inch), whether the adhesive is repositionable or permanent, and whether the product is rated for overhead application. Some decorative tapes are wall-rated only. Ceiling use puts different stress on the adhesive bond, and that difference matters once you're working above your head on a ladder.
Note the roll length on the listing. That number determines whether you need one roll or two.
Supporting materials
- Measuring tape and pencil
- Chalk line or long metal straightedge
- Painter's tape (for layout mock-up)
- Ladder rated for your ceiling height, with a tray or shelf for tools
- Scissors and a sharp utility knife with a fresh blade
- Small cutting mat (for corner trim)
- Clean lint-free cloth and mild all-purpose cleaner
The layout: a single framed rectangle
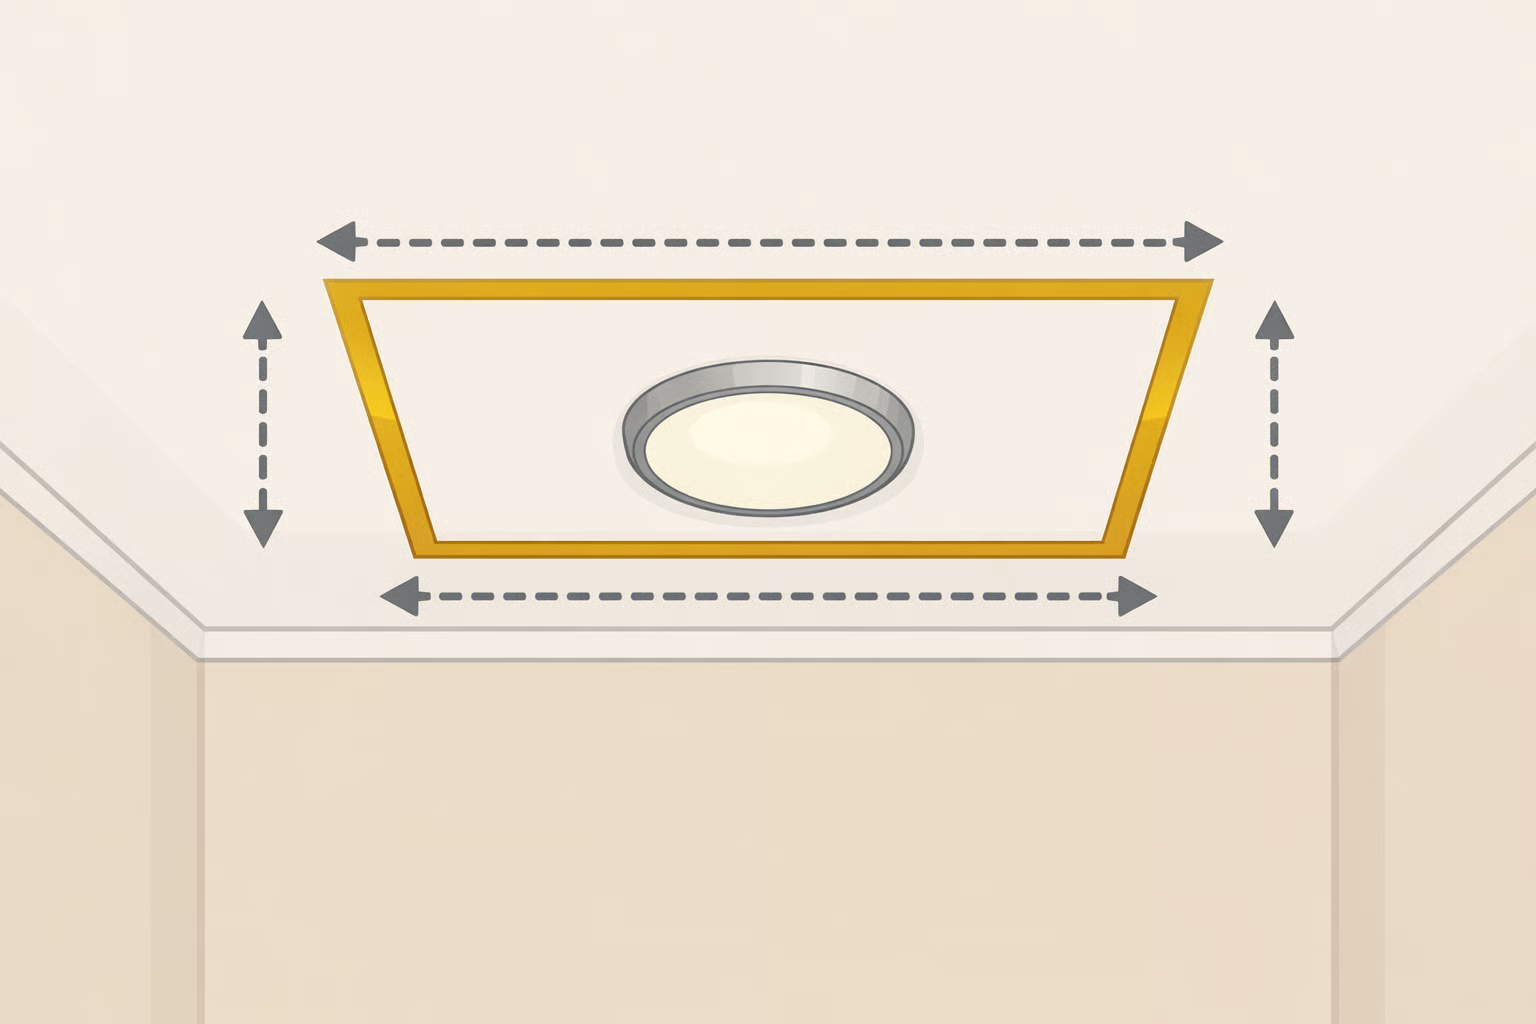
This guide uses one design: a rectangle centered on the ceiling, inset roughly 12 to 18 inches from each wall. It works whether or not you have a central light fixture; if you do, center the rectangle around it. Four straight lines, no compound angles. The frame reads clearly from across the room, and it's the right starting point for a first ceiling project.
What this actually costs
The "under $15" figure in the headline applies to the minimal version: a rectangle framing just the light fixture, roughly 4 by 4 feet, using less than one roll.
For a standard 12 by 14-foot living room, with the frame inset 15 inches from each wall, the center rectangle runs roughly 9 by 11 feet, about 40 linear feet of perimeter. Most tape rolls run 16 to 33 feet, so budget for two rolls and approximately $28 to $30 total. That's still a budget ceiling makeover by any reasonable measure. Metal ceiling tiles, which House Digest calls a DIY- and budget-friendly upgrade, would cost more for the same footprint and require substantially more prep.
Start with the minimal version if you want to see how the treatment reads in your room before committing to the larger frame.
How to apply the tape: step by step
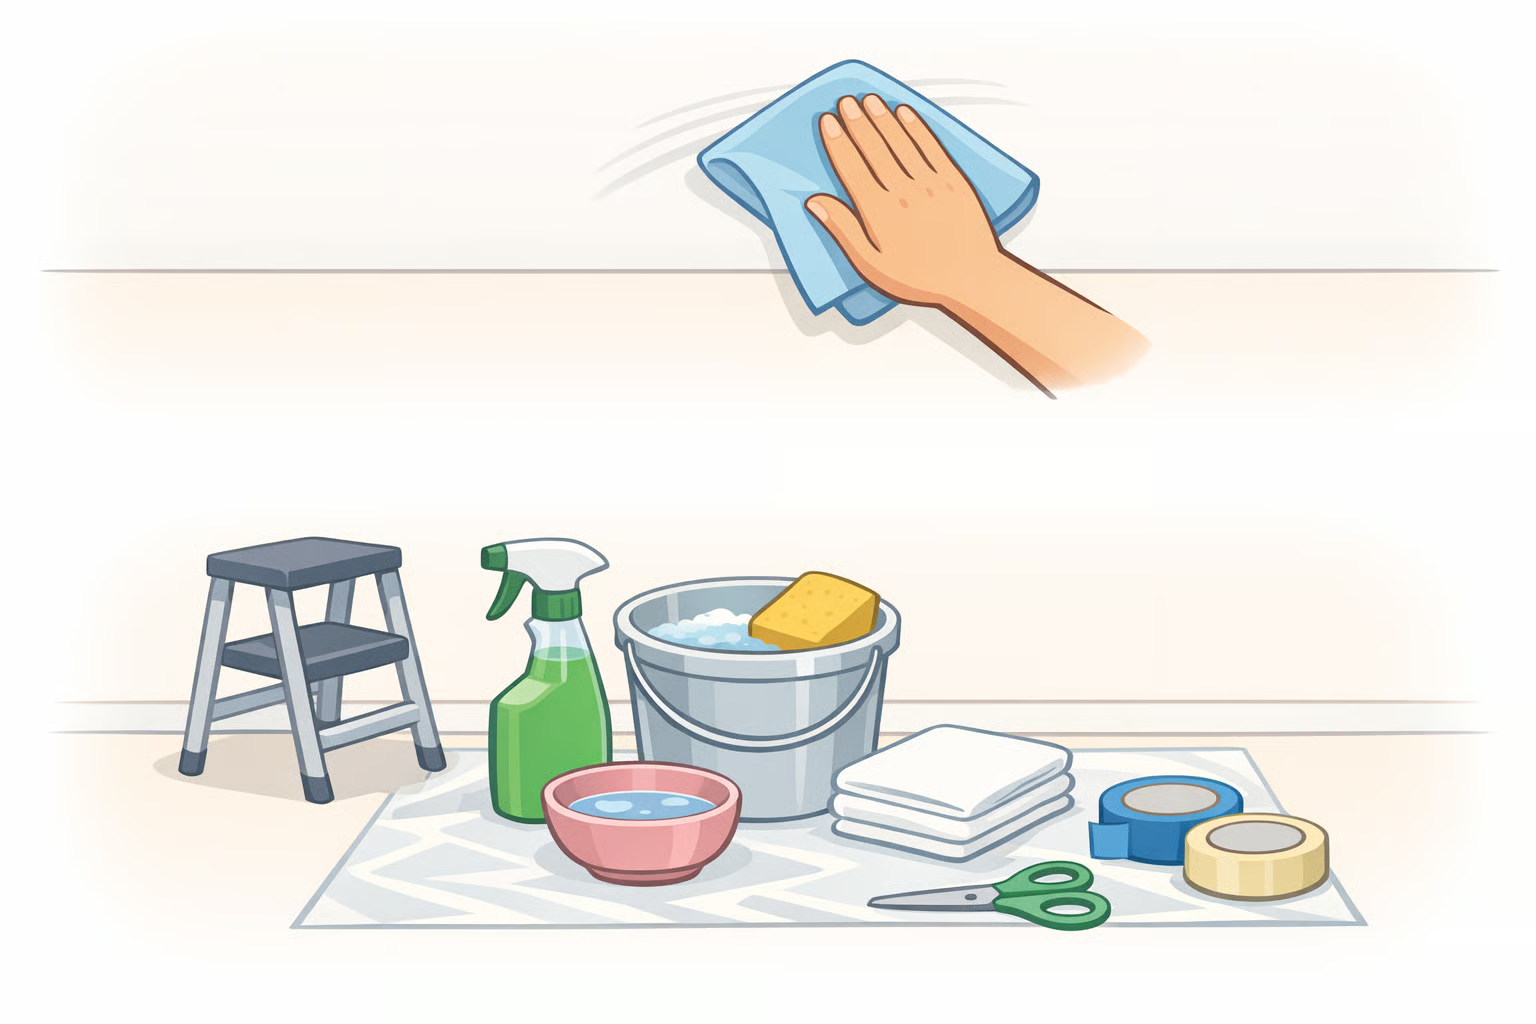
Step 1: Clean the ceiling surface. Wipe the application area with a lightly damp lint-free cloth. Remove dust, grease residue, and any flaking paint. Let it dry for at least 30 minutes. Skipping this step is the most common reason tape fails within the first few days. A clean surface is the difference between tape that stays put for years and tape that starts lifting by the weekend.
Step 2: Find and mark the ceiling center. Measure wall-to-wall in both directions, mark the midpoint on each wall with a faint pencil line, and snap a chalk line between opposite marks to establish true center. Five minutes of work here prevents the creeping misalignment that only becomes obvious once you're sitting on the couch and can't stop noticing it.
Step 3: Mark the rectangle and lay a painter's tape mock-up. From center, measure outward to establish all four sides. Mark each corner lightly in pencil, then run painter's tape along all four lines. Step off the ladder and look at the layout from the doorway. Adjust now. Metallic finishes amplify every deviation under normal light, and painter's tape always looks more forgiving up close than the final product will.
Step 4: Cut each run individually. Measure each side of the rectangle separately before cutting anything. Rooms are rarely perfectly square, and a cut made to a "standard" length that's off by a quarter inch will be visible. Cut against a metal ruler on a flat surface, one run at a time, not all four in advance.
Step 5: Apply the two long sides first. Peel a few inches of backing, align the tape edge to the painter's tape guideline, and press that leading section down firmly. Have a second person hold the unpeeled end at the far corner; without that, the tape droops or torques before you can get it down straight. Work in 12-inch increments: peel, align, smooth from the center of the tape outward to each edge. Pull the painter's tape guide as you go rather than leaving it underneath the finished run.
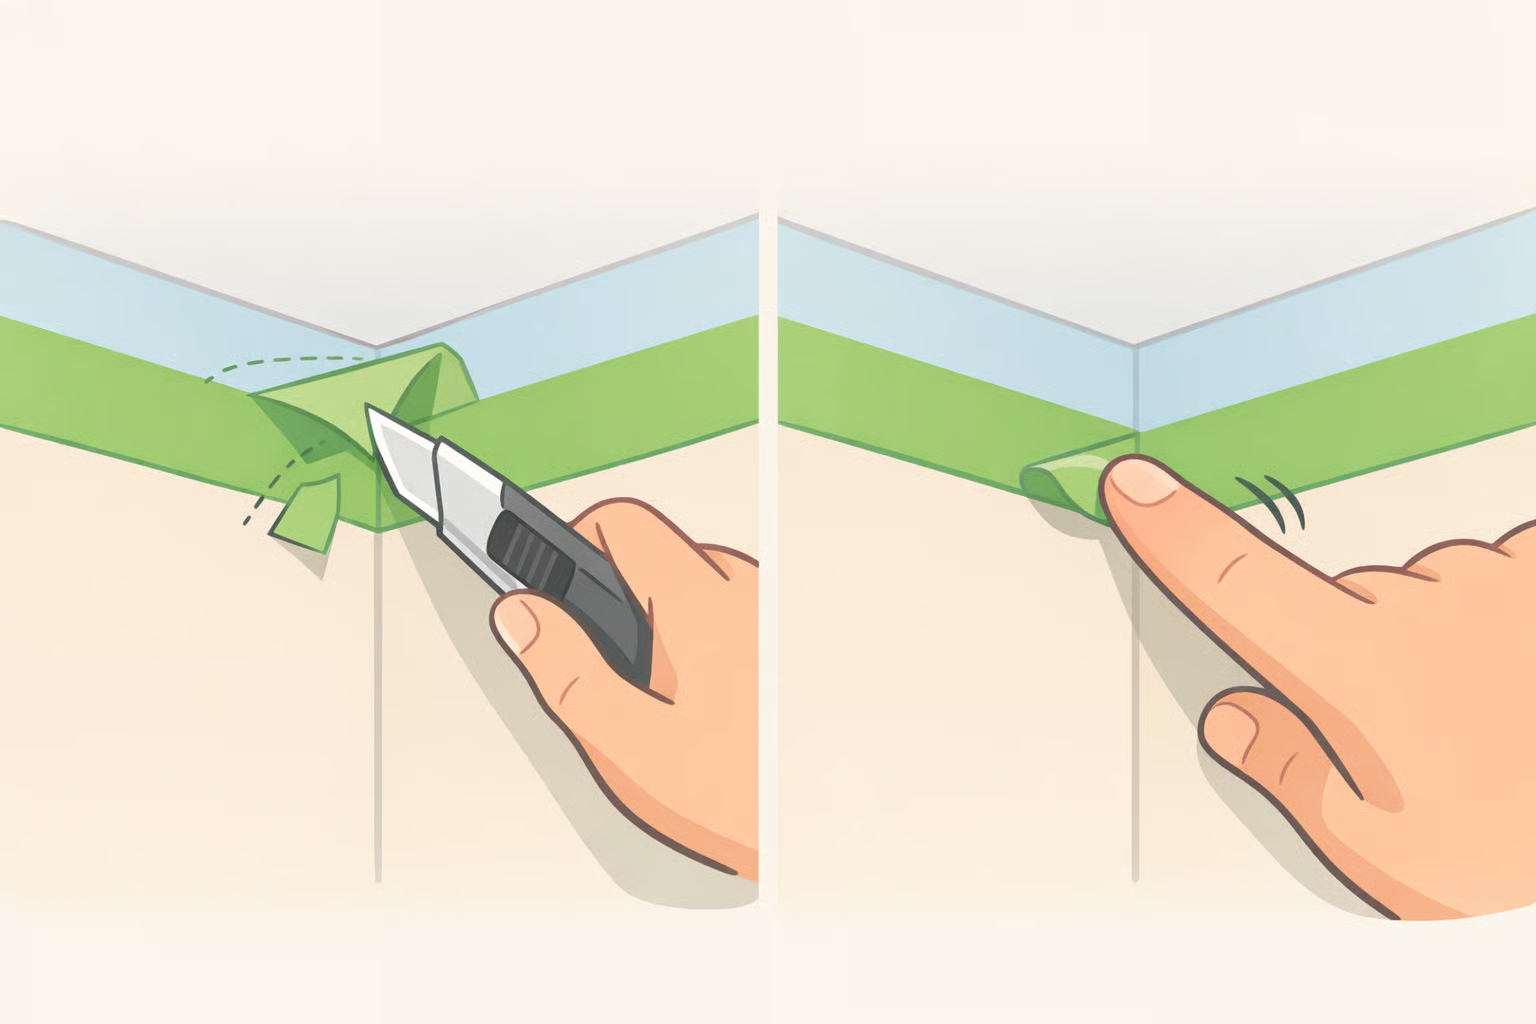
Step 6: Apply the short sides and handle the corners. Finish both long sides before touching the short ones. At each corner, one run will overlap the other. A utility knife against a small cutting mat held flat to the ceiling will trim the overlap cleanly enough for most rooms. For a tighter result, miter both pieces at 45 degrees before applying. It takes more care, but it eliminates the corner gap or raised overlap that shows up clearly in reflective finishes under raking light.
Step 7: Press the full run and inspect. Run a fingertip firmly along the entire length of each run. The first and last inch of each section are most likely to lift. Step down and look at the ceiling from normal standing height, from multiple positions around the room. Lifted edges, misalignment, and corner gaps are all fixable now. After the adhesive cures, they aren't.
Common failure points: catch these before finishing
- Tape lifting within the first hour: the surface wasn't clean enough, or the product isn't suited for overhead application. Press firmly and monitor for 24 hours. If it still won't hold, stop and reassess the product before continuing.
- Lines that look straight up close but crooked under raking light: this is a layout problem, not an installation problem. Metallic finishes catch directional light and expose every deviation. Use a longer straightedge when marking on future projects. Don't try to pull and reapply tape that's already down; the edge distorts.
- Corner gaps or overlaps that won't lie flat: the blade was dull when you cut. Re-cut with a fresh blade. Dragging a dull blade through metallic tape deforms the cut edge enough to show.
- Test strip that didn't release cleanly: do not proceed to the full project. This is especially important for renters, but worth knowing for anyone who might want to revise or remove the treatment later.
Step 8: Light the finished ceiling properly. Set a warm-toned lamp, 2700K to 3000K, angled upward or toward the ceiling plane. Metallic finishes are highly light-dependent: flat overhead light washes them out, while warm directional light catches the gold and shows the depth of the frame. If the finished treatment looks dull or flat, adjust the lighting before questioning the tape. That variable accounts for most of the difference between a DIY gold ceiling that photographs well and one that doesn't.
What the finished ceiling should look like: a clean architectural frame. Subtle enough that it reads like the room always had it, distinct enough that anyone walking in will notice the ceiling looks considered. House Digest identified this quality in November 2024 as the thing driving the treated-ceiling trend: not decorative excess, but the visible sense of intentional design.
What you've built and what to check next
A single metallic rectangle on a white ceiling costs under $30 in materials and one afternoon in labor. Among the living room ceiling design ideas circulating right now, it's about as low-friction as this category gets. The design logic behind the trend isn't maximalism; House Digest put it plainly in late 2024: textured and treated ceilings add dimension and signal that someone actually thought about the room's fifth surface.
After 24 hours, run one final check: press along all tape runs, focusing on corners and endpoints. Most adhesion failures show up in this window, and fixing them now is considerably easier than pulling out the ladder after everything's been tidied away.
If this method was ruled out by your ceiling surface, two alternatives accomplish the same visual goal on surfaces where tape adhesion is unreliable. The first is decorative trim applied directly to the ceiling plane, not at the wall corners like crown molding, but flat on the ceiling itself to frame a fixture or create a coffered pattern. House Digest describes exactly this approach as a current option for textured ceiling design. The second is stamped metal tiles used as a border rather than full coverage. Both involve more material cost and more prep time than the tape method, but both hold where tape won't, and both are described as DIY-accessible by the same source.
Start with one rectangle. See how the room shifts.


Comments
Be the first, drop a comment!