


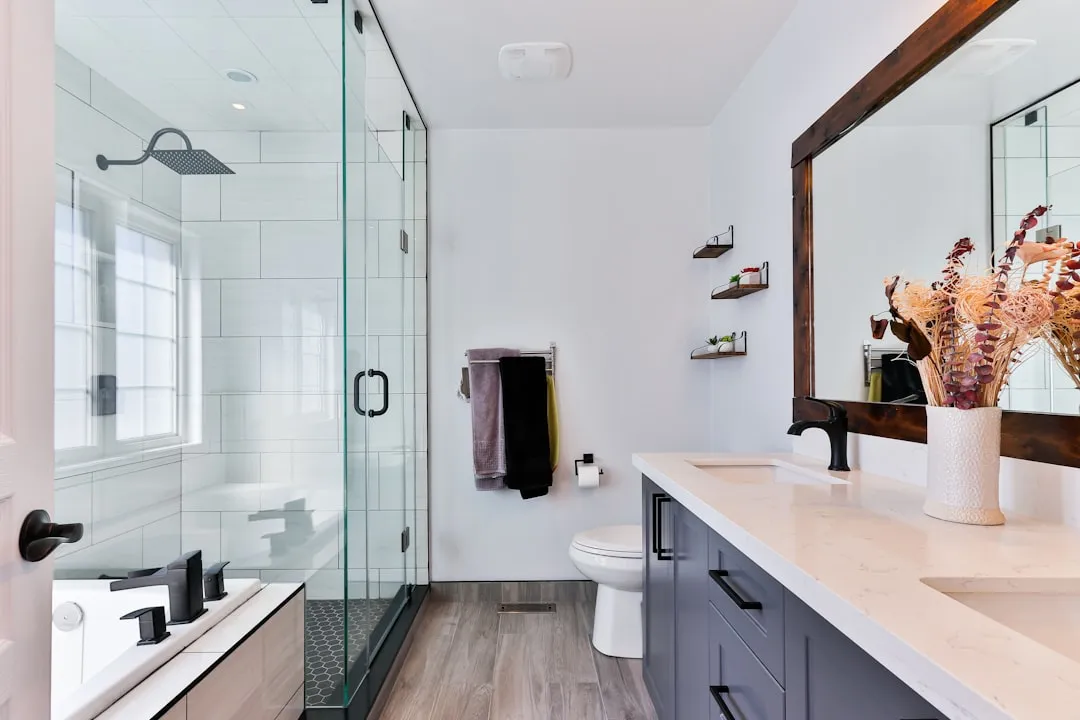
Looking at the same tired bathroom fixtures every morning? You're definitely not alone. Most homeowners find themselves stuck with outdated mirrors, dated hardware, and zero personality in what should be a refreshing retreat. The good news? You don't need a contractor or a massive budget to create dramatic change.
Difficulty: Novice
Time: 2-6 hours per project
Cost: $15-$300 per upgrade
Why You'll Like This (Quick Intro)
The secret lies in knowing which changes pack the biggest visual punch for your time and money. Weekend DIYs like fresh paint, grout recoloring, and peel-and-stick flooring transform the look and feel of small bathrooms, while simple projects like paint or clever storage solutions can be budget-friendly and transformative. These strategic updates can make your bathroom feel completely intentional rather than accidental—and most take just one weekend to complete.
What You'll Need
Materials (varies by project)
Bathroom-grade paint with moisture resistance
New mirror (70-80% of vanity width)
Updated hardware in consistent finish
Basic hand tools
Tools
Screwdriver set
Measuring tape
Level
Non-contact electrical tester (for electrical work)
Safety First
Turn power OFF at breaker for any electrical work; verify with non-contact tester
Use bathroom-specific paints with mold and moisture resistance
Ensure proper ventilation while painting
Measure existing hardware holes before purchasing replacements
Steps
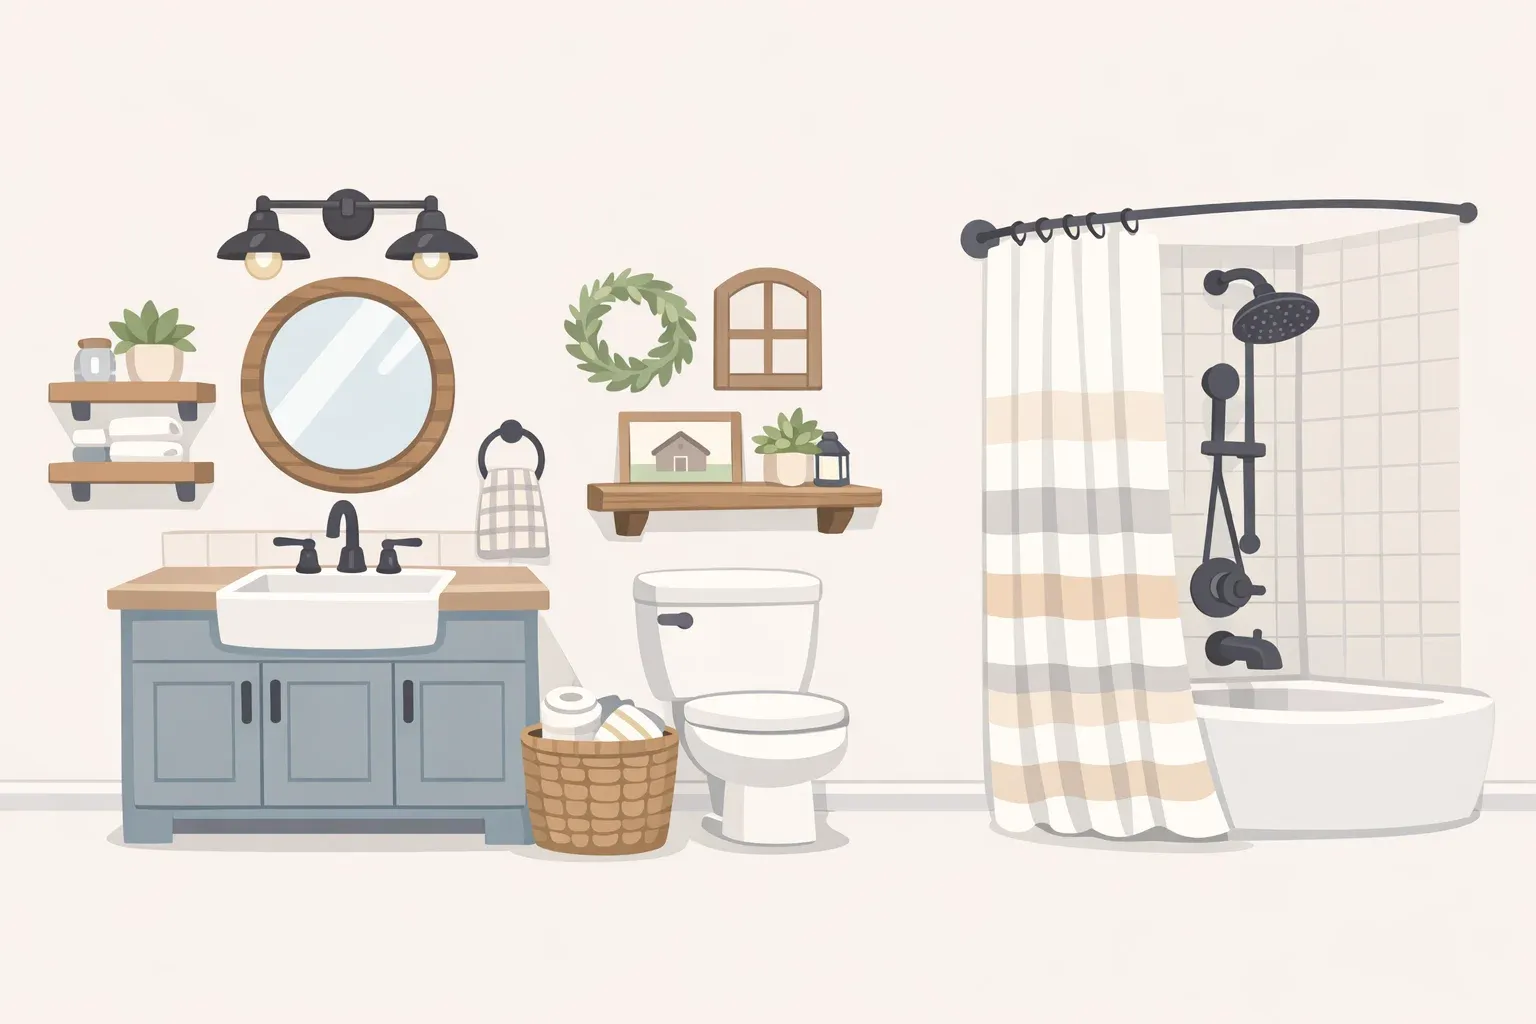
The Mirror Swap That Changes Everything
Measure your current setup. Choose a mirror that's 70-80% the width of your vanity for proper proportions.
Tip: Round mirrors soften angular spaces, while rectangular frames complement modern aesthetics.
Remove the old mirror carefully. Most builder-grade mirrors use basic wall anchors.
If mounting seems complex: Check behind for electrical connections before proceeding.
Install your new focal point. Replacing the builder-grade mirror with a more custom-looking option instantly makes the space feel intentional.
Why it works: Using a large mirror can create the illusion of more space in a small bathroom, immediately transforming how the room feels and functions.
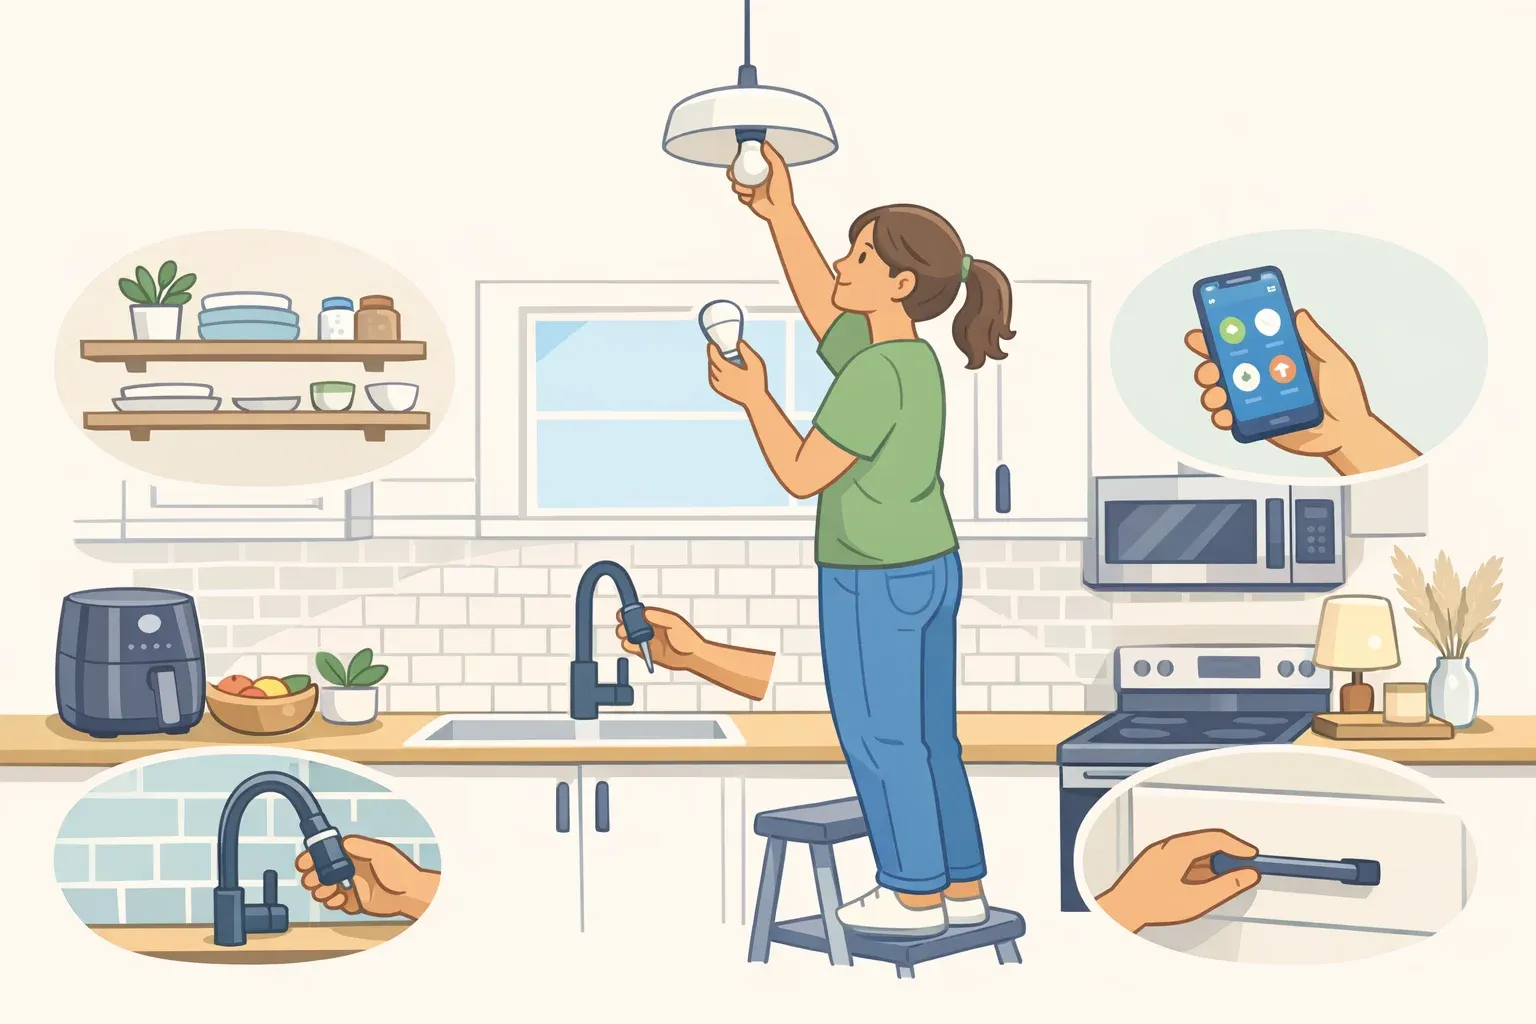
Hardware Refresh: The 20-Minute Makeover
Measure before you shop. Measuring screw hole distances ensures new hardware fits without new drilling, turning this into a smooth weekend project.
Choose one finish and stick with it. All you need is 20 minutes and a screwdriver to update hardware. Cabinet pulls, towel bars, and toilet paper holders instantly modernize your space.
Consistency is key: Using cohesive finishes like brushed nickel, matte black, or brass throughout fixtures and hardware creates immediate cohesion.
Install your new hardware systematically. Work from left to right or top to bottom to maintain consistency in placement.
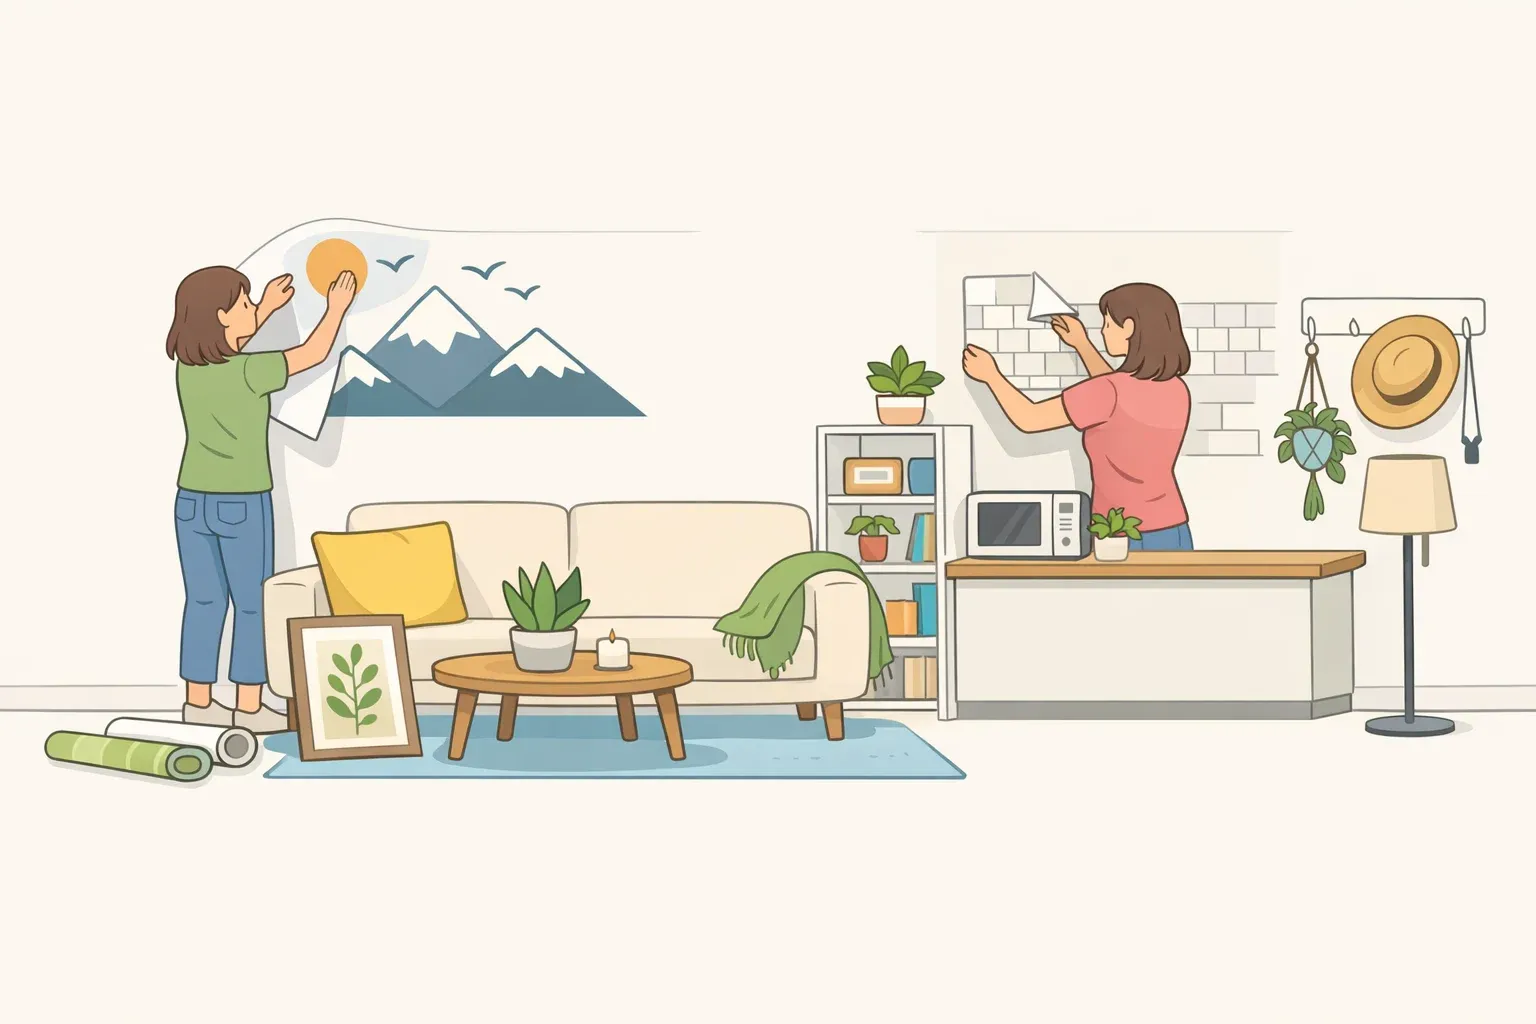
Paint Power: Instant Atmosphere Transformation
Choose your surfaces strategically. A fresh coat of paint is the fastest way to change a room's mood and perceived size. Consider painting beyond just walls.
Start with the vanity for maximum impact. Painting the vanity is a perfect weekend project that adds major impact for minimal cost.
For small spaces: Walls and ceilings should use light-and-airy pastels for windowless spaces to open them up.
Consider specialty applications. Using specialty high-adhesion primer and epoxy paint can cover old ceramic tiles at a lower cost than replacement.
Why it works: Paint creates both mood and perceived space changes while costing a fraction of major renovations.
Cleanup & Disposal
Store leftover paint properly for touch-ups
Clean brushes with appropriate solvents
Dispose of old hardware and paint materials according to local guidelines
Wipe down all surfaces and restore workspace
Troubleshooting
Problem: New hardware doesn't align with existing holes → Fix: Use decorative backplates to cover gaps or slightly enlarge holes with careful drilling
Problem: Paint won't adhere to glossy surfaces → Fix: Sand lightly and apply bonding primer before topcoat
Problem: Mirror feels too small after installation → Fix: Add decorative lighting on either side to create visual balance
Where Small Changes Make the Biggest Difference
Focus your efforts strategically rather than trying to update everything at once. Small upgrades like fresh paint, hardware, and lighting can yield dramatic visual impacts, while typical budgets can start as low as $15 for small upgrades (or ~$300 for higher-impact combos).
Target these high-impact zones: around the mirror area, near the entrance where people first look, and at eye level where details really matter. Adding smart, cute storage solutions can help organize your space and serve as a design feature, while using moisture-safe baskets and liners maximizes concealed storage in small bathrooms.
Don't overlook lighting's transformative power. Lighting can completely shift the mood of a bathroom. Even tiny changes in your lighting can make a major difference because you'll create a softer, more relaxing atmosphere—sometimes as simple as swapping harsh white bulbs for warm ones or adding battery-operated sconces.
Variations & Upgrades
Renter-friendly version: Focus on removable updates like new shower curtains, adhesive hooks, and temporary wallpaper
Budget upgrade: Combine mirror and hardware swaps with fresh paint for under $200 total
Weekend warrior approach: Tackle one project per weekend to spread costs and effort
FAQ
Can I paint over existing tile? Yes, with proper primer and tile-specific paint, though durability won't match new tile.
Will updating hardware damage my security deposit? Most hardware changes are easily reversible if you save original pieces and fill small holes when moving.
How do I know what size mirror to buy? Measure your vanity width and use 70–80% of that width for an ideal mirror size.
The goal isn't perfection—it's transformation. When you walk into your bathroom tomorrow morning, you want it to feel like a space designed with intention, not one that just happened by accident.


Comments
Be the first, drop a comment!