


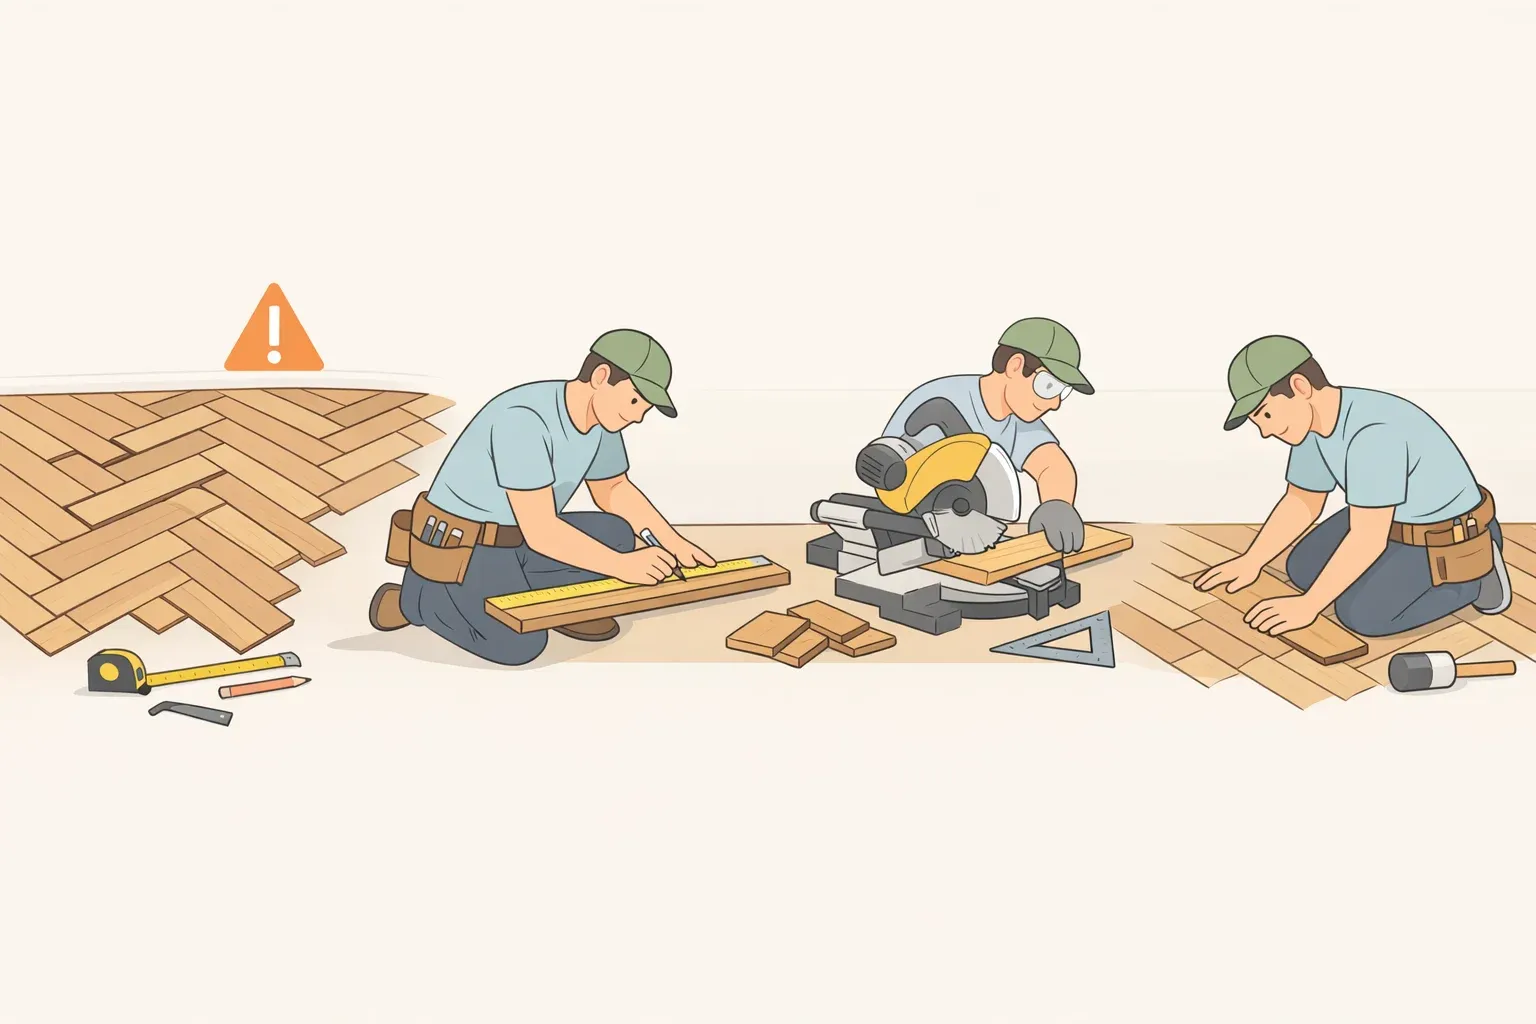
5 Common Herringbone Floor Installation Mistakes Explained
Herringbone fails for predictable reasons. Most of them happen before the first plank is fully set. This guide covers the four categories of common herringbone floor installation mistakes that consistently produce floors that look permanently, subtly wrong: inadequate subfloor preparation, faulty layout and alignment, imprecise cutting and spacing, and mismatched installation methods. Get through all four correctly and the pattern will look the way it should.
This guide covers wood, engineered wood, and LVT herringbone formats. Tile is referenced where the lesson applies across materials. Moisture tolerances, expansion gaps, and adhesive requirements differ by product; those distinctions are called out at the point where they matter.
Why herringbone punishes small errors harder than other patterns. The repeating V-geometry has no capacity to absorb variation. A size difference in a single board becomes visible misalignment; a slight change in joint width turns into a wave the eye can follow across the entire floor. Straight-lay plank flooring can forgive a few millimeters. Herringbone does not. Trade installation guidance describes it as one of the most difficult flooring patterns to lay out and install correctly, per The Solid Wood Flooring Company via NBS.
That unforgiving geometry also drives up cost. Herringbone LVT installation typically runs 20–30% more than straight-lay, due to pattern complexity, additional labor, and the extra material required for diagonal cuts. That's before errors force rework or full tear-out, per Floor Boys.
DIY decision point read before buying anything. Click-lock LVT herringbone in a square room is a reasonable DIY project for someone comfortable with power tools and patient enough to spend time on layout. Glue-down engineered wood or solid hardwood herringbone in an irregular room is a different category of difficulty. The adhesive window is unforgiving, the geometry is cumulative, and corrections mid-install are expensive. If your project falls in the second category, one professional consultation before buying material costs far less than a mid-project restart.
Step 1: Prepare the subfloor and control moisture before anything else
What you accomplish here: Verify the subfloor is ready to install on. Until these conditions are met, no other step should begin.
The reference lines in Step 2 only work if the floor beneath them is flat and stable. Laying out a herringbone pattern on an uneven or moisture-compromised subfloor doesn't prevent failure; it schedules it.
Subfloor flatness
NWFA standards call for a subfloor to be flat within 3/16 inch over any 10-foot span, or 1/8 inch over any 6-foot span. Subfloors beyond these tolerances create stress concentration points that produce squeaking, hollow sections, and adhesive bond failures. All of those problems are more visible in herringbone than in straight-lay installs because every plank meets its neighbor at a diagonal, per National Flooring Authority.
Fix high spots with a belt sander. Fill low spots with leveling compound. Check your work with a long straightedge before moving on.
Moisture and acclimation
Moisture content differential is the dominant causal driver of hardwood flooring failures, per National Flooring Authority. NWFA standards require wood flooring to be acclimated until its moisture content is within 4 percentage points of the subfloor's moisture content and within 2 percentage points of the building's expected in-service equilibrium moisture content (EMC). Falling outside those thresholds produces cupping, crowning, and gapping.
Acclimation is condition-based, not time-based. Leaving planks in a room for 48 hours is a common starting point, but the NWFA's actual standard is that the flooring must reach EMC consistent with the site environment, which may take longer or shorter depending on conditions. The HVAC system must be running, the space must be fully enclosed, and you must measure both the flooring and subfloor moisture content before proceeding, per Pro Hardwood.
Concrete subfloors require testing, not assumption. Concrete must be tested using ASTM F2170 (in-situ relative humidity) or ASTM F1869 (calcium chloride) methods before any wood or engineered flooring goes down. A slab that looks dry can still carry moisture levels that cause failure within months. For glue-down installs over concrete, an approved moisture-control membrane or vapor retarder is typically required. Check both the flooring manufacturer's instructions and NWFA installation guidelines for the specific requirement, per National Flooring Authority.
⚠ Gotcha humidity after installation matters too. Forced-air heating systems without humidification can drive interior relative humidity below 30% in winter months, enough to produce visible gaps in oak flooring as the boards contract. NWFA guidance calls for maintaining interior RH between 30% and 50% year-round for most species. Gaps and cupping that develop after a technically correct installation are often environmental maintenance failures, not product defects, per National Flooring Authority.
Expansion gaps by material
For solid hardwood, allow approximately 10 mm of expansion gap around all vertical surfaces. For LVT, approximately 5 mm is standard. Always defer to the manufacturer's specification, which takes precedence over general industry recommendations under NWFA guidelines, per NHF Company and Wood and Beyond.
A subfloor that passes flatness and moisture checks is the one prerequisite that makes everything in Step 2 possible.
Step 2: Establish a true centerline common herringbone floor installation mistakes in layout and alignment
What you accomplish here: Set the geometric control point that all subsequent installation depends on. The floor cannot drift if the reference is correct and verified.
Most rooms are not square. Starting a herringbone run from a wall that appears straight transfers that wall's irregularity into the pattern. The spine rotates, rows gradually drift, and the entire field walks out of alignment. This is called pattern drift. Once it starts, it compounds row by row; the only fix is pulling installed material and resetting from a verified reference point, per Chuck Caudill Flooring.
A deviation as small as 1/16 inch in the initial reference ripples across the entire floor as the pattern repeats. The larger the room, the more pronounced the result, per Floor Boys.
How to set a true centerline
Find the room's center point
Snap two perpendicular chalk lines that intersect there
Verify squareness using the 3-4-5 triangle method or a laser level do not proceed until confirmed
The herringbone spine runs along this line; first-row placement works off this reference, not off any wall
Sources: Floor Boys; Chuck Caudill Flooring
Before snapping any line, decide orientation
The direction the herringbone spine runs relative to the room's entry point and primary sightline affects how the pattern reads when you walk in. Consider both the longest sightline from the entry and the direction of natural light. Pattern orientation also determines where the most complex perimeter cuts land. Plan for those cuts to fall along the least visible walls, not at the main entry, per Chuck Caudill Flooring and V4's engineered herringbone guide.
Plan doorway transitions and thresholds before committing to spine direction. Adjusting transition placement is free before installation and expensive after, per Chuck Caudill Flooring.
Dry-lay the first row before applying any adhesive to confirm orientation, joint width, and pattern symmetry. Some engineered parquet systems require a square template screwed to the subfloor, aligned to a center or offset guide line, as the fixed starting reference. Consult your product's installation guide for the specific method, per V4's installation guide.
Check drift actively during installation. Use a straightedge or laser every few rows to confirm the spine has not moved. Visual inspection alone is insufficient; drift becomes obvious to the eye only after it has already compounded beyond easy correction, per Chuck Caudill Flooring.
⚠ Gotcha out-of-square rooms. A room that is noticeably out of square cannot be corrected by adjusting the centerline. The correct response is to plan where perimeter cuts will absorb the discrepancy, typically distributed along less visible walls, rather than letting the compromise spread into the field where the pattern is most visible, per Chuck Caudill Flooring.
With a verified centerline and drift controls in place, execution in Step 3 either confirms the prep work or exposes what's still missing.
Step 3: Make precise cuts and maintain consistent spacing
What you accomplish here: Execute the installation with the cutting and spacing discipline that herringbone requires. This is where the work in Steps 1 and 2 either pays off or gets undermined.
Every joint is diagonal. A board that is even fractionally the wrong length creates a visible gap; a cut that is slightly off 45 degrees shifts every subsequent piece. Poor cuts lead directly to unsightly gaps and irregular joints that the herringbone pattern's geometry makes impossible to hide, per NHF Company.
Use a miter saw for all angle cuts. Test cuts on scrap before touching finished material. If two boards meet without forcing, the cut angle is correct. If you have to apply pressure to close the joint, something is wrong do not force it, per NHF Company.
Minor gap variation in herringbone, even a millimeter that would be invisible in straight-lay, becomes a visible wave because the eye follows the diagonal spine across the whole floor. Use quality spacers throughout, not just at the perimeter, per Floor Boys.
⚠ Gotcha ultra-tight joints can make errors more obvious. Requests for very small grout or spacing joints are common because they look premium. In herringbone, joints that are too tight amplify any size variation in the material because there is no room for calibration differences to distribute. Use a joint width that matches the actual calibration tolerance of the specific product, per Chuck Caudill Flooring.
Use cardboard templates for complex perimeter and doorway cuts. Before cutting actual material at doorways, columns, or irregular edges, cut and test the shape in cardboard first. A miscut at the perimeter wastes expensive material and may force a visible patch, per Floor Boys.
⚠ Gotcha tile and LVT warpage creates lippage. Plank tile and some LVT formats carry a slight bow. In herringbone, warpage creates lippage where plank corners meet, a problem that multiplies because many corners converge in this pattern. Check dimensional consistency before purchasing material. A tile leveling clip system can help manage lippage, but it cannot compensate for a substrate that is not flat, per Chuck Caudill Flooring.
Step 4: Match the installation method to the specific product
What you accomplish here: Confirm that adhesive, fastening method, and installation conditions are correct for the specific material being installed, before the work begins.
Not all adhesives work with all herringbone materials. Engineered herringbone parquet must be fully bonded to the subfloor using a flexible wood flooring adhesive, not a general-purpose construction adhesive. Using the wrong adhesive in a glue-down install, where the adhesive is doing most of the structural work, can result in delamination under normal foot traffic, per V4's installation guide and NHF Company.
Manufacturer instructions override general guidance. NWFA guidelines explicitly state that manufacturer-specific installation instructions take precedence over general industry recommendations. Read the product's installation guide before starting. What worked for a different brand or format may not apply, per Pro Hardwood.
Radiant heat and wide planks
Standard 3/4-inch solid hardwood is generally not recommended over radiant heating systems due to cyclical moisture and temperature stress. Engineered hardwood with appropriate plywood-core construction is rated for radiant heat by the NWFA and multiple manufacturers, provided substrate surface temperature stays below 85°F, per National Flooring Authority.
Planks wider than approximately 5 inches experience greater dimensional movement from humidity changes. For wide solid hardwood, NWFA guidelines recognize a glue-assist method, combining adhesive with mechanical fasteners, to limit excessive movement. Using nail-down alone on wide herringbone planks without glue assist is a common method mismatch that leads to seasonal gapping, per Pro Hardwood.
⚠ Gotcha LVT temperature requirements during and after installation. LVT expands and contracts with temperature. Room conditions during installation and for at least 48 hours afterward should stay between 65°F and 85°F. Installing LVT in an unheated space and then restoring heat is a direct path to joint separation and pattern distortion, per Floor Boys.
For glue-down installations, wait 24–48 hours before placing standard furniture, and 72 hours before moving heavy items. Loading the floor before the adhesive fully cures can shift the herringbone pattern under weight, per Floor Boys.
Pre-installation checklist: green lights before you buy or begin
Use this before purchasing material and again before the first plank goes down. Each item that isn't resolved at purchase time will be resolved at greater expense later.
Before purchasing material:
[ ] Measure the room and calculate area, then add 15–25% for waste. Rooms with many doorways, columns, or irregular shapes may need 20–30%. The 10% overage that works for straight-lay is not enough for herringbone, per Chuck Caudill Flooring
[ ] Check whether the room is square: measure diagonals and compare. Note where the largest out-of-square discrepancy falls and decide in advance which wall will absorb the perimeter cut compensation
[ ] Confirm the herringbone format is compatible with the installation environment (radiant heat? concrete slab? moisture-prone area?) before buying product
[ ] Read the manufacturer's installation guide for the specific product. Confirm adhesive type, subfloor requirements, and expansion gap specifications before purchasing anything else
[ ] For tile or LVT: check dimensional consistency in the batch; request samples from the same dye lot
Before the first piece goes down:
[ ] Subfloor flatness verified: within 3/16 inch over 10 feet, per National Flooring Authority
[ ] Subfloor moisture tested and within NWFA-accepted limits for the product; concrete slabs tested with ASTM F2170 or F1869; moisture barrier or vapor retarder installed where required
[ ] Flooring acclimated to site conditions: moisture content measured and within 4 percentage points of subfloor MC, per National Flooring Authority
[ ] Centerline snapped and squareness confirmed with 3-4-5 method or laser
[ ] Pattern orientation decided and spine direction planned relative to room entry and primary sightline
[ ] Doorway transitions and thresholds planned and located
[ ] First row dry-laid and confirmed before any adhesive is applied
Every item skipped before installation becomes a problem you solve during it, at significantly higher cost. The preparation sequence above isn't cautious; it's the shortest path to a floor that looks right for decades.


Comments
Be the first, drop a comment!