


4 Renter-Friendly Kitchen Upgrades That Won't Risk Your Deposit
These renter-friendly kitchen upgrades fix the four specific details that make most rental kitchens feel generic. By the end of this guide, you'll know which swap to attempt first based on your budget, your lease, and how much visual change you're after and how to reverse every single one at move-out.
Most rental kitchens look bad for the same reasons: a forgettable backsplash, flat laminate countertops, a ceiling fixture with a cool-white bulb, and unbroken rows of identical cabinet doors. None of those problems requires a contractor. Grace transformed a 100-square-foot rental kitchen for about $350 in DIY materials using peel-and-stick backsplash tiles, contact paper countertops, and two removed cabinet doors (Apartment Therapy reported last fall). Christina Wonsbeck spent $390 on adhesive materials alone wood-grain peel-and-stick for the cabinets, patterned vinyl for a backsplash, two removed cabinet doors to replace what she described as an all-white kitchen that looked like every other rental she'd lived in (Apartment Therapy covered her makeover last summer).
Designer Jeannine Bogart of Epic Interiors frames the governing principle: concentrate on the things you touch every day, because high-quality finishes at daily touchpoints create a subconscious impression that the whole space is well-made (Martha Stewart, earlier this year). The swaps here follow that logic in order of visual impact, then functional improvement.
Before any adhesive touches any surface: Check your lease some rentals require written approval before alterations, even reversible ones. Products marketed as "damage-free" don't always perform that way on older painted surfaces or textured drywall. Grace's warning is the clearest in the research: "A lot of products are marketed as removable or damage-free, but they can end up harming your walls. Know the foundation of your space, and what can or can't go on top of it" (Apartment Therapy). Test any adhesive on a small hidden patch before committing to a full application. Label and bag every piece of original hardware you remove from day one.
Which swap to start with:
| Swap | Materials Cost | Adhesive Involved | Deposit Risk | Start Here If… |
|---|---|---|---|---|
| 1. Peel-and-stick surfaces | $150–$390 | Yes | Low to moderate test first | You want the strongest visual transformation |
| 2. Open shelving via cabinet door removal | $0 | No | Generally low | Budget is tight or lease is uncertain |
| 3. Layered warm lighting | $30–$80 | Minimal | Generally low | You want function and atmosphere for the least money |
| 4. Hardware and drawer liners | $40–$120 | No | Generally low | You want finishing touches with minimal risk |
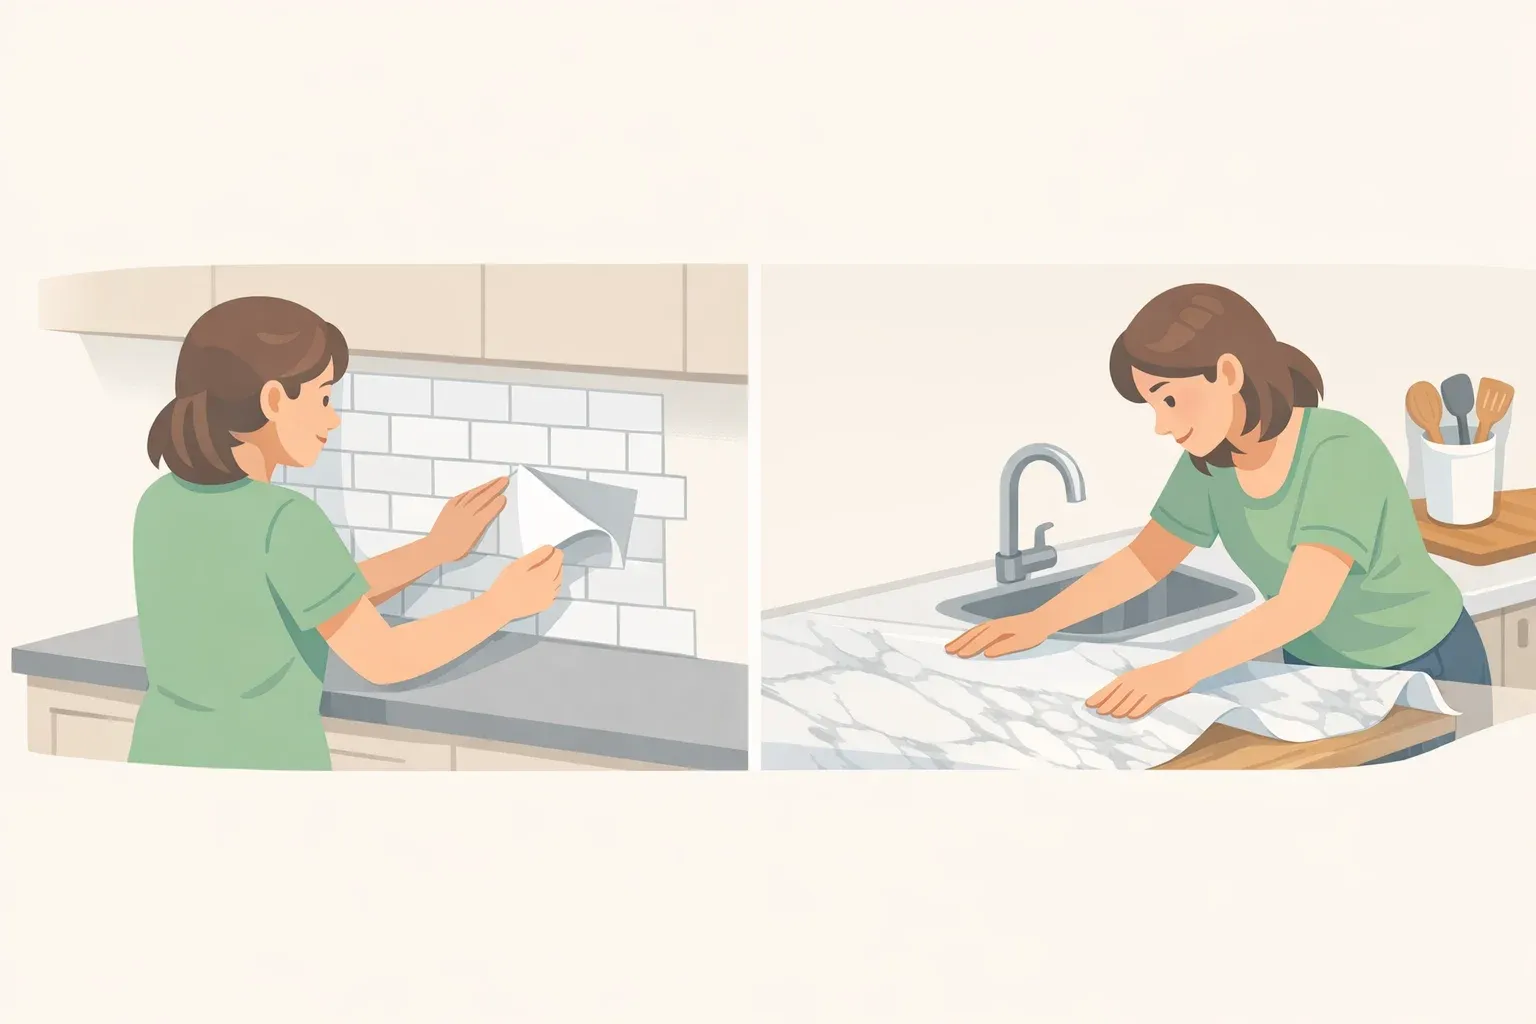
Swap 1: Peel-and-stick kitchen backsplash and countertop upgrades
The backsplash and countertops are the two largest uninterrupted visual fields in most kitchens. Changing them produces the strongest before-and-after available to a renter. Grace was direct: "The biggest and first changes I tackled were the backsplash and the counters. I just couldn't look past them. Everything had to be renter-friendly, so I looked into peel-and-stick options" (Apartment Therapy). She used SmartTiles' zellige-look panels for the backsplash and faux granite contact paper for the countertops. Christina covered a wider scope cabinets, backsplash, and appliance panels in wood-grain peel-and-stick and patterned vinyl, and called the wood product the single change that "transformed the space completely" (Apartment Therapy). Interior designer Stacey Martin notes that peel-and-stick options have expanded enough that renters can match almost any aesthetic, and many products are washable a practical requirement in a kitchen (Martha Stewart).
Best for: Anyone who wants maximum visual change and is willing to spend an afternoon on careful surface prep.
Avoid if: Your backsplash sits on unpainted drywall or a textured surface, or your lease prohibits surface alterations without prior written approval.
Steps:
- Degrease all surfaces and let them dry fully before applying anything. Adhesive products fail on cooking grease. Skipping this step is the most reliable way to end up with peeling tiles a month later.
- Measure and order with extra material. Calculate backsplash and countertop square footage separately. Cutouts for outlets, faucets, and corner returns consume more material than the flat run suggests budget for 10–15% overage.
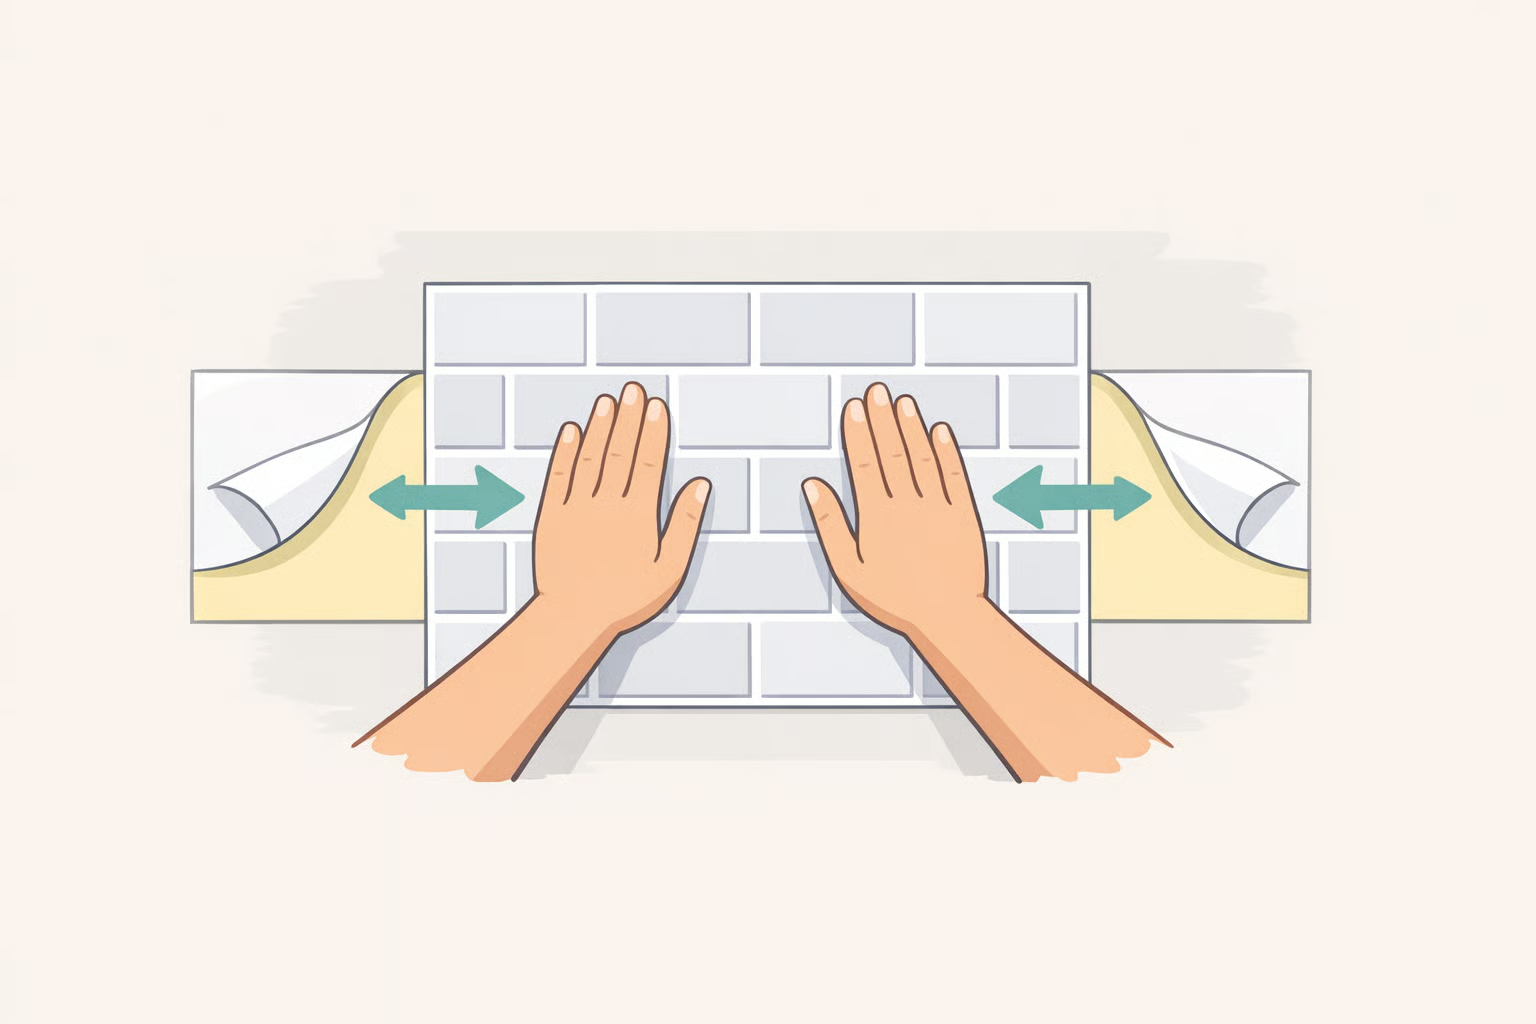
- Apply backsplash tiles from the center of the most visible run, working outward. Press each panel flat with a squeegee or credit card to push out air bubbles. Work slowly repositioning degrades the adhesive.
- Cut contact paper for countertops slightly oversized, then trim to fit. Wrap the paper under the front lip of the counter edge for a cleaner finish. A utility knife with a fresh blade cuts cleanly; a dull one tears.
- Reinforce seams near the stovetop. Heat and moisture degrade adhesive at exposed edges. Press seams firmly and consider a thin line of removable silicone caulk along any seam close to a burner.
What to expect: The backsplash reads as tile at normal viewing distance. Countertop seams are visible up close but hold under daily use on clean, smooth laminate.
Watch out for: Wrapping appliance panels is possible but significantly harder than flat walls. Christina identified covering the dishwasher and refrigerator as the hardest part of her entire makeover corners require scoring, appliances must be unplugged, and working space is tight (Apartment Therapy). Finish the backsplash and countertops first. Treat appliance wrapping as an optional second pass once you're comfortable with the material.
Swap 2: Create open shelving by removing select cabinet doors
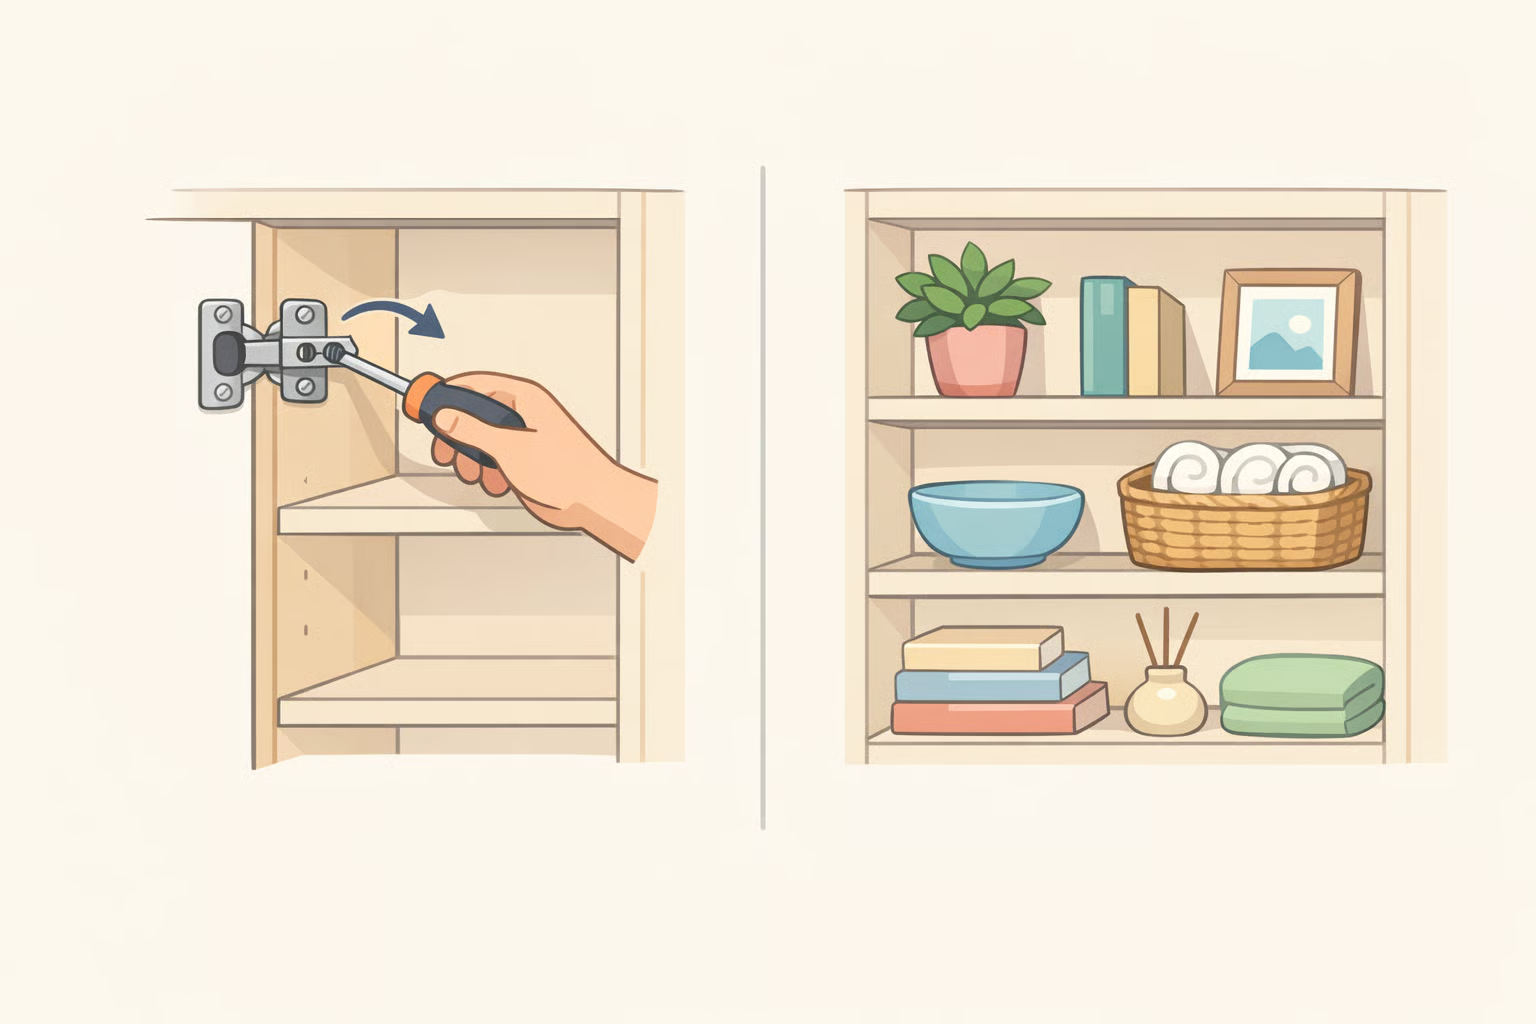
This swap costs nothing, is fully reversible, and produces something the first swap can't: a section of the kitchen that reads as specific to the person who lives there. Grace said removing a couple of upper cabinet doors was one of the biggest game-changers in her makeover it let her display terracotta bowls brought back from Mexico, coffee and tea baskets, and personal pieces that made the space "feel like me" (Apartment Therapy). Christina's partner Ralph did the same and extended patterned wallpaper into the cabinet interior behind the open shelves, turning raw particleboard into a deliberate design detail (Apartment Therapy). Most cabinet doors hang on adjustable hinges that unscrew easily, making reinstallation at move-out as straightforward as the removal (Melanie Jade Design).
Best for: Renters with a tight budget, anyone whose lease creates uncertainty around adhesives, or anyone who wants a visible result today.
Avoid if: The cabinet interiors are stained or damaged. Open shelving puts the interior on display.
Steps:
- Choose two or three adjacent upper cabinets in the most visible run. A cluster reads as intentional. Converting every upper cabinet tends to read as unfinished.
- Unscrew the hinge plates from the cabinet box, not the door side. Removing from the box side leaves door-side hardware intact, which simplifies reinstallation.
- Label each door with its cabinet location and bag the hardware together. Store doors flat in a closet or under a bed. Move-out depends on having the right door for the right cabinet.
- Style the exposed shelves with a consistent palette. Shared color family, similar scale, nothing overflowing onto the shelf below. A quick weekly reset is the real ongoing cost of this swap.
- Optional: line the cabinet interior with removable contact paper or patterned wallpaper. A backdrop behind glassware or dishes sharpens the display. Using the same product family as Swap 1 keeps the room's visual logic consistent.
What to expect: The solid wall of identical cabinet fronts breaks. The kitchen reads as more personal and edited the difference between a space that's been cleaned and one that's been considered.
Watch out for: Open shelving amplifies both good and bad curation. A display zone that becomes a catch-all reverses the effect entirely. Be honest about your tidiness habits before converting more than two or three cabinets.
Swap 3: Replace flat overhead lighting with layered warm sources
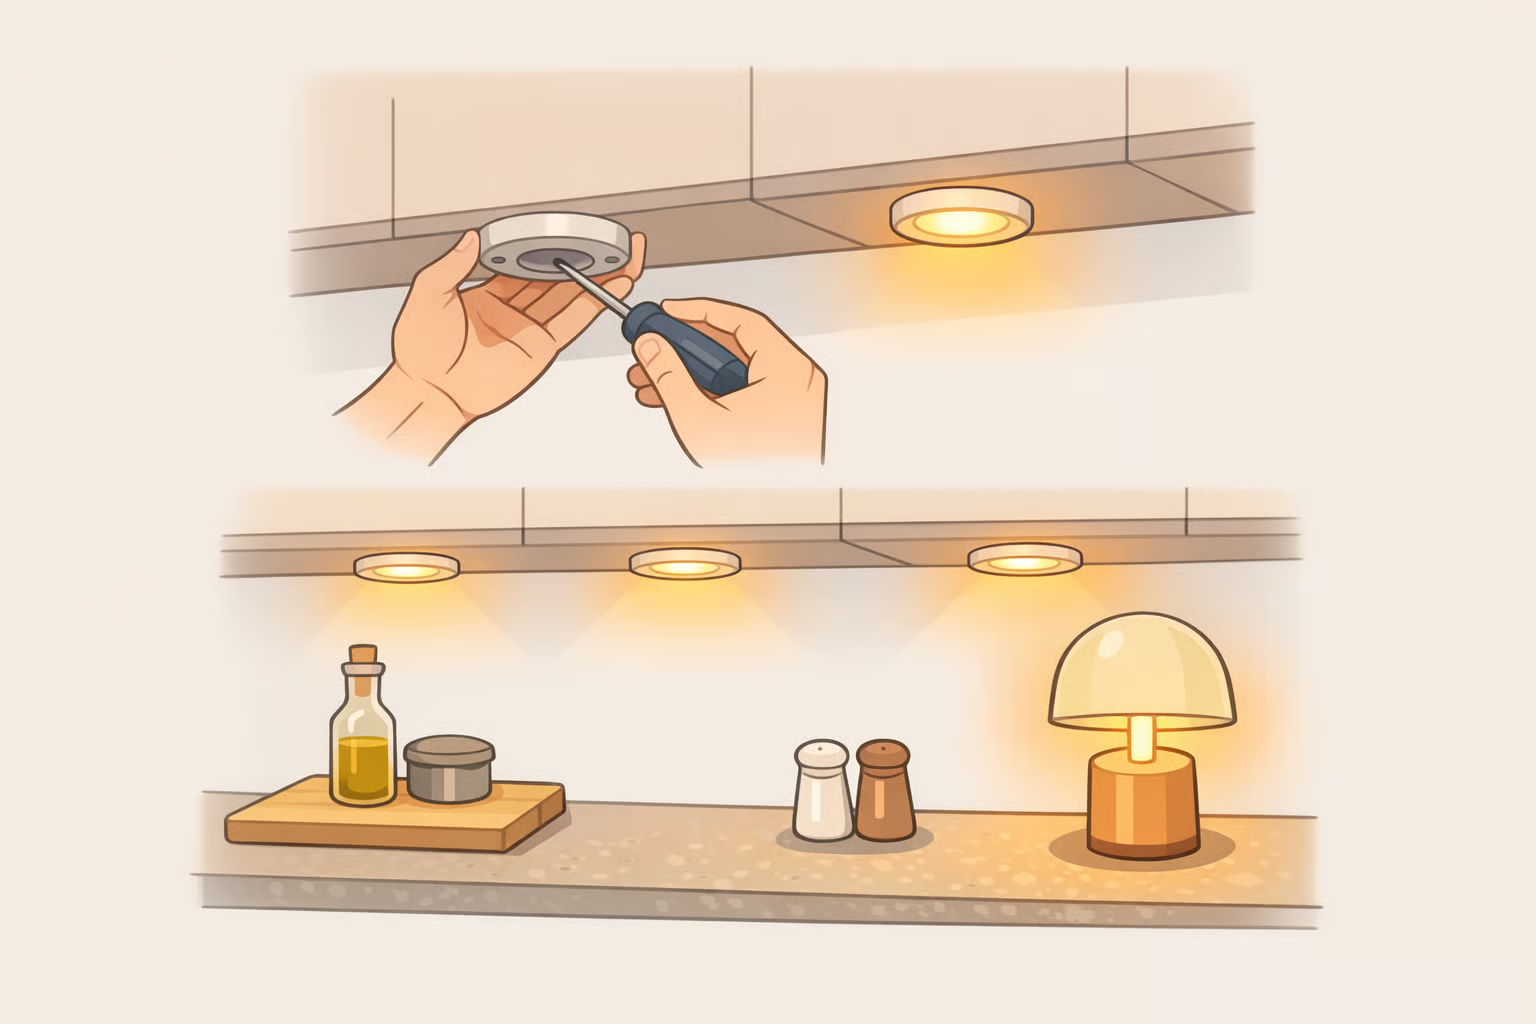
Most rental kitchens run on a single ceiling fixture with a cool-white bulb. It delivers functional light and nothing else. Layering secondary warm sources under-cabinet LEDs, a cordless lamp, possibly a plug-in pendant changes how the room feels at night and during prep without touching any wiring, leaving marks, or raising lease concerns.
Bogart is specific about color temperature: keep all bulbs at or below 3,700K, because anything higher reads as clinical and blue (Martha Stewart). Battery-operated or plug-in LED strips improve both task performance and how considered the kitchen looks, according to Melanie Jade Design. Bogart describes the cumulative result as making a rental kitchen feel "more welcoming and custom" in a way a single overhead source cannot (Martha Stewart).
Best for: Every rental kitchen, regardless of lease terms. This is the lowest-risk swap in the set.
Steps:
- Replace the overhead bulb with a warm-white option at or below 3,700K. Inexpensive and fast. This sets the quality baseline that everything else layers onto do it first.
- Mount rechargeable LED puck lights on the underside of upper cabinets. Position them toward the front edge so light falls on the countertop work surface rather than the wall behind it. Most kits include removable adhesive strips; test on a hidden patch of cabinet finish before mounting the full set.
- Place a small cordless table lamp on the counter or island. One warm pool of light in a corner does something overhead lighting simply cannot. Bogart specifically recommends this as a "decorative touch" that reads as custom without any installation (Martha Stewart).
- Optional: add a plug-in pendant above the island or dining area. Ceiling hook hardware attaches to an existing fixture; the cord runs to an outlet. The look approximates hardwired pendants; the installation does not (Melanie Jade Design).
What to expect: The kitchen feels warmer in the evening and more functional at the prep surface during the day. Of the four swaps, this one is most likely to change how you actually enjoy the kitchen not just how it looks in photographs.
Swap 4: Upgrade the hardware and add drawer liners
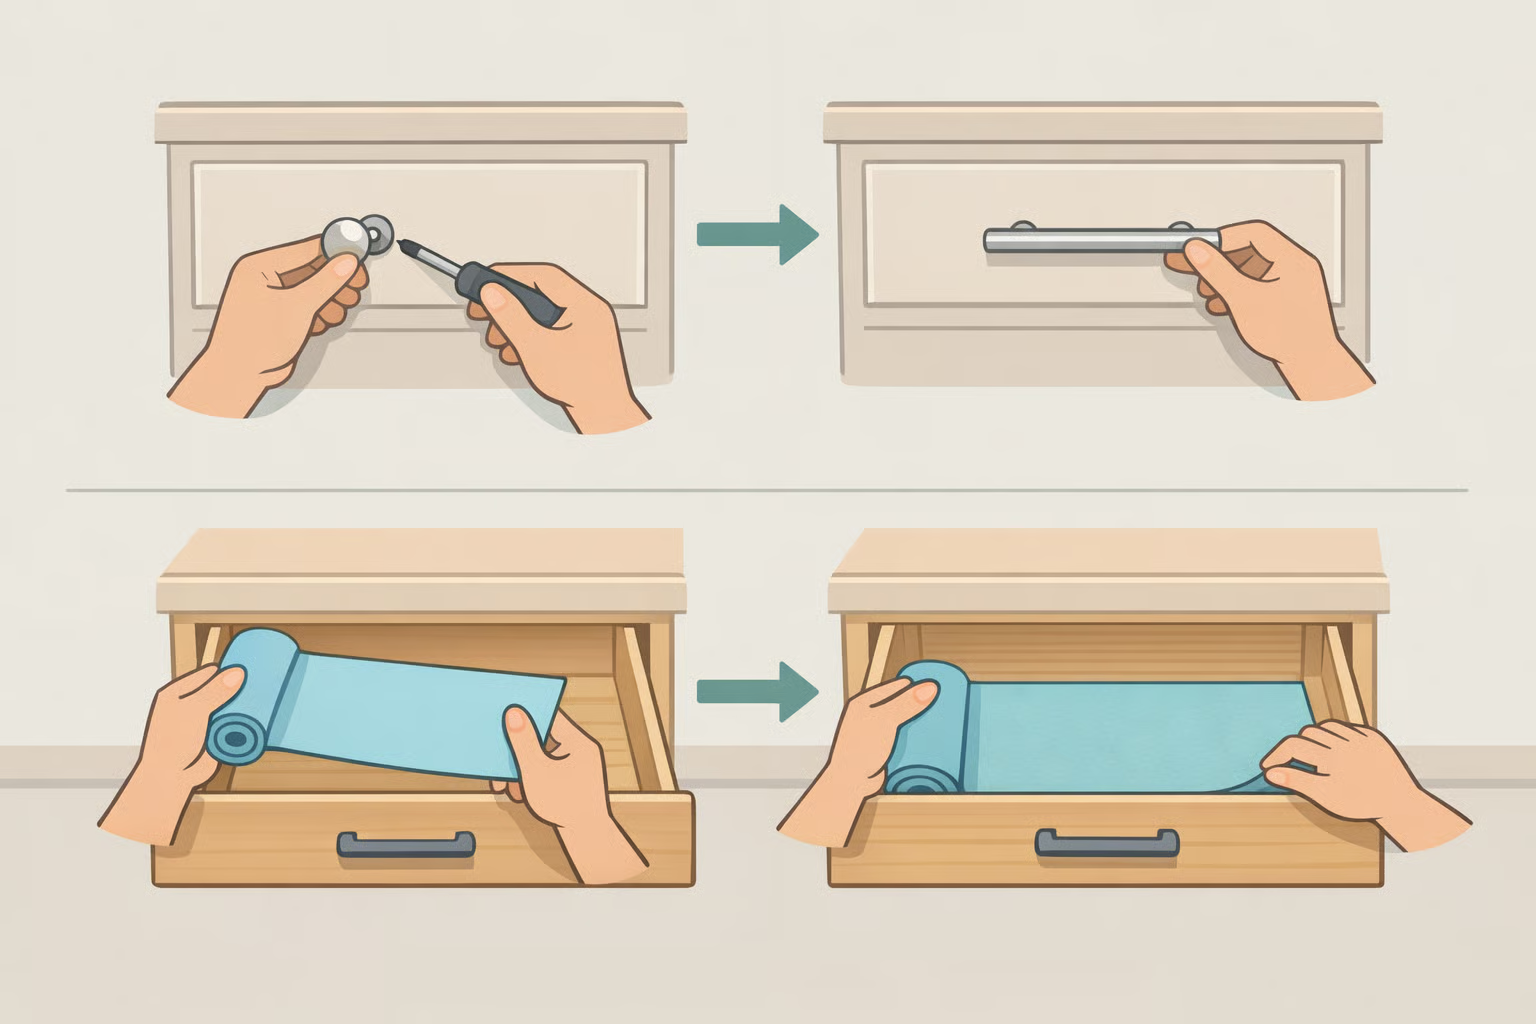
The first three swaps address large surfaces and ambient conditions. This one targets the details that register every time you open a drawer or grab a cabinet handle. Bogart's principle applies most directly here: "Focus on items you touch daily. High-quality hardware provides a subconscious cue of quality" (Martha Stewart).
Choose pulls or knobs that echo the palette from Swap 1, store the originals in labeled bags, reinstall them at move-out. A screwdriver and a short afternoon, with nothing to undo except swapping the old hardware back in. Non-adhesive drawer liners work on the same logic they grip by friction rather than adhesive and pull out clean with no residue (Melanie Jade Design). Together, these two changes improve every daily interaction with the kitchen, not just its appearance from across the room.
Best for: Anyone who's completed some or all of Swaps 1–3 and wants to close the gap between "looks better" and "feels considered." Works as a standalone move in any lease situation.
Steps:
- Inventory your existing hardware and measure the screw hole spacing before ordering. Most cabinet pulls use a standard 3-inch or 3.75-inch center-to-center measurement confirm this before purchasing replacements. Returns on hardware are inconvenient.
- Choose a finish consistent with the direction set by Swap 1. Matte black works with most peel-and-stick palettes; brushed brass reads warmer against wood-grain surfaces. Consistency across all pulls matters more than the specific finish.
- Swap pulls with a screwdriver, bagging the originals labeled by cabinet. Store them alongside the cabinet doors from Swap 2 if you completed that step everything original in one place makes move-out straightforward.
- Line drawers with non-adhesive felt or ribbed liner cut to fit. Friction holds them in place; no adhesive means no residue at move-out. Choose a neutral color the liner is functional, not decorative.
What to expect: The kitchen holds up better under daily use. The difference between a builder-grade knob and a well-made pull is more pronounced than the price gap suggests.
Watch out for: Only swap hardware within the existing hole pattern avoid anything that requires drilling new holes. If your current hardware covers damaged or discolored spots, photograph the area before removing it so you know what you're revealing.
Non-permanent kitchen upgrades, ranked by where to start
The right starting point depends less on budget and more on what's making your kitchen feel generic in the first place.
If the kitchen looks visually dated or has obvious builder-grade finishes: Start with Swap 1. The backsplash and countertops are the largest unbroken surfaces, and changing them establishes a color direction that everything else responds to. Grace's DIY material cost came in around $350; Christina's adhesive-only spend across a larger scope of surfaces was $390 (Apartment Therapy; Apartment Therapy). Both figures cover surface products only furniture is separate.
If the kitchen feels dark or uninviting: Start with Swap 3. It's the lowest-risk change in the set, costs well under $100 for a full layered setup, and produces results the same evening. A warm-white bulb alone shifts the quality baseline noticeably.
If the space feels impersonal like it could belong to anyone: Start with Swap 2. Cabinet door removal is free, requires only a screwdriver, and creates a display zone that reflects the person who actually lives there. No adhesive, no lease risk, visible the same afternoon.
If your lease is restrictive or you're uncertain how long you'll stay: Start with Swaps 2, 3, and 4 in any order. None involves adhesive on a wall surface, and all three reverse completely. Treat Swap 1 as something to add once you've confirmed your specific surfaces can handle the adhesive load patch-testing first, not assuming the label's claim applies to your walls.
Grace's advice stands as the clearest warning across any of these sources: the "renter-friendly" label describes a product's intent, not its guaranteed performance on your particular walls (Apartment Therapy). The swaps with no wall adhesive at all Swaps 2, 3, and 4 sidestep that uncertainty entirely, which is reason enough to start there if your lease situation is unclear.


Comments
Be the first, drop a comment!