



By the end of this guide, you'll be able to pick a color or storage upgrade that fits your actual walls and countertops, install it correctly for that surface, and take it down cleanly before handing back the keys. Removal matters as much as the decorating choice itself: a project that looks great on day one but damages the wall underneath can cost more than it saved. These small rental apartment decorating ideas work because they're matched to how a specific surface performs, not just how a photo looks online.
One renter's experience runs through much of the advice below. She lived in a loft apartment with no built-in kitchen and almost no cabinet space for six years, pieced together a workable kitchen with a few appliances and open shelving, and documented removing that shelving along with wall decals, board-and-batten trim, and countertop film before she moved out, according to My Wee Abode. Her results appear throughout this guide as one documented case on one set of surfaces, not a performance guarantee for any product.
This guide covers surface-level projects: adhesive film, decals, trim, and freestanding or wall-mounted storage. Drilling into an ordinary wall for approved hardware can be realistic for renters when the lease permits it, the wall type is known, and the product's instructions are followed exactly. Anything touching structural framing, electrical boxes, plumbing, or a wall of uncertain material belongs with a landlord or qualified professional.
This is a decorating and storage guide first. Removal difficulty is one factor in choosing a project, not the deciding one.
What you'll need before you start
Gather these basics before buying any decorating product, since most of the projects below share the same core supplies:
Tape measure and painter's tape
A level and a stud finder
A cleaner approved for the specific surface and decorating product
Plastic scraper or an old gift card
Utility knife
Hair dryer
Spackle and fine-grit sandpaper
The manufacturer's instructions for whatever product is purchased, since weight limits, cure times, compatible surfaces, and hardware vary by brand
Before committing to a full wall or countertop, follow the product manufacturer's instructions for testing and surface preparation. If a removable adhesive product recommends a hidden test patch, use one and check for lifted paint, discoloration, residue, or other surface damage before going further.
Don't assume every removable adhesive is safe for every painted wall. For example, Command recommends its products for smooth, clean surfaces with paint that is fully cured and in good condition, while warning against wallpaper, rough concrete, and heavily textured surfaces. Other products can have different requirements, so the label for the specific product takes priority.
Map your space and lease before you buy anything
Before spending any money, walk every room and note what the walls are actually made of. Drywall, plaster, tile, and paneling react differently to adhesive, nails, and anchors, and that difference determines which projects below are realistic for the unit.
Permission matters more than most renters expect. When one landlord wanted a unit returned to its original layout, previously installed open shelving had to come down in full regardless of how long it had been up, according to My Wee Abode. As a general rule, check the lease and building rules before installing or altering anything, and get written permission when the language is unclear.
Surface finish also changes how removal goes. In that same documented case, lifting vinyl wall decals with a hook weeder left no residue, and the landlord reportedly never noticed they'd been there. That result reflects one wall finish and one product, not a guarantee for every painted surface.
Run through this checklist before shopping:
Photograph every wall, countertop, and fixture planned for alteration.
Read the lease's alterations clause and email the landlord about anything it doesn't clearly cover. Get the answer in writing.
Identify which walls have accessible studs if wall-mounted storage is under consideration.
Check whether any furniture you're considering requires wall anchoring for safe use.
That last point matters even in a rental. The US Consumer Product Safety Commission recommends anchoring furniture that presents a tip-over hazard, particularly in homes where children live or visit. A lease restriction isn't a reason to ignore a manufacturer's required anti-tip installation. If the unit can't accommodate it, choose different furniture or discuss the installation with the landlord.
Small rental apartment decorating ideas: choose the project that fits your space
Not every renter-friendly DIY project belongs in every rental. Compare the surface, installation requirements, removal work, and lease restrictions before buying.
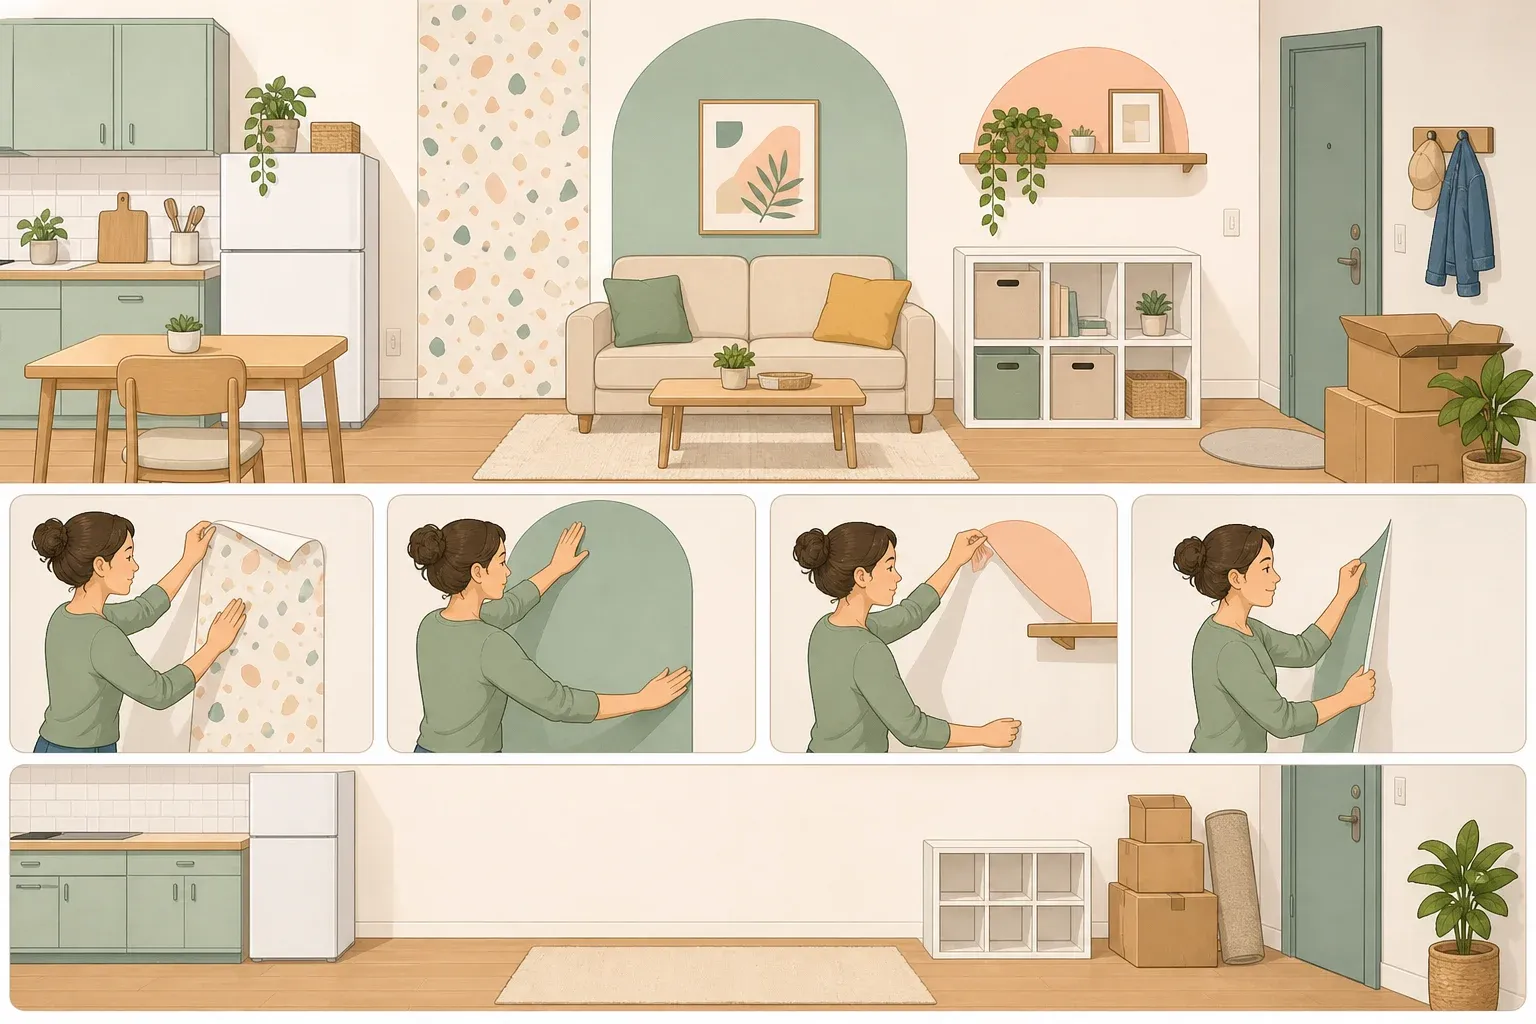
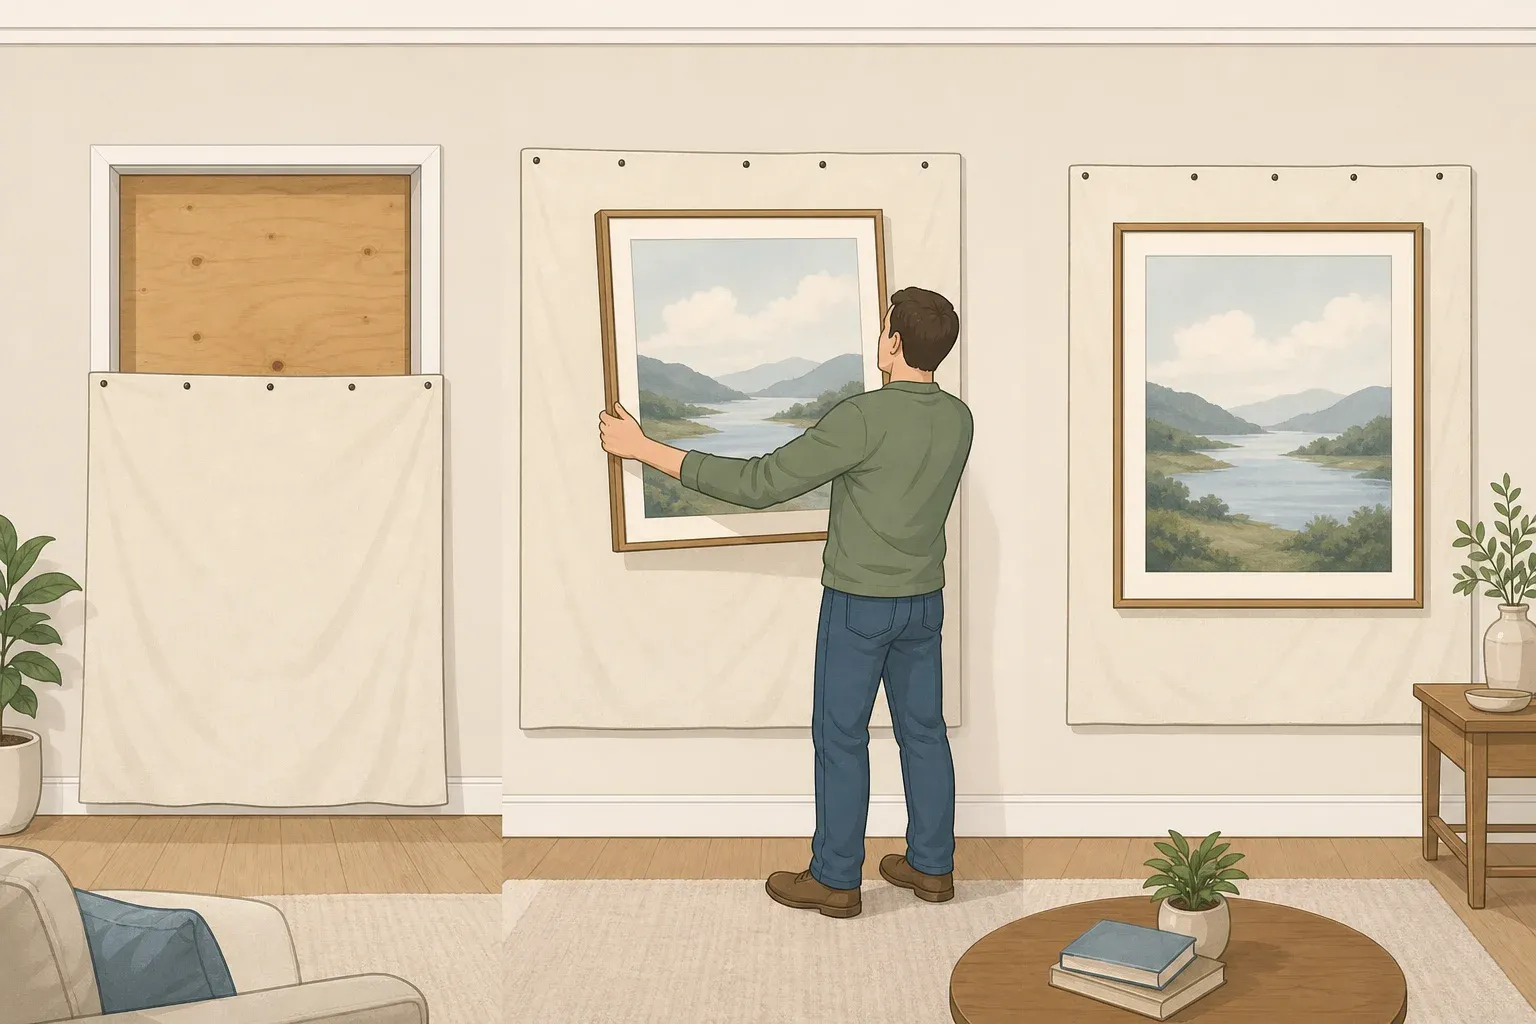
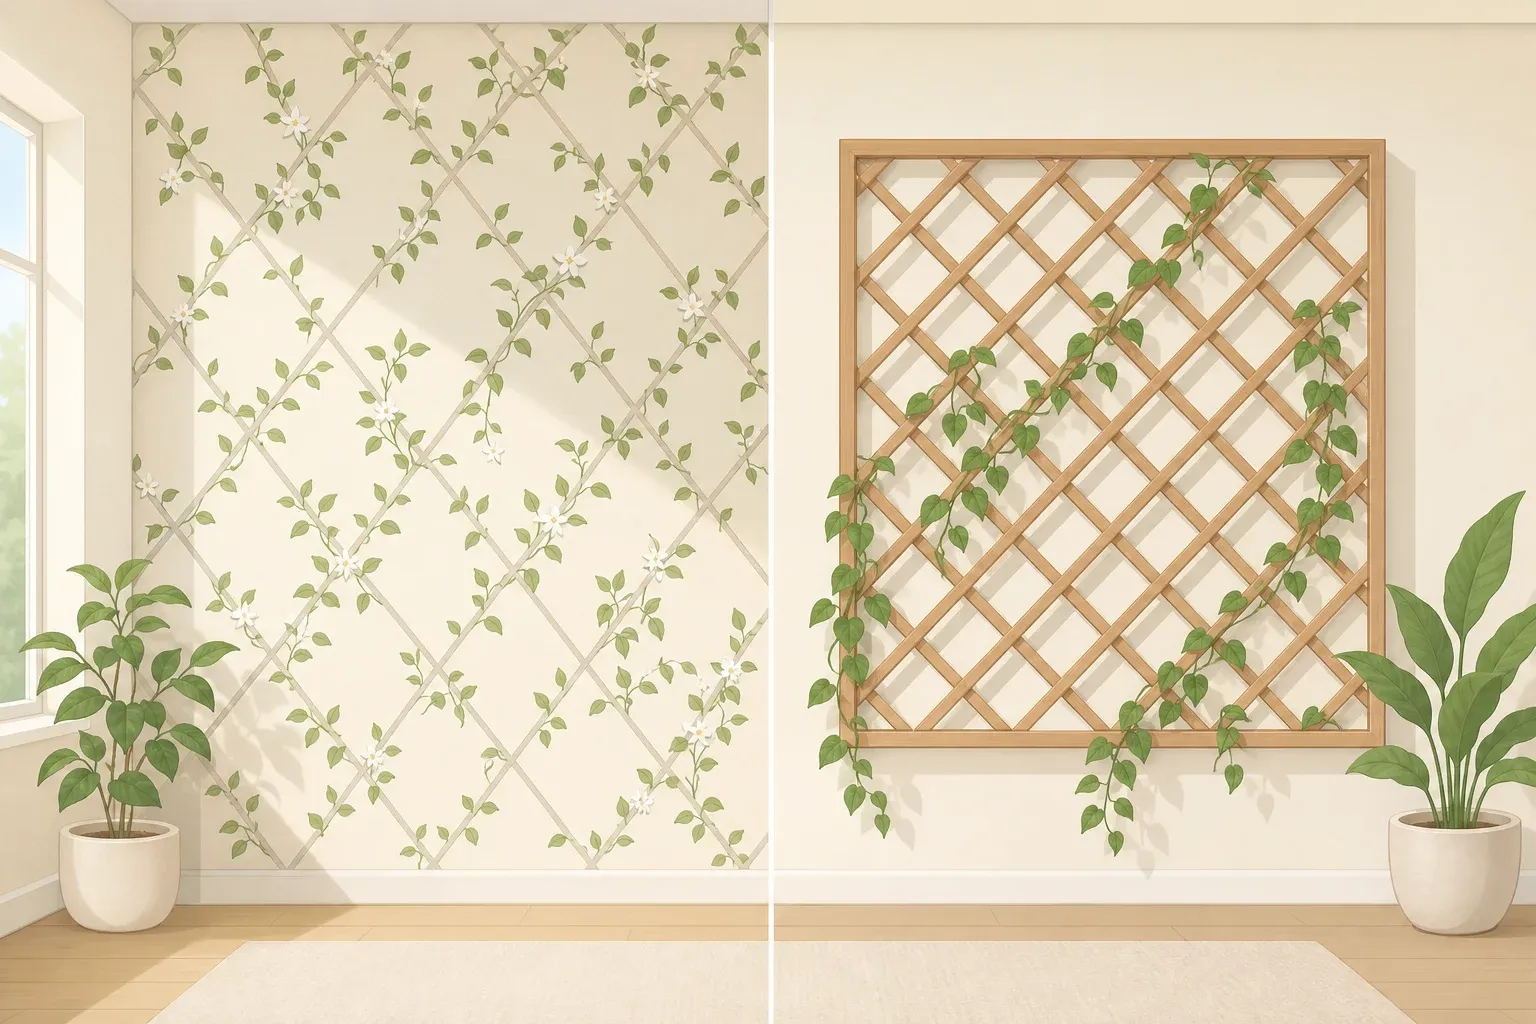
Removable decals or peel-and-stick wall covering: Many products are intended for smooth, painted surfaces, but compatibility varies. Check the label and lease first. In the My Wee Abode case, vinyl decals took about five minutes to remove with a hook weeder and reportedly left no residue.
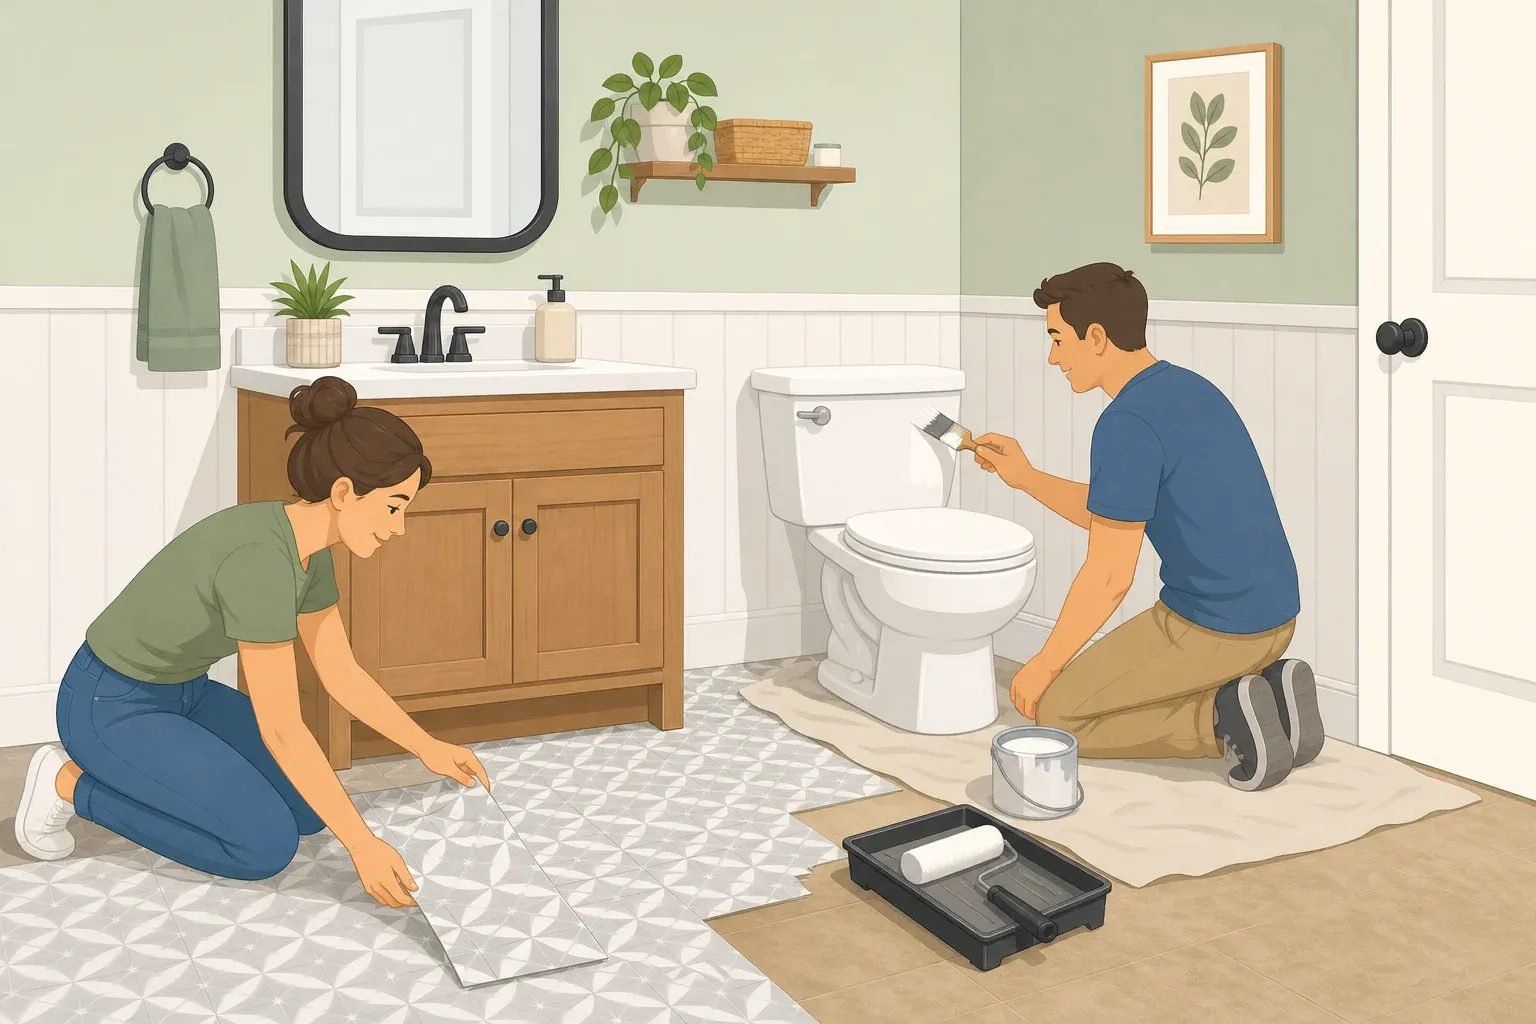
Contact paper or adhesive film: This can work on compatible sealed laminate countertops when the specific product permits it. Check the lease and product instructions before applying it. The documented removal took about an hour with two people.
Board-and-batten or trim: This is a more involved project because it can leave nail holes or other surface damage. Confirm the wall type and get permission before fastening trim. In the documented case, the trim came away cleanly at the nails, although that doesn't guarantee the same result on another wall.
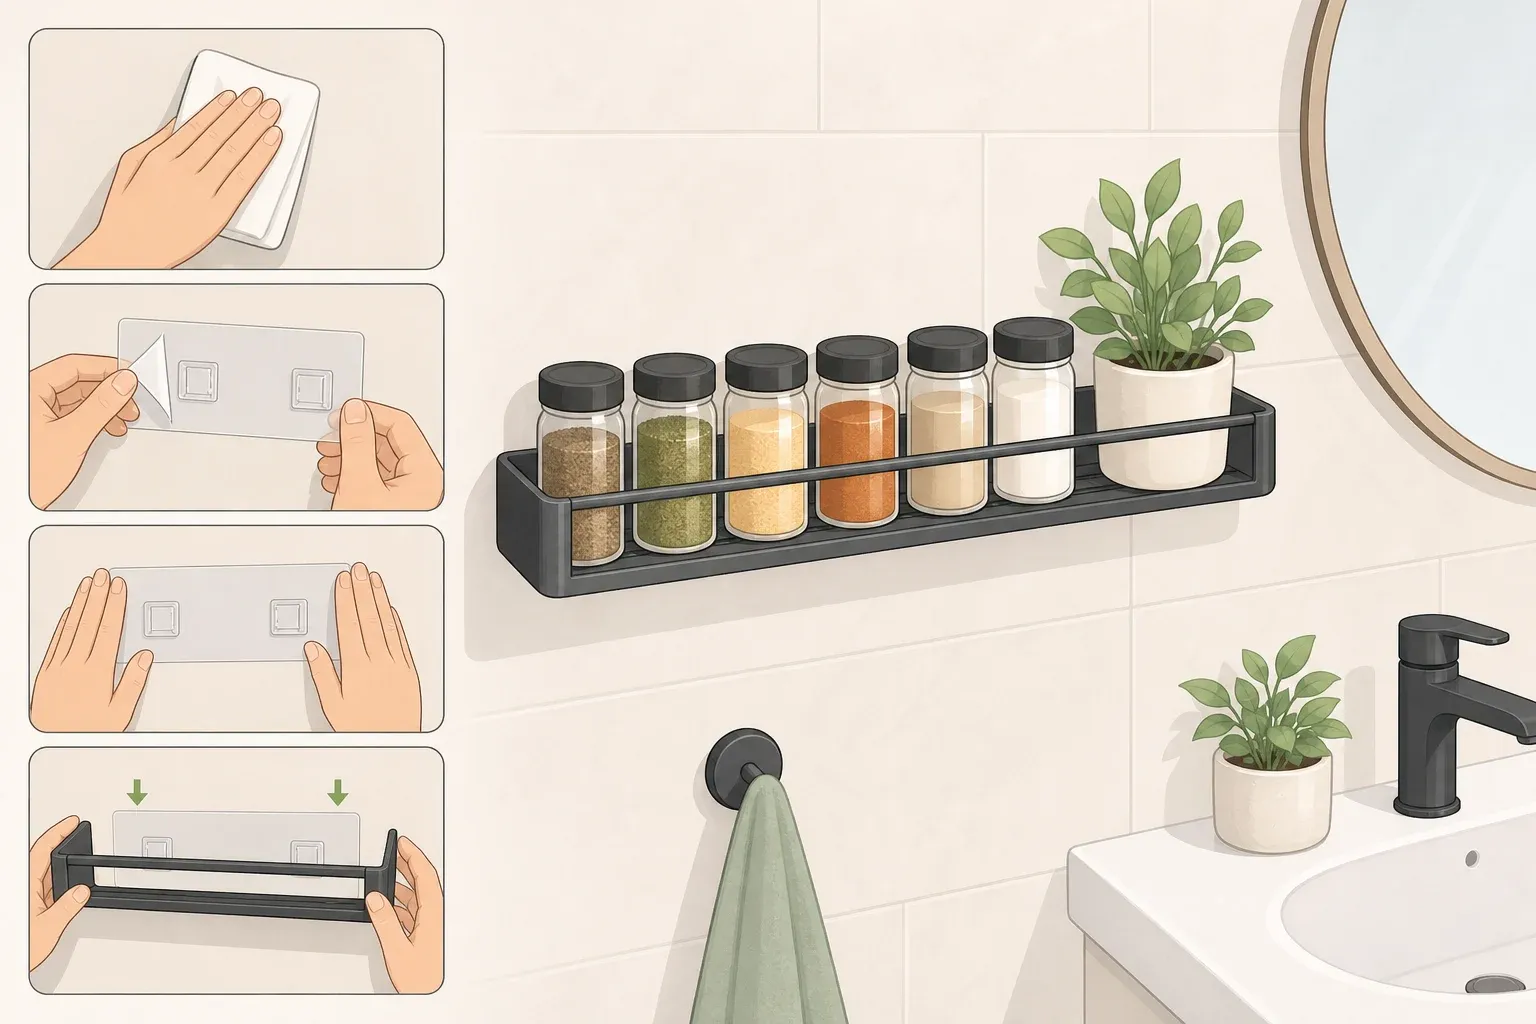
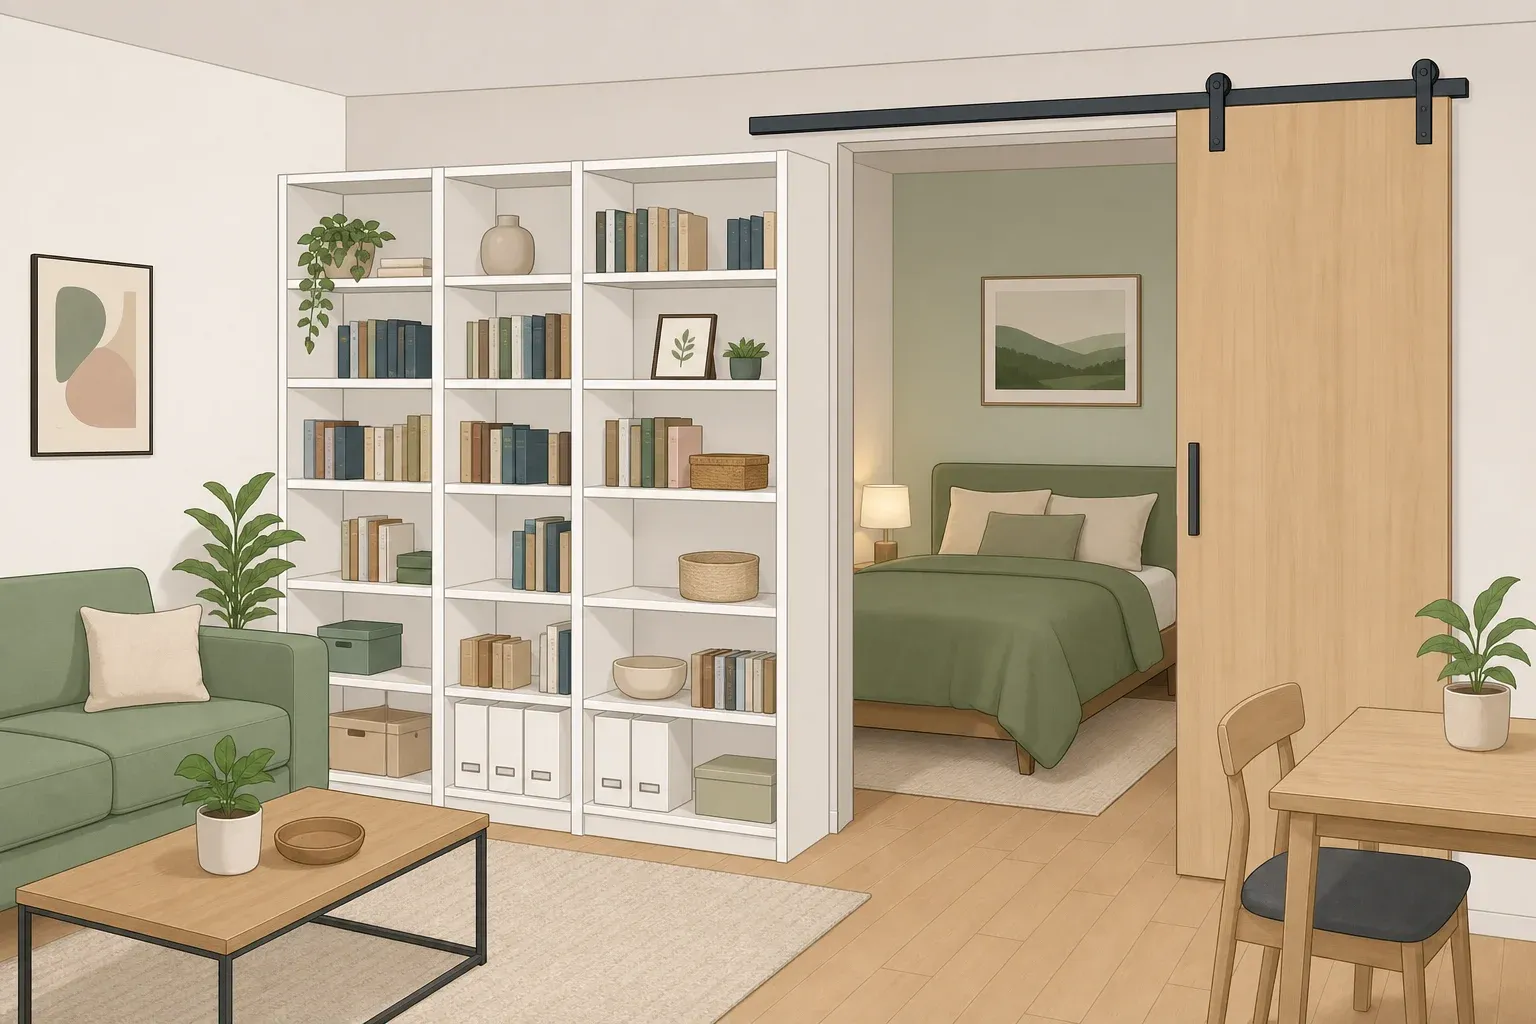
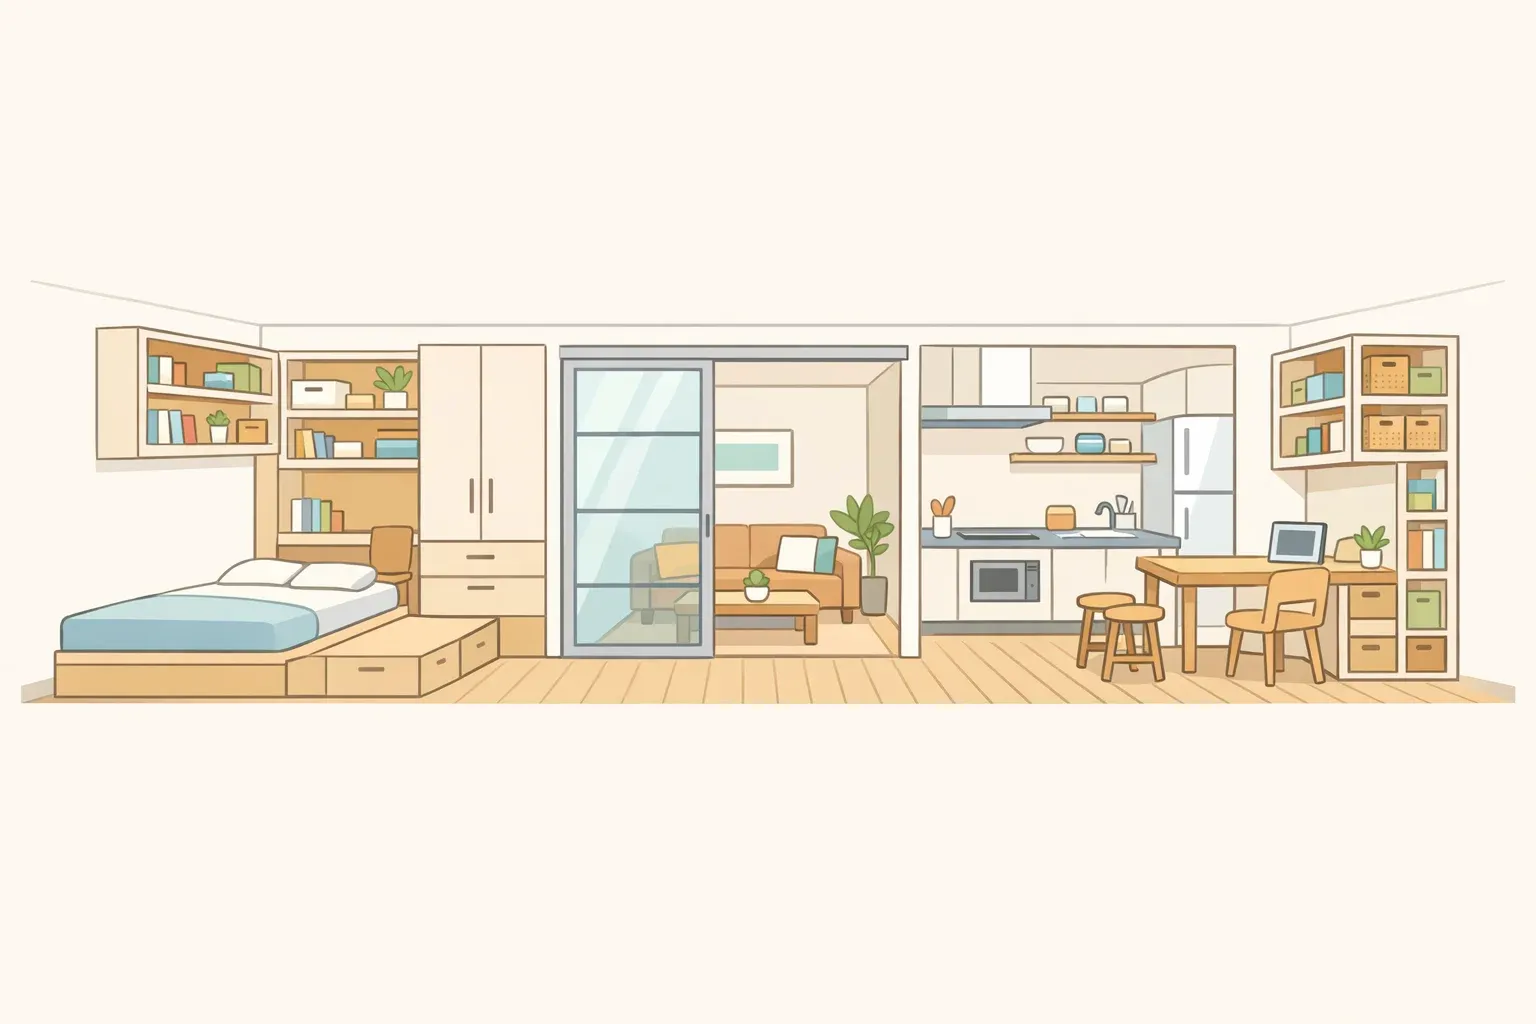
Freestanding or tension-rod storage: These options can reduce the need to drill into walls, but they aren't automatically installation-free. Follow the manufacturer's requirements for placement and stability. Some freestanding furniture must be anchored to prevent tip-over.
Wall-mounted open shelving: This requires the most caution because safe mounting depends on the shelf, wall construction, hardware, and load. Get permission before drilling and follow the manufacturer's mounting instructions. In the documented case, removal left several large holes that needed spackle and sanding.
The guidance above is for comparing projects, not the result of a controlled study. Only the removal examples describe what happened in the My Wee Abode case, including a full deposit return at move-out. That outcome isn't guaranteed for another rental.
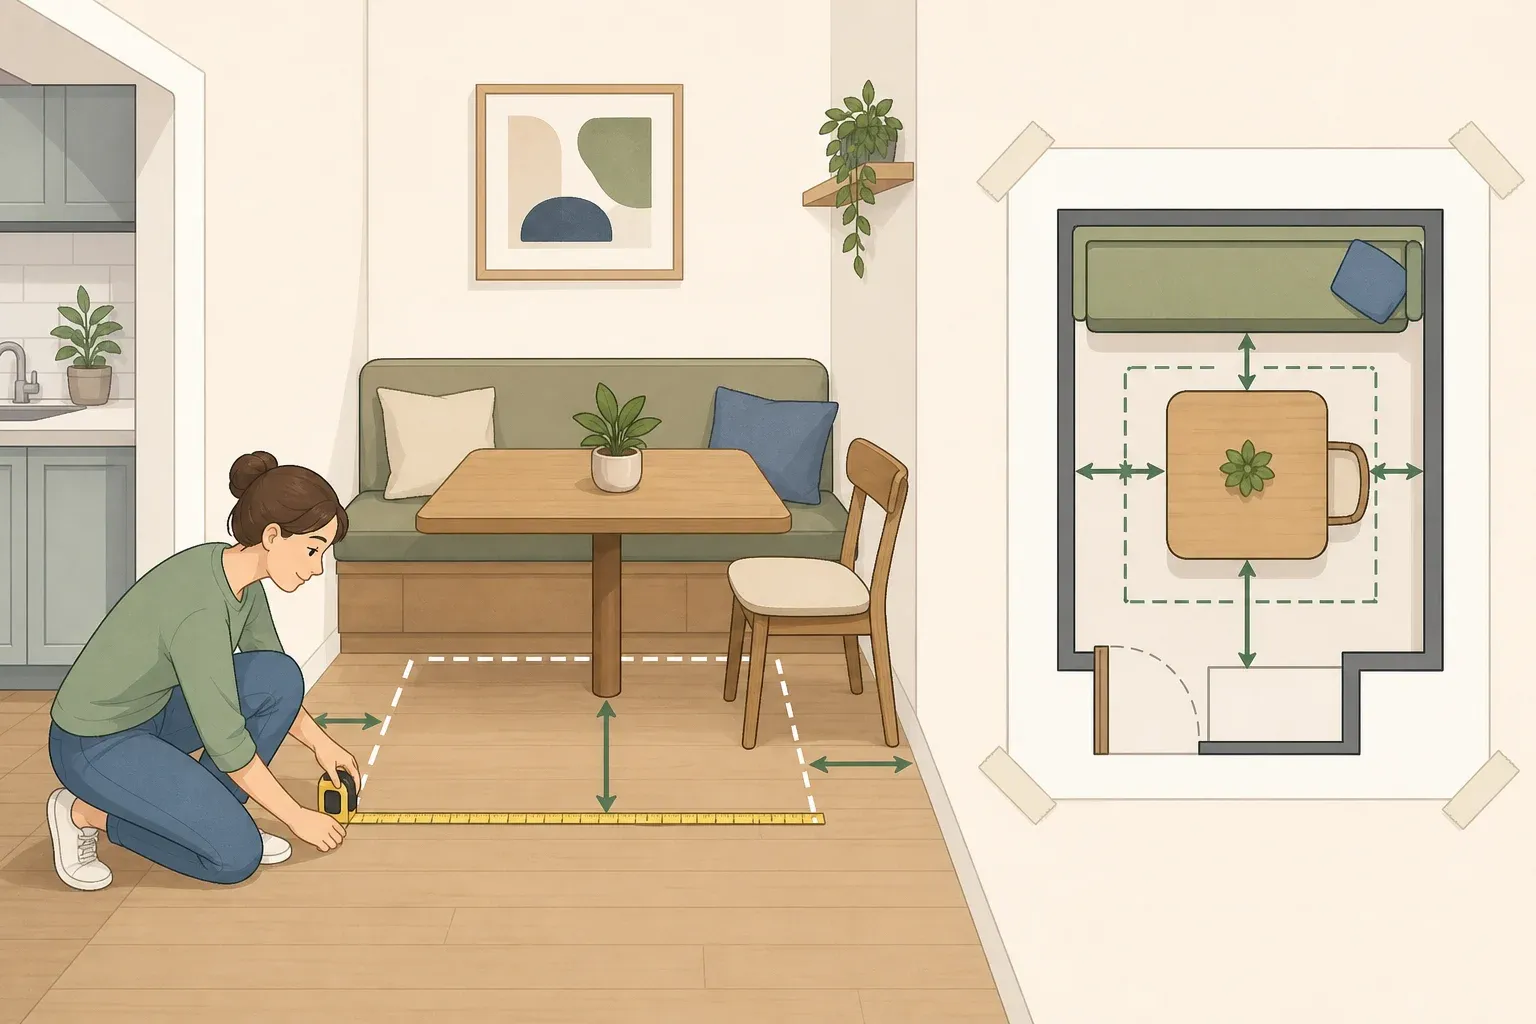
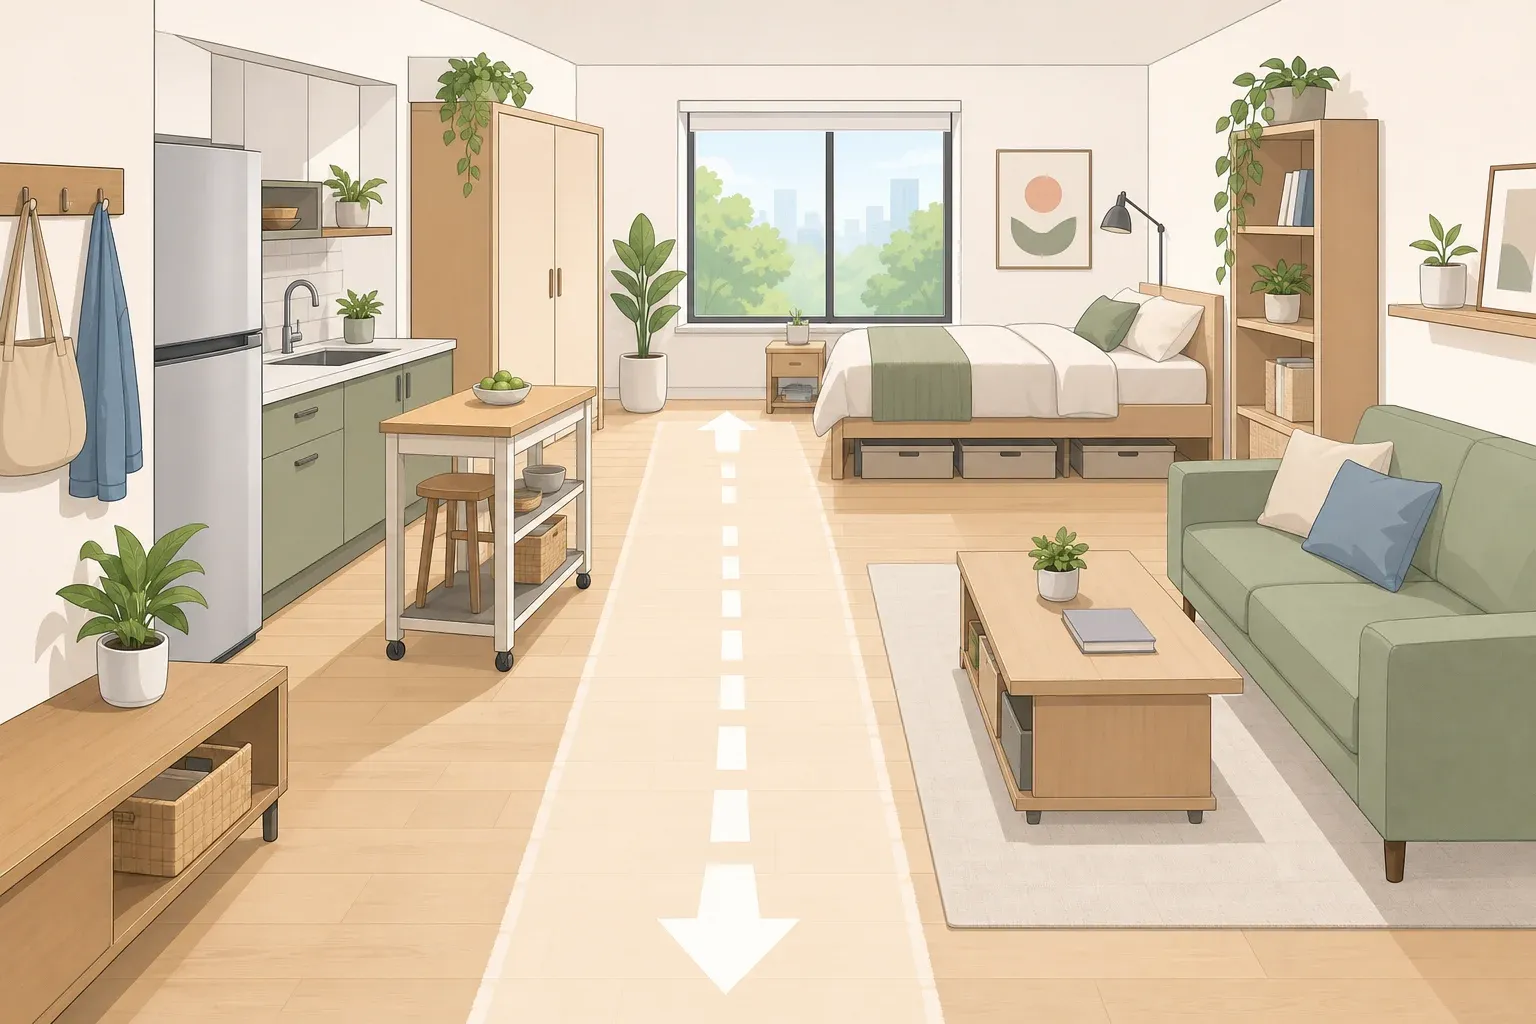
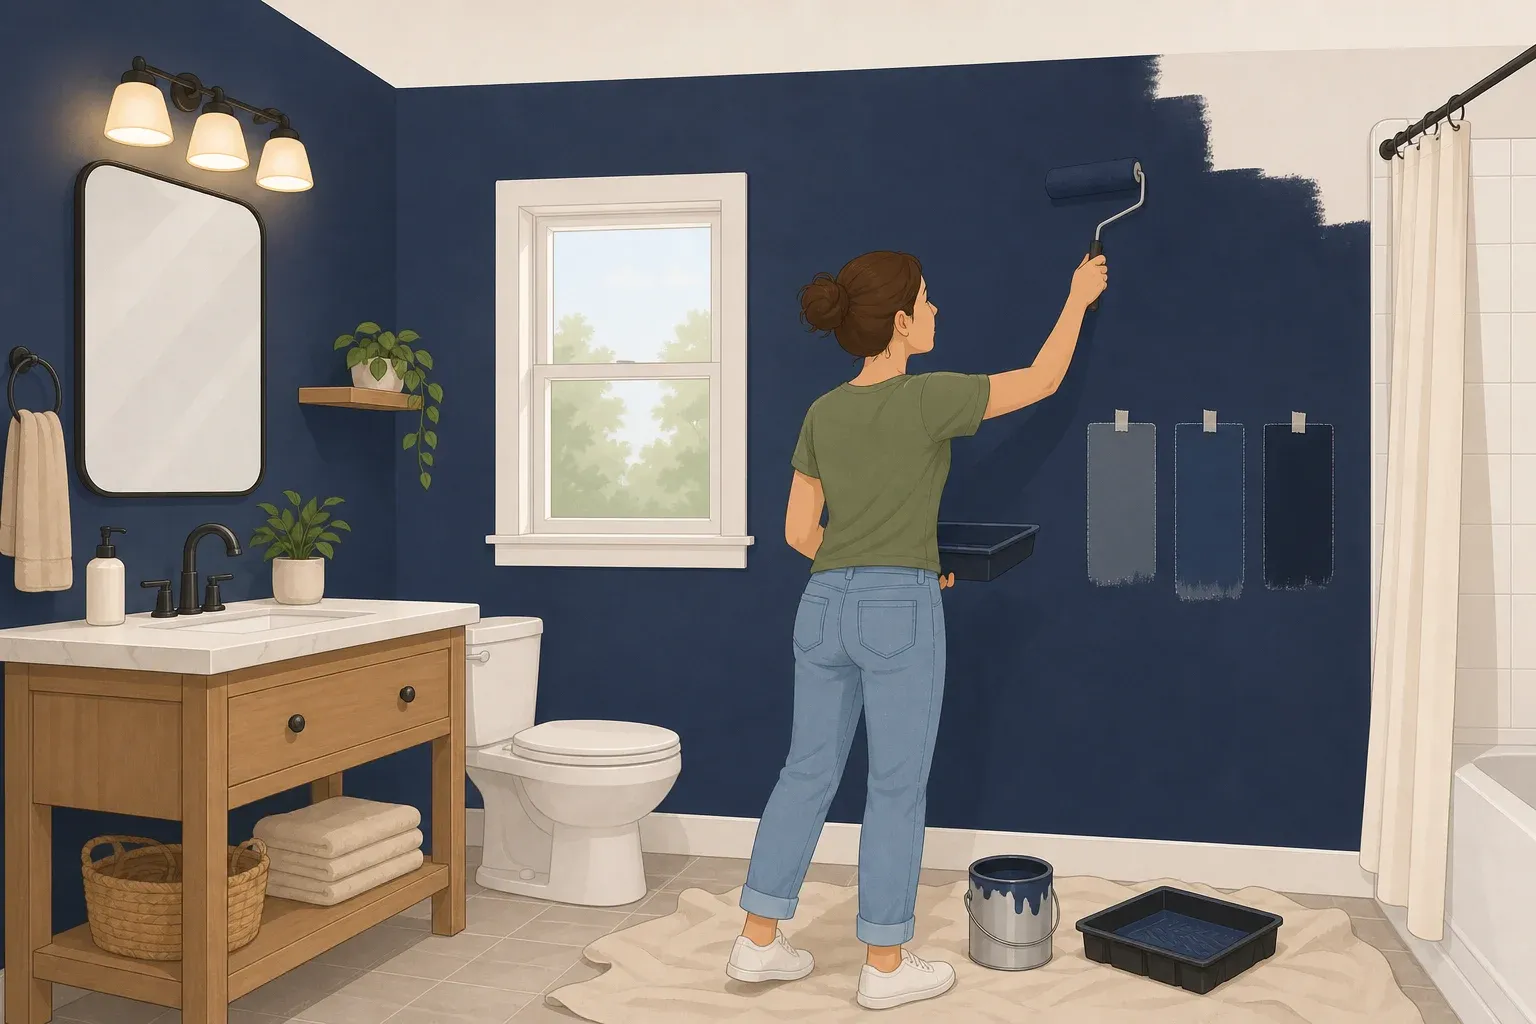
If space is tight, limiting color to one accent wall can reduce the amount of material that eventually needs to come down. That's a matter of taste rather than a rule. Storage pieces with shallow footprints can also fit small rooms more easily without narrowing a walkway or blocking a door swing, so measure the actual footprint before buying.
Once projects the lease or surface can't support are ruled out, choose the lowest-commitment option that delivers the storage or color you need. Freestanding storage can reduce wall alterations, but check its instructions before assuming it can safely remain unanchored. Save wall-mounted shelving for situations where permission is in hand and the extra capacity is genuinely needed.
Install each project the right way
Accent wall with decals or removable wallpaper
Many adhesive decorating products restrict use to particular smooth surfaces. Check the label before buying and follow its preparation and testing instructions.
Prepare the wall exactly as the manufacturer directs. Don't substitute a household cleaner if the product calls for a particular preparation method.
Apply the material according to its instructions, working carefully to avoid wrinkles and trapped air.
If the product allows repositioning, follow its directions rather than repeatedly peeling and reapplying the material.
Check the installation afterward for lifting edges or bubbles and follow the product's instructions for correcting them. Don't assume that an adhesive marketed as removable is automatically safe for wallpaper, textured paint, newly painted walls, or damaged finishes.
Contact paper or adhesive film on a countertop
Confirm that the film is approved for the countertop material and prepare the surface according to its instructions.
Measure and cut the material according to the manufacturer's installation directions.
Apply and smooth the film using the method recommended for that specific product.
Pay particular attention to sinks, seams, edges, heat sources, and other areas where the product may impose restrictions. Don't cover a wet or heat-exposed area unless the manufacturer specifically permits that use.
Board-and-batten or trim accent
Confirm the wall material and identify safe fastening locations before cutting or installing trim.
Follow the trim and fastener manufacturers' instructions rather than assuming the same nails or anchors work for every wall.
Check that each piece is secure, flush, and level before moving on.
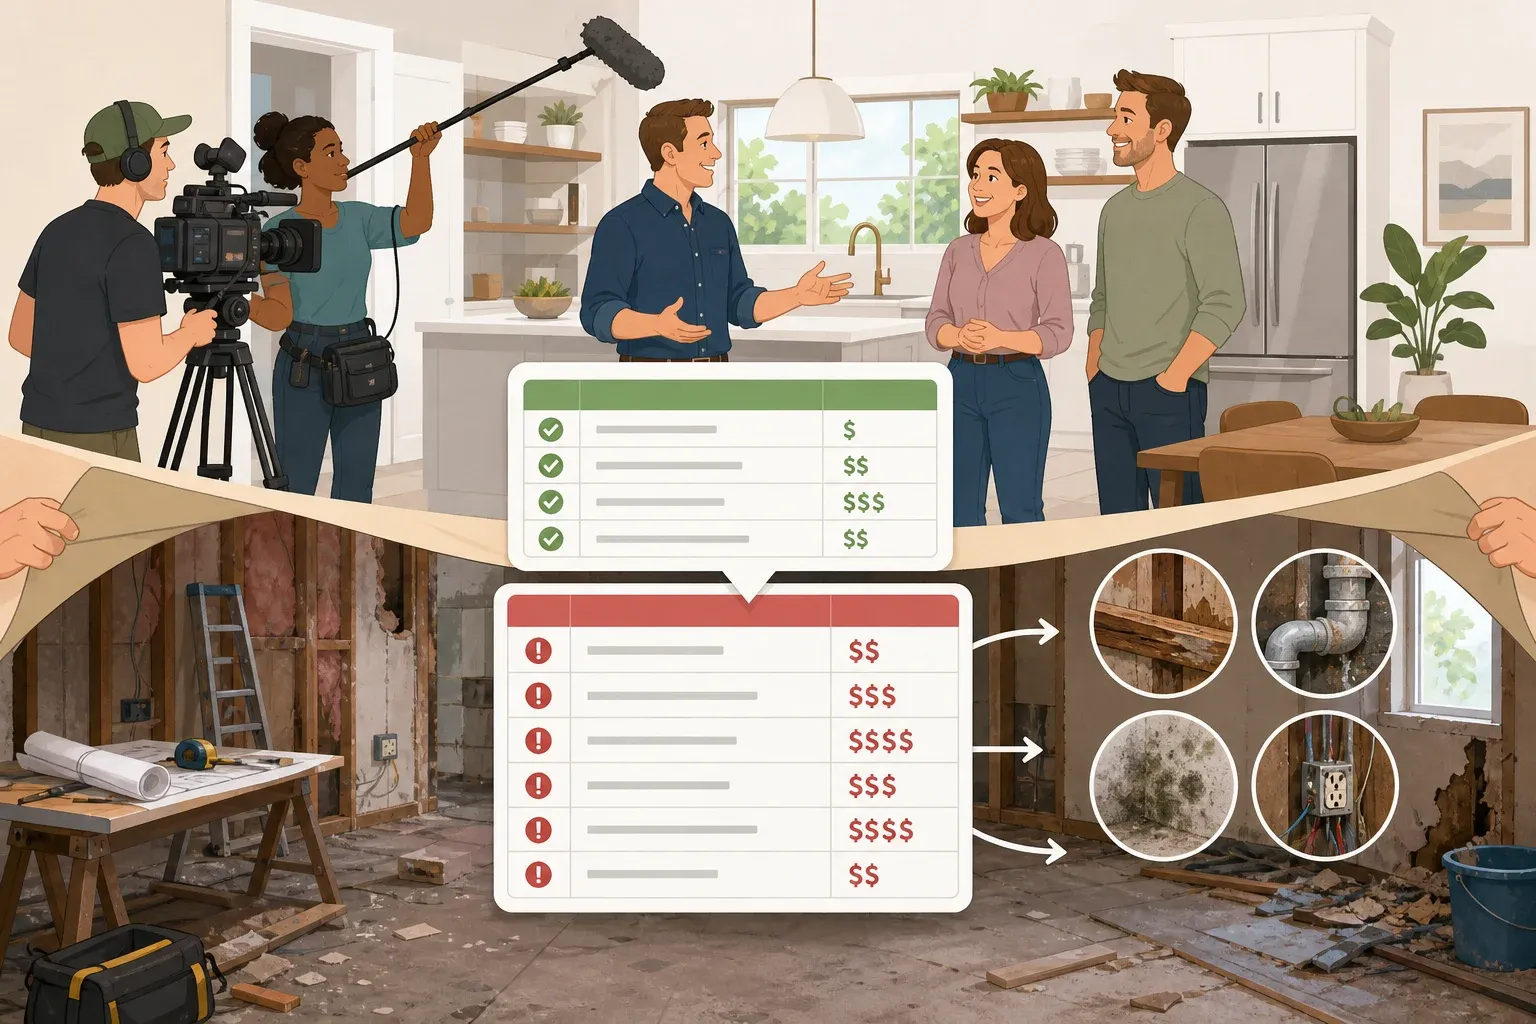
Removal can leave nail holes, lifted paint, or damaged drywall paper even when the installation appears temporary. Treat that as a foreseeable risk and get the landlord's approval before starting.
Freestanding or tension-rod storage
For a tension-mounted product, measure the opening and confirm that its surfaces and dimensions meet the manufacturer's installation requirements.
Follow the product's stated load limit and stability instructions.
Position storage so it doesn't obstruct a walkway, door, or required exit.
Don't assume freestanding means it should remain unattached. The CPSC recommends anchoring furniture that poses a tip-over hazard, and manufacturers may require anchoring as part of safe installation. If a required anchor conflicts with the lease, discuss it with the landlord or choose another product rather than skipping the safety hardware.
Wall-mounted open shelving
Check the lease and get written approval before drilling anything into the wall. Even when a lease technically allows it, written confirmation can head off disputes at move-out.
Confirm the wall construction and identify a safe mounting location. Avoid drilling where electrical wiring, plumbing, or other utilities may be present. If you're unsure what's behind the wall, stop and ask the landlord or a qualified professional.
Follow the shelf or bracket manufacturer's instructions for hardware, mounting points, and weight limits. Don't improvise anchors or substitute hardware unless the manufacturer permits it.
Keep the loaded shelf within the manufacturer's stated capacity.
This project needed the most finishing work afterward in the documented case, so account for removal and repair before choosing it.
Troubleshooting common problems
Even a straightforward project can go sideways partway through. Stop and address these before continuing:
Edges lift during or after installation. Check the product instructions and surface conditions before pressing the material back down. Dirt, moisture, texture, incompatible paint, or incorrect preparation can all interfere with adhesion.
Paint lifts during removal. Stop and check the product's removal instructions before continuing. If damage has already occurred, document it and check the lease or ask the landlord how repairs should be handled.
Film leaves adhesive residue behind. Use only a residue remover that's compatible with the underlying surface, test it as directed, and follow its label. A cleaner safe for laminate isn't automatically safe for painted walls.
A shelf feels loose or bows under weight. Unload it immediately and inspect the mounting hardware and stated load limit before using it again.
Trim pulls up drywall paper while prying. Stop rather than continuing to enlarge the damaged area. Repair it appropriately or ask the landlord or a qualified professional how to proceed.
A tension-mounted product slips or bows. Unload it and check its installation, opening dimensions, surface requirements, and rated capacity before trying again.
Remove and restore before move-out
In the documented case, decals were the quickest project to remove. Lifting them with a hook weeder took about five minutes and left no residue, though results vary by product, wall finish, installation, and length of use.
Contact paper or adhesive film can take longer. In the My Wee Abode case, two people used a hair dryer to soften the film while pulling it from a laminate countertop, and removal took about an hour. That method worked for the product in that specific installation. For another film, follow the manufacturer's removal instructions rather than assuming heat is always appropriate.
Treat leftover adhesive with a product approved for both the residue and underlying surface, following its label directions.
Trim removal can also vary by installation. In the documented case, the finish nails came away cleanly and left holes small enough that the renter chose not to fill them. Treat that as one possible outcome rather than a promised result. Check the lease and landlord's expectations before deciding to leave any holes unpatched.
Wall-mounted shelving may need more finishing work. In the documented case, the shelving came down quickly but left larger holes that were filled with spackle and sanded. Follow the lease or landlord's instructions for repairing, priming, and repainting rather than assuming a particular repair will satisfy move-out requirements.
Stop and contact the landlord or a qualified professional instead of reaching for a tool if you encounter an unfamiliar wall material, electrical or plumbing components, substantial surface damage, or anything you aren't confident you can repair safely.
Final move-out checklist
Matching each project to its real surface fit, permission requirement, safety requirements, and removal process, not just its visual payoff, is what keeps a small rental looking finished without turning move-out into a repair job. Work through this order before handing back the keys:
Start removals several days ahead, saving the most time-consuming projects for first.
Remove adhesive residue using a product approved for the underlying surface.
Repair holes and other alterations according to the lease or landlord's written instructions.
Re-photograph every altered surface, ideally matching the angles from your move-in photos.
Ask the landlord to confirm the walkthrough condition in writing rather than relying only on a verbal comment.
If a removal step ran longer than expected this time, build extra days into the next move-out timeline instead of attempting it the day keys are due. After repairs, follow the lease or landlord's written instructions about sanding, priming, and repainting rather than assuming bare spackle is good enough.






Comments
Be the first, drop a comment!