



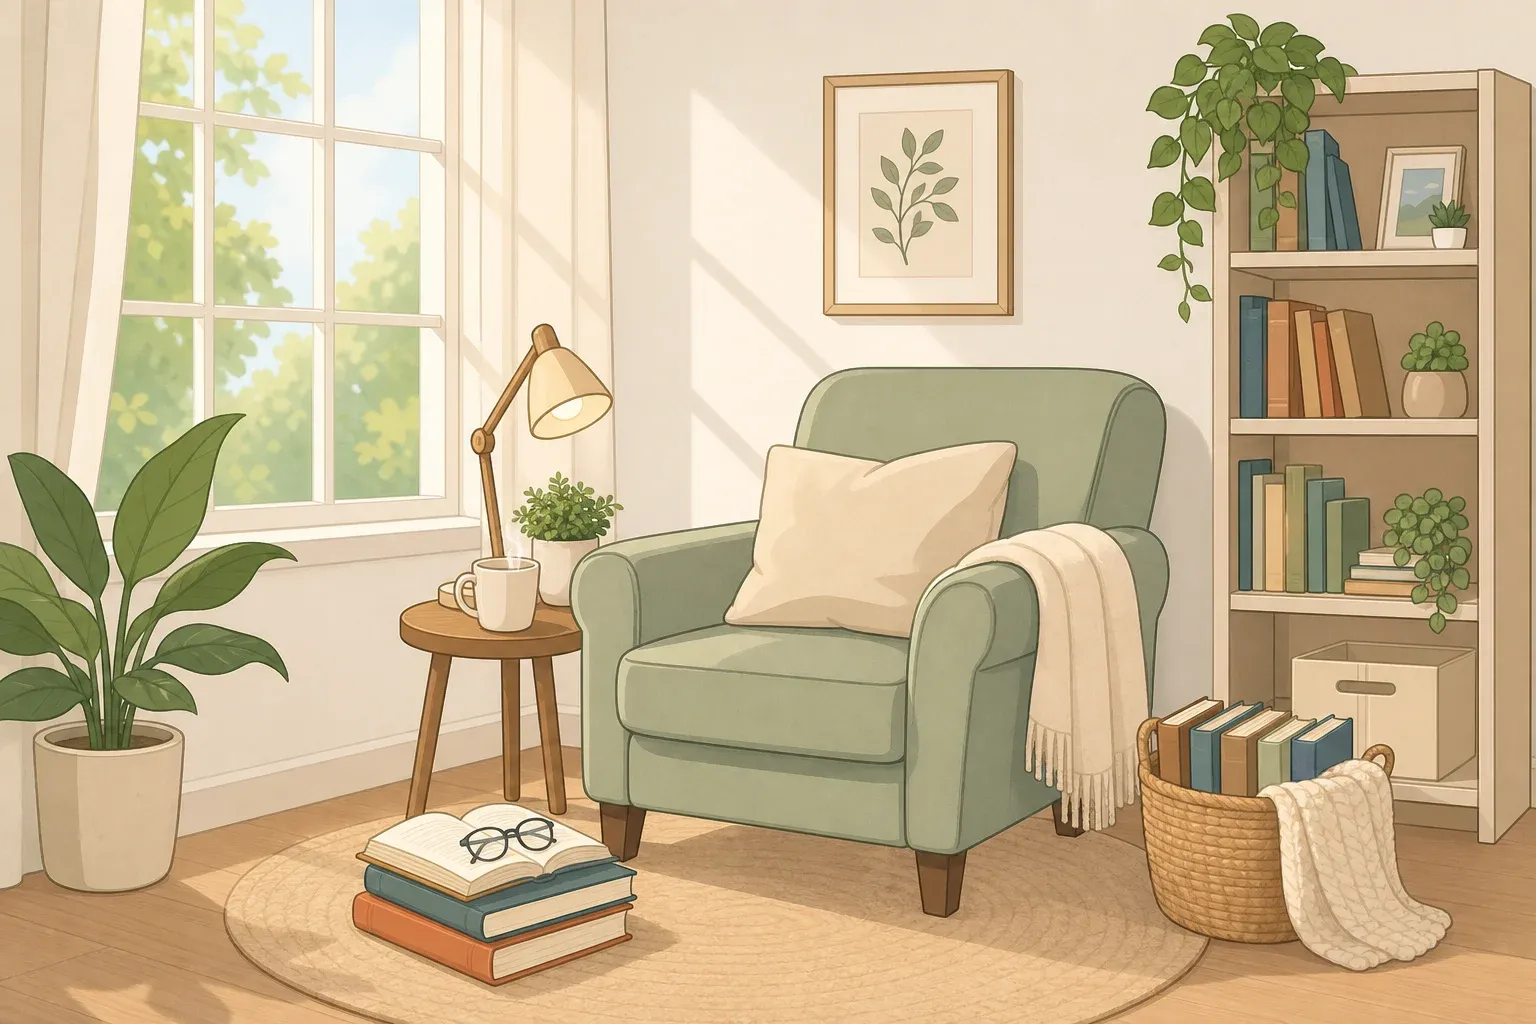
Most cozy reading nook ideas come down to the same four things: an unused corner, a comfortable chair, good light, and a place to set down a book. BookTok's latest home trend, the "personal reading retreat," is built around exactly that setup, and the practical advice behind it works whether or not the trend name sticks. Building one doesn't take a spare room, a big budget, or a hashtag.
The whole project doesn't require much time, money, or effort, and can start with whatever corner in the house is currently going to waste. A dedicated reading nook doesn't need much square footage to feel intentional. This guide covers picking a spot, gathering the basics, setting it up step by step, adjusting for renters or a shared living room, and knowing when a project has outgrown ordinary DIY scope.
Online book culture is genuinely large: the #BookTok hashtag carried 41.7 million tagged posts by late 2024, and "bookshelf wealth," curated book displays as a signal of taste, was named that year's defining design trend by the same outlet. What this means is book display is having a moment online, which the nook idea may be riding alongside rather than causing outright.
Shrinking new-home sizes might explain some of the appeal too. The median new-home size fell to 2,150 square feet in 2024, the lowest in 15 years, according to a National Association of Home Builders report released last year. Doug Cummins, a senior associate and project manager at DAHLIN Group Architecture and Planning, said in that same report that buyers are being less influenced by influencers when personalizing their homes, a reminder that a quiet reading corner probably doesn't need a viral origin story to be worth building.
What you'll need
A chair or window seat comfortable enough to sit through a full chapter
A small table or shelf within arm's reach for a book and a drink
A dedicated light source, whether a lamp, sconce, or pendant
A throw blanket or cushion
Optional, added later: a rug, shelving, or a basket for the books actually in rotation
Costs range widely. It's possible to spend anywhere from a few hundred dollars using furniture already on hand to several thousand, depending on how creative the setup gets. A vision that includes custom built-ins, professional lighting, or electrical work can push costs into the thousands. Skill level matters too: arranging furniture and plugging in a lamp is beginner-friendly for anyone, while new wiring or built-in millwork is a bigger job covered further down.
How to create a reading nook before you buy anything
Walk through the house looking for space that's currently going to waste: a stair landing, a closet nook, a bay window, or an empty wall corner. Designers point to exactly this kind of "random, neglected, or underused corner" as the starting point, not a remodel.
Once a spot looks promising, test it before buying anything. Move a chair into the space and sit in it, then measure its full depth and width, including the arms, before shopping for a side table or shelf to go next to it. Confirm a nearby door, drawer, or window still opens all the way, and that there's enough clearance to walk past without bumping into anything. There's no required footprint here; a corner just big enough for a chair and a small side table works, and even a recessed alcove or a modest stretch of wall works, since it visually separates the space from the room around it.
A window seat, chaise, or deep lounge chair needs more clearance than a compact upright chair, since the extra length and any ottoman have to clear the same walkway check. If the only available corner is tight, an upright chair with a slim side table is the safer place to start.
Natural light is a bonus, not a requirement. A good chair and warm lighting matter more than a perfectly lit spot, though daylight is a plus when it's available. If the corner gets no daylight, plan on a lamp doing the work, and position it so light falls on the page instead of over a shoulder, where a head or hand can cast a shadow across the text.
Check for power before committing to a spot. An outlet within reach of the cord makes plug-in lighting the simplest option, and running the cord along a wall rather than across the walking path avoids a trip hazard. Without a nearby outlet, a battery-powered or rechargeable lamp can fill in, but check its runtime and brightness before relying on it as the nook's only light source.
Step-by-step: setting up a DIY reading nook
Pick the chair first. This matters more than anything else in the room. A good reading chair and warm lighting can outweigh a perfectly designed space. If a chair isn't comfortable for a full chapter, it isn't the right chair for the nook, no matter how it looks.
Add the light before deciding anything else is done. Sit down and read a page using only the light being considered. Squinting, or a shadow falling across the page, means reposition the lamp or add a second source. If moving the lamp still causes glare on a glossy page or a phone screen, try a shade that diffuses light instead of a bare bulb, or angle the fixture so light hits the page at an angle rather than straight on. Pair two light sources, such as a pendant and a sconce, so no single fixture does all the work, and suggests a swag-mounted pendant for sloped or off-center ceilings where hardwiring isn't practical.
Set up a reachable surface. A small table or ledge beside the chair should hold a drink and a book without leaning or standing. Keep the drink away from the side closest to any lamp cord or outlet; a spill near an electrical connection is a bigger problem than a spill on a book. Storage like drawers, shelves, or a simple basket keeps the nook functional instead of just decorative. Sit down and check: can a mug be set down and picked back up without moving?
Layer in storage once the basics work. With the chair, light, and table settled, add shelving or a basket for the books currently in rotation. In a narrow corner, a slim vertical shelf or a single basket usually fits better than a full bookcase; a wide piece of furniture crowds the sitting space it's supposed to support.
Personalize last. A throw, a rug, a few meaningful books, or art can go in once the functional pieces are working. The goal is a space that reads as a natural extension of the home instead of a staged moment, so resist styling it like a showroom shelf.
Set a screen-free rule. Banning phones and TVs from the space lets the brain actually shut off, turning the nook into somewhere that motivates reading instead of another place to scroll. It costs nothing and gives the nook a clear purpose.
Cozy reading nook ideas for small spaces and rentals
Renters and anyone tight on space should skip anything that requires drilling, hardwiring, or permanent changes. Reuse a chair already in the house, add a plug-in lamp, and store books currently in rotation in a basket or on freestanding shelving rather than a wall-mounted ledge, since many ledges still need anchors or screws a lease may not allow. Check both the product instructions and the lease before installing anything on a wall, and default to freestanding storage if there's any doubt.
A compact rotating bookshelf can solve a storage problem in a narrow corner. The Flycity Rotating Bookshelf, which House Beautiful last year, measures 17 inches wide and holds up to 100 books across tiered, partitioned shelves, small enough to tuck into a spare corner. Wayfair, Amazon, and Walmart all carry versions of it.
A shared living room needs separation without construction. A room divider, a curtain, a rug marking the footprint, or an angled chair that turns its back on the rest of the room can signal "different zone" without a single wall going up. If the only available corner is narrow, a smaller side table or a single basket instead of a shelf keeps the footprint workable.
Permanent upgrades and when to call a professional
Once a movable setup has proven itself, some readers want to make it permanent: built-in shelving, a custom window seat, or wired-in lighting instead of a lamp. Costs at this tier can climb into the thousands depending on scope, and says any potential ROI is more likely to come from permanent features such as built-ins, custom millwork, lighting, or a window seat than from the reading nook itself.
New electrical circuits, hardwired fixtures, and structural changes like a built-in window seat go beyond ordinary DIY work. Ask a qualified electrician or contractor what's appropriate for the home before starting, and check with the local building department on whether the project needs approval, since rules vary by location. If you rent, get written permission before making any permanent change; a comfort project isn't worth a security deposit.
A useful check before spending on any of this: build the nook because reading in it feels good, not because a house might show better with one.
Finish line: testing and adjusting the space
Live with the setup for a week or two before spending anything more. Sit in the chair daily, at the time reading actually happens, and pay attention to three things: whether a full page can be read without squinting or losing light to a shadow, whether a book or drink can be reached without standing up, and whether the chair still feels good an hour in.
If any of those fail, fix the cheap part first. Move the lamp, swap the side table for one at a better height, or try a different chair before deciding the whole spot is wrong. If the corner just isn't getting used after a couple of weeks, move the chair somewhere else in the house instead of adding more furniture to a spot that isn't working.
Once the movable version earns its place through actual use, that's the signal to weigh the bigger investment: built-ins, a window seat, or wired lighting. Save the call to a professional for anything involving new wiring, outlets, or structural changes, and skip the pressure to make the space look like a photo. A reading nook that gets sat in and read in has already done its job.

















Comments
Be the first, drop a comment!