



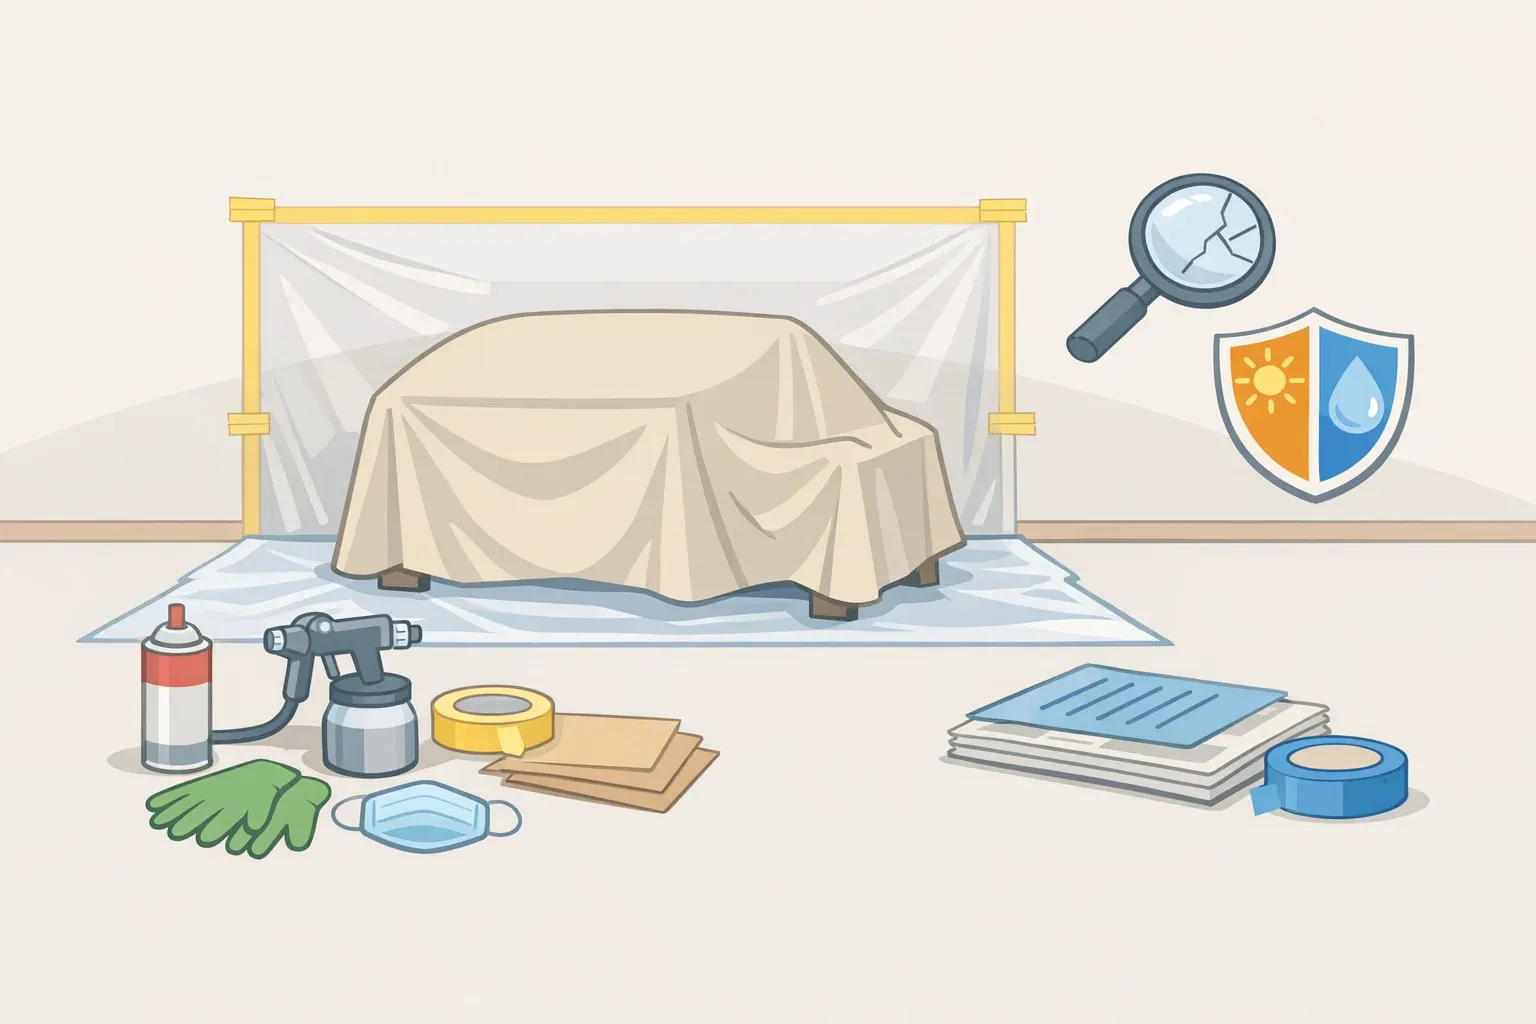
If Whether you can spray paint indoors depends on three things: the product label, the space you can safely set up, and the surface you want to paint. Small decorative items are usually the best candidates. Large projects, wet zones, and high-touch surfaces are where spray paint becomes messier, less durable, and harder to justify.
The short version: Low-touch decorative items are usually worth spray painting. Slick, nonporous surfaces like plastic, laminate, and metal can work with the right prep. Wet or high-abuse zones, such as kitchen backsplashes and sink-adjacent cabinets, are usually temporary fixes.
Before you spray indoors, check the space
Spray paint outdoors whenever possible. If you have to spray indoors, limit the project to a small, removable item in an isolated, well-ventilated area — not a bedroom, kitchen, bathroom, or occupied living space.
Read the can label before setting up. The label controls ventilation, temperature, humidity, surface compatibility, PPE, dry time, recoat timing, and cleanup. If the product says to use it outdoors or in a well-ventilated area, follow that instruction rather than relying on a general spray-paint rule.
The EPA lists aerosol sprays, paints, paint strippers, solvents, and hobby supplies among household sources of volatile organic compounds, or VOCs. It also recommends increasing ventilation, following label precautions, and using products outdoors or with maximum outdoor air when labels call for ventilation.
Set up cross-ventilation with open windows and airflow moving fumes away from you. Keep children, pets, pregnant people, older adults, and anyone with asthma, migraines, or respiratory sensitivity away from the space until the odor has cleared and the paint has dried according to the label. Do not spray near pilot lights, stoves, dryers, heaters, candles, or other ignition sources.
Control overspray before you press the nozzle. Use a cardboard spray booth or portable spray shelter for small items, cover the floor and nearby surfaces, and move fabric, electronics, dishes, food, and open containers out of the area. Avoid spraying near HVAC returns, and isolate the work area so fumes or overspray are not pulled through the home.
Wear gloves, eye protection, and the respirator or mask specified by the product label. A paper dust mask may help with dust, but it is not the same as protection from solvent vapors.
What you can spray paint indoors — and what to skip
Before learning how to spray paint something, decide whether the project belongs indoors at all. The lifespan estimates below are practical ranges, not guarantees. DIY spray-paint durability depends on the product, surface, prep, ventilation, humidity, temperature, drying time, and how the item is used.
Tier 1: Low-touch decorative items
Lamp bases, picture frames, ceramic pots, wicker baskets, small decor, unfinished MDF pieces, and lightly used wood furniture are spray paint's safest indoor category. Wear is light, moisture is limited, and the project is usually small enough to fit inside a cardboard spray booth or portable spray shelter.
A can label may describe minimum application steps, while better prep improves the odds of a longer-lasting finish. For example, Krylon Fusion All-In-One is labeled for indoor and outdoor use on metal, wood, plastic, laminate, glass, ceramic, plaster, and other surfaces. Krylon also says the product needs no sanding or priming, dries to the touch in about 20 minutes, and covers up to 25 square feet per 12-ounce can under its listed application conditions.
That does not mean every surface will wear the same way. Decorative items that are cleaned, sprayed in thin coats, and handled lightly can last for several years. Items that get bumped, wiped, heated, or flexed will wear faster.
Tier 2: Slick, nonporous surfaces
Plastic, laminate, PVC, metal shelving, appliance panels, and other slick surfaces can take paint, but they need more help. Clean them thoroughly, dull glossy areas, and use a primer or adhesion promoter made for the material.
These surfaces are more likely to peel if they are dirty, glossy, flexible, or coated with the wrong primer. Plastic can be especially tricky because some pieces resist paint even after light sanding. If the object matters, use paint labeled for plastic or add an adhesion promoter before primer.
Realistic lifespan with correct prep: an estimated two to four years for light-use surfaces, with faster wear on anything handled daily.
Tier 3: Wet and high-abuse zones
Kitchen tile backsplashes, cabinets near sinks and dishwashers, bathroom fixtures, shower-adjacent surfaces, and high-touch cabinet doors are usually poor candidates for consumer spray paint indoors.
Paint can cover these surfaces, but it is usually a temporary fix. Water, heat, scrubbing, grease, and daily handling all shorten the life of a spray-painted finish. In kitchens and bathrooms, chipped paint can also create cleaning problems because moisture and grime collect at the broken edges.
For peel-and-stick backsplash tile, removal is usually cleaner than painting over the vinyl surface. For permanent kitchen or bath surfaces, price out a tile-rated coating, replacement material, or professional refinishing before committing to a can.
Realistic lifespan: months to a couple of years before visible wear begins.
The go/no-go rule
If the finish needs to survive regular water contact, household cleaners, heat, grease, or daily handling, consumer spray paint is probably the wrong tool. If the item is decorative, removable, low-touch, and easy to refresh later, spray paint can be a practical choice.
Prep the surface before you spray
Good prep is not the cautious option. It is the competent one. The exact process depends on the surface and product label, but the basic sequence is the same: clean, test, scuff, dust, prime if needed, then spray in thin coats.
You'll need clean rags, a degreaser, sandpaper or sanding pads, tack cloth or a lint-free wipe, a primer matched to the surface, painter's plastic or a spray shelter, gloves, eye protection, and the spray paint itself.
Check the label before starting. Krylon Fusion All-In-One, for example, lists best results at 55 F to 75 F with humidity below 60% and warns that applying outside that range may affect the finish. Do not paint in a humid room and expect the finish to perform like it was applied under ideal conditions.
Step 1: Degrease first
Wipe down every surface with the cleaner recommended for the material and paint product. For many hard surfaces, that may be isopropyl alcohol or a dedicated degreaser.
Clean before sanding. Sanding a greasy surface can spread residue instead of removing it. Use fresh rags so you are not moving oil, dust, or cleaner residue around.
Step 2: Test the existing finish
If the surface already has paint or a clear coat, test it before sanding. Press strong packing tape over an inconspicuous spot, then pull it off quickly.
If paint or coating comes away, the existing finish is failing and should be removed before you add another coat. If it stays put, clean and scuff the surface before priming.
Step 3: Sand or scuff the surface
For most interior decorative surfaces, 220-grit sandpaper is enough to dull a glossy finish before primer. Use coarser grits only when you need to remove buildup, rust, or failing paint, then move back to a finer grit before priming.
The goal is to create a dull, even surface — not deep scratches that show through the finished paint.
Plastic warning: Use paint labeled for plastic or add an adhesion promoter if the project needs to last. Light sanding alone may not be enough on slick plastic, especially on high-touch items.
Step 4: Remove dust and inspect
Wipe the surface with a tack cloth or clean lint-free rag. Do not leave dust, lint, fingerprints, or cleaner residue behind.
Check the object in good light. Look for glossy patches, missed grime, rough edges, rust, peeling paint, or texture you do not want to see under the finish. This is the last easy time to fix the surface.
Step 5: Prime when the surface needs it
Primer improves adhesion and creates a more uniform base for the topcoat. Match the primer to the surface: plastic, metal, laminate, tile, and previously painted wood may need different products. Let primer dry according to the label before spraying the color coat.
Surface-specific primer notes:
Tile: Use a bonding primer labeled for tile or glossy surfaces, and expect painted tile to need maintenance in wet or scrubbed areas.
Stainless steel: Use a metal bonding primer labeled for stainless steel or slick metal.
Plastic: Use spray paint labeled for plastic or an adhesion promoter before primer on high-visibility pieces.
Raw wood or MDF: Prime first so the surface does not absorb paint unevenly.
Laminate: Degloss, scuff, and use a bonding primer before the color coat.
Step 6: Spray in thin, even coats
Multiple thin coats beat one heavy coat. Hold the can the distance recommended on the label, keep it moving, and overlap each pass slightly. Pausing in one spot causes pooling, drips, and uneven sheen.
Let each coat dry according to the label before recoating. Dry-to-touch does not always mean ready for heavy handling, cleaning, or reassembly.
If you seal painted tile or another high-wear surface, wait until the paint has dried and follow both the paint and sealer labels for cure time. Sealing too early can trap moisture or solvents under the clear coat and weaken the finish.
What makes spray paint last — or fail fast
Durability comes down to three variables: the paint formula, the surface, and the application conditions. Prep matters, but prep cannot turn every spray paint into a permanent finish on every surface.
The paint formula sets the ceiling
Most consumer spray paints are built for convenience, not cabinet-shop durability. They can perform well on decor, frames, planters, small furniture, and other low-touch pieces. They struggle more on surfaces exposed to water, heat, grease, cleaners, and repeated handling.
In those areas, failure is not always a prep mistake; the coating may simply be the wrong product for the job. Professional cabinet and automotive coatings are designed for harder wear and are applied with different equipment, prep, and safety controls. That is not the same project as using a consumer aerosol can in a spare room.
If the surface needs to survive daily scrubbing, water, heat, or greasy fingerprints, choose a coating system made for that use or consider professional refinishing.
The surface decides where paint fails first
The tier framework maps directly to expected lifespan:
Low-touch decorative items can hold for several years with good prep.
Slick surfaces may last an estimated two to four years with light use and the right primer.
Wet or high-contact zones may show visible wear within months to a couple of years.
Treat those as practical estimates, not guarantees. There is little independent testing of DIY spray-paint lifespan across every interior surface.
Temperature and humidity affect the cure
Temperature and humidity affect how spray paint flows, dries, and cures. Follow the range on the can, not a generic rule.
For bare metal, prep and prime in the same session when possible, especially in humid conditions, so the clean surface does not start oxidizing before primer goes on.
Before you buy the can, decide what failure looks like
Identify the surface tier before buying paint. Spray paint works well for low-touch decorative items. It can work on slick, nonporous surfaces with the right prep and primer. In wet and high-contact zones, it usually buys time rather than solving the problem permanently.
For Tier 3 projects, ask whether the likely failure is acceptable. A spray-painted backsplash that chips later can leave peeling edges that are harder to clean than the original tile. For those projects, price out a tile-rated coating, replacement material, or professional refinishing before committing to a can.
For decorative, low-touch items, the math flips. Spray paint is inexpensive, fast, and often good enough. Choose it when future wear will be cosmetic and easy to fix, not messy, unsanitary, or disruptive.
Krylon's no-peel guarantee applies when the product is used on a properly prepared surface and applied according to product instructions. "No sanding or priming required" describes application ease, not equal lifespan on every surface.
The best indoor spray-paint project is small, movable, well ventilated, low-touch, and easy to redo later. If the item cannot meet those conditions, move the project outdoors, choose a brush-on product, or use a coating made for the surface and level of wear.



















Comments
Be the first, drop a comment!