



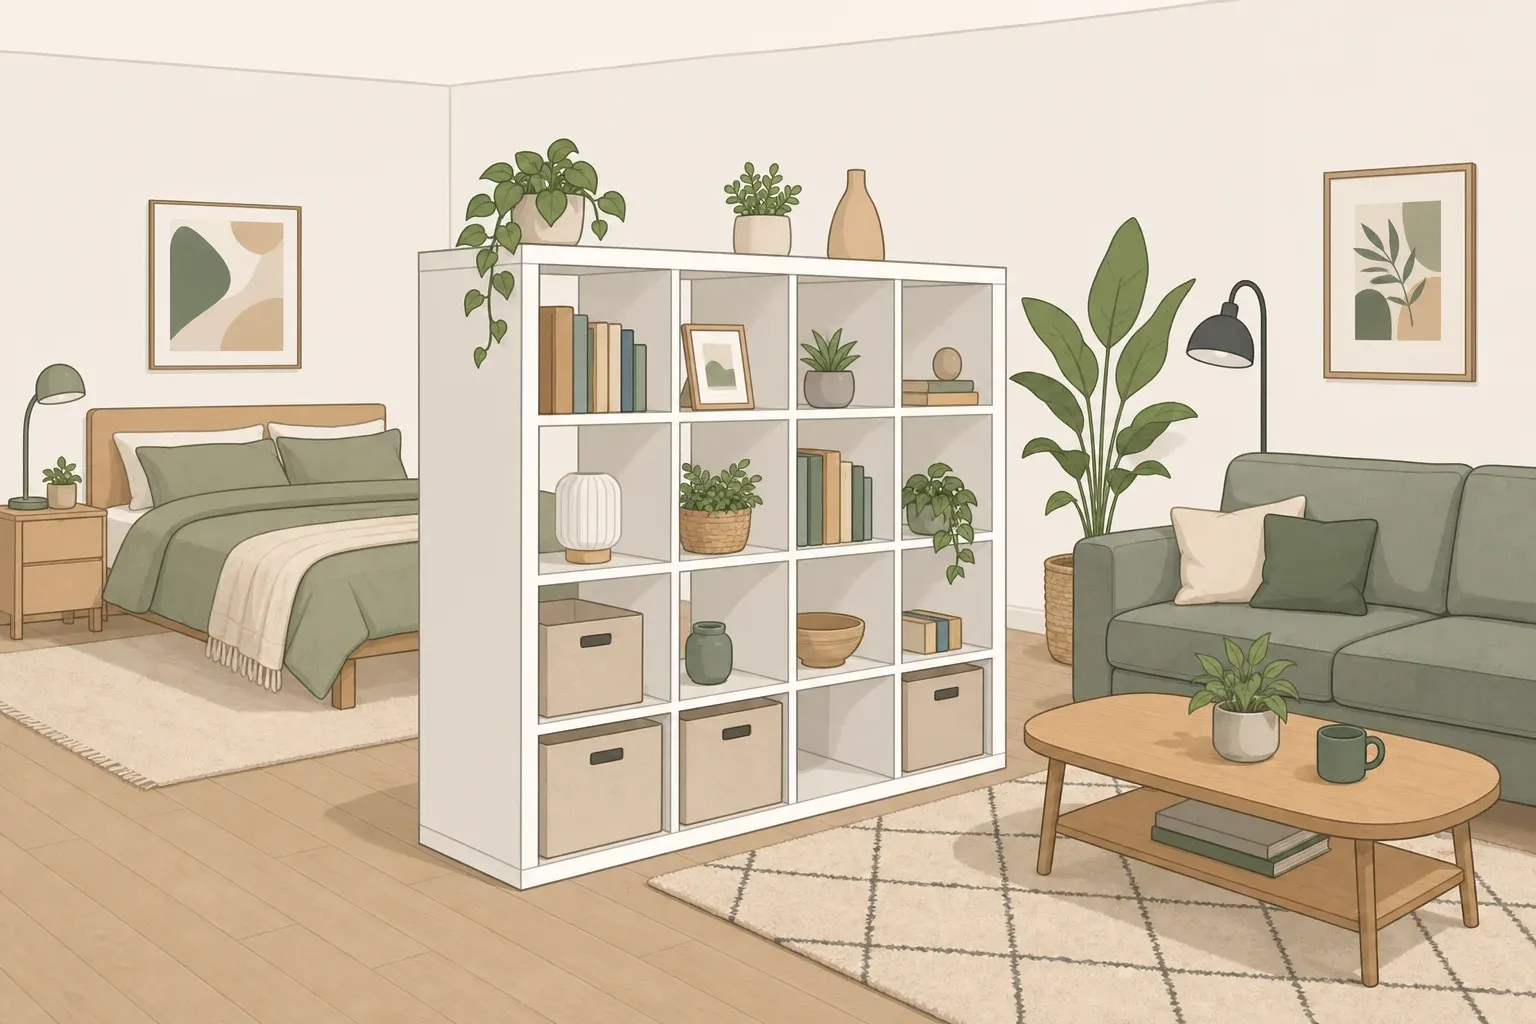
An IKEA KALLAX room divider can turn one open studio into something that reads more like a bedroom and living room, but only if the unit fits the space and can be secured the way IKEA requires.
Michelle Malia and her husband used the idea in their 250-square-foot Manhattan studio, placing a large KALLAX between their bed and dining table. The unit "doubled as storage and as a divider to create a sense of separation between our bed and table," Michelle told Apartment Therapy. It held books, art supplies, electronics, clothes and plants.
This is a zoning solution rather than a construction project. The shelving changes sightlines and gives each side of the studio a clearer purpose, but it does not provide the privacy or sound isolation of a wall.
If natural light matters more than storage, a more transparent divider may make more sense.
Decide if a KALLAX divider fits your layout
A loaded KALLAX is still a large piece of furniture. Depending on its height and how many cubbies are filled with bins or books, it can noticeably reduce the light and sightlines passing through that part of the room.
If your studio relies on windows along one wall, map out that tradeoff before buying anything.
One renter featured by Apartment Therapy chose a more transparent solution for that reason. She used an IKEA SKYTTA sliding-door frame and plexiglass taken from IKEA picture frames to create a partition while preserving more visual openness. The project cost about $200.
That particular build still used wall attachment, including a picture ledge fastened with nails, so it should not be treated as a universally no-hole rental solution. It is useful mainly as an example of choosing transparency when a solid bookcase would make a studio feel too dark.
If the only place for a KALLAX would block your main light source, interfere with a doorway or make a normal walking route uncomfortably narrow, reconsider the footprint before ordering.
Measure the studio and choose the exact KALLAX
Before buying, measure:
The width, height and depth of the exact KALLAX model
The walking space remaining on both sides
Clearance for nearby doors, drawers, chairs and closets
The positions of windows, radiators, heaters and vents
The wall position available for the required anchoring hardware
Whether your lease permits the necessary wall attachment
Use IKEA's current product page and assembly manual for the exact model rather than relying on dimensions or hardware from a different KALLAX size.
For example, IKEA currently lists its 4x4 KALLAX at 57 7/8 inches wide, 57 5/8 inches high and 15 3/8 inches deep. The current 5x5 model measures 71 5/8 inches wide and high with the same 15 3/8-inch depth. Both US product pages carry a tipping warning requiring secure anchoring. (IKEA)
That creates a simple decision:
Choose a KALLAX if storage is a priority and the intended position lets you secure the unit as IKEA requires.
Choose a more transparent divider if preserving daylight and sightlines matters more than storage.
Rework the layout if the only footprint would block circulation, a vent, a door or the required anchoring point.
IKEA itself describes KALLAX as suitable for use as a room divider, but the same product documentation says the unit must be securely anchored. The two instructions need to be followed together.
What to gather before you start
Have these ready before assembly:
Tape measure
Painter's tape
The current IKEA assembly manual for your exact KALLAX
The tools required by that manual
The supplied wall-attachment hardware
Screws and plugs suitable for your wall, which IKEA says are not included
A stud finder if appropriate for your wall and fastener system
IKEA recommends two people for assembling its current large KALLAX models.
If you rent, check the lease or ask the landlord before buying. For a large KALLAX that IKEA says must be anchored, a rule against putting the required fasteners into the wall means that particular setup is not suitable as planned. Do not substitute freestanding use simply to avoid the wall attachment.
Step-by-step: position and anchor the divider
Mark the footprint with painter's tape. Outline the exact dimensions on the floor before moving furniture. If the unit will run perpendicular to a wall, tape it in that position rather than testing it flat against the perimeter.
Live with the footprint for a few days. Walk your normal routes from the bed to the bathroom, entrance and kitchen. Open nearby doors and drawers. Check how much natural light would be blocked.
Check the anchoring plan before assembling the final layout. Open IKEA's current instructions for your exact model and confirm that the required attachment points can reach an appropriate wall from the position you chose.
Use the supplied wall-attachment devices. IKEA's current 4x4 KALLAX manual says the furniture must be used with the provided wall-attachment devices. Screws and wall plugs are not supplied because the correct type depends on the wall. If you're unsure which fasteners are appropriate, IKEA recommends seeking professional advice.
Position and secure the empty unit before loading it. Do not fill the shelves first and plan to anchor it later.
Load the cubbies gradually. Spread heavier items rather than concentrating all the weight high up or on one side, and stay within the shelf-load limits published for the model.
Once the unit is loaded, stand on both sides. The bed and living area should feel more distinct without forcing you to detour around the furniture.
Common layout problems and how to work around them
The unit blocks an outlet. Shift the footprint. Don't run a layout through an outlet that needs regular access or overload another outlet to compensate.
One half of the studio becomes too dark. Use fewer opaque bins, consider a shorter divider or switch to a more transparent partition.
A door, drawer or chair no longer opens properly. Move the unit or choose a smaller model instead of accepting a permanent squeeze.
The open shelves look cluttered from the bed. Put baskets, bins or KALLAX inserts in the most visible cubbies first.
Your lease does not allow the required wall attachment. Choose another divider rather than leaving a large KALLAX unanchored.
The planned position cannot accommodate IKEA's supplied attachment devices. Change the footprint or the product. Do not improvise a different anti-tip arrangement unless IKEA or a qualified professional says it is suitable.
The last two points matter most. IKEA currently describes both its 4x4 and 5x5 KALLAX units as room dividers while also warning that they must be securely anchored. (IKEA)
What to do when the open shelving starts looking cluttered
Michelle and her husband initially liked their open KALLAX but eventually found that having nowhere to hide less attractive belongings made the shelving look chaotic.
The easiest fix is closed storage.
Woven baskets, fabric bins and KALLAX inserts can hide clothes, electronics and miscellaneous items without turning the divider into another DIY project.
Michelle eventually went further and added custom cane-webbed doors with leather pulls. Her materials cost about $340: $30 for pine door frames, $15 for hinges, $20 for pull materials and $275 for cane webbing.
That was a substantially more advanced project than assembling the shelf. She built the doors in her father-in-law's workshop and learned to use tools including a router and biscuit joiner.
For most studio setups, bins or ready-made inserts are the easier place to start.
Finish-line check before you call it done
Once the KALLAX is loaded, check the layout again rather than assuming the empty-unit test told you everything.
Confirm that:
The unit remains securely anchored as IKEA specifies.
Nothing has shifted out of position.
Doors and drawers can open normally.
Walking routes remain comfortable.
Vents, heaters and outlets remain unobstructed.
The filled shelving does not make one side of the room unacceptably dark.
If any of those fail, adjust the layout rather than learning to live around the problem.
A KALLAX works well as a studio divider because it does two jobs at once: it creates a visual boundary and adds storage. The current IKEA instructions make the safety condition equally clear, though. If the unit cannot be anchored properly in the position you want, choose a different footprint or a different divider.




















Comments
Be the first, drop a comment!