



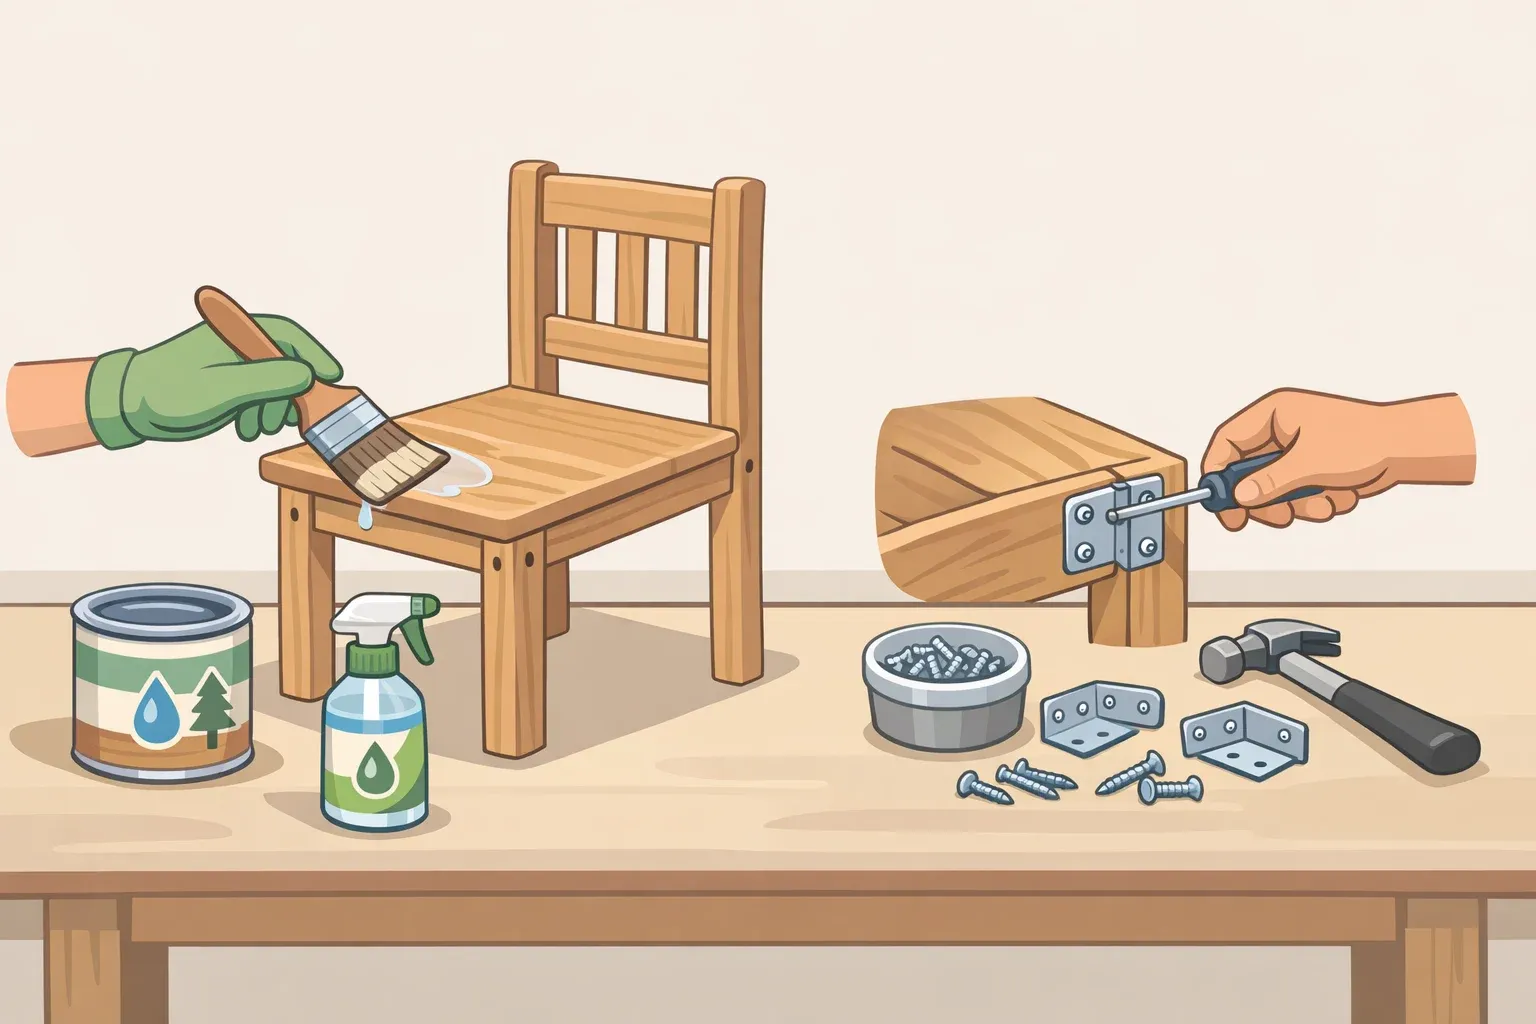
Some pieces are worth converting. Plenty are not. Knowing which is which before buying a can of spar urethane will save time, money, and a lot of disappointment.
This is a complete system for how to make indoor furniture outdoor-friendly: from deciding whether a piece is a viable candidate, through finish selection, surface prep, sealing the areas most people skip, reinforcing hardware and joints, and maintaining protection long-term. Follow all five steps, and a solid indoor piece can serve well on a covered patio or deck for years.
Start with the uncomfortable part: no finish makes wood waterproof. Every product is water-resistant at best. The actual goal is dramatically slowing natural degradation rather than stopping it. A converted indoor piece also needs more attention than purpose-built outdoor furniture. That's the honest tradeoff.
Scope: Everything here applies to solid wood furniture. MDF, particleboard, veneer, and laminate are poor candidates; moisture penetrates engineered composites in ways no topcoat can reliably stop.
Should you even do this? A quick triage
Before gathering supplies, run a fast filter. The five steps that follow only work if the piece passes it.
Good candidates:
Solid wood construction (not MDF, veneer, or laminate)
Structurally sound: tight joints, no rot, no deep cracks
Intended for a covered patio or sheltered location, not full-exposure yard use
Wood species that are at least moderately durable: white oak, cedar, teak, acacia
You are willing to recoat on a real schedule
Poor candidates:
Veneer, MDF, or laminate construction
Antiques or pieces with significant sentimental or monetary value (better kept indoors)
Severely loose joints, active rot, or cracks through the core
Destined for an unsheltered full-sun yard position without aggressive maintenance commitment
Untreated pine without a plan for aggressive prep and frequent recoating
The finishing system protects wood; it doesn't rehabilitate it. Repair anything structural before starting, or rule the piece out.
Step 0: Know your wood and your exposure level
Wood species matters. Teak is the gold standard, rated for 50–75 years outdoors under European EN 350 durability standards. White oak (15–30 years with sealing) and cedar (15–25 years with maintenance) sit in the middle. Pine is rated as slightly to not durable, requires aggressive treatment, and will still demand more frequent care than denser species. Knowing the species sets realistic expectations before the first coat goes on.
Exposure level shapes every decision downstream. A piece on a covered porch in the Pacific Northwest faces completely different stresses than one on a full-sun deck in Arizona or a coastal patio in Florida. Where the piece will live determines finish type, recoat schedule, hardware choice, and storage plan. Lock that in before moving to Step 1.
Step 1: Choose a finish that fits your climate and exposure
Finish selection is the biggest performance variable in the entire conversion. Most DIY guides treat it as an afterthought.
Four exterior finish types offer meaningfully different protection windows and maintenance demands. Spar urethane lasts 3–5 years in moderate climates, flexes with wood as it expands and contracts seasonally, and is what professionals reach for on exposed pieces. Exterior paint matches that lifespan and outperforms clear finishes in intense sun by roughly 40%; the pigment acts as a physical barrier against UV radiation that degrades wood lignin and turns unprotected surfaces gray within months. Water-based polyurethane runs 2–3 years and applies faster with less odor. Penetrating oils protect for only 6–18 months but refresh easily with a simple wipe-on application.
Exterior stain occupies a useful middle ground. Semi-transparent stains let wood grain show through while adding UV-absorbing pigment; more color protection than a clear finish, less opacity than paint. They penetrate the surface rather than forming a film on top, which means they won't peel the way film-forming finishes sometimes do, and a recoat every one to three seasons is usually sufficient. For softwoods like pine or cedar that will see moderate sun, a penetrating exterior stain plus a clear topcoat balances durability with the look of natural wood.
A note on source disagreement: Some experts advise against polyurethanes and paints in favor of synthetic penetrating sealers, citing cracking and peeling risk. That's sound advice for pieces with high moisture exposure in unsheltered positions. For sheltered patios and covered porches, film-forming finishes perform well and are widely used. Exposure level should drive the choice; neither position is wrong in its appropriate context.
Decision framework:
Full sun, any climate — Exterior paint or spar urethane (UV-rated) — Every 2–4 years
Coastal / salt air — Spar urethane or paint; 316 stainless hardware required — Every 2 years
Humid, mild — Exterior stain or penetrating oil — 1–2× annually
Covered porch, low sun — Water-based poly or penetrating oil — Every 3–4 years
Desert / intense heat — Paint or spar urethane; oil needs 3× annual touch-ups — Every 2–3 years
One finishing note on sheen: gloss sheds water better and highlights grain; satin and matte conceal everyday wear more gracefully. Neither is wrong; it's a function and aesthetic tradeoff.
A film-forming finish like interior polyurethane applied outdoors will bubble and peel within one season because it lacks UV inhibitors and the flexibility that exterior-grade products include. Clear finishes without UV pigment show chalky graying quickly on any sunny exposure. Penetrating oil on a full-sun piece in the desert will need three applications annually just to stay ahead of degradation.
Step 2: Prep the surface
Good prep is where most DIY weatherproofing projects succeed or fail. Applying a great product to a poorly prepared surface is the woodworking equivalent of painting over rust.
Surface preparation accounts for the majority of a weatherproofing project's success; no premium product compensates for rushing this step. Sand to 120–150 grit for most film-forming finishes. Sanding too fine above 180–220 grit can actually reduce adhesion by closing the wood grain too tightly, removing the mechanical bite the finish needs. For penetrating finishes like oils, progressing through finer grits up to 220 is appropriate since the product absorbs into the fibers rather than bonding to a surface.
Round over sharp corners and edges by ⅛ to ¼ inch before finishing. Hard angles are where outdoor coatings fail first; the film pulls thin at corners, and that's where cracking and peeling begin. After sanding, wash the entire piece with mild soap and water, then wait a full 48 hours before applying any finish. Wood must be completely dry, or the sealant won't cure correctly.
Apply finish only when temperatures are between 50–85°F, and humidity is below 85%. Cold, heat, and high humidity all cause adhesion failure, bubbling, and uneven curing problems that often don't show until the finish starts peeling weeks later, well after the window for easy correction has closed.
Between coats, lightly scuff with fine-grit sandpaper and wipe with a tack cloth. This creates mechanical adhesion between layers, turning multiple thin coats into a unified barrier. Oil-based products need 6–10 hours between coats and 7–14 days for a full cure; water-based products need 2–4 hours between coats and 24–48 hours to cure fully. A coat that isn't fully dry before the next one goes on won't bond correctly.
Step 3: Seal the parts nobody sees
This is where most careful conversions fail.
End grain, joints, screw holes, and undersides absorb moisture faster than face grain and are often where failure starts. These areas act like straws—exposed end grain pulls in water that wicks through the entire piece, even when every visible surface is sealed. Many DIYers skip the undersides of chairs and tables entirely, yet that's where puddles, sprinklers, and dew linger longest. The bottom of a chair leg is typically the first place to soften and rot.
The order matters. Flip the piece upside down and start there. Coat the underside of every flat surface, the bottoms of legs, and any end-grain cuts. Then do joints and existing screw holes. Only then move to the visible top surfaces. For open or loose joints, work exterior-rated wood glue or caulk in before sealing over them; sealing around an open joint traps moisture inside rather than blocking it out.
Lightly scuff between all coats and wipe with a tack cloth. Multiple thin coats with proper cure time between them outperform a single heavy application every time.
Soft, punky wood developing at the base of chair legs is almost always an unsealed underside. A finish that looks pristine on top while the piece gradually weakens from beneath is the signature failure mode of incomplete sealing.
Step 4: Reinforce weak points
A beautifully sealed piece with standard indoor hardware will still fail outdoors. Rust bleeds into surrounding wood, weakens joint integrity, and creates moisture entry points around every fastener.
For coastal and salt-air exposure, 316 stainless steel fasteners are the safe default. They contain molybdenum, which prevents chloride pitting, and are rated for 50-plus years of outdoor use without rust staining the surrounding wood. Standard 304 stainless looks identical but lacks molybdenum; it can fail within 3–5 years in coastal environments due to salt-air chloride exposure, though it performs adequately inland, lasting 20–30 years in freshwater climates. Any salt air exposure makes 316 the better call. The cost premium is minimal: 316 fasteners run $0.15–$0.30 more per screw than standard hardware, adding roughly $3–$6 to a table with 20 fasteners.
If the piece is being disassembled as part of the conversion, replace the hardware during reassembly and use exterior-rated adhesive on all joints. If it's staying assembled, the priority is sealing around every existing fastener hole from the outside; this blocks water from tracking in along the screw shaft. Use washers at stress points, predrill any new holes to prevent wood splitting, and don't overtighten: crushing wood fibers around a screw head creates a weak point that moisture will exploit.
If the piece has no exposed fasteners, skip the hardware swap but still seal any visible screw holes from the exterior as part of Step 3.
Orange-brown rust streaks bleeding down the wood from each screw location, with soft or discolored wood immediately surrounding the fastener, is standard indoor hardware doing exactly what outdoor exposure does to it.
Step 5: Store smart and maintain on a schedule
Storage decides whether all that prep bought two seasons or ten.
The best option is climate-controlled indoors. A covered patio with breathable covers is the next-best choice. Sealed plastic covers are actively harmful; trapped condensation can undo years of protection work in a single winter. The key distinction: throwing a tarp over furniture before a storm is fine as a short-term measure. Leaving a sealed cover in place for weeks or months is what creates the moisture-trap problem. Use breathable covers for extended storage, elevate the piece on blocks to prevent ground moisture from wicking upward, and ensure airflow underneath.
The water-bead test: Splash water on the surface once a season. If it beads, the protection is still active. If it soaks in, the finish is depleted; clean the piece, scuff-sand lightly, and apply a fresh coat before damage starts rather than after. Other signs recoating is overdue: a chalky or dull surface (UV breaking down the finish), small cracks forming in the film (moisture infiltrating), or a sticky surface texture (finish degrading chemically).
Recoat schedule by climate:
Mild (Pacific Northwest): paint and spar urethane holds 4–5 years; penetrating oil needs annual touch-ups
Moderate: 3–4 years for paint; 3 years for spar; bi-annual oil touch-ups
Desert / harsh sun: recoat every 2–3 years; desert conditions demand 3× annual oil applications
Coastal: recoat every 2 years; oil needs 4× annually; 316 stainless hardware is mandatory
How long does this actually hold up?
Follow all five steps, and a solid wood indoor piece can deliver years of genuine outdoor service. Covered pieces in mild climates with quality finishes may go 3–5 years between major treatments. Full-sun deck furniture will need attention annually, regardless of finish quality. A converted indoor chair is not the same as a purpose-built teak; it needs more attention and will have a shorter outdoor lifespan overall. That's not a flaw in the approach; it's an honest accounting of what the conversion delivers.
The system only holds if every element is present. Skip prep, and the finish won't bond. Seal only the visible surfaces, and the bottom of the legs will soften. Leave standard screws in, and the wood discolors around every fastener. Miss a recoat and moisture finds the gaps. The five steps aren't independent tricks; they're a single process that works because each part depends on the others.
Done right, converting indoor furniture for outdoor use is a legitimate alternative to buying new. The piece already owned, finished properly and maintained honestly, can hold up outdoors for years. The operative word is honestly.


















Comments
Be the first, drop a comment!