



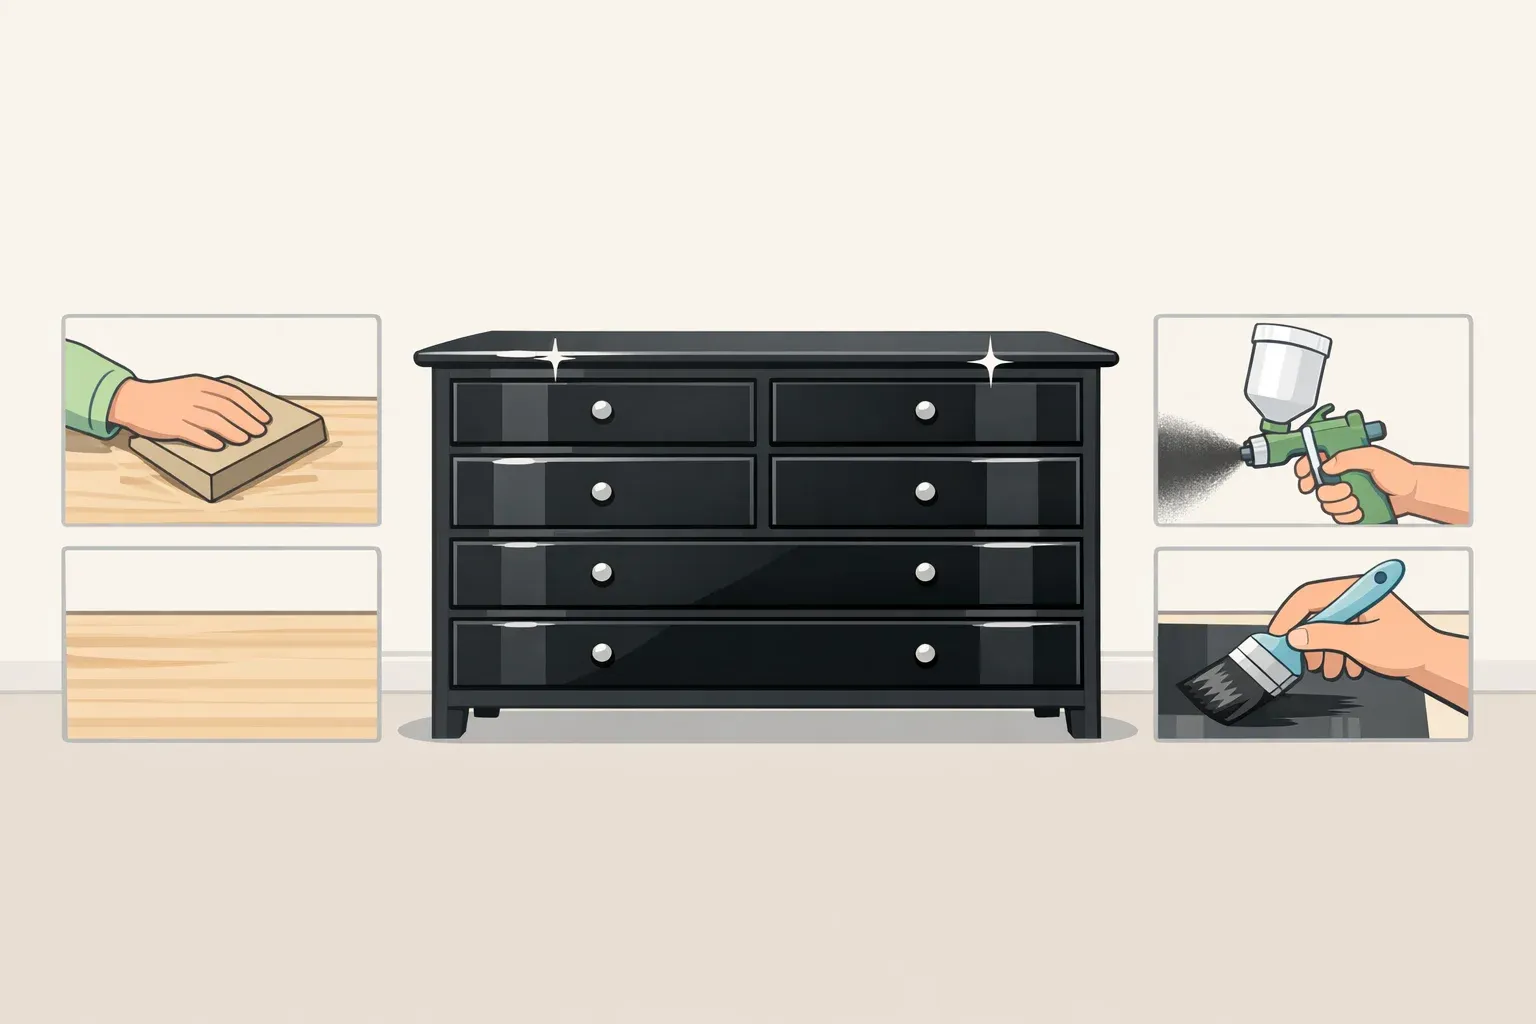
How to Make Furniture Look Expensive with Black Paint: Shade, Sheen & Prep Guide
Black paint can make a cheap piece look custom. It can also make every flaw louder. The difference between those two outcomes, when it comes to how to make furniture look expensive with black paint, comes down to four decisions: shade, sheen, surface preparation, and application restraint. Get all four right and a thrift-store dresser reads like a boutique purchase. Miss one and the same piece looks like it was painted in a garage on a Sunday afternoon.
This guide covers solid wood, thrifted pieces, and laminate or IKEA-style furniture, with material-specific notes where the process diverges. By the end, you'll know how to choose the right product before buying anything, prep the surface so dark paint has nothing to expose, and build a finish coat by coat without shortcuts.
Designer Cyndy Cantley puts the core challenge plainly: dark paint is unforgiving every crack and blemish gets amplified, not hidden. According to This Old House, surface preparation can consume 75% of the total time on a painting project. Painting expert Henrique puts the figure higher, at 85%. Both estimates point the same direction: the finish is made before the first coat goes on.
Before you start: choose your paint system and know your material
This decision happens before you buy anything. Getting it wrong means discovering mid-project that your chosen paint requires a sprayer you don't own, or has a recoat window that blows up your weekend timeline.
There are two meaningfully different categories of black furniture paint. They are not interchangeable.
Brush and roller enamels and furniture paints are water-based, widely available, and apply with standard tools. Many cure to a hard, scrubbable finish without a separate topcoat. One well-regarded enamel in this category brushes, rolls, and sprays well and, as SALVAGED by k. scott describes it, is "tough as nails." Recoat windows vary significantly by product and conditions, so read the manufacturer's data sheet before planning your schedule. This is the most accessible starting point for most people.
Spray-only polys and lacquers are a different category entirely. Some high-performance black finishes popular in furniture-painting circles are formulated for spraying and do not level well when brushed or rolled. As A Ray of Sunlight notes of one widely used black poly: "This product is made for spraying. You cannot brush or roll it on very well." If you don't own or plan to rent a paint sprayer, eliminate this category before you shop.
Know your material before prepping:
| Furniture type | Key difference |
|---|---|
| Solid wood or veneer | Can be scuff-sanded and primed with standard shellac or oil-based primer |
| Laminate / IKEA-style (printed wood grain over particleboard or MDF) | Paint is the only realistic upgrade staining or refinishing isn't possible on a printed plastic surface. Primer is critical. Avoid excess moisture during cleaning, as particleboard swells when wet (SALVAGED by k. scott) |
| Thrifted / unknown history | Assume wax, oil, or unknown finish. Use a stain-blocking primer (A Ray of Sunlight) |
Step 1: how to paint furniture black for a high-end look starts with sheen and undertone
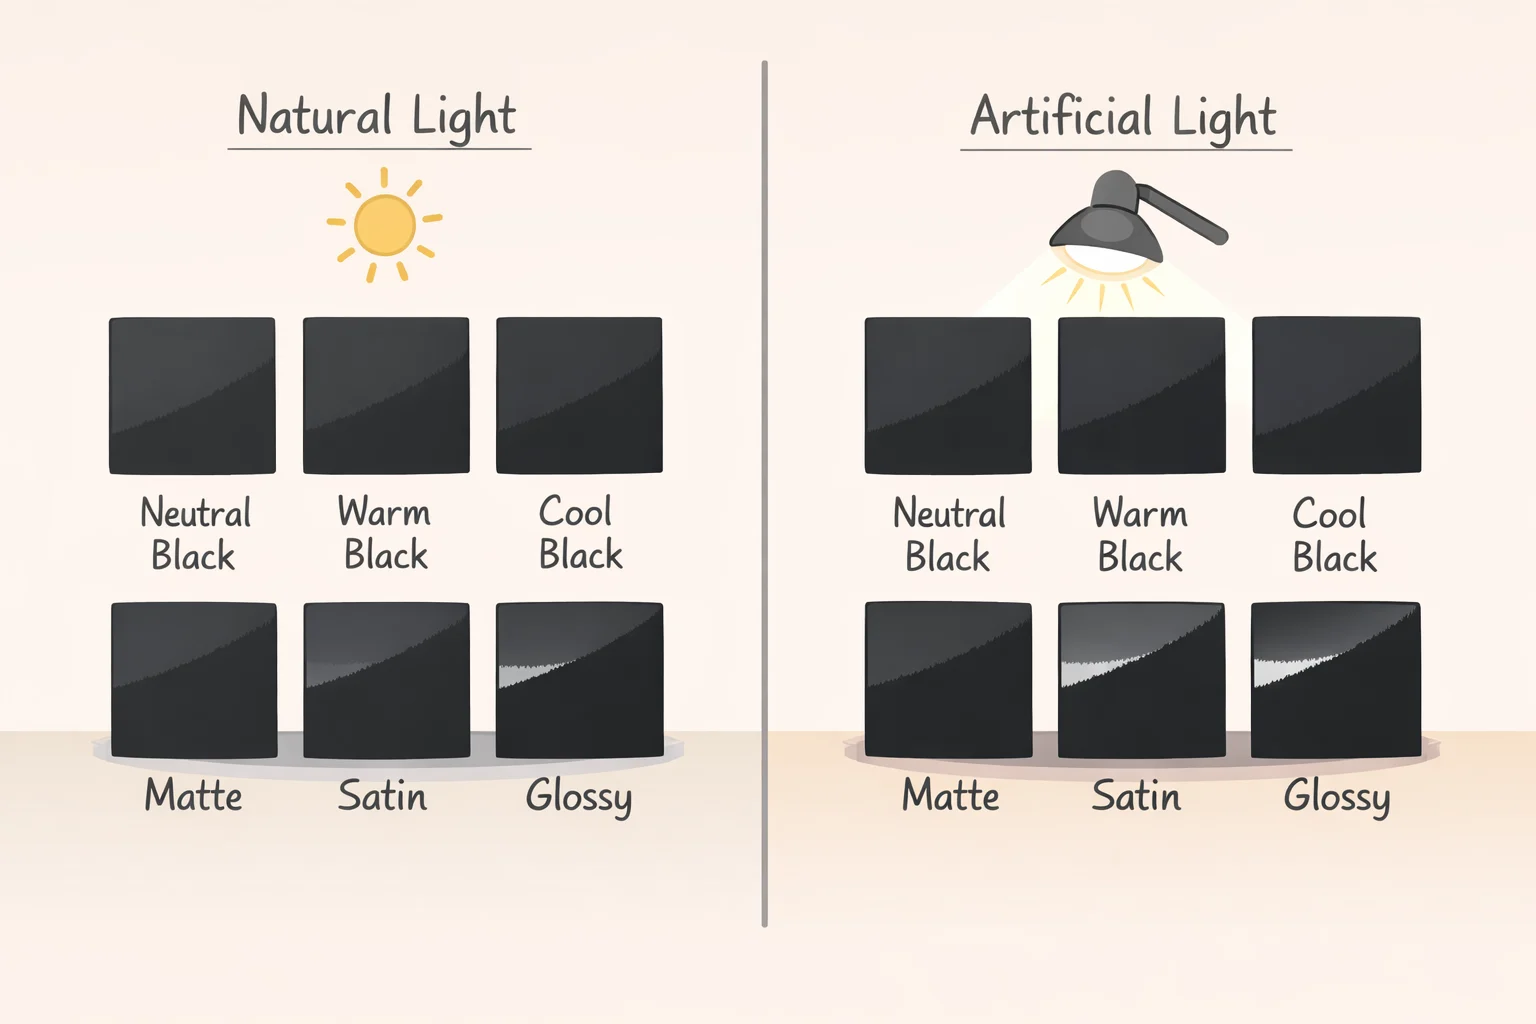
Most people treat color selection as a quick trip to the paint aisle. It deserves more thought. The undertone and sheen you choose determine whether the finished piece reads elegant or harsh and neither decision is obvious until you test it in the actual room.
Undertone: softer than jet black reads more refined
Designer Kristina Phillips is direct about the stakes: not all blacks are the same. Cool blacks carry hints of blue or green; warm blacks lean toward brown or red. Those undertones can clash with existing finishes, lighting, or other wood tones in a room throwing off the entire look of the space if chosen without testing. Designer Beth McMillan adds that the purest, darkest black "can sometimes come across as harsh." A shade just slightly above jet black, in McMillan's framing, "will still be extremely dramatic with a high contrast, but just a bit softer to the eye and more elegant in feel." Both observations come from Apartment Therapy's reporting on common black paint mistakes, published earlier this year.
Paint a small, inconspicuous section before committing. Price Latimer of Alkemis Paint says testing first is imperative, because black paint shifts noticeably depending on lighting conditions and the undertones already present in the space. Check the test patch under both natural and artificial light before buying a full quart.
Sheen: the direct driver of the luxury effect
Matte black absorbs light. On furniture, that tends to flatten the piece and turn every fingerprint into a permanent feature. As Erin Spain puts it plainly: a flat finish shows every fingerprint and flaw and is harder to clean. Phillips makes the same point about matte walls the finish absorbs light and leaves the room feeling flat and recommends glossier alternatives specifically because reflective surfaces "bounce light around, adding depth, drama, and a sense of luxury," per Apartment Therapy. High-gloss and lacquer sit at the glamorous end; satin and semi-gloss offer a more understated version of the same effect. Practically speaking, the shinier the finish, the easier it wipes clean.
Consider the difference between a matte-black console and a semi-gloss dresser in the same room. The console reads flat and heavy. The dresser catches the light and holds it. Same color, entirely different result.
| Furniture / context | Recommended sheen | Why |
|---|---|---|
| Dresser, nightstand, side table | Satin to semi-gloss | Reflects light, durable, handles daily contact |
| Dining table, desk | Semi-gloss | Wipeable, holds up to use |
| Display cabinet, console, decorative piece | High-gloss or lacquer | Maximum depth and drama, lower wear demand |
| Flat / matte finish | Avoid for furniture | Shows fingerprints, hard to clean, absorbs light |
Before moving on: if the piece has poor proportions, overly fussy lines, or structural damage that can't be repaired, black will make those problems heavier and more obvious. Black reads as elegant on furniture with clean lines or intentional ornament. On a piece that's already visually cluttered, it emphasizes exactly what you'd rather people not notice.
Step 2: prep the piece (the finish is made here, not during painting)
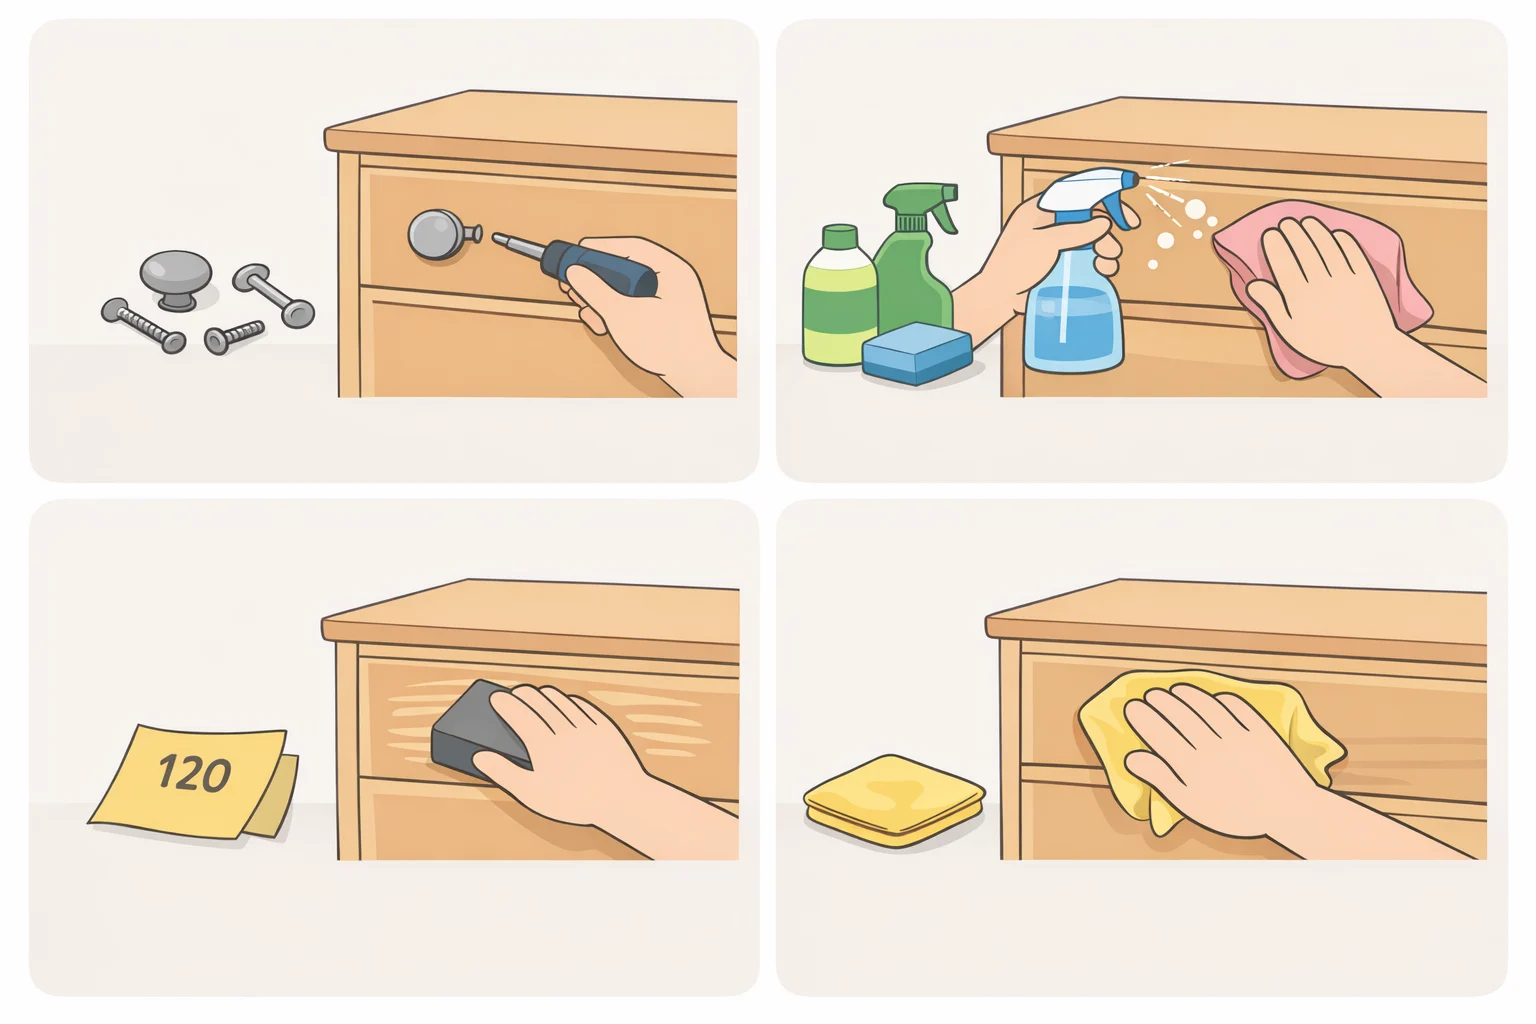
The shade and sheen decisions set the target. Prep determines whether the surface can carry them. Skip this step and the rest of the guide doesn't matter.
2a. Remove hardware and clean the surface
- Remove all knobs, pulls, and hinges. Paint around hardware is one of the clearest signals that a piece was painted rather than refinished properly.
- Wipe the entire surface with a degreaser. Any cleaner with real degreasing power works. The goal is to remove finger oils, furniture polish, and wax residue, which create invisible barriers that prevent paint from bonding (SALVAGED by k. scott).
- For laminate and particleboard: use a damp cloth, not a saturated one, and dry the piece promptly. Excess water causes edges and surfaces to swell (SALVAGED by k. scott).
2b. Repair, then scuff-sand
- Fill any dents, gouges, or cracks before painting. Minor damage takes standard spackle. For deeper gouges in wood, This Old House recommends a two-part filler such as auto-body putty: it won't shrink and reappear under the final coat the way standard spackle sometimes does. Let all repairs dry fully.
- Scuff-sand the entire surface with 220-grit sandpaper. The goal is to dull the existing finish so paint has something to grip, not to strip back to bare wood. If the surface is already dull or unfinished, this step can be shortened (Erin Spain).
- Vacuum, then wipe with a tack cloth to remove all sanding dust before moving on.
2c. Prime
- Apply primer. For laminate, thrifted pieces with unknown history, or any surface that previously had wax or oil applied, skipping primer risks adhesion failure and bleed-through that additional topcoats won't fix (A Ray of Sunlight).
- Match primer to substrate. Maya Crowne of Alkemis Paint recommends using the correct primer for the underlying substrate a stain-blocking primer handles tannin bleed from old wood and covers discoloration reliably, per Apartment Therapy. This Old House makes the same point about adhesion and coverage on bare or previously unpainted surfaces.
- Apply two coats, letting each dry fully between applications (A Ray of Sunlight).
- Exception: some durable enamel furniture paints have strong enough adhesion that primer may be skippable on certain surfaces. Check the manufacturer's guidance. When in doubt, prime. The cost and time are minor; adhesion failure means starting over.
- Paint applied without proper prep will peel and chip under normal use (Erin Spain). No shortcut substitutes for this step.
Best black paint for furniture: a buyer's decision framework
The paint category you choose shapes everything downstream: tool requirements, topcoat decisions, and how much margin for error you have on application day. Three questions narrow the field before you buy anything.
Are you brushing, rolling, or spraying?
If you're brushing or rolling, choose a furniture enamel formulated for that purpose. A quality enamel in this category handles all three application methods, cures to a hard finish, and doesn't require a separate topcoat (SALVAGED by k. scott). Spray-only polys and lacquers can deliver an exceptionally smooth result, but several popular products in this category cannot be brushed or rolled without producing streaks and thin, uneven coverage (A Ray of Sunlight). Confirm the application method before committing to a product.
How hard will the piece work?
A display cabinet takes almost no daily wear. A desk, dresser, or dining table takes a beating. For high-contact pieces, prioritize a paint system that cures hard enough to skip a separate topcoat, or plan for one. Standard interior latex in satin or semi-gloss is accessible and works well on lower-wear pieces, but it generally needs a sealer on tabletops and drawer fronts to hold up over time (Erin Spain).
Have you read the data sheet?
Two products that look identical on the shelf can have entirely different handling requirements, recoat windows, sheen levels, and topcoat compatibility. Read the manufacturer's instructions for recommended application tools, ideal temperature and humidity ranges, and dry and cure times before starting (SALVAGED by k. scott). Recoat windows alone can range from one hour to four to eight hours depending on the product and ambient conditions getting that wrong wastes a full day.
Step 3: apply paint in thin coats, sanding between each one
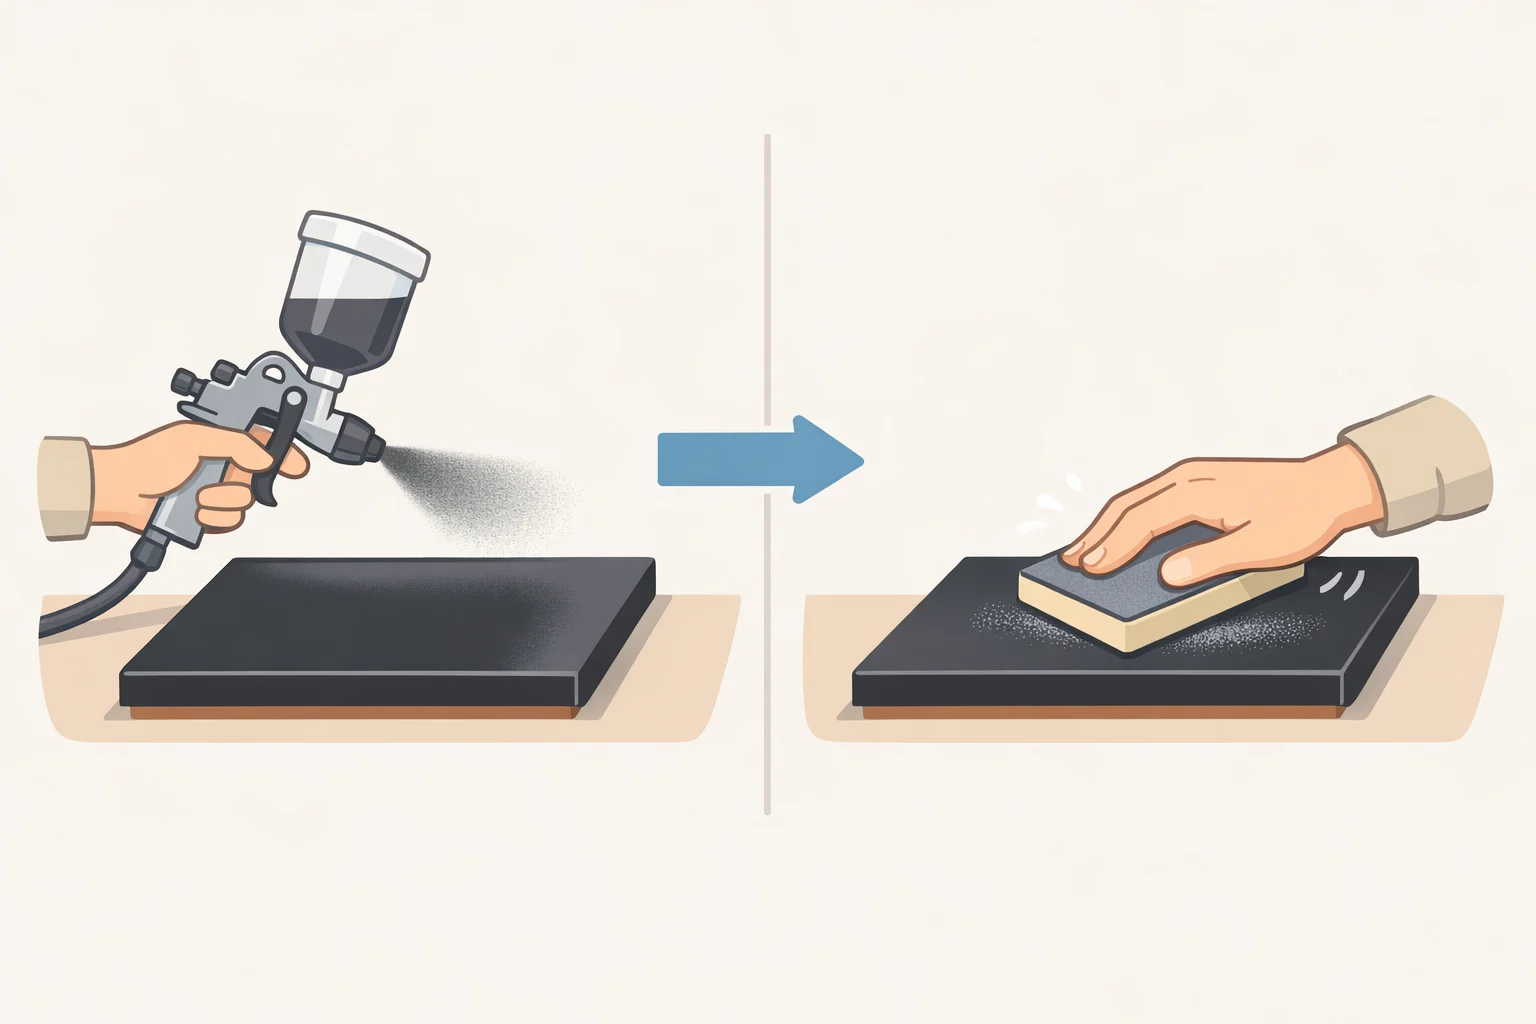
Thick coats sag, trap brush marks, and dry unevenly. Thin coats, built up patiently, produce the smooth and uniform surface that makes painted furniture look intentional rather than improvised.
- Apply the first coat thin. It will look patchy, streaky, and uneven. That's expected and correct (SALVAGED by k. scott). Don't add more paint to compensate. Let it dry fully according to the manufacturer's recoat window.
- Sand lightly with 400-grit sandpaper after the first coat dries. This removes raised grain, texture, and minor imperfections, giving the next coat a smoother surface to land on (A Ray of Sunlight; Erin Spain).
- Vacuum and tack-cloth all sanding dust before recoating. Dust trapped under black paint is visible.
- Repeat for a minimum of three coats. Three is the recommended minimum for both color uniformity and durability (A Ray of Sunlight). Sand lightly between every coat, including the second.
Piling paint on to cover the first coat in one pass is the most common way to end up with a finish that looks rushed regardless of color choice. Patience here is what separates a result that looks custom from one that looks coated.
Application method notes:
- Roller: Wash a new roller cover before first use, even if labeled lint-free. Loose fibers embedded in black paint are obvious (SALVAGED by k. scott).
- Sprayer: Follow the manufacturer's temperature and humidity ranges. Conditions outside those parameters affect leveling and extend dry times (SALVAGED by k. scott).
- Brush: Viable for most brush-formulated furniture paints. For spray-only products, brushing produces thin, uneven results not worth attempting on a full piece (A Ray of Sunlight).
Step 4: topcoat, cure, and finish the details
Do you need a topcoat?
The answer depends on the paint system. Some durable furniture enamels cure to a finish hard enough that a separate sealer is unnecessary and over dark colors, adding one can introduce adhesion or sheen inconsistency (SALVAGED by k. scott; A Ray of Sunlight). Standard latex furniture paint generally benefits from a sealer on high-contact surfaces: tabletops, drawer fronts, anything handled daily. A water-based topcoat in satin or semi-gloss is easier to work with and produces fewer fumes than oil-based alternatives (Erin Spain).
On polyurethane: Erin Spain notes that oil-based poly can yellow over time a caution that applies specifically to white and very light colors. Over black it's less of a concern, but a water-based topcoat remains the cleaner long-term choice.
Decision rule: if the product is a furniture enamel and the manufacturer says no topcoat is required, trust that. If it's standard interior latex, seal high-contact surfaces.
Curing timeline
Paint that feels dry is not paint that's cured. Most furniture paints reach full hardness after roughly 30 days (Erin Spain). During that window, the finish scratches and marks more easily than it will once fully hardened. If a sealer was applied, wait at least one to two days before regular use. Without a topcoat, handle the piece carefully for the first few weeks.
Finish the details
Hardware makes a visible difference. New knobs, pulls, or legs in brushed brass, matte black, or antique brass close the gap between a painted piece and something that looks like a considered purchase. It's a small addition to the budget and a noticeable one.
What a good result actually looks like
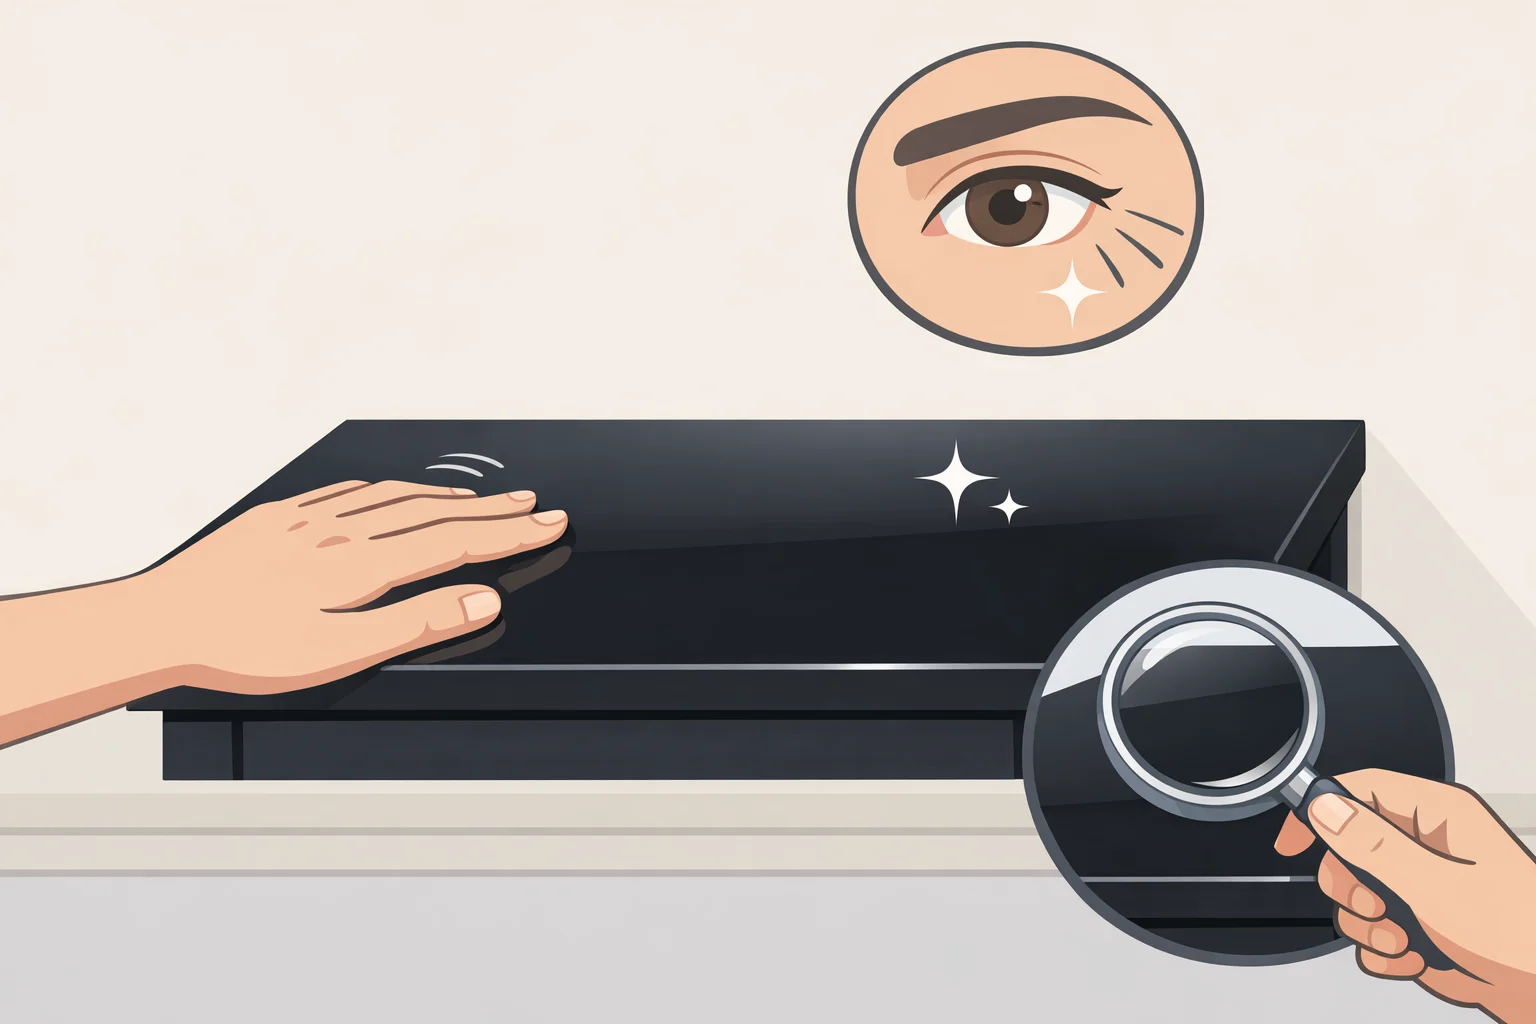
Stand back from the finished piece. The shade should sit just above jet black, elegant rather than severe. The surface should catch and hold light rather than swallowing it. Run your eye across the flat panels: no brush texture, no raised grain, no visible repair lines.
That's the finish. A thrift-store find picked up for twenty dollars can carry the same surface quality as something ten times its retail price. The variable isn't money. It isn't even skill. It's whether someone was willing to sand between coats, choose the right sheen before opening the can, and resist the impulse to pile on coverage when the first coat looked thin.
The finish communicates that somebody cared enough to do it properly. That's what reads as expensive.


















Comments
Be the first, drop a comment!