



Reviewed by: Y. Garcia
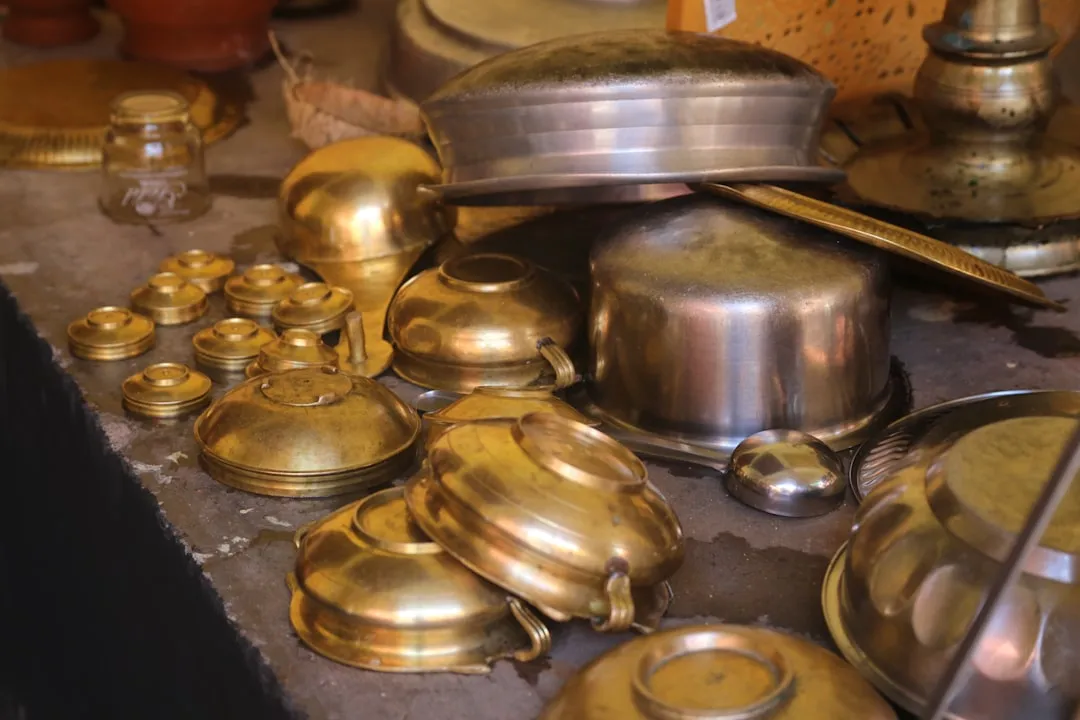
Got 15 minutes and a handful of vintage brass candlesticks that look more like ancient artifacts than home decor? Here's how to bring back that warm, golden shine using simple ingredients you probably already have in your kitchen.
Brass items bring timeless elegance and warmth to any space, but they naturally develop tarnish over time as the metal reacts with oxygen and moisture. Beyond saving money on commercial cleaners, natural cleaning methods can effectively remove years of buildup while preserving the metal's integrity, making them safer for your family and more gentle on antique pieces that harsh chemicals could damage.
First things first: Is it real brass or just pretending?
Before you start scrubbing, grab a magnet from your fridge. A magnet can help: if it sticks, the core is likely steel/iron with brass plating; if it doesn't, it could be solid brass or brass-plated over non-magnetic metal. This matters because plated pieces require gentler handling to avoid wearing away the thin brass layer, while solid brass pieces are more durable and can handle stronger cleaning techniques.
If you're dealing with lacquered brass (it has a shiny coating that's peeling), skip the DIY methods entirely and head to a professional metal refinisher instead.
What You'll Need
Materials
Ketchup (regular, not fancy stuff)
1 lemon
2 tsp baking soda
1 tsp salt (table salt works fine)
Few drops mild dish soap
Tools
Soft microfiber cloths
Old toothbrush (for detailed areas)
Small mixing bowl
For Heavy-Duty Cleaning (optional)
Commercial hard water cleaner
Grade 0000 steel wool (finest grade only)
Wire brush (soft bristles)
Safety First
Work in a well-ventilated area when using commercial cleaners
Wear gloves if you have sensitive skin or when using commercial products
Test any cleaning method on a small, hidden area first
Never mix cleaning products together
Steps
Start with the magnet test to confirm you're working with solid brass, not plated. This determines how aggressive you can be with your cleaning approach.
For moderate tarnish, try the surprisingly effective ketchup method first. Testing reveals that ketchup ranks as one of the most effective natural brass cleaners available. Spread a thin layer over the entire brass surface.
Visual cue: If you can still see brass color underneath dark spots, ketchup will work well.
Let the ketchup work its magic for 15-30 minutes. The acids work almost instantly — you can actually watch the brass change color as the tarnish lifts away.
Wipe clean with a damp cloth, rinse thoroughly, and buff dry. This method requires zero scrubbing and works particularly well on pieces with light to moderate buildup.
For heavier tarnish, create a lemon and baking soda paste. Squeeze the juice from half a lemon into a bowl and mix in 1-2 teaspoons of baking soda.
Note: The mixture will fizz — this reaction helps lift stubborn buildup from detailed areas.
Apply the paste with a soft cloth, covering the entire surface, then let it work for 5-10 minutes. Gently scrub with a damp sponge or soft toothbrush, paying extra attention to crevices where tarnish hides.
For the flour-salt-vinegar power paste (when other methods aren't enough), mix 2 parts flour, 1 part sa,lt and 1 part vinegar to make a paste. Spread evenly over the brass and let sit for 1-2 hours before rinsing.
For seriously neglected pieces, use commercial hard water cleaners with grade 0000 steel wool. These products excel at removing mineral deposits, soap scum, and deep tarnish that natural methods can't touch.
Technique: Work in small sections using circular motions to avoid creating scratch patterns.
Why it works: Ketchup's tomato acids naturally break down oxidation, while lemon's acidity, combined with baking soda's mild abrasive action, dissolves tarnish layers without damaging the underlying metal.
Cleanup & Disposal
Rinse all cleaning residues thoroughly with warm water
Buff dry immediately with a clean microfiber cloth to prevent water spots
Store leftover lemon juice in the refrigerator for up to a week
Dispose of used steel wool in regular trash
Clean commercial cleaner containers according to label instructions
Troubleshooting
Problem: Ketchup isn't removing stubborn spots → Fix: Step up to the lemon-baking soda paste method or flour-salt-vinegar for deeper cleaning
Problem: Uneven color after cleaning → Fix: Work the entire piece at once rather than spot-cleaning, and ensure complete coverage
Problem: Scratches appearing → Fix: Use softer materials and lighter pressure; switch to cloth-only methods
Problem: Still dull after cleaning → Fix: Try commercial cleaner or consider that some pieces may need professional restoration
Variations & Upgrades
Gentler option: Start with just warm soapy water for lightly tarnished pieces
Budget-friendly variant: Plain white toothpaste (not gel) can work for light tarnish — apply thin layer, wait 10 minutes, then buff clean
Maintenance upgrade: Apply a thin coat of car wax after cleaning to slow future tarnishing
Keeping that golden glow for the long haul
Once you've restored your brass pieces, smart maintenance prevents heavy tarnishing from returning. Dust decorative items weekly with a soft cloth to prevent buildup, and clean frequently-touched pieces like door hardware monthly. Store brass items in low-humidity environments when possible, as moisture accelerates the tarnishing process.
For pieces exposed to outdoor elements, apply a thin coat of car wax or linseed oil every few months to create a protective barrier. The key is consistency — a quick monthly buff with a microfiber cloth prevents the heavy buildup that requires serious restoration efforts.
Remember that some natural aging adds character — you don't need to maintain museum-perfect shine on every piece to enjoy brass's warm, timeless appeal. The goal is to bring back enough of that golden glow to let your pieces truly shine in your space while preserving their history and craftsmanship.



















Comments
Be the first, drop a comment!