



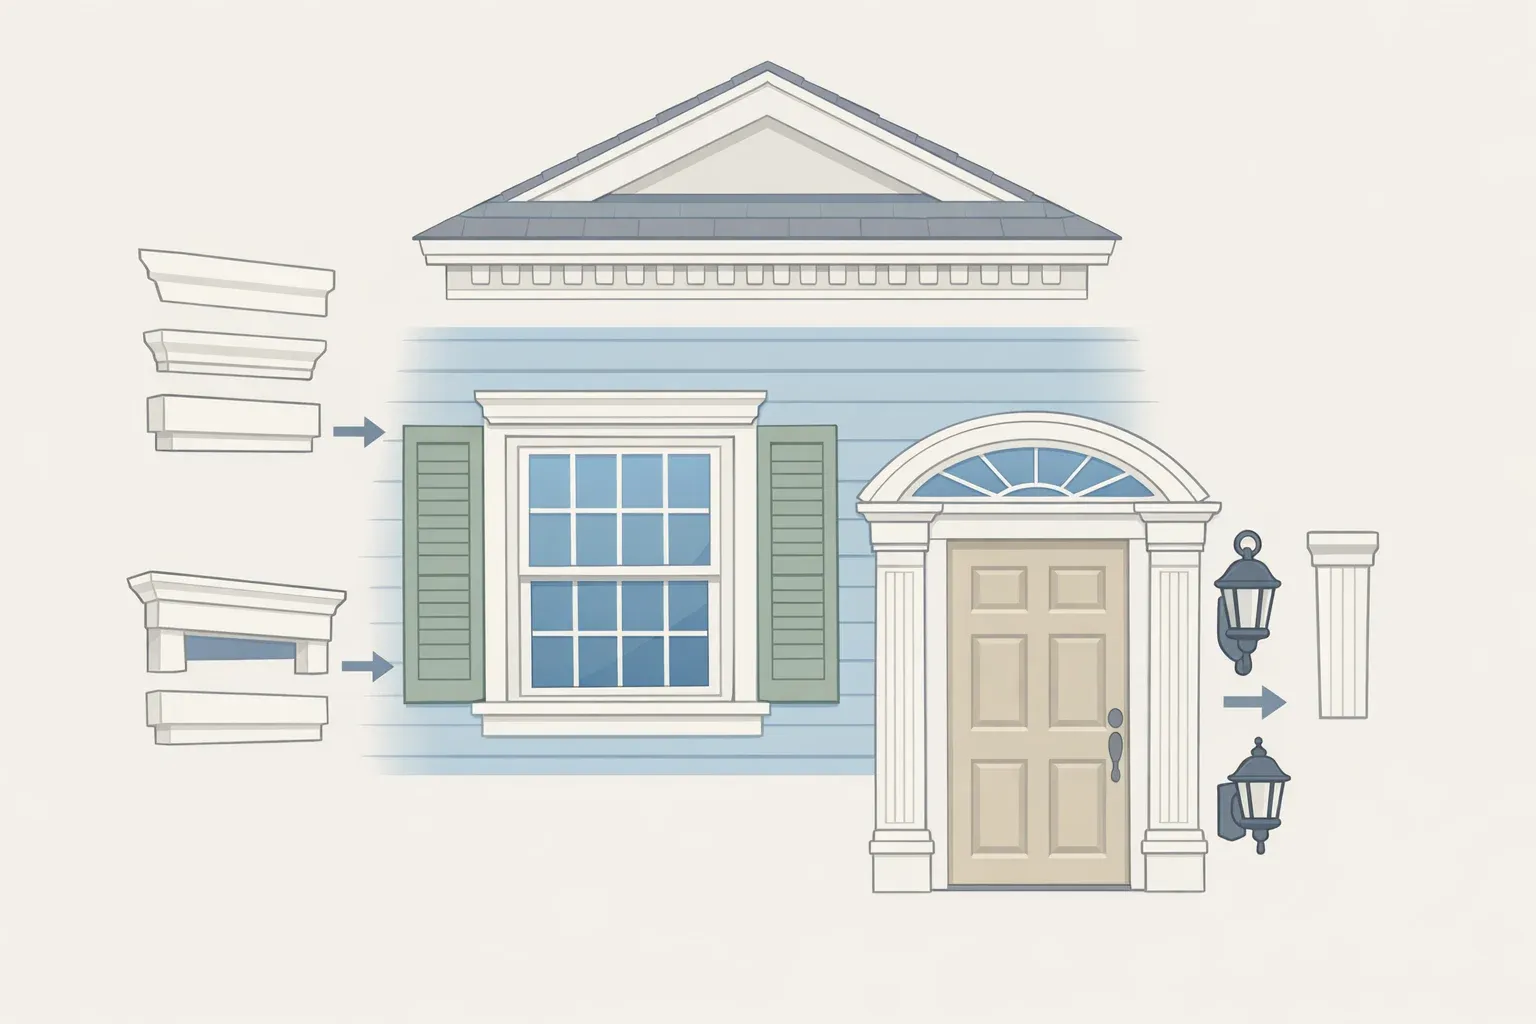
How to add old-world charm to a new-build home: six layers, ranked by impact
A new build feels old when every layer of the house agrees on the same architectural language. Expensive period details applied to a generic shell don't age into charm they read as costume. This guide walks through six layers designers use to build that coherence, ordered from most structurally permanent to most immediately accessible. Each section names the problem, the fix, and the tradeoff.
Before selecting any detail, do one thing first: identify the architectural tradition your home most naturally references. Walk the neighborhood. Designer Ellie Mroz draws on the surrounding housing stock, whether it skews Colonial, Victorian, or Craftsman, before recommending a single molding profile, because details pulled from incompatible traditions undermine each other (House Beautiful). Designer Jennifer Hunter demonstrates how far that logic extends: her living room incorporates Colonial Revival details alongside a portrait of Washington, a direct nod to the home's location (House Beautiful). That kind of specificity is what separates a home that reads as "charismatic" from one that reads as "caricature," in designer Madelaine Mayer's words (House Beautiful).
Your entry point depends on where you are in the process:
- Building or pre-construction: Prioritize Layers 1 and 2. Layout and millwork are expensive to retrofit once walls close.
- Mid-renovation: Focus on Layers 2, 3, and 4. Architectural detail, materials, and wall treatments all benefit from open access.
- Updating room by room: Start with Layers 5 and 6. Hardware, lighting, and collected furnishings deliver visible results immediately and are fully reversible.
Layer 1: Space definition give rooms a distinct identity
Difficulty: High | Best addressed during build or major renovation
The problem: Every room blurs into the next. The kitchen is visible from the couch, and neither space feels fully resolved.
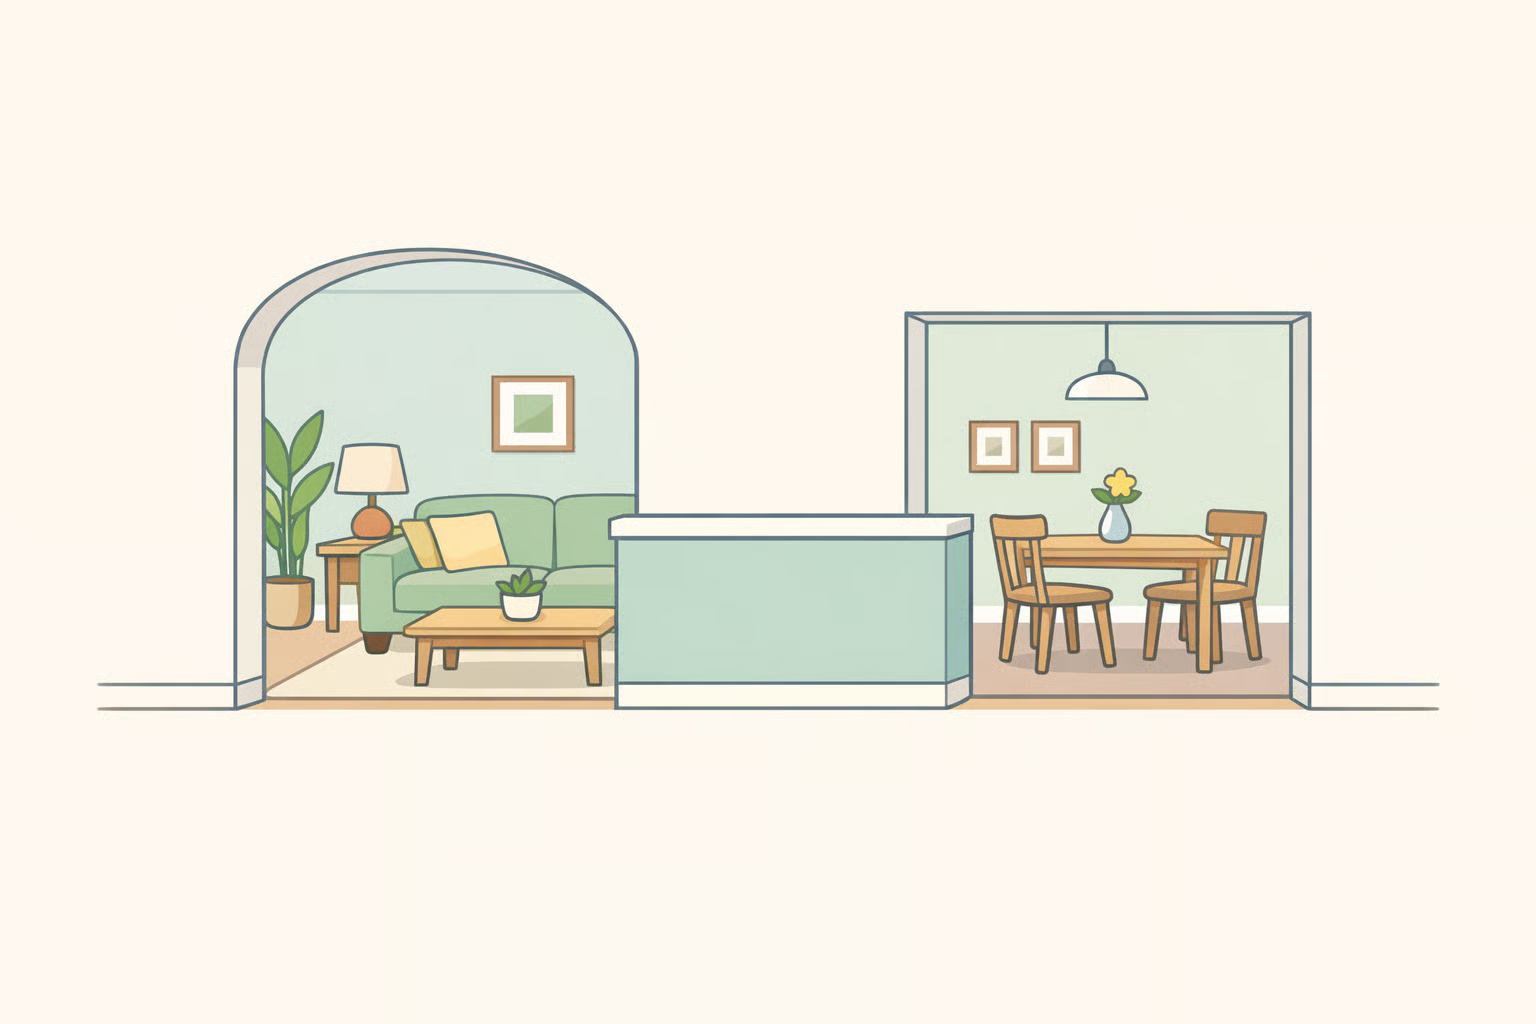
The fix: Historic homes were built around a different logic than the open-concept layouts that became standard in the 1990s. Each room had a specific purpose, a physical boundary, and its own character, which is a large part of why older homes feel considered rather than generic (Brittney Lane Interiors). Reintroducing definition doesn't require full walls. Archways, cased openings, and partial walls subtly separate living areas while preserving flow. A butler's pantry between kitchen and dining room references old-house functionality while creating a distinct decorative moment (Brittney Lane Interiors). Defined rooms also produce a practical downstream benefit: each space gets its own color and material brief, which makes every subsequent layer millwork profiles, wall color, lighting easier to execute with specificity (Pender & Peony).
The tradeoff and common mistake: When adding archways, proportion determines whether the result reads as Spanish Revival, French Provincial, or neither. A frequent error produces an arch that curves only at the top with straight sides, which reads as French rather than Spanish. Getting the geometry right for your target tradition is essential; the wrong shape signals a different style entirely (Lane McNab). Research correct proportions for your home's specific architectural reference before committing to any opening.
If the open layout genuinely serves how the household lives, a thoughtfully cased opening between kitchen and living room shapes the relationship between spaces without eliminating openness. It makes the layout feel deliberate rather than accidental.
Layer 2: Architectural millwork traditional details for new construction homes
Difficulty: Medium to High | DIY-possible for trim; professional recommended for built-ins
The problem: Rooms feel flat despite good bones. Paint is down, floors are in, and something is still missing.
The fix: That something is almost always woodwork. The author of Pender & Peony has toured hundreds of historic homes and has never been in one without some combination of paneling, wainscoting, crown molding, window and door casings, or baseboards. These elements add depth and dimension that flat drywall cannot replicate, and their absence is legible to anyone who has spent time in older houses (Pender & Peony). Designer Chiprut puts it plainly: "Features like wood-clad ceilings, exposed beams, and decorative moldings help break up the clean lines and polished feel of a new construction, making the space feel more personal and inviting" (House Beautiful).
Where to concentrate effort:
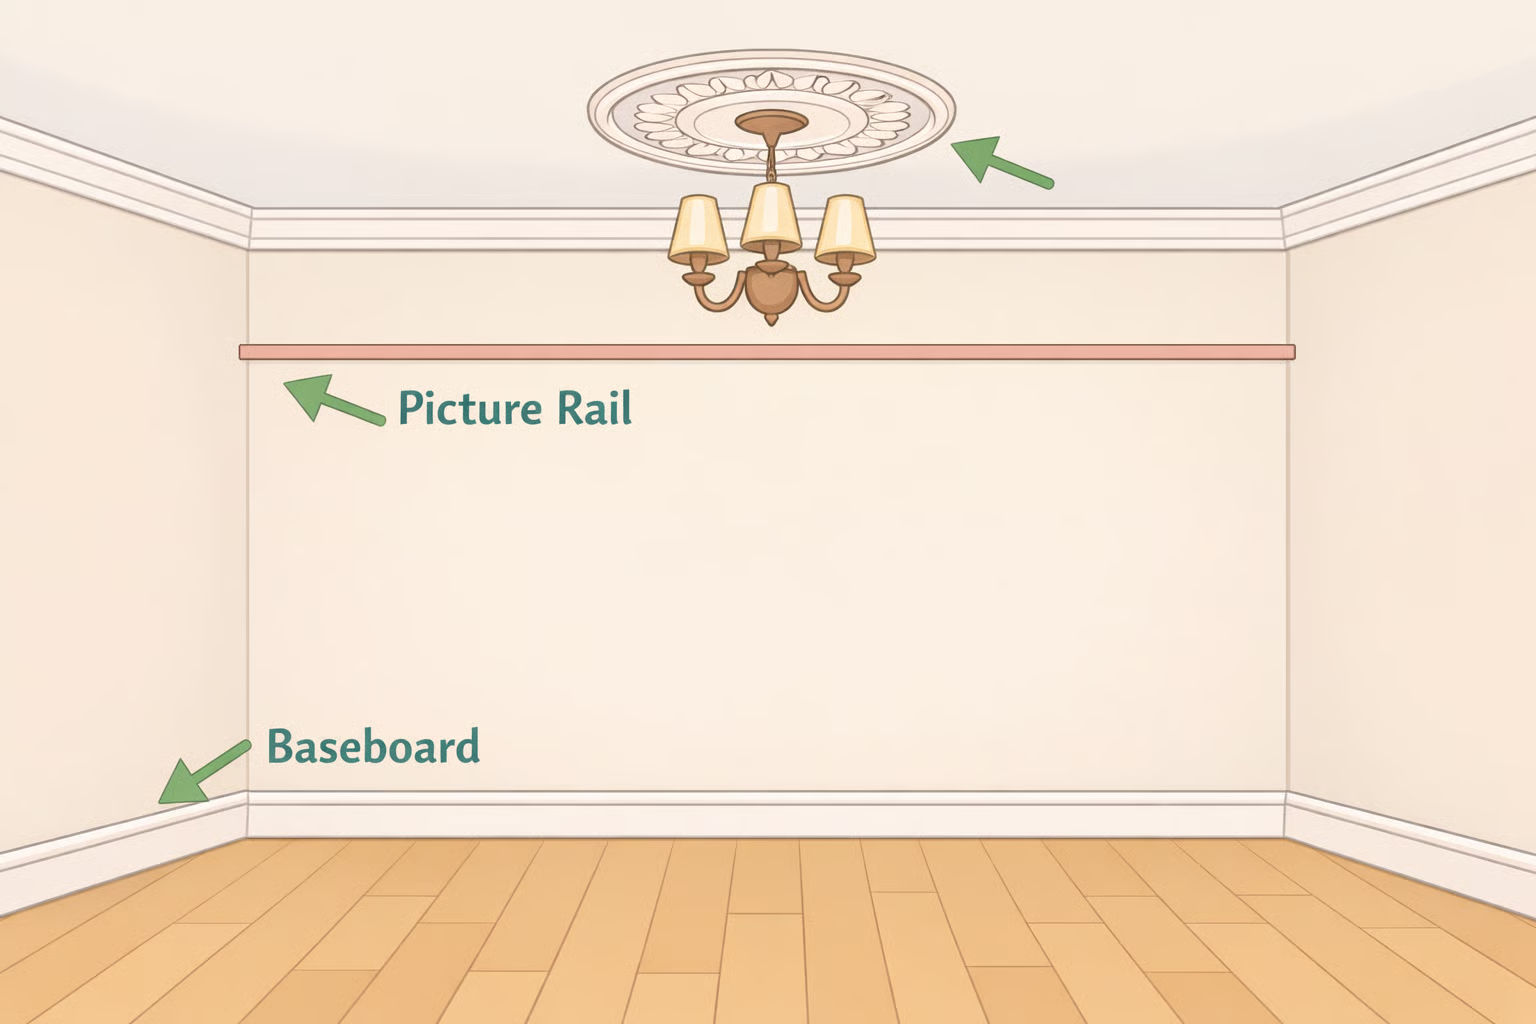
- Baseboards should be at least 6–8 inches tall; 3-inch builder-grade profiles read as an afterthought in any room with period aspirations (Brittney Lane Interiors)
- Picture rails installed 12–18 inches below the ceiling are a period-correct detail that also solve the practical problem of hanging art without wall damage (WWITW)
- Ceiling medallions around light fixtures reference the ornate plasterwork found in Victorian and Parisian apartments; lightweight urethane versions paint identically to plaster and are a weekend DIY (WWITW)
- Built-in bookcases, window seats, and reading alcoves add charm while solving storage features that predate the era of dedicated closets (Brittney Lane Interiors)
- Fireplace surrounds are a focal point that new construction almost always wastes. Antique and vintage mantels can be sourced at architectural salvage shops for under $500 (Pender & Peony)
The tradeoff: Millwork that reads well at standard ceiling height looks inadequate in a vaulted space. Crown molding profiles, furniture mass, and lighting all need to scale up with the room. Underscaled elements in a high-ceilinged new build make the space feel emptier, not grander (Pender & Peony). Crown molding and wainscoting are DIY-achievable with patience and a miter saw. Structural built-ins and fireplace surround work that involves the mantel structure need a carpenter.
Layer 3: Materials that age weight, warmth, and tactile honesty
Difficulty: Low to High depending on scope
The problem: A room looks flat even after paint and trim. Every surface is smooth and uniform, and the whole thing reads as sterile regardless of what was spent.
The fix: Old homes feel real in part because their materials are real. Stone, brick, hardwood, and plaster develop patina rather than showing wear they improve with age in ways synthetic alternatives cannot (Brittney Lane Interiors). Mroz names brick, stone, cedar, and copper as materials that add "authenticity and warmth, making any new house feel like home" (House Beautiful). Where Layer 2 is about profile and structure, this layer is about substance. Millwork routed from MDF reads differently than the same profile cut from solid wood. Both have their place, but the distinction matters for the budget.
The single highest-return move in this layer is often overlooked: replacing hollow-core interior doors with solid wood or solid-core composite. Designer Melinda Browning states it directly "It's amazing what switching from hollow core doors to solid wood will do for the feeling of quality to a new house" (House Beautiful). The weight, the sound of the latch, and the acoustic improvement are immediate and functional. This upgrade affects every room on a floor without touching anything structural. In kitchens and bathrooms, marble with distinctive veining and a non-standard edge profile signals craftsmanship that uniform quartz cannot; Mroz notes that "opting for marble countertops with distinct veining and thoughtful edge profiles beyond the standard mitered edge can evoke a sense of timeless luxury" (House Beautiful).
The tradeoff: Full marble is a significant investment and isn't always the right call. Stone-look porcelain with strong veining, solid-core doors with panel routing, and wide-plank engineered flooring can achieve similar visual results at lower cost. The priority is material substance over material prestige something that feels real in the hand. Flooring installation, countertop fabrication, and reclaimed beam work benefit from professional execution. Door replacement is DIY-manageable room by room.
Layer 4: Wall treatments how to make a new-build look historic from the inside out
Difficulty: Low to Medium | Highest DIY accessibility of any layer
The problem: The room is structurally sound but still feels like a rental. Builder beige is doing real damage.
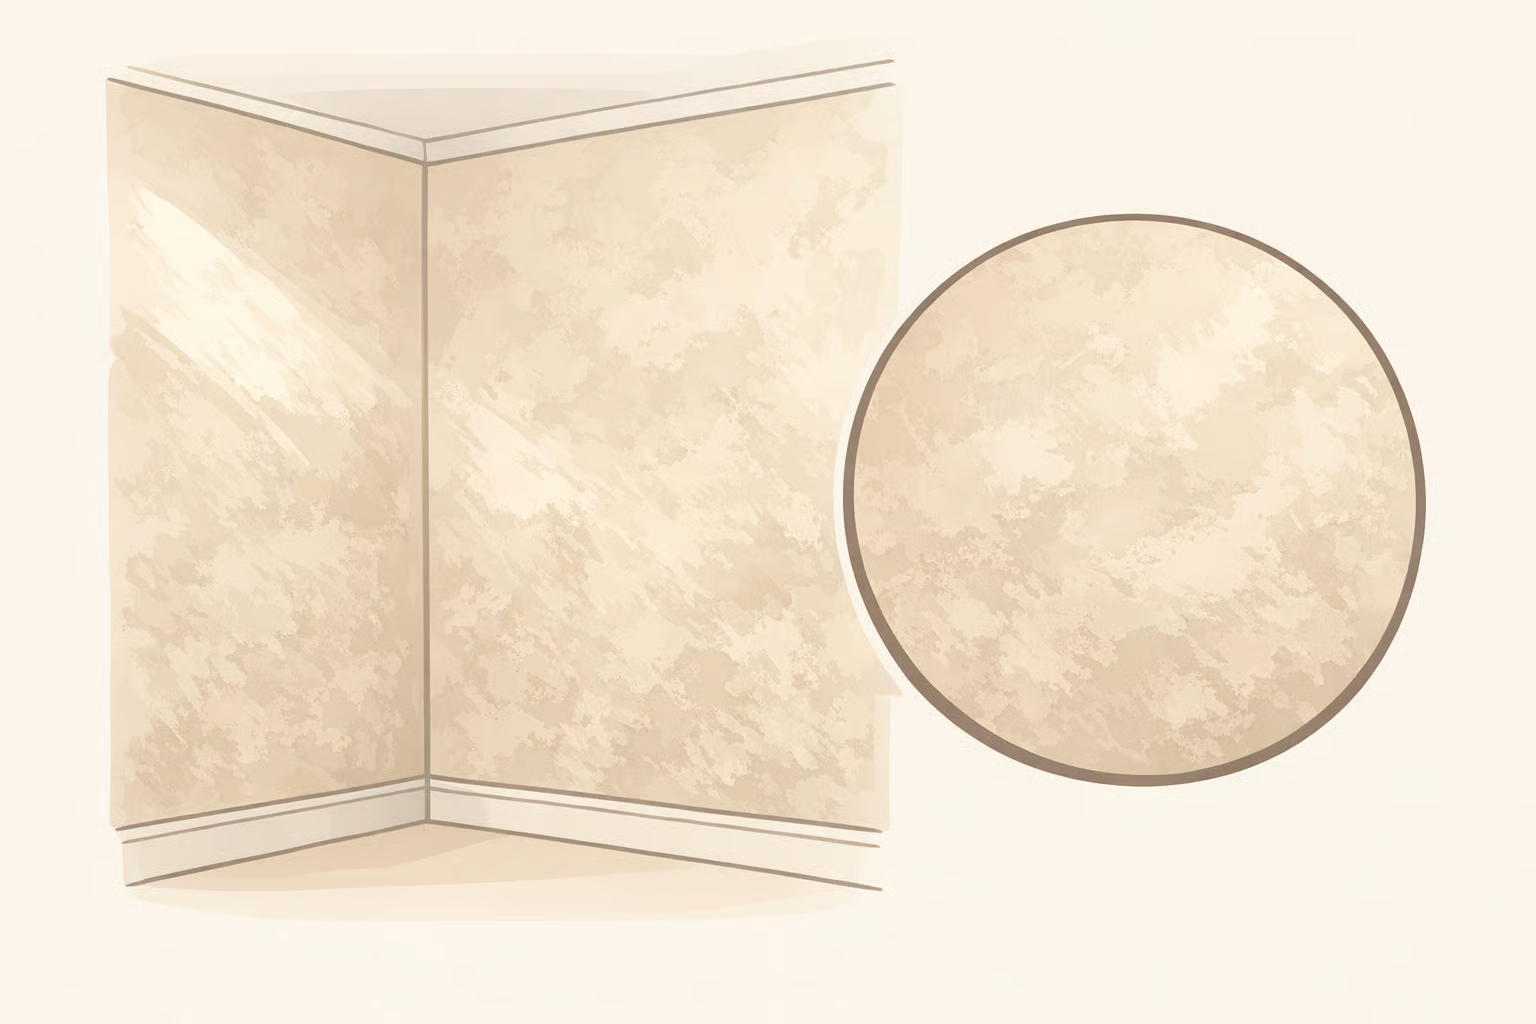
The fix: Historic homes have dressed walls. There is invariably some form of decorative treatment paneling, plaster, limewash, wallpaper and flat latex in builder beige or developer white is not a substitute (Pender & Peony). Limewash and Roman clay finishes add movement, depth, and texture that flat latex cannot replicate. They reference the plastered walls found in Mediterranean and historic European homes and respond to changing light in ways a flat finish never will (WWITW). Mroz describes Roman clay as creating "a soft, layered effect that adds dimension," and notes that both it and wallpaper "help transform a blank space into one that feels rich with history and personality" (House Beautiful).
Color is character, and it's non-negotiable here. Historic rooms used color with intention: ochres, deep greens, warm reds, layered neutrals. White was a deliberate dramatic choice in specific rooms, not a default. Gray was historically used in service areas (Pender & Peony). Commit to a real color in at least one room. That single decision moves a new build measurably closer to a home with a point of view.
The tradeoff: Wallpaper is a commitment cost, time, and reversibility all factor in. When using it, wrap all four walls. Pender & Peony is unambiguous: an accent wall signals decorating uncertainty rather than historic conviction, and it undermines the period effect the wallpaper was meant to create. Limewash and Roman clay are more forgiving DIY-friendly, relatively low-cost, and easier to live with if the first attempt needs adjusting.
Layer 5: Hardware and lighting fastest return, fully reversible
Difficulty: Low | Strong DIY case throughout
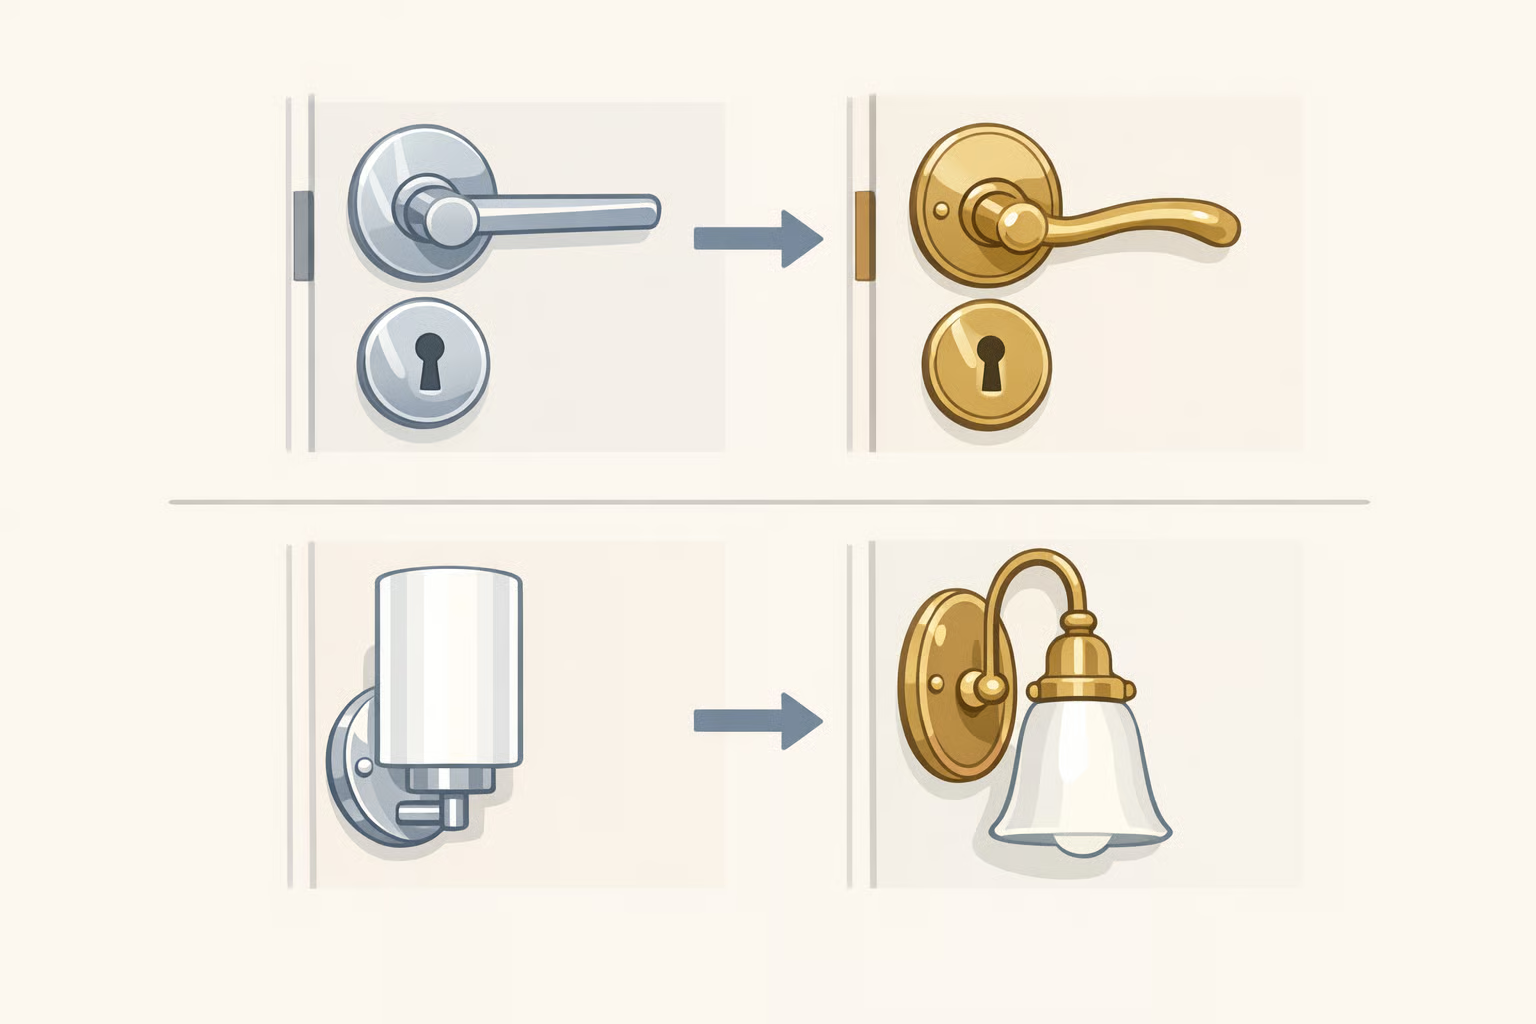
The problem: The room is structurally sound but still reads as new construction. Chrome knobs and a grid of recessed cans are doing more damage than most homeowners realize.
The fix hardware first: Builder-grade hardware signals "new construction" as clearly as bare drywall, and it's the easiest thing to change. Unlacquered brass is the finish multiple designers recommend for old-world character. Unlike lacquered brass, which stays static, unlacquered brass develops a patina over time darkening at high-contact points, warming across all surfaces producing hardware that looks as though it has been in the house for decades (WWITW; House Beautiful). Designer Meg McSherry puts it plainly: "Swap out builder-grade doorknobs for ones that are in a living finish, such as brass or bronze. This gives instant charm" (House Beautiful). Replace plastic rocker switches with metal toggle plates in brass, copper, or matte black while you're at it. The tactile click alone changes how a room feels (WWITW).
The fix lighting second: A salvaged or vintage-inspired chandelier in an entry, glass pendants in a kitchen, and period-referencing sconces in a hallway each do work that recessed cans cannot. Lane McNab notes that "a contemporary chandelier can feel like art when placed among traditional architectural details" meaning fit matters more than strict period accuracy (Lane McNab). Hardware and lighting are separate decisions with different effort levels, but both are weekend-scale projects.
The tradeoffs: Unlacquered brass will show fingerprints in the early months and requires occasional cleaning. Those who want the aged look without the upkeep should consider oil-rubbed bronze or pre-aged brass fixtures. On finish selection: brass door hardware with chrome faucets and matte black cabinet pulls undermine each other. Commit to one finish family per room, or at minimum per floor.
Layer 6: Collected furnishings objects that have a history
Difficulty: Ongoing | No single purchase completes this layer
The problem: The room is structurally complete but still feels staged. Good millwork and dressed walls can take a space most of the way. This layer closes the gap.
The fix: A room furnished entirely with new pieces will not feel old regardless of how good the millwork is. The distinction between a room that feels designed and one that feels inhabited comes down to whether the objects have a story. Art from travel, inherited pieces, vintage finds from different eras and regions this is the layer no showroom can replicate and no renovation can rush. Designer Kathryn Murphy puts it directly: "Styling with art and objects collected from travels and family adds an additional layer of personalization to a new space" (House Beautiful). Mayer recommends mixing eras and geographic provenance actively: "Look for pieces with personality and don't be afraid to mix styles, eras, or geographical provenance," and points to 1stDibs as a reliable source for pieces with genuine character (House Beautiful). Slightly worn finishes, layered rugs, and mixed textures create depth that new furniture cannot (Brittney Lane Interiors).
The tradeoff: Some designers encourage wide-open eclecticism across eras and styles; others argue for coherence with the home's architectural tradition. The practical resolution: let the bones set the register, then allow furnishings more latitude. A Colonial-style home can hold a mid-century chair without confusion. Moroccan lanterns, Spanish Revival tile, and Colonial millwork all in the same room is harder to recover from. Coherent bones, personal decoration. In spaces with vaulted or high ceilings, scale everything furniture mass, art size, rug dimensions to the room's actual volume. Standard 8-foot-room furniture looks adrift in a double-height space (Pender & Peony).
A layered traditional interior takes years to build. Start with one room and let it develop. This layer is never finished which is exactly what makes it feel lived-in.
Where to begin with old-world charm in a new build
Three things to keep close:
- The neighborhood is the first source of authority. What styles surround the house? That research prevents the most visible mistakes historic touches that look imported rather than rooted. Incorporating stylistic choices consistent with neighboring architecture is what makes a new build feel like it has stood for years rather than months (House Beautiful).
- Proportion matters at every layer. Undersized trim, furniture dwarfed by high ceilings, and incorrectly proportioned arches each signal that the historic detail was applied without being understood (Pender & Peony; Lane McNab).
- The layers compound. Architect Russell Versaci's central argument that a new house can look and feel like it has always stood there rests on mastered details working together across every layer, not period-looking elements added to a generic shell (Creating a New Old House, Taunton Press).
Building now: lock in space definition and millwork before the walls close. Renovating a finished room: limewash paint or a hardware swap delivers results this weekend. Either way, identify the architectural tradition before selecting any specific detail. Every choice downstream gets easier once that one is settled.

















Comments
Be the first, drop a comment!