



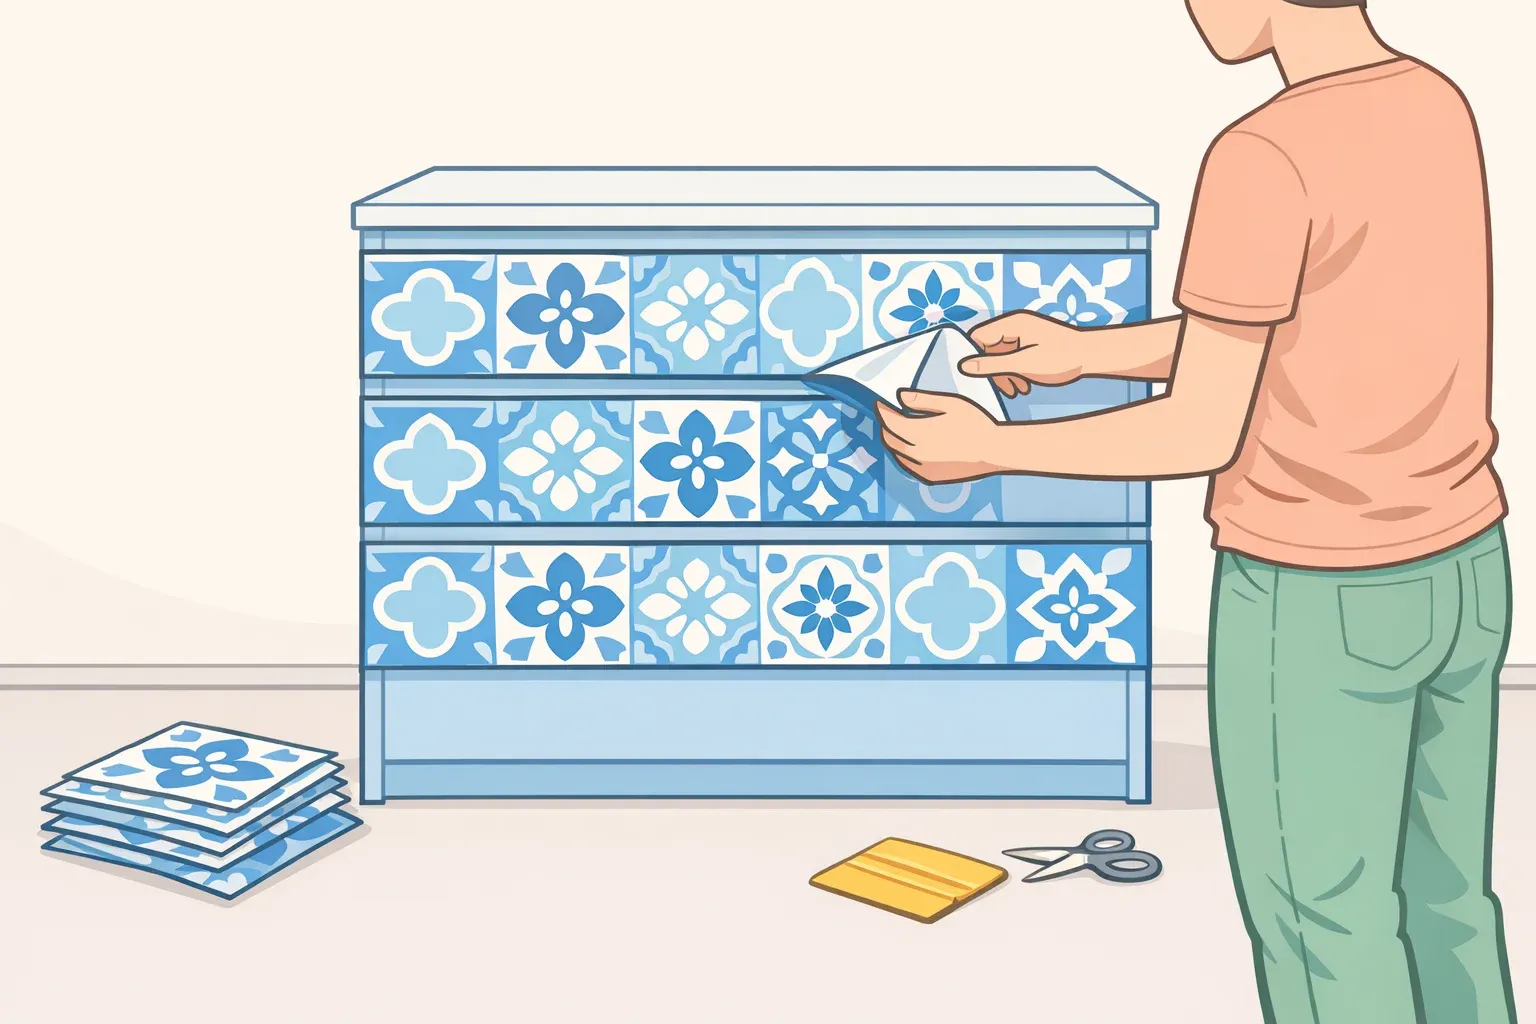
IKEA MALM dresser makeover with peel-and-stick tile
A designer dresser priced above $35,000 was out of Kim's budget, so she used it as a reference instead of a shopping list. Her IKEA MALM dresser makeover with peel-and-stick tile came in at a reported $335, according to Apartment Therapy.
That figure is Kim's own total, not a promise about what anyone else will spend. Cost depends on dresser size, drawer count, how much tile it takes to cover the surfaces, shipping, any samples bought before committing, and how much gets wasted on cuts. Kim had spent five months hunting for extra clothing storage for her wife, Michelle, before turning up a secondhand IKEA MALM dresser on Facebook Marketplace, Apartment Therapy reports.
The method centers on 12x12-inch blue peel-and-stick tile squares pressed directly onto the dresser's surface. Apartment Therapy names a marker and a box cutter as her tools for applying them, though the full list may run longer. After spotting stains in several drawers, she ordered blue plaid peel-and-stick contact paper for the bottoms, then decided to line the full depth of each drawer instead. She was glad she did: "I'm so, so glad that I took the time to cover all of the depth of the drawers, and I love the way that the plaid contact paper looks with the blue tiles. I can't believe this is IKEA," per Apartment Therapy.
This is an adaptation guide, not a transcript of Kim's exact process. Apartment Therapy reports the material types and the nine packs of blue tile she bought, but it stops short of a full parts list, a verified step-by-step method, or any word on how the finish holds up over time. The steps ahead focus on drawer fronts, since those are the surfaces a reader can measure, test, and adjust one at a time. The source doesn't say those were the only surfaces Kim tiled.
By the end, you'll know how to measure a drawer front for tile coverage, test a product before ordering the rest, apply tile to one drawer correctly, and recognize the point where switching products beats forcing a bad fit.
What you'll need
Start with a dresser that has removable, flat drawer fronts. This DIY IKEA dresser makeover uses Kim's now-discontinued MALM as its reference point. IKEA's STORKLINTA is the closest current match; Apartment Therapy describes it as "almost the same," but that's a starting point, not a guarantee the drawer dimensions line up. Measure whatever dresser is actually in the room before assuming anything.
Gather these materials and tools:
- Peel-and-stick tile in 12x12-inch squares. Kim used nine packs of blue tile from Amazon, Apartment Therapy reports
- Peel-and-stick contact paper for the drawer interiors, also sourced from Amazon
- A marker for tracing cut lines
- A box cutter for trimming, plus a spare blade
- A cutting mat or piece of cardboard to protect surfaces while cutting
Neither product is named specifically in the source, so there's no confirmed coverage-per-pack figure or manufacturer guidance on surface prep to lean on. Buy a single pack or sample first, and read that product's own instructions, printed on the packaging or listed on the product page, before ordering the rest. Coverage, cure time, and recommended surfaces vary by brand.
Kim's full dresser took about 10 hours using a marker and a box cutter, Apartment Therapy reports. A different tile might call for gear that isn't on this list, so check the product label instead of assuming her kit covers every job. Timeline shifts with drawer count and how carefully the cuts go.
IKEA MALM dresser makeover with peel-and-stick tile: measure and test first
Check the chosen tile's instructions before applying anything, and look over each drawer front for loose laminate or peeling veneer. Swelling, loose laminate, or other structural damage needs repair first; tiling over a damaged surface won't fix what's underneath and may keep the tile from bonding at all.
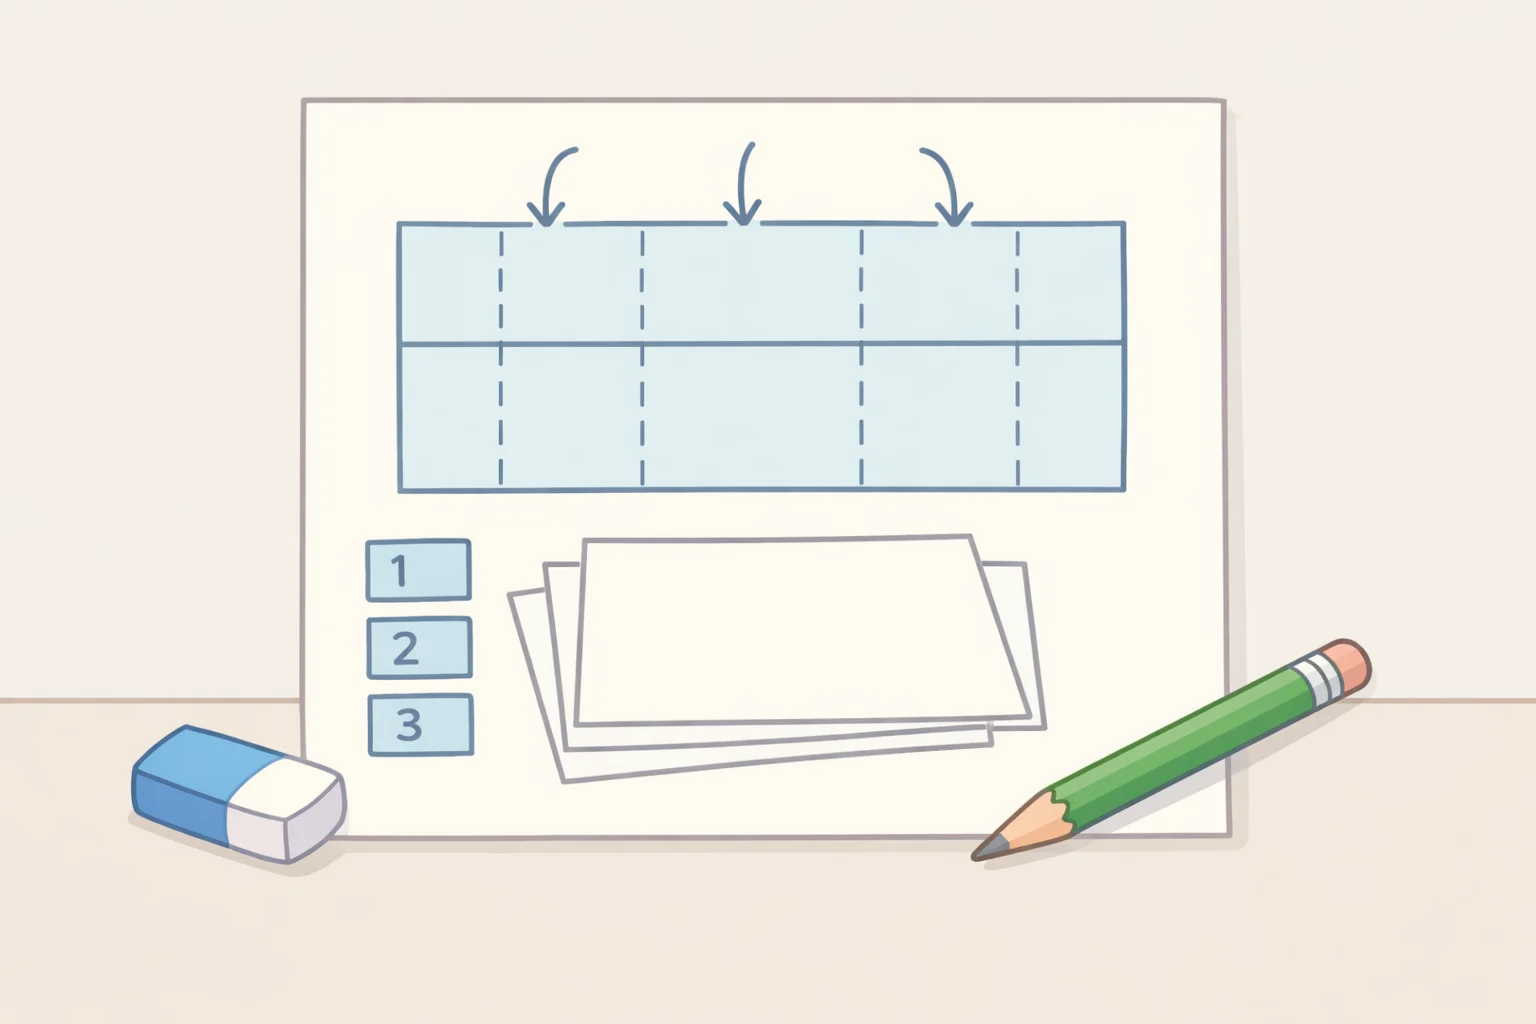
Measure one drawer front as a working example: say it's 15 inches wide by 6 inches tall. Since each square measures 12 by 12 inches, that width needs a seam somewhere. One layout uses a full 12-inch section plus a 3-inch strip, with the seam falling left, right, or center depending on preference. Centering two pieces or rotating a patterned tile works too. Settle on a layout before cutting anything.
Skip estimating quantity from square footage alone. Sketch a layout for each drawer front, count the full sheets and cut pieces it needs, then add those counts across every drawer on the dresser. That sheet total is what determines how many packs to buy. Large offcuts from one drawer's layout might work on another, but whether that holds depends on the pattern direction and each drawer's dimensions, so map it out on paper first. Buy enough packs to cover the planned sheets, then weigh whether the seller's pack size makes one spare worth adding.
Check the dresser's manual before removing drawers, fronts, or hardware. A part that resists shouldn't get forced. Decide where the seam between sheets lands relative to the handle before cutting, and check the tile's instructions for how much repositioning it allows once pressed down. Some products give a short window to lift and reset a piece; others don't say. The packaging is the only reliable source for that detail.
Buy one pack or sample of the chosen product and test it before ordering more. Apply it to a full drawer front rather than a scrap piece, using the seam placement and edge treatment planned for the whole dresser, and follow that product's stated cure or wait time exactly. If contact paper is going inside that drawer too, apply it during the test so the trial run reflects the finished result.
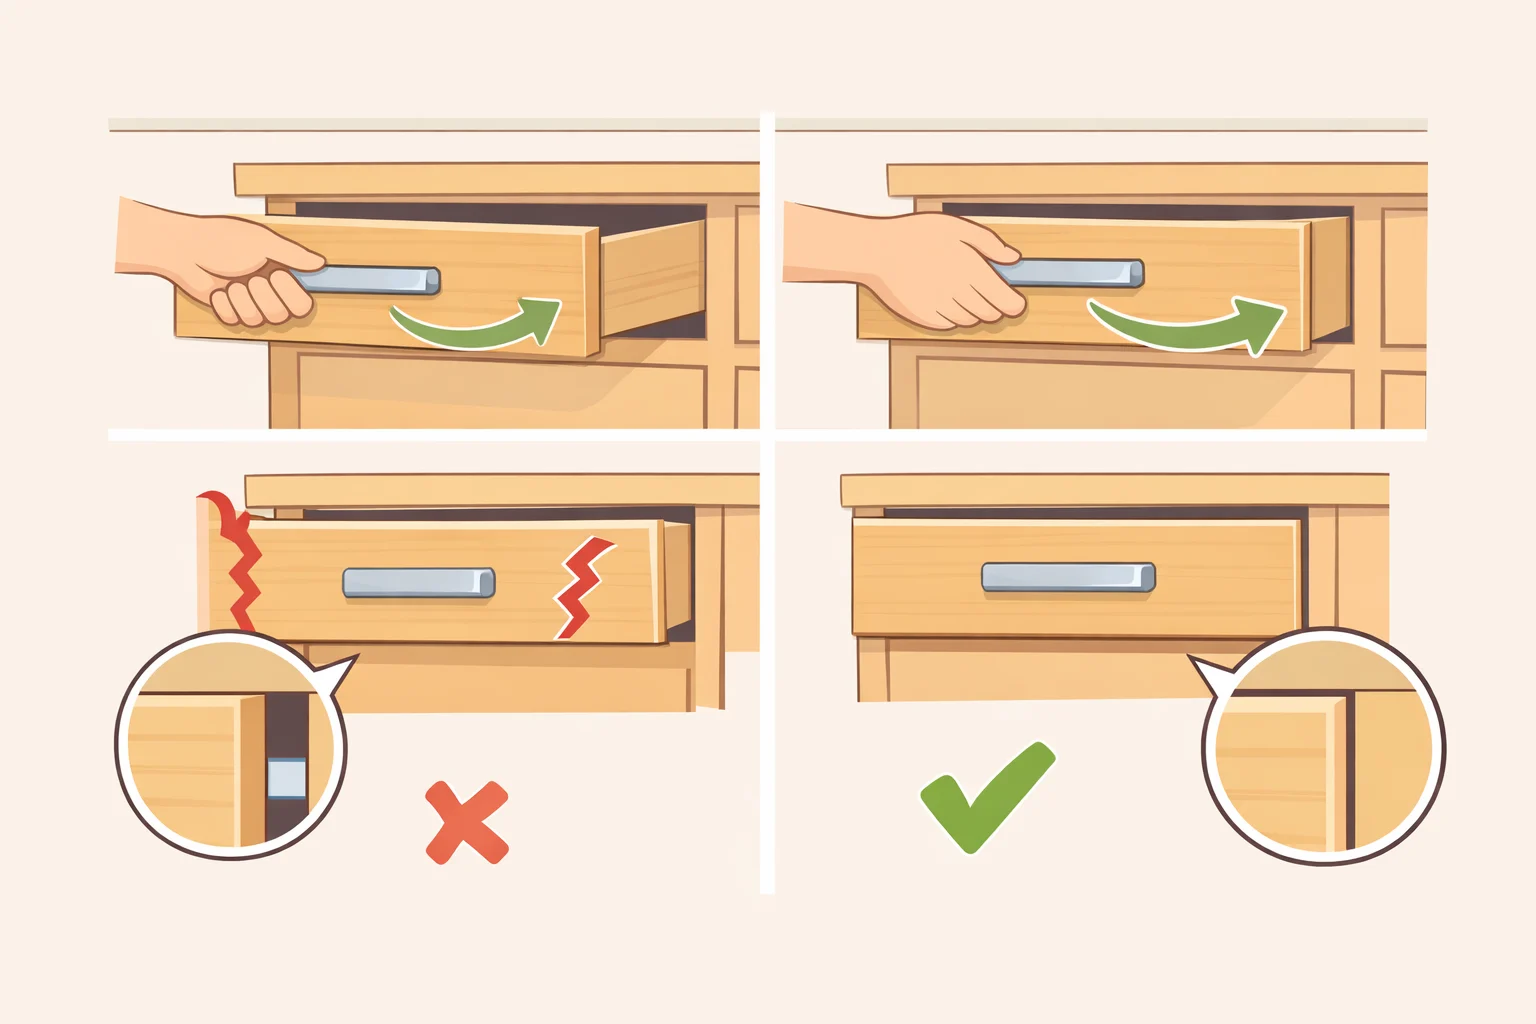
Once the wait time passes, reinstall the drawer and check its movement. Open and close it fully several times, then look at it from the side to confirm it sits flush when shut, not just that it slides freely open. A drawer can clear the frame while open and still rub or sit proud once closed, since tile adds thickness at seams and edges that bare wood doesn't have.
Set a stop condition before buying more tile. Move forward only if the test piece stays fully bonded with no lifted corners, the drawer clears the frame through repeated cycles, and it sits flush when shut. An edge that lifts, a piece that catches on the frame, a drawer that no longer sits flush, or damage to the drawer's finish during removal all count as a failed test. Switch products at that point instead of reaching for a stronger adhesive to push it through.
Check the dresser's anti-tip hardware before starting, not after the tile work is done. Use the manual for the exact model in hand, since a generic sheet won't necessarily match; if the original MALM manual isn't available, contact IKEA or treat current STORKLINTA documentation as a rough guide only. Don't drill into, modify, or remove existing anti-tip hardware unless the manual specifically allows it. Anchor the dresser to the wall with hardware matched to the wall type once the tile work is finished, following the manufacturer's instructions rather than a generic anchor kit's default guidance.
How to cover a dresser with peel-and-stick tiles
-
Plan the layout on paper using actual measurements. For a 15x6-inch drawer front, sketch where the seam between sheets falls and whether a pattern or grain direction needs to run consistently across drawers so they line up once everything's closed.
-
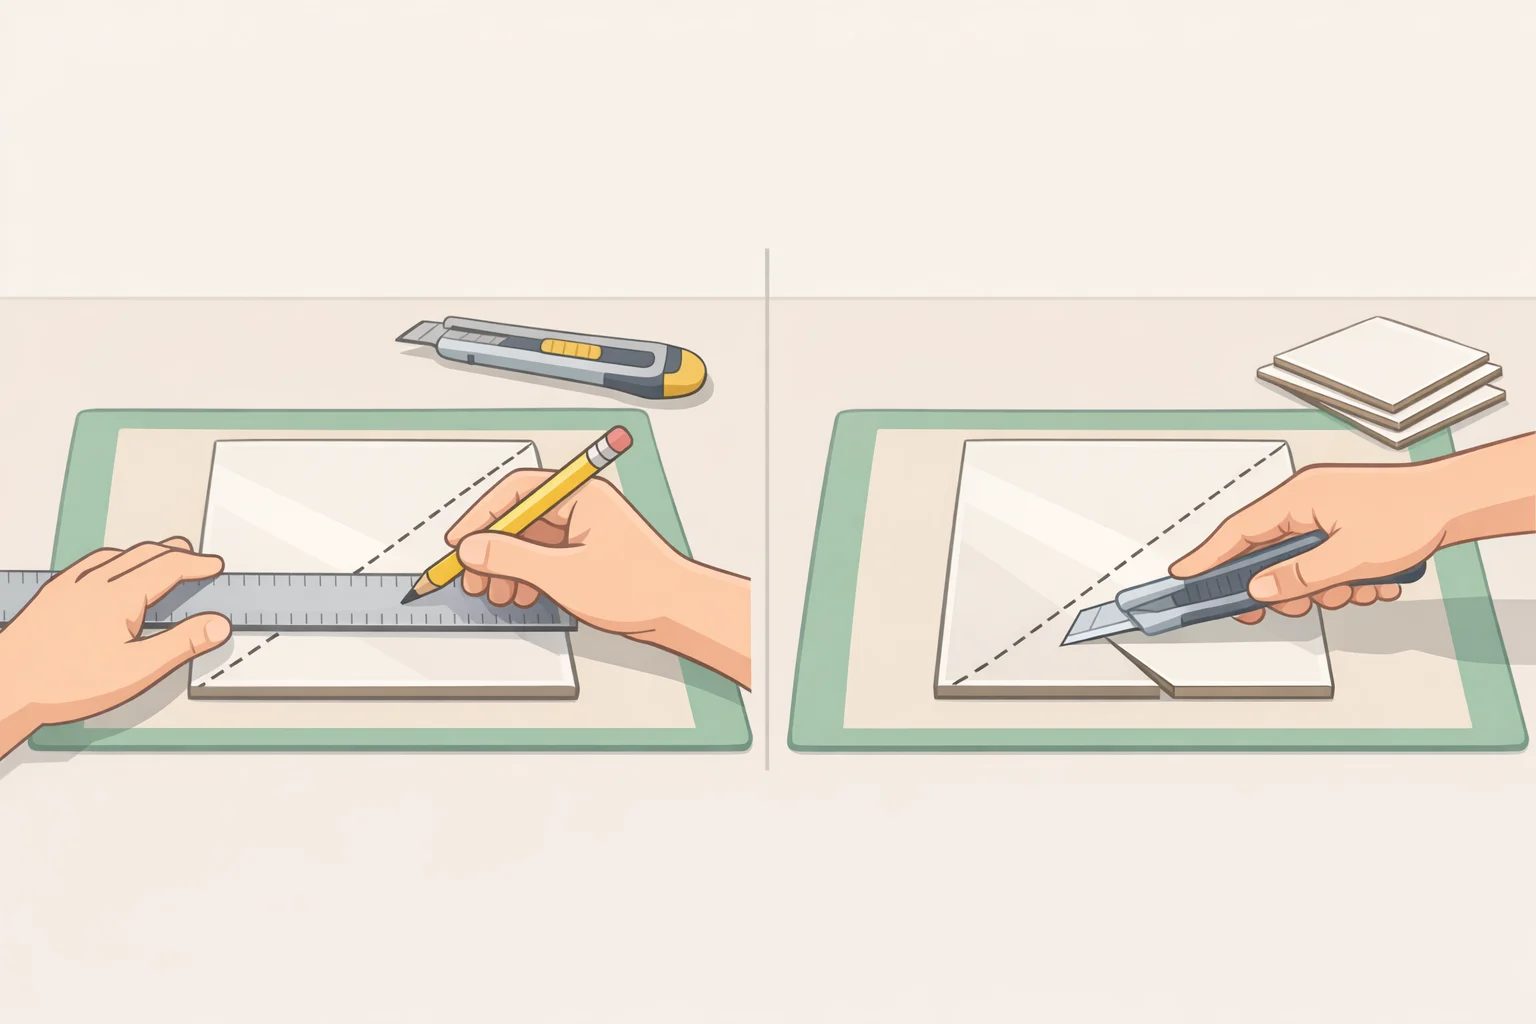
Mark the cut line on the tile with a marker, based on the measurements taken earlier rather than a generic template, per Apartment Therapy.
-
Cut on a stable, protected surface. Set the tile on a cutting mat or piece of cardboard, and follow the box cutter's safety instructions for grip and cutting direction. Work slowly, and swap in a fresh blade if it drags or tears the backing instead of slicing clean.
-
Peel and apply from one edge outward, pressing firmly as it goes down, per Apartment Therapy. Once placed, inspect the edges and corners closely for gaps or ripples. Check the product's instructions for how long a piece can still be repositioned; past that window, follow the product's own removal instructions rather than trying to shift it in place.
-
Reinstall and cycle each drawer as it's finished. Open and close it several times before moving to the next drawer, so a clearance problem shows up on one drawer rather than the whole dresser at once.
-
Decide how far the contact paper goes on the interiors. Kim started with contact paper for stained drawer bottoms, then lined the full depth of each drawer instead, a choice she said she was glad she made. Isolated stains might only need the bottoms covered; the full depth takes more material and time but matches the fuller look she landed on.
Tiling the dresser's sides, top, or frame brings different seams, edge exposure, and wear patterns than drawer fronts do. Treat that as its own project, with its own single-piece test, rather than an extension of this one.
Adjustments and troubleshooting
- Different drawer dimensions than Kim's call for redoing the whole-sheet-and-cut-piece count per drawer front, not scaling her nine packs up or down. Order extra only once the real total is known.
- A drawer that rubs or won't close flush after reinstalling is a signal to stop, not force through. Check whether the tile can be repositioned or trimmed per the product's instructions; if not, remove it and try a different product instead of pushing the drawer shut.
- Lifting, poor bonding, or a drawer that won't clear the frame during testing counts as a failed test. Abandon that product before ordering the rest; a stronger adhesive is unlikely to fix what a bad fit caused.
- A different color or pattern than Kim's blue tile can follow the same measuring, marking, and testing sequence, but check that product's own instructions instead of assuming it will behave the way hers did. Thickness and adhesive strength vary by brand.
Finish: inspection, maintenance, and when to stop
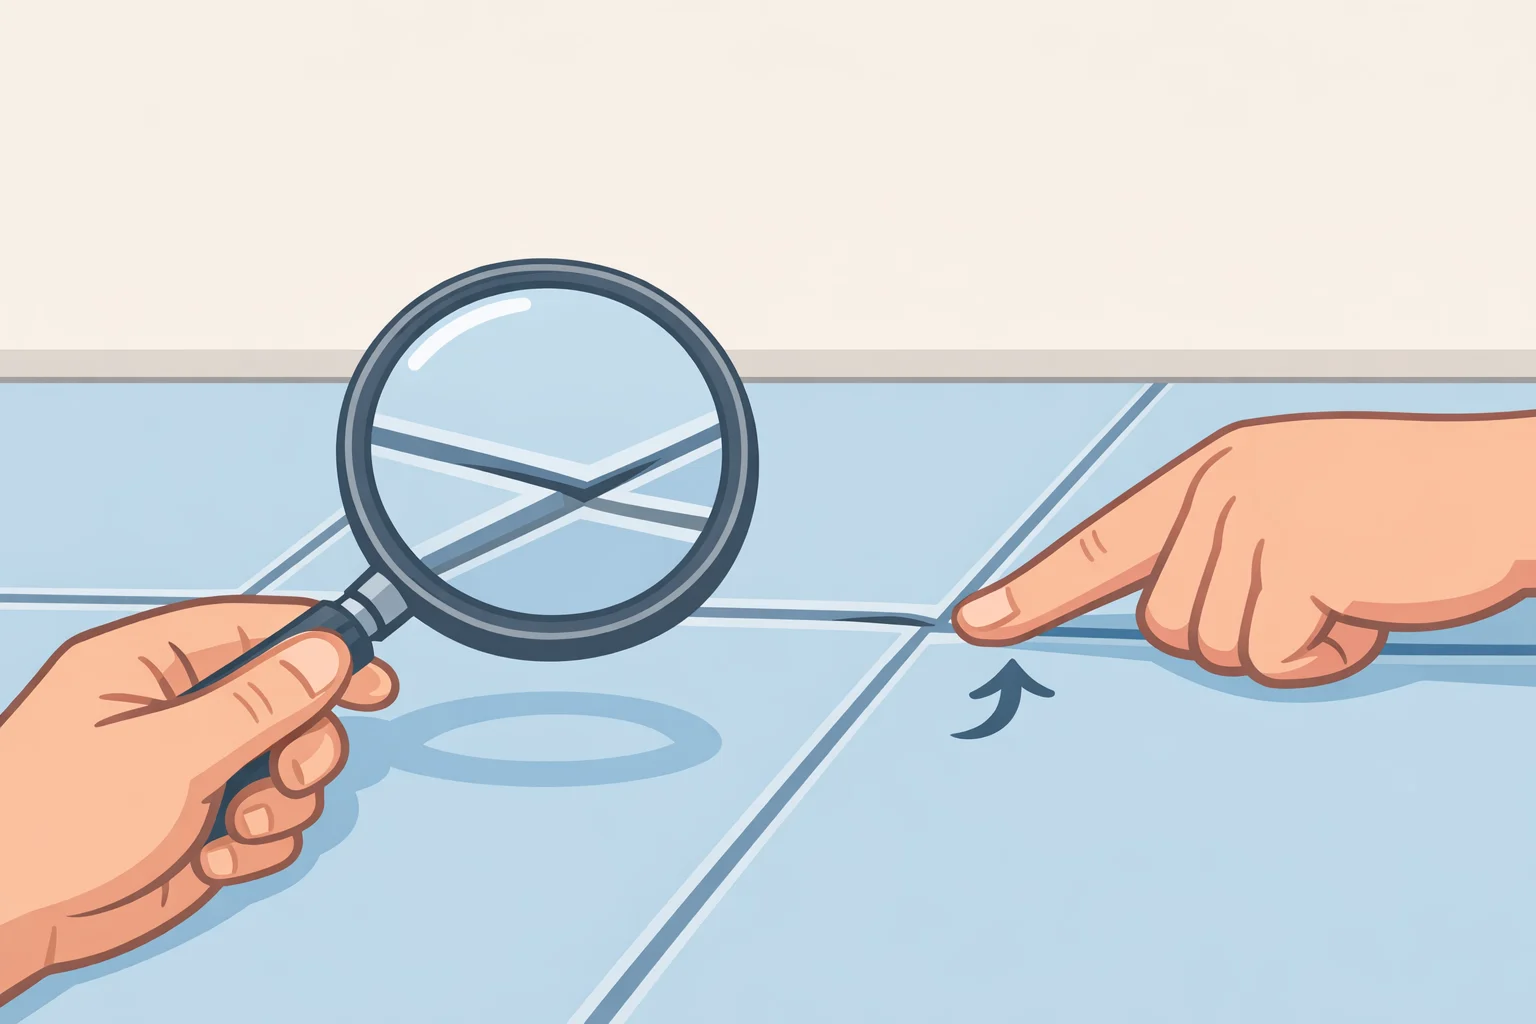
Before regular use, inspect every seam and exposed cut edge for gaps or lifting, then cycle each drawer again from a few angles, not just straight-on, to confirm nothing catches partway through. Anchor the dresser to the wall per its manual before loading any drawers, matching the hardware to the actual wall type.
Clean the finished piece using only the tile and contact paper manufacturers' approved method. Apartment Therapy's report doesn't cover how this particular finish holds up to harsh cleaners, standing moisture, or daily friction, so lean on the product's own care instructions rather than assuming it performs like factory laminate.
If a tile edge lifts weeks or months later, fix that one drawer. Remove and reapply or replace the single piece, following the product's instructions, rather than adding unapproved glue or forcing the drawer shut. A dresser that clears every drawer smoothly, sits flush when closed, and stays anchored to the wall is a finished project. There's no need to keep testing past that point.



















Comments
Be the first, drop a comment!