



How to test Dollar Tree stained glass window film first
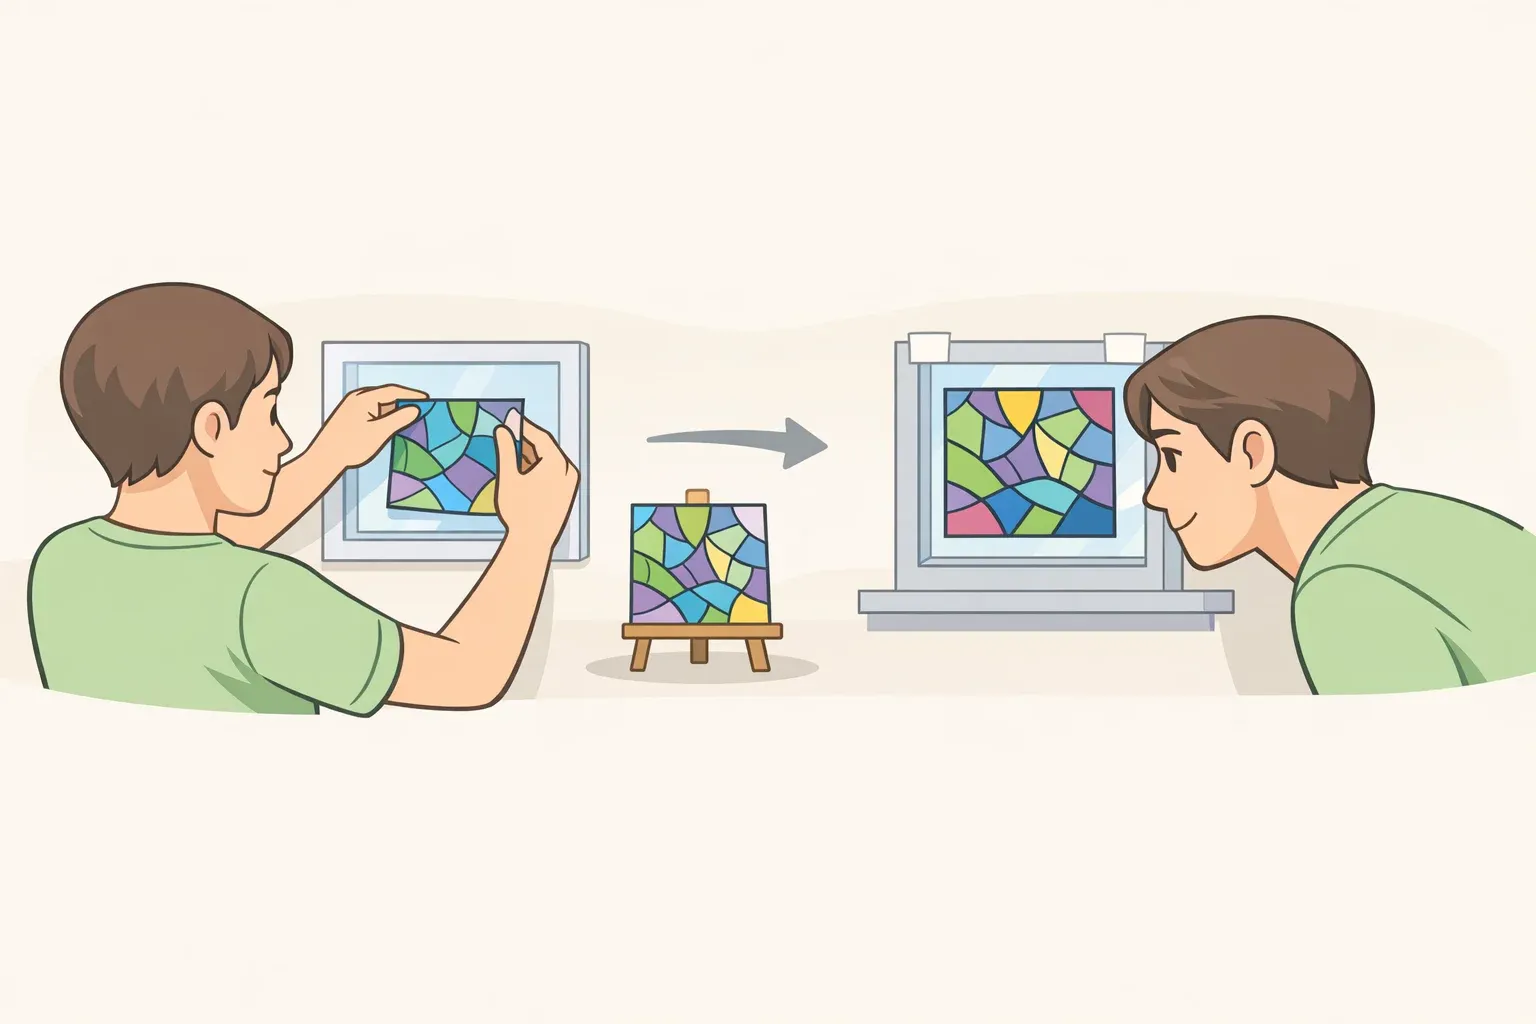
A shopper's TikTok cataloging every print in Dollar Tree's stained glass window film lineup pulled more than 300,000 views last week, and a second video showed the same film turning a plain window into a stained-glass look (Charlotte Observer reports). Dollar Tree sells the film for $1.25, and that price is doing a lot of the convincing.
It's cheap enough to buy and slap across a whole window the same afternoon. Don't. The coverage behind this trend confirms the price and shows the look working in someone's home, but it doesn't get into backing type, exact dimensions, which glass types the film is rated for, or how it holds up over time. Commenters described mixed results rather than a guaranteed win (Charlotte Observer reports). The better move is a small, hidden test patch first, and if that holds up, scale to one full window. This guide walks through both.
What this test covers
This is a patch-test guide, not a complete installation manual. The scope, up front:
- Difficulty: beginner, no window-film experience needed
- First attempt: one small, inconspicuous patch, not a full pane
- Timing: whatever wait time the package lists before the film sets, check that before you start
- Full-window step: worth attempting only once the package gives complete cutting and application directions, and only after the patch passes
If your package is missing those directions, stop at the patch test. That's a legitimate outcome, not a failure on your end.
Before you buy: what to check and how much to get
Grab these before checkout:
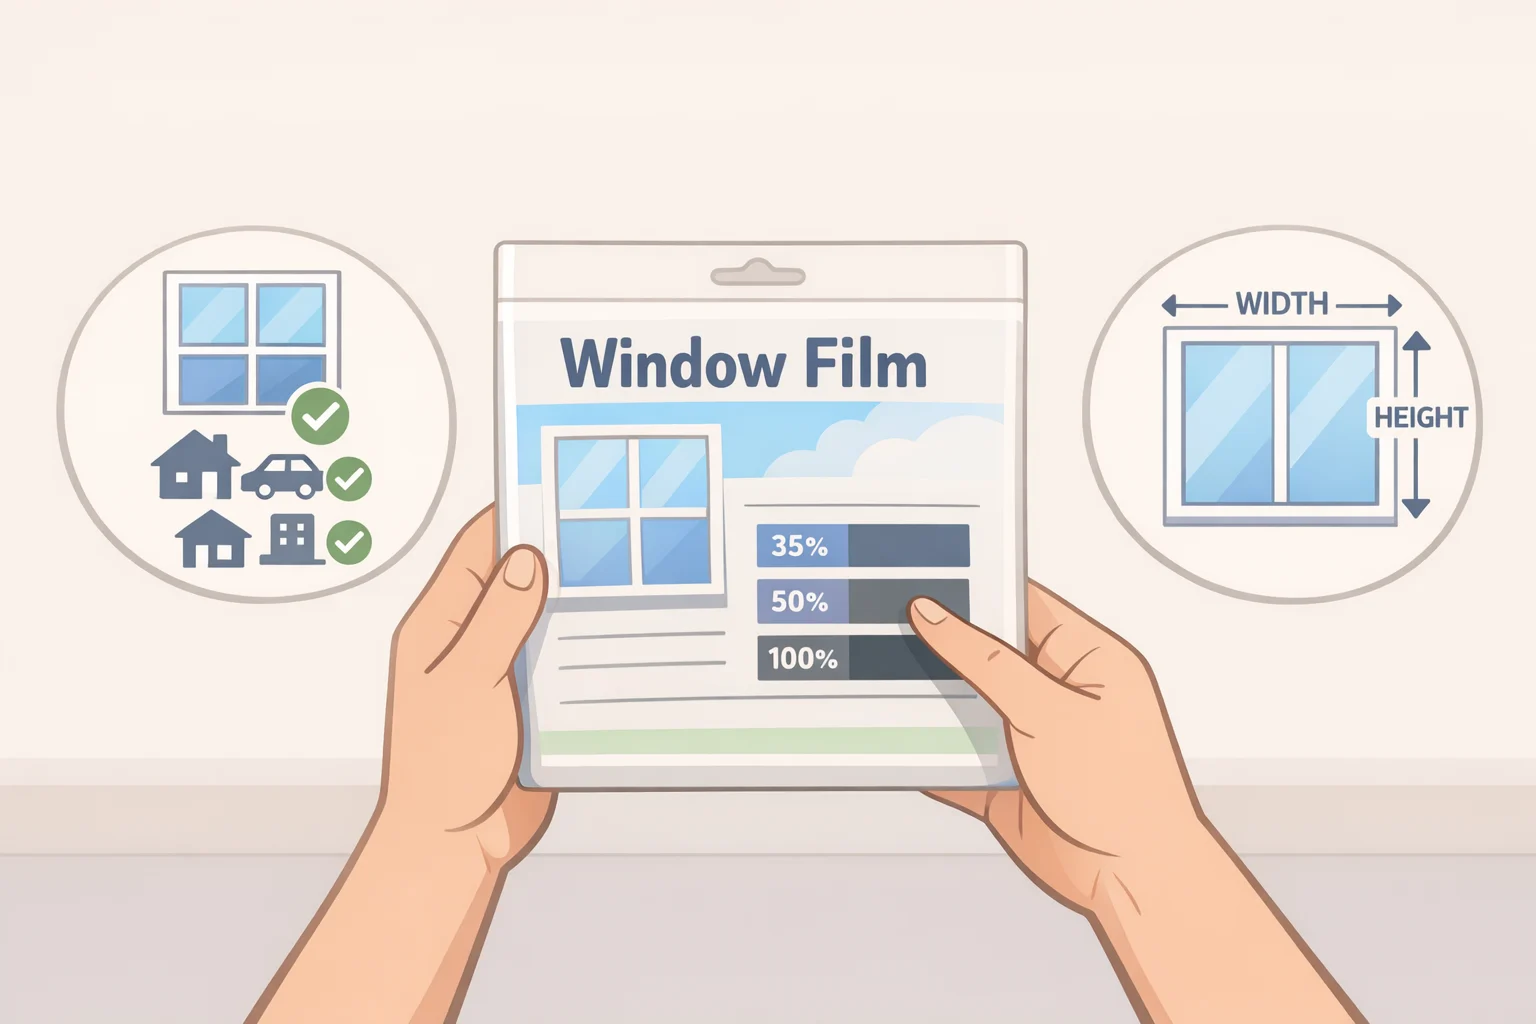
- One roll of Dollar Tree window film, in whichever print catches your eye
- Sharp scissors, for cutting a small test piece
- A straightedge and cutting mat, only if a bigger, precise cut becomes necessary later
- A tape measure
- A soft cloth for cleaning glass
Read the package while you're still in the store. It's the primary source for backing type, static cling versus adhesive, and any listed surface restrictions, since the coverage of this trend doesn't spell those details out. It may not answer every compatibility question either, so if the label says nothing about textured or coated glass, treat that as genuinely unknown rather than assuming it will work fine.
Measure the pane you're eventually hoping to cover, even though today's test is just a scrap piece. Compare that to whatever coverage the package states and add margin for trimming and lining up the pattern. Don't assume one roll stretches across something large: the one sliding-door transformation circulating online doesn't say how many rolls were used or whether the pattern lined up across panels (Charlotte Observer reports). It proves the look is achievable, not that it works as a spec sheet.
Confirm $1.25 at your own store instead of assuming that price everywhere. Shoppers have mentioned spotting the film again after not seeing it for a while, which the same coverage ties to renewed interest in the find rather than a documented restock schedule (Charlotte Observer reports). Availability may vary by location, so don't plan a project around one specific print until you've seen it in person.
Glass and windows to skip for now
This guide covers intact, flat glass. Skip the test for now on:
- Textured, frosted, or coated glass, since neither the package nor the coverage confirms how the film performs on anything but a plain flat pane
- Cracked or chipped panes; that's a safety boundary this guide is setting, not a rule the product's packaging states
- Any window where a lease specifically bars films or coatings on glass, not just paint or wall holes
- A window where losing the clear view, even briefly, would be a real problem, like the only light source in a small room
If none of those apply, move to the patch test.
Set up and apply a small test patch
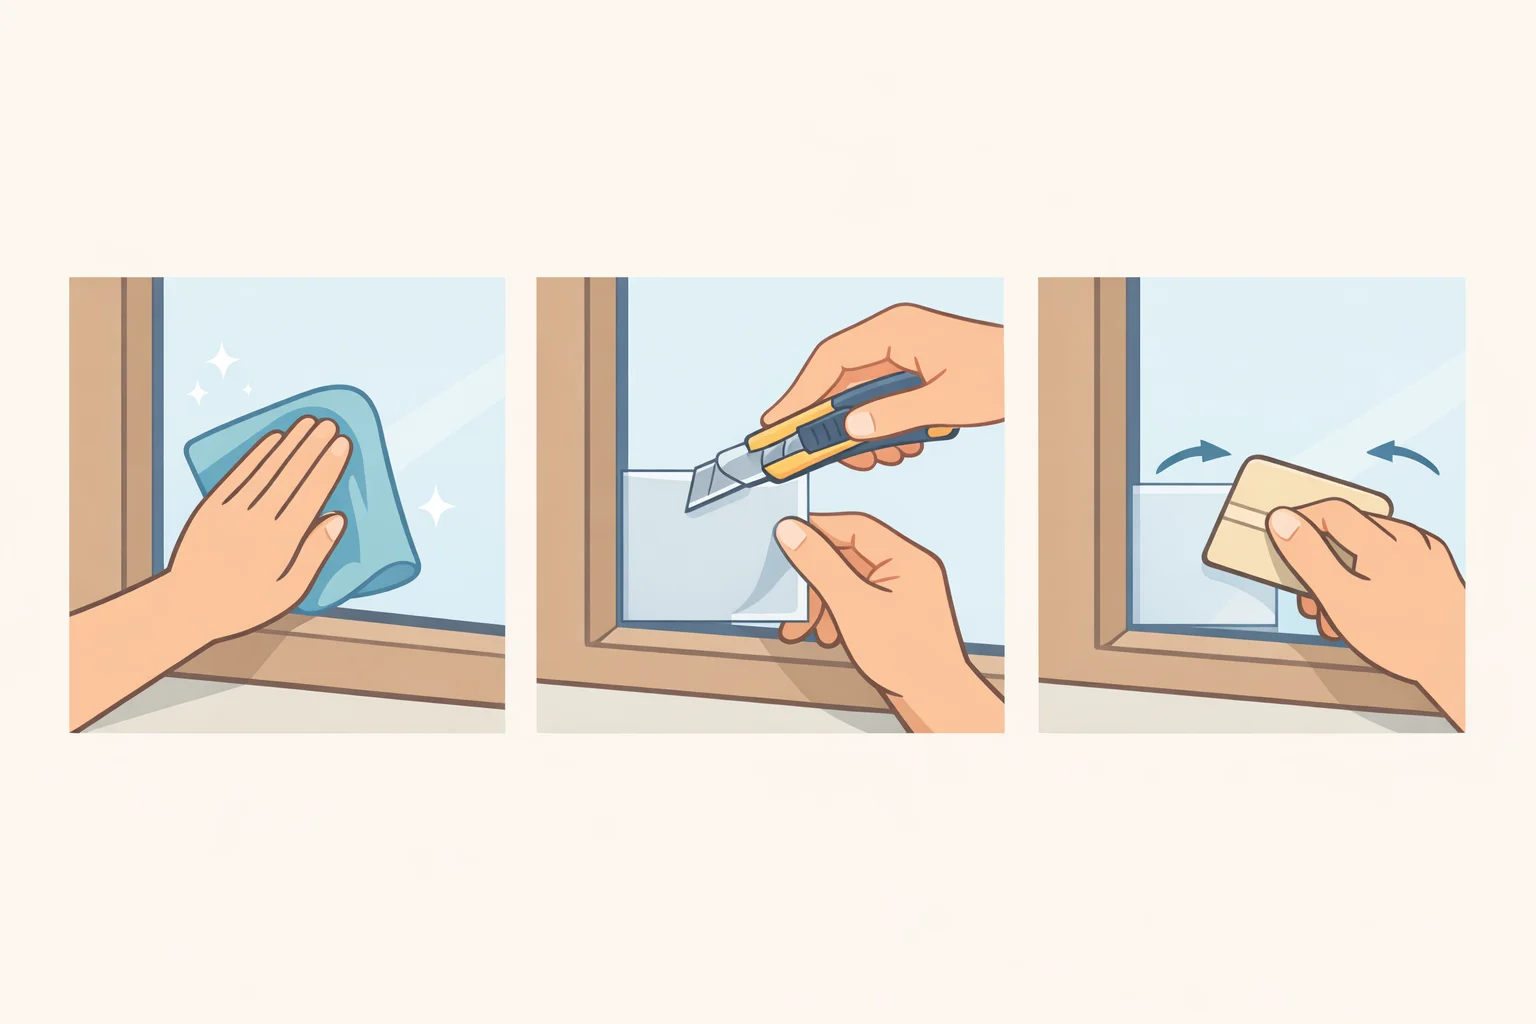
Pick a spot nobody will notice if the test doesn't work out. A bottom window corner, or a low door pane blocked by furniture, both work. This step is about learning how the film behaves, not decorating anything yet.
- Clean the test area exactly as the package instructs. If the package gives no cleaning step, don't guess at one, and don't proceed past this small patch until you can verify the product's prep instructions from Dollar Tree or the manufacturer.
- Cut a small piece with scissors. Scissors give more control than a utility knife for something this size and keep the blade away from any frame or installed pane nearby.
- Apply it exactly as the package says. Don't borrow a technique from a different window film, like wetting the glass first, unless your packaging says to.
- Press it into place following the package's method for smoothing and positioning. If the package doesn't describe one, note that gap rather than inventing a technique. Smoothing pressure and direction vary by film type, and getting it wrong on a full window is hard to undo.
- Follow the wait time printed on the package before judging the patch. If none is listed, treat anything you see within the first few hours as an initial read, not a settled result. Edges can still lift, or bubbles can still surface, after that window.
How to test Dollar Tree stained glass window film for privacy
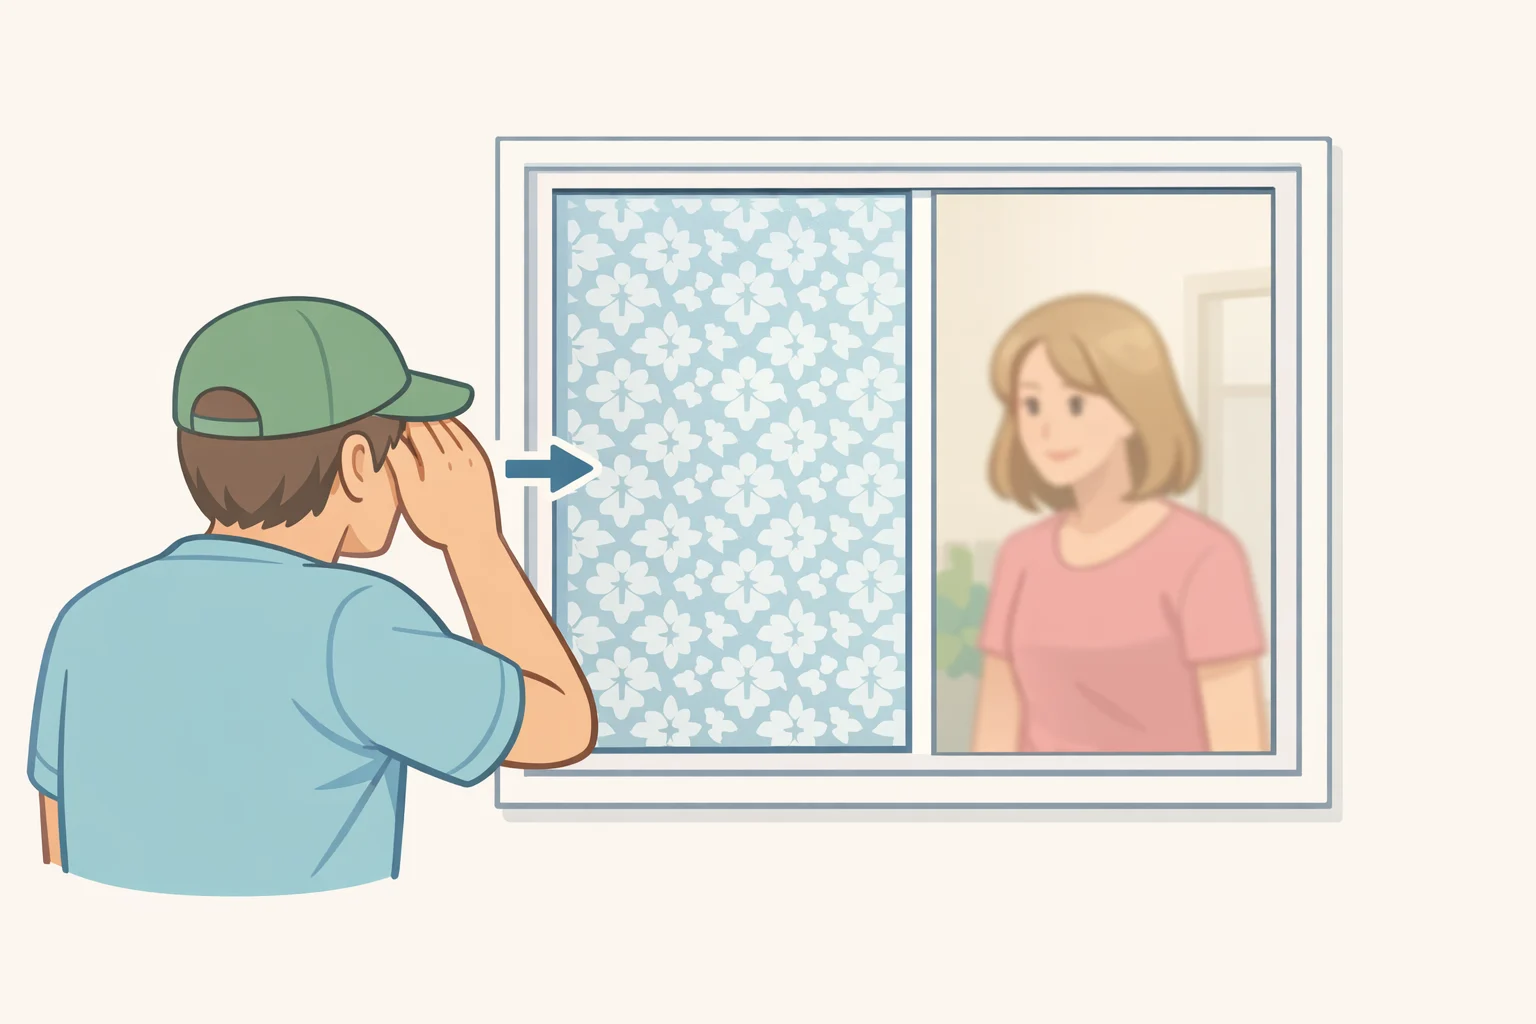
Once the patch has settled, check three things you can judge right away: whether the edges are lifting or curling, whether air is trapped under the surface, and whether the pattern reads clearly, without warping, when daylight passes through it.
Then step outside to roughly the distance a neighbor or passerby would stand, and look back at the patch in daylight. This is the moment that tells you whether you bought a stained glass privacy window film or just a decorative one.
You'll land in one of three places:
- Looks good and blocks the view in daylight. It's working as both decor and screening. Move on to a full window.
- Looks good but doesn't block much. One commenter quoted by Charlotte Observer called this product "great for privacy or blocking out an ugly view," but that's one shopper's experience, and the coverage doesn't include a documented privacy rating beyond it. Treat it as decorative window film and pair it with a curtain or blind for actual privacy.
- Lifting, bubbling, or distorted, even after following the package exactly. Stop with this roll. Try a different roll, a different in-store print, or a different product instead.
Check nighttime privacy before you commit further
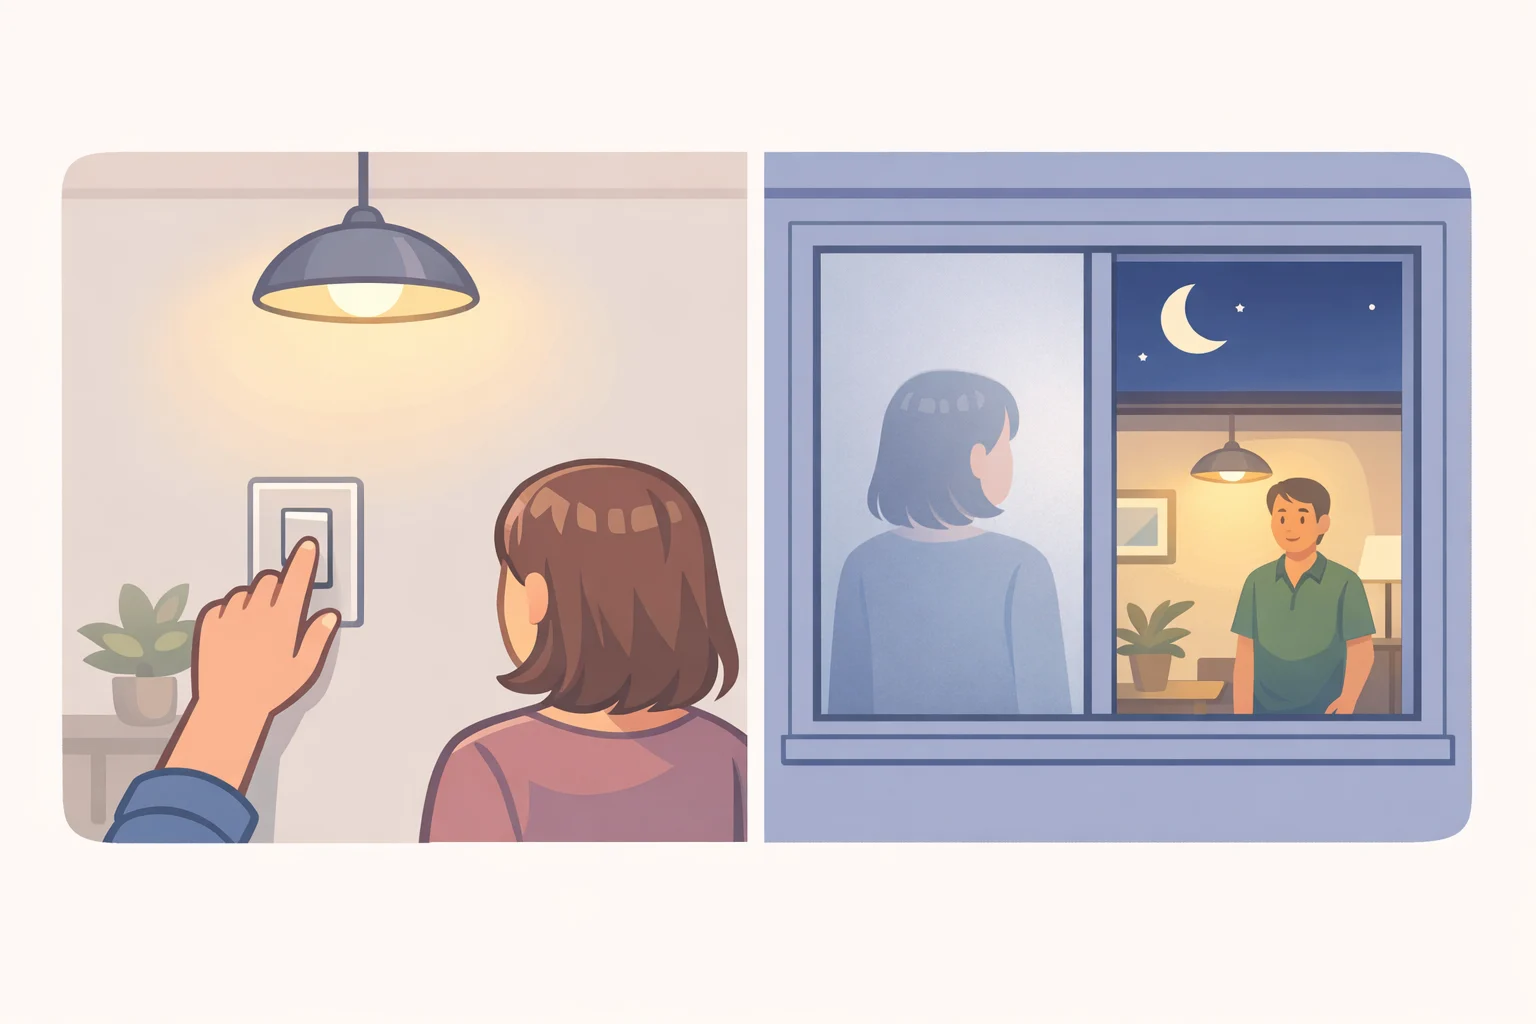
A daytime pass doesn't guarantee the same result after dark. Turn on your usual room lighting once it's dark outside and step back to check that same patch from a passerby's distance. Decorative film can behave differently under interior lighting than it does with daylight coming through, so this is worth checking directly rather than assuming the daytime result carries over.
Judge privacy based on the actual sightlines around your window, not a rule of thumb; how close a walkway, porch, or street sits to the glass matters more than what room it's in. If shapes or movement are visible through the film at night, plan on a curtain or blind for evening hours even if the daytime test passed.
Scaling up to one full window
Before opening a second roll, write down or photograph the package's cutting and application directions so you have them once scraps start piling up. Measure the pane's width and height and compare that to the coverage printed on the package, leaving margin for trimming and pattern alignment.
If the pane is wider than the roll's stated coverage, check whether the package addresses overlapping pieces or a seam. If it doesn't, stick to a window narrow enough for a single cut piece rather than improvising a multi-piece layout.
Dry-fit the cut piece against the glass, checking that the pattern sits right-side up and centered, before removing any backing or activating adhesive. Follow the package's own method for trimming edges and fixing a bubble or wrinkle during application. If it gives no guidance for correcting a mistake mid-installation, stop and start that section over with a fresh piece rather than improvising a fix.
Don't jump from a passed patch straight to a large installation like a sliding glass door. The sliding-door transformation circulating online is one shopper's outcome, not confirmation the film performs the same way at that scale (Charlotte Observer reports). One full-size standard window is the next step, not a door.
Removal, troubleshooting, and renter considerations
Shoppers describe this as a renter-friendly find, but that description reflects how people are talking about it online, not documented testing on how cleanly it removes (Charlotte Observer reports). If your lease requires zero residue on the glass, don't rely on that label. Check your package for removal instructions, and if there are none, test removal on the same small patch you used earlier, somewhere inconspicuous.
Peel a corner slowly and evenly rather than yanking it. A patch removed shortly after application won't tell you how the film releases after months of sun exposure and handling, so a full window pulled down later could behave differently. If the package names a specific cleaner for leftover residue, use that one and test it on a small spot first. If it names none, treat removal as unconfirmed and keep the package with your lease paperwork in case its printed directions matter down the line.
Success on the patch looks like this: no lifted edges, no bubbles, a pattern that reads clearly in daylight, and daytime privacy that matches what you actually need. If nighttime privacy still isn't there, a curtain or blind for evening hours is a styling decision, not a sign the film failed.
If a patch bubbles, peels, or looks off after an honest attempt at the package instructions, move to a different print or a different roll rather than reworking the same piece. If nothing from the store holds up, look for a specialty static-cling film from a hardware store whose package spells out the glass type it's rated for and how to remove it; that gives firmer footing than a $1.25 find when the result needs to last. Once a full window passes the same checks the patch did, that's the finish line, and any window where privacy still isn't there is a job for a curtain, not another round of film.




















Comments
Be the first, drop a comment!