



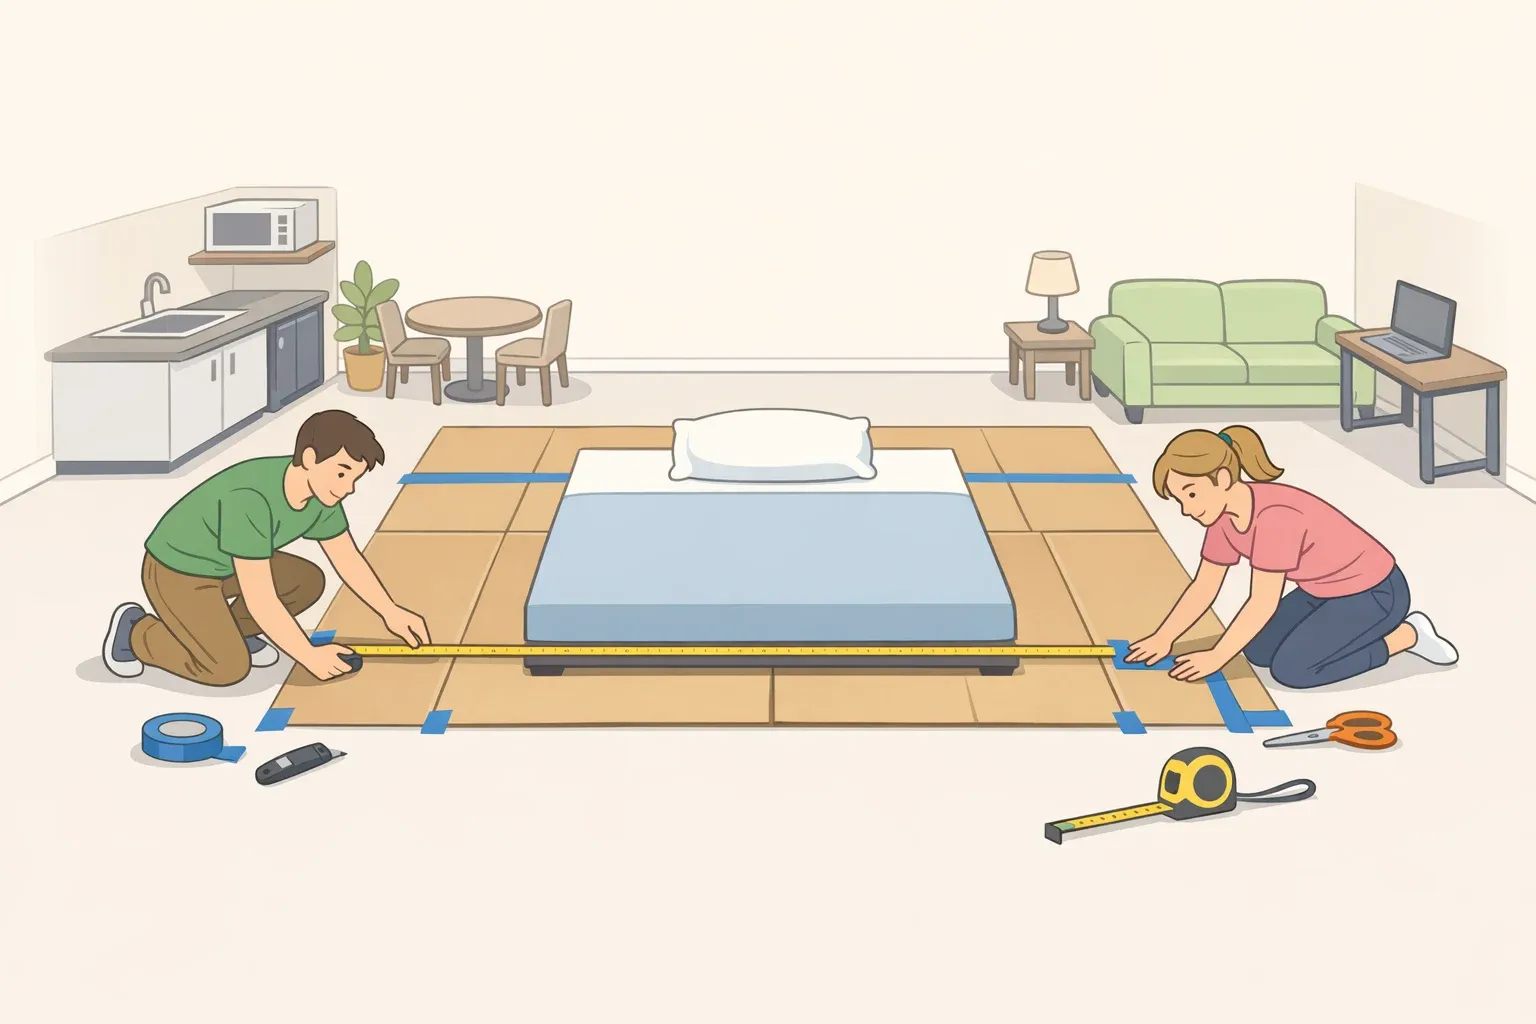
Before you buy a platform frame, hang a divider, or commit to putting your bed in the middle of a studio apartment, you can test whether the layout will actually work using painter's tape, a few cardboard boxes, and about nine days total.
One weekend goes toward mapping the room and taping the footprint; a full week goes toward living with a mock-up before you spend money on furniture that's hard to return.
The idea comes from watching how Ono Studio, a Paris design duo, turned an open-plan studio apartment layout into four connected zones: a kitchen, a dining room and office, a living area, and a sleeping area, using low furniture, a raised sleeping platform, oak paneling, and a closet hidden in the entry behind a curtain, according to Architectural Digest.
That's a professional design project that includes at least one custom cabinet and built-in elements, so treat it as inspiration rather than a DIY blueprint. This guide borrows the testing logic behind it, not the build itself.
Skip the footprint and daily-use test below, and a freestanding bed is more likely to block a door or crowd your only window than to open up the room.
What you'll need before you start
This is a beginner-friendly project as far as the testing goes. Here's the scope before you gather anything:
Difficulty: beginner-friendly for the testing phase
Active setup time: about one weekend
Test period: seven days living with the mock-up
Construction: not covered in this guide (see the professional-help note further down)
Gather these before you tape anything:
A tape measure
A full roll of painter's tape
Graph paper or a floor-plan app
Cardboard boxes or furniture you already own, for the mock-up phase later
Before you start taping, walk the room and note these measurements:
Room width and length
Your bed frame's outer dimensions, not just the mattress
How far each door swings open, including closets
How far dresser drawers or closet doors extend when fully open
Chair pull-out space at your desk
Manufacturer clearance guidance for any radiator or vent
The path you actually walk between the entry, bathroom, kitchen, and window
How to place a bed in the middle of a studio apartment without blocking your routes
Treat this as one connected exercise. A bed footprint that looks fine on paper can still fail if it ignores where your storage and desk need to go, so measure all three together.
Step 1: Mark what can't move. Tape off every door swing, window location, and any radiator, vent, or baseboard heater you can't block.
In the Paris apartment, the bathroom sits at the entrance, and leaving the main square of the layout brings you right back to it. Check whether your own path to the bathroom can stay clear of wherever you're considering the bed.
If it can't, that's your first sign to look at wall placement instead of a centered one.
Step 2: Tape the actual bed footprint. Use your frame's real outer dimensions if you already have them.
If you're still shopping, mattress sizes run roughly 60 by 80 inches for a queen and about 54 by 75 inches for a full, as rough planning figures only. Check the dimensions of the mattress you're considering before you tape anything down, then add a few inches for the frame or platform edge.
For walking clearance, 24 to 30 inches per side is a common rule of thumb in space planning, not a code requirement, so tape it in as a starting point and adjust once you see how it feels underfoot.
Step 3: Tape storage and desk footprints in the same session. Include your closet door swing, your desk footprint plus room to pull the chair back, about 36 inches as a reasonable rough estimate to start with, and any hamper or dresser you use daily.
Storage shaped the Paris project as much as the bed did. Choosing shorter furniture created its own storage challenge, which the designers solved by adding a full-height closet near the entry after negotiating with their client.
Plan for that access now instead of discovering the gap after the frame is assembled.
Step 4: Decide freestanding versus partial-wall. A bed with open access on all four sides needs more total clearance than one pushed against a single wall with three sides open.
If you share the bed and need both sides reachable, budget clearance on every side. If you sleep alone and mainly need to make the bed and get in from one end, a partial-wall placement keeps most of the open feel with a smaller footprint.
Success check: Every taped door swings fully clear of the bed, storage, or desk footprint; the path from entry to bathroom and entry to kitchen stays outside the sleep zone; and you can stand at the taped desk and closet and confirm the drawer, chair, or door actually opens.
Go/no-go point: If the taped footprint blocks a door, becomes your only path to the bathroom, or leaves no room for storage and a desk you use every day, stop here.
Move to a wall-anchored bed instead of forcing a small studio apartment bed layout the room's fixed points won't support.
Mock up the full layout and run a daily-use test before buying anything
Tape shows the footprint, but it can't show you whether the layout holds up once real life moves through it. An air mattress lying flat on the floor and a few loose boxes only go so far here, so build the mock-up closer to real dimensions than that.
Mark the bed's exact outer footprint (mattress plus frame or platform edge), then stack boxes or existing furniture roughly to the real height along that outline. A stack at mattress height gives you a much better sense of getting in and out than a flat air mattress does.
Live with the mock-up for a full week and run this checklist:
Can you get in and out of bed from every side you taped for access, not just climb over one edge?
Can you make the bed from every side?
Can you open the closet, dresser, or storage bin while standing right next to the mock-up, not just reach it from across the room?
Can you walk fully around the footboard or platform edge if your layout calls for it?
Can you carry something bulky, a laundry basket, a vacuum, a suitcase, through the room without rerouting around the mock-up?
Can you shift the mock-up out of the way temporarily if you need to clean behind it or reach a vent?
Do the closet and bathroom doors open fully with the mock-up in place, not just on the empty taped floor?
Can you sit at the desk and roll the chair back without bumping the bed footprint?
Can you move from the entry to the kitchen without cutting through the sleeping area?
Check daylight with the mock-up standing, not in the empty room. Note whether the bed or a temporary divider blocks the window, and whether light still reaches the desk and living area during the day.
If the window doubles as a required emergency exit, check with your landlord or local building department before permanently blocking it; that's a local code question this guide can't answer.
The Paris studio's unobstructed view was a major reason Ono Studio opened up the layout, allowing natural light to reach every corner. That's a goal worth testing in your own space, but it doesn't guarantee every studio gets the same payoff.
The biggest mistake here is judging the layout after one tidy afternoon. Real clutter, a laundry day, and normal foot traffic over a full week are what expose whether the plan actually holds.
Two categories of results come out of this week, and they call for different responses:
Hard stops: a door that won't fully open, a bathroom or kitchen route that runs through the sleep zone, or a blocked emergency-exit window. Any of these means the centered layout doesn't work as tested, so move to a wall placement.
Fixable problems: a dim desk, weak privacy, a tight side, or a frame that turned out bigger than what you taped. These call for an adjustment, not a full restart, covered in the troubleshooting list below.
If the week passes with no hard stops, you're ready to shop for actual furniture.
Choose furniture and a divider based on what the test showed
Pick the bed frame, platform, and divider based on what the mock-up actually showed you need, not on how a similar apartment looked in photos.
Start with the fixable problems from your test week:
Door conflict: shift the bed's position, or abandon the centered placement for a wall-anchored one.
Bathroom route conflict: switch to a wall placement; this one isn't fixable in place.
Poor desk light: move the desk closer to the window, put the bed in the darker spot, then retest for a few days.
Privacy problem: try a sturdier curtain or a slatted screen before you consider anything built.
Frame bigger than what you taped: retape the real outer dimensions and repeat the daily-use test before you finalize anything. Those extra inches can change whether a door, drawer, or walking route clears.
Bed blocks a closet door: a lower platform reduces visual bulk but doesn't change the floor space a door swing needs, so shift the bed or check whether the door can be rehung to open the other way.
One side felt tight: look at a slimmer frame profile without a footboard, or switch to a partial-wall placement with access from one end only.
Keep furniture low if your ceilings feel visually short. Ceilings in the Paris studio run just over eight feet, and Collet notes that apartments from that era, the 1970s, typically don't have high ceilings.
The piece adds that "vertical elements can feel overwhelming" at that height. That's not a fixed cutoff at any particular measurement; apply the same reasoning if your own ceilings feel low relative to the room's width.
If your mock-up showed room to spare, a raised platform can double as seating. In the Paris apartment, the step up to the bed also works as a bench for the living room, a detail Diettert describes as "a bit like a puzzle or a model where structures reflect functions."
Skip this idea if your test showed you need every inch of the bed's footprint just for clearance.
Match the divider to the privacy your test actually showed you need when you're deciding how to divide a studio apartment into zones:
Solid paneling (oak, in the Paris apartment, separating the sleeping area from the kitchen) blocks sightlines completely, though it's a built, harder-to-reverse choice.
A curtain gives visual privacy and is easier to reverse or replace than a built partition.
A slatted screen lets light through the gaps between zones, with only partial visual privacy.
No divider works fine if your test week showed you rarely need privacy from the sleep zone; skip it and keep the floor space.
The Paris apartment sticks to three materials throughout, polished concrete, oak, and ceramic, to keep the four zones feeling like one room.
Two or three consistent finishes, one flooring, one wood tone, one metal or ceramic accent, can do the same job in your own place without new construction.
Consolidate storage instead of scattering it around the bed. The Paris apartment solved its storage shortfall with one full-height closet hidden in the entry, tucked behind a curtain.
If you work from home, the same owner wanted a workspace separate from where he eats. Diettert says the fix was a custom cabinet so he could "put his computer away in a custom cabinet and simply close its door." A closable cart or cabinet does the same job without carpentry.
Know when to skip a centered bed entirely
A studio with limited daylight to begin with, a single small window, north-facing exposure, or a view blocked by another building won't necessarily get the same payoff from opening up the floor plan.
The Paris apartment's move to a fully open layout was driven by an unusually strong window view; Ono Studio opened the space specifically to let that light reach every corner. Without that starting advantage, removing walls may not produce the same effect.
Get landlord sign-off or check with a professional before building a raised platform, attaching paneling to a wall, adding electrical for lighting over the bed, or altering any door or window opening.
Those steps move past a testing exercise and into construction, and what a renter can alter varies by building, so confirm before you start.
Finish the test before you shop
Photograph the taped floor plan from the doorway or another safe standing position, so you have a record of the exact footprint that passed your test.
Write down the final dimensions for the bed, clearance, desk, and storage that worked during the week-long mock-up.
Shop only for a frame, divider, and storage pieces that fit inside those recorded dimensions. If the frame you buy ends up larger than what you taped, retape and re-run the daily-use test before final setup.
Those extra inches can change whether a door, drawer, or walking route clears.
The Paris studio is one example of a zoned, open layout working when circulation, daylight, and storage get solved together, not proof that a centered bed suits every studio.
If your own test fails at any go/no-go point, default to a wall-anchored bed and apply the same low-furniture, clearance, and consolidated-storage principles there instead of forcing a layout your room can't support.




















Comments
Be the first, drop a comment!