



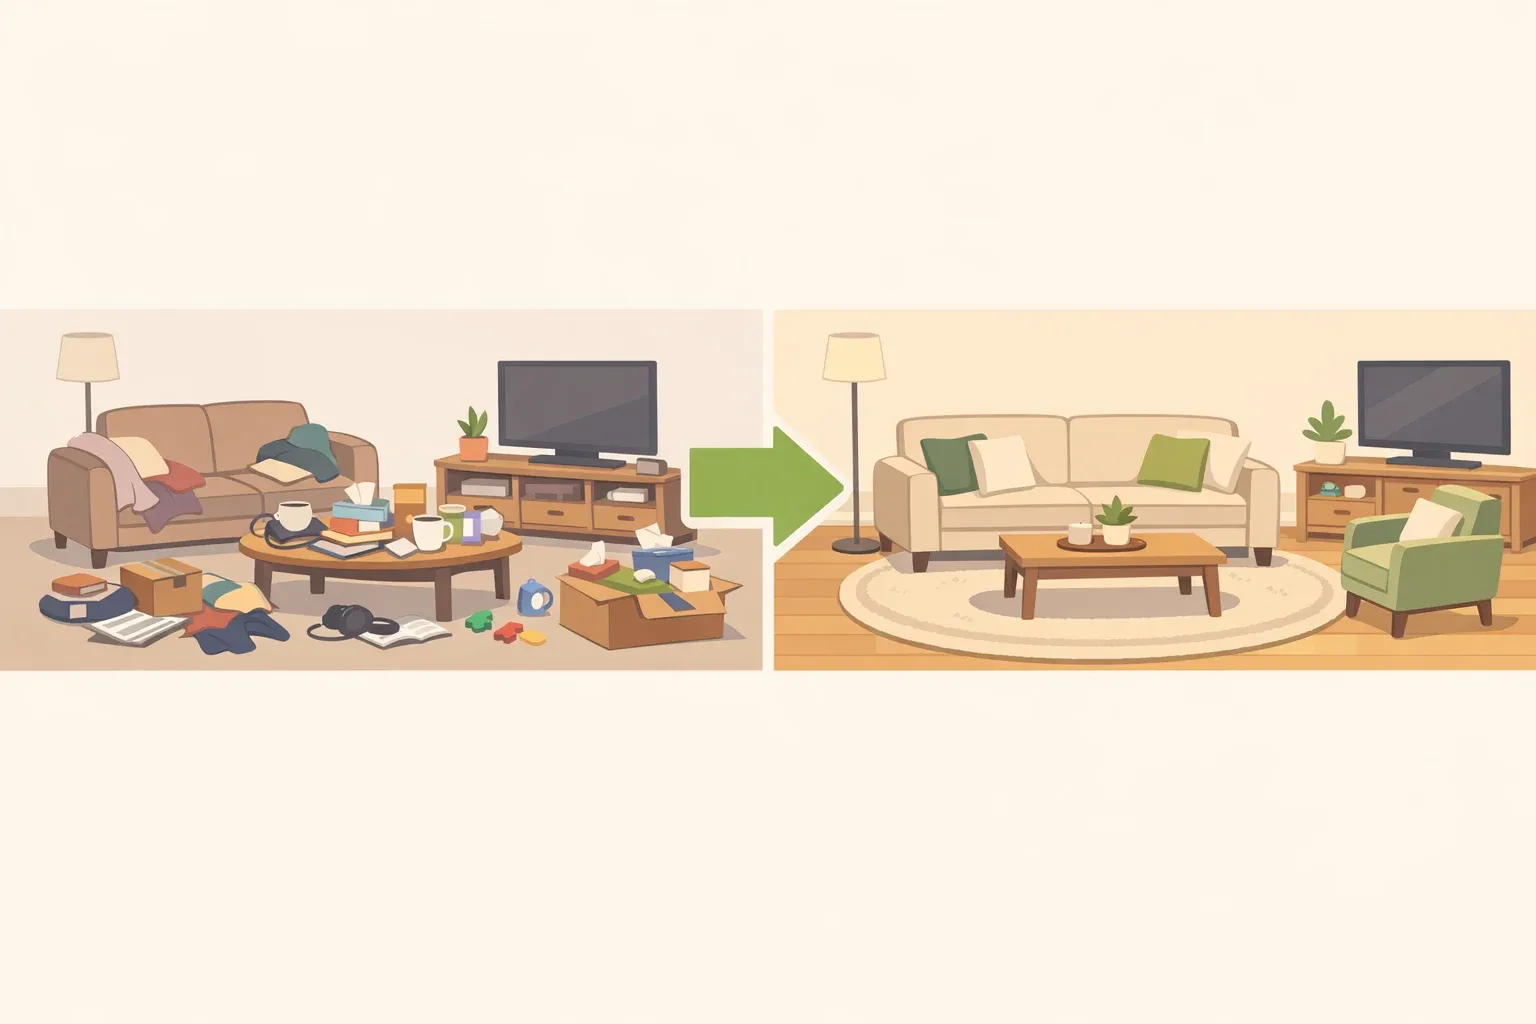
If your living room feels off but you can't quite name why, the fix probably isn't a shopping trip. Designers interviewed by The Spruce point to visual clutter, poor scale, and awkward layouts as common reasons a living room feels cluttered, cramped, or visually off, and editing what you already own is the fix they recommend before buying anything new.
This guide walks through a practical order for how to make your home feel more welcoming: clear the path, edit the surfaces, fix furniture flow, check the rug, warm up the lighting, then organize the entry.
Interior decorator Andrea Thompson suggests starting by removing just one or two items from a room. Designers speaking with Architectural Digest go further, recommending that ambient, task, and accent lighting all stay below 3000 Kelvin so a room doesn't read visually cold.
Seven fixes make up this sequence, and most of them use only what's already in the house: repositioning furniture, editing pillows and plants, reorganizing the entry table. The one step that might send you shopping is the lighting swap, and even that's usually no more than a couple of bulbs. A short list at the end covers upgrades, like a rug or a bench, worth planning for later, but none of them are required to finish this today.
What you'll need before you start
Skill level: beginner-friendly. None of the seven steps below require tools or construction. Mounting a mirror or wall hooks shows up later as an optional entry upgrade, not a required step, and it comes with its own safety checks before you drill.
On hand: a tape measure and whatever pillows, plants, and art already exist in the room. For the lighting step, pick up warm-white bulbs rated 2700K to 3000K with a Color Rendering Index of 90 or higher, which keeps skin tones, wood, and textiles looking natural instead of washed out.
Timing: this is a subtraction project rather than a construction one, so it moves faster than most decorating jobs once you start. Walking the path and editing surfaces is usually the quickest part. Sorting the entry takes longer if the coat closet is already overflowing, and less time if it isn't.
Scope note: the measurements below, like the 36-inch clearance and the arm's-reach landing spot, are entry-specific benchmarks from Curated by Hower, not universal rules for every room. If your entry can't hit them, the "adjust the plan" section below tells you what to prioritize.
How to make your home feel more welcoming, step by step
The seven fixes below run in order on purpose. Fixing the path and the layout first means the lighting and entry steps that follow actually stick.
Clear the path, then edit what's already on display
Step 1: Walk the route a guest takes. Enter with keys or a bag in hand and walk from the door to the main seating area. In the entryway, keep at least 36 inches of clear walking width; 42 to 48 inches feels more generous. In the living room, a cramped path often leads people to avoid using the space altogether. If you catch yourself rerouting around a chair or ottoman, move it before you touch anything else.
Step 2: Edit the surfaces you already have. Thompson's guidance to The Spruce is specific: pull pillows off the couch if you've got six or more, limit large plants to two in the living room and move any extras elsewhere in the home, and cap wall art above the sofa at one to three large pieces instead of a dozen small ones competing for attention. Treat these as examples of editing, not counts to force onto every room. Then balance what's left. Pair low pieces, like the sofa or the coffee table, with something tall, like a floor lamp, a plant, or a piece of art, so the room reads as one composition instead of scattered objects.
Two things tend to undo this kind of editing fast: an undertone clash and an overloaded coffee table. Designer Melissa Batten tells The Spruce that even neutral rooms create subconscious tension when warm cream sits next to cool gray. Compare your walls, sofa, and rug in daylight, and note whether the room leans warm or cool. If one piece clashes, swap or relocate it instead of adding something new to compensate. On the coffee table, Thompson recommends clearing the clutter down to a small plant or a few sentimental items. If you're still stuffing overflow underneath it, keep editing.
You'll know these two steps are done when the coffee table holds only a couple of items instead of a pile of remotes and mail.
Fix the furniture flow, then check your rug
Step 3: Reposition furniture you already own. Designer Ashley Gatewood tells The Spruce that pushing every piece against the wall tends to make a room feel smaller; floating furniture slightly away from the walls creates a stronger sense of flow. Scale matters too. Designer Carly Filbin notes that oversized furniture restricts traffic and makes a room feel smaller, whether that's a single sectional or a cluster of chairs crowding the walkway.
Separately, The Spruce's designers suggest capping seating at a couch and two chairs unless you're hosting a group, so removing one extra chair is a reasonable no-cost fix if the room already feels tight.
Poor scale, awkward layout, and visual noise are the biggest culprits Batten identifies in a room that looks off, not a lack of decor. That's the reason to fix layout before lighting or styling: no amount of good lighting solves a walkway you have to squeeze through. While you're moving furniture, deal with cords too. Flat extension cords, floor plugs, or cord channels keep repositioned pieces from trailing visible wires, and it's easier to run them now than after everything's back in place.
Step 4: Test your rug placement before buying anything. A correctly sized rug should hold all the furniture on it, or at minimum the front legs of each piece. Check your current rug against that benchmark now that everything's repositioned. Legs resting on the rug, fully or at least the front ones, means it passes. Legs hanging off on multiple sides means it's undersized, in which case note it for the optional upgrades list below instead of trying to fix it today.
Warm up the lighting for a warm and inviting home
Step 5: Swap to warm, diffused bulbs. Use bulbs in the 2700K to 3000K range with a CRI of 90 or higher. Architectural Digest notes that 2700K reads as a warm glow, while 3000K is about as far as you can go before light starts looking bluish-white. Check the fixture before you buy: match the bulb's base, wattage, and shape to what the fixture actually takes, and don't run a bare bulb in a fixture built for a shade or enclosure. Designer Deana Concilio-Lenz says a shade or dome softens the harshness of unfiltered light. Before handling any bulb, switch the fixture off at the wall and let a bulb that's been on for a few minutes cool before touching it.
Step 6: Stop relying on the overhead fixture alone. Both Curated by Hower and Thompson, via The Spruce, flag single overhead lighting as a repeat mistake because it flattens the room. A table lamp, floor lamp, or existing wall sconce fixes this without rewiring anything. Designer Jessica Alpert tells Architectural Digest that sconces "let you turn off the overheads so the room feels softer and more inviting." Cooler, bluer bulbs tend to read harsher after dark, while warmer ones feel calmer in the evening.
Turn off the overhead and check whether the seating area, entry path, stairs, and any nearby light switches stay visible enough to move through safely. If a corner goes dark or a step is hard to see, keep some overhead light on or add another plug-in lamp rather than leaving the space dim.
Give the entryway three jobs without adding furniture
An entry has three jobs happening at once: a landing spot for daily items, storage that hides the rest, and a clear transition into the home.
Step 7: Set up the entry landing spot and storage. Arrange what's already there to cover all three jobs; don't buy new furniture.
Landing spot: put a tray or small bowl on the first horizontal surface within arm's reach of the door, a shelf, a console, even a windowsill. Anything placed farther in tends to get bypassed entirely. Leave one corner of that surface clear on purpose so daily items have somewhere to land.
Storage by frequency: hang the coat and bag you use daily on an open hook within reach. Anything used only a few months a year, like winter gloves or umbrellas, belongs in a closed bin or drawer instead of on display. That's what keeps the visible entry calm without new furniture. Renters without wall space to spare can get the same effect with a freestanding tray, a shoe bin, or hooks that hang over the door.
Renters and homeowners: a mirror is worth adding since it bounces light and adds apparent depth in a small or dim entry, and layered lighting at the door does more for first impressions than any single decorative object. Before mounting anything, locate a stud, or use an anchor rated for the piece's weight rather than a plastic hook meant for a picture frame, and check the wall for hidden wiring or plumbing before drilling into it. A mirror or a loaded coat hook is heavier than it looks once it's holding a bag full of books. Confirm your lease allows wall mounting if you rent, and skip drilling into any wall you're not sure about.
One mistake worth skipping: mixing several metal finishes, hooks, mirror frame, tray, in one entry tends to read as collected rather than considered. Match what you already have instead of buying new pieces to fix it.
Adjust the plan for your space
The steps above assume a fairly typical layout, but real homes vary. Here are a few easy ways to make your home more inviting even when your setup doesn't match the standard benchmarks.
Entry narrower than 36 inches: a shallow console, ten to fourteen inches deep and no more than twelve in a tight hallway, holds a lamp and a tray without narrowing the walkway further. Trade depth for width before you trade away the clear path.
Renting with no console, hooks, or drilling permission: skip the wall entirely. A slim table or the top of an existing shoe cabinet covers the landing spot, and a freestanding coat rack or hooks that hang over the door cover storage. None of it touches the wall.
Living room with no table or floor lamp on hand: borrow one from a bedroom or home office for a few days before buying anything. That tells you whether the room actually needs a permanent lamp or just needed the overhead turned off.
Open-plan entry and living area sharing one light zone: treat them as a single zone instead of two separate rooms. If you want a consistent evening look, use the same color temperature in every lamp that illuminates the shared space, rather than mixing warmer and cooler bulbs across the room.
Households with kids, pets, or frequently wet shoes: hang a second, lower row of hooks at 40 to 48 inches so kids can reach their own coats instead of dropping them on the floor. Swap a delicate rug for a washable runner or flat-weave rug at the entry; it holds up to wet shoes and daily grit in a way a decorative rug won't.
Optional upgrades for later
A correctly sized rug, if Step 4 showed yours is too small, sized so all furniture, or at least the front legs, sits on it.
A storage ottoman in place of a cluttered coffee table.
A bench or hall tree for the entry if shoes are piling up on the floor.
Hardwired sconces or a new ceiling fixture. These call for an electrician, not a DIY afternoon.
What to do if a room still doesn't feel right
Still feels small after editing and repositioning? Check whether the furniture itself is undersized and scattered rather than a few larger, well-proportioned pieces. Fewer, bigger pieces tend to read as more intentional.
Still feels chaotic near the door after sorting storage by frequency? The landing surface is probably too far from the door. Move the tray to the very first surface inside, even if that means a smaller shelf.
Can't hit the 36-inch clearance no matter how you arrange the entry? Prioritize the clear path over adding a bench, mirror, or rug. An empty, walkable entry beats a fully styled one you have to turn sideways to pass through.
Run the arrival test before you call it done
Walk in carrying a bag, the way you actually do after work. Set your keys down on the landing spot without hunting for space. Hang up your coat without it hitting the floor. Cross to the seating area without turning sideways. If all four work, and there's enough light to move through the space safely after dark, stop adjusting. It's finished.
Rearranging furniture, swapping bulbs, and reorganizing storage are all generally beginner-friendly. Get a second person for anything heavy, like a loaded sectional or a solid wood console, and stop if a piece needs to be lifted onto its side or the job starts involving wiring.
Anything wall-mounted — a mirror, hooks, sconces — means checking the wall type, anchor weight, and hidden wiring or plumbing first, not just eyeballing it; hardwired lighting changes go to an electrician, not this guide. After your next few arrivals, notice anything that repeatedly lands on the floor or blocks the path, and move it to a more accessible spot rather than fighting the same clutter every day.




















Comments
Be the first, drop a comment!